Installing A Copper Gutter

How To Install A Copper Gutter
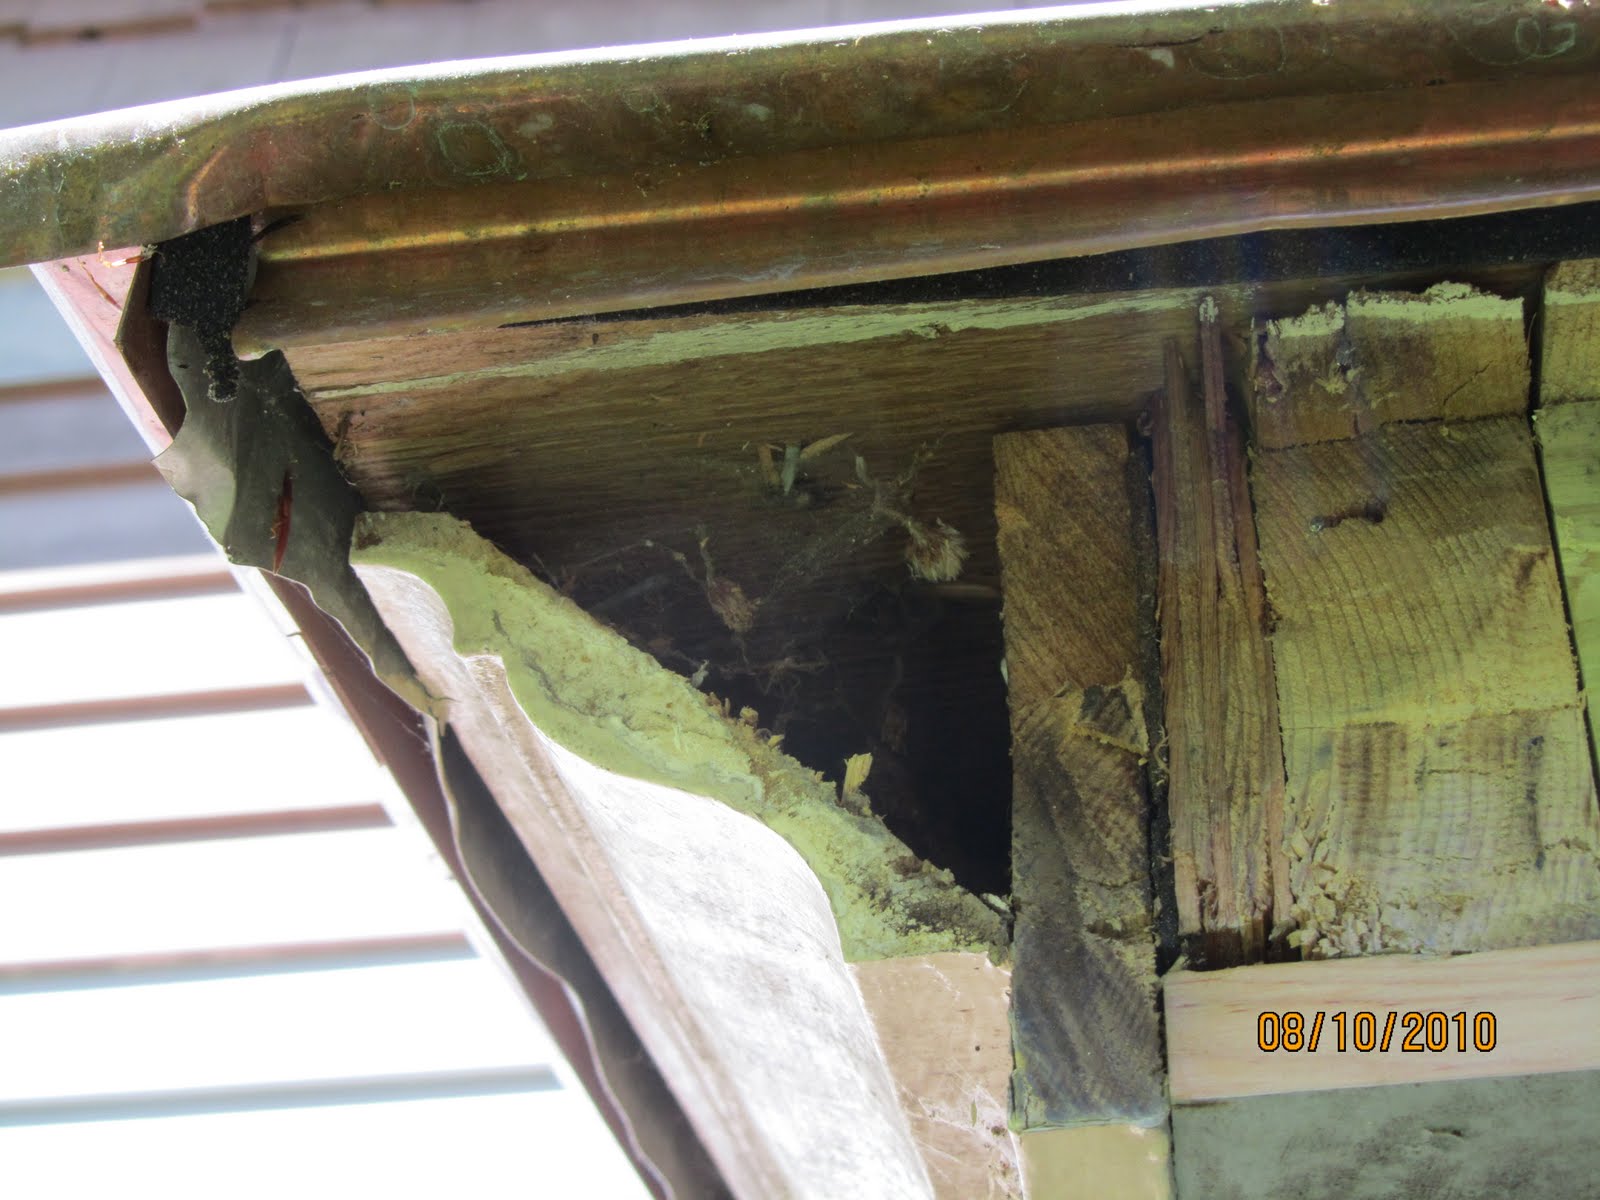
Removing The Old Gutter

Fix Trim
The old wood gutter had a crack in it which resulted in trim and framing rot. I installed a new cedar fascia board. We back primed the board and installed it with stainless steel nails.
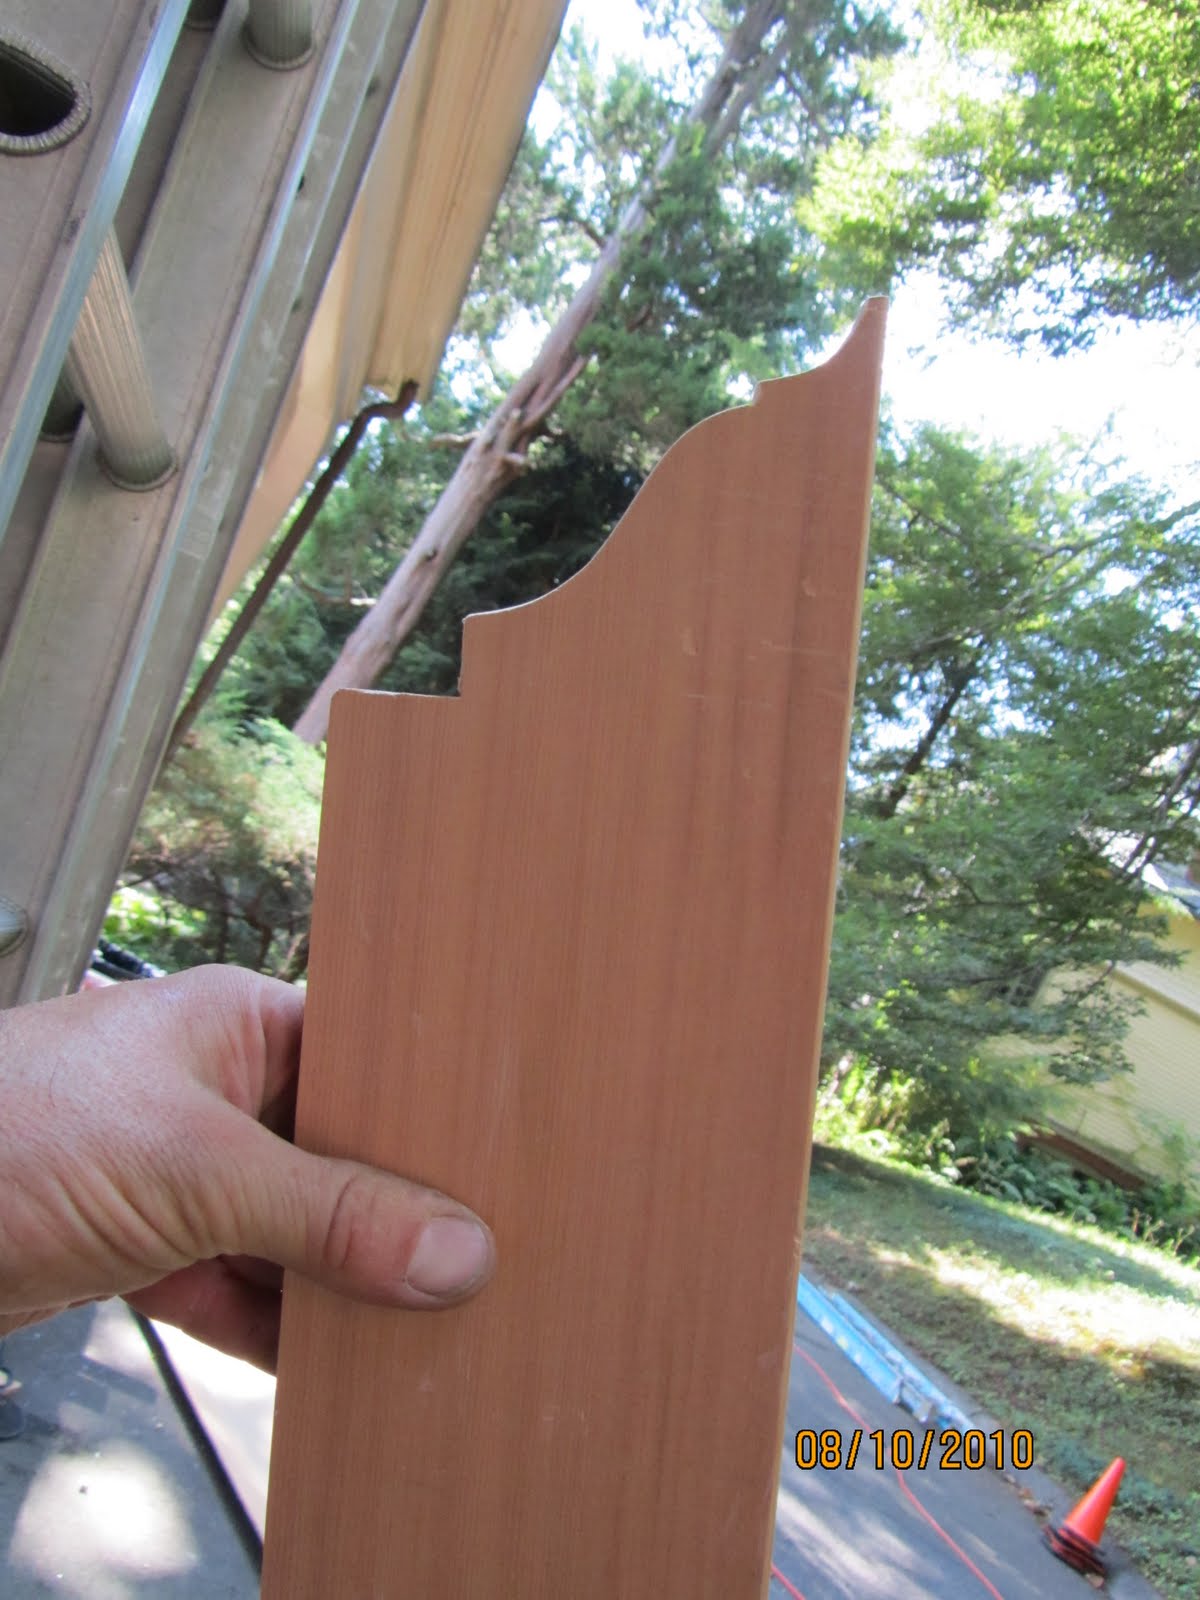
Photo below. The porch has crown molding on the rake side. This molding terminated a the fascia. Our new fascia had to be cut to match this crown molding.
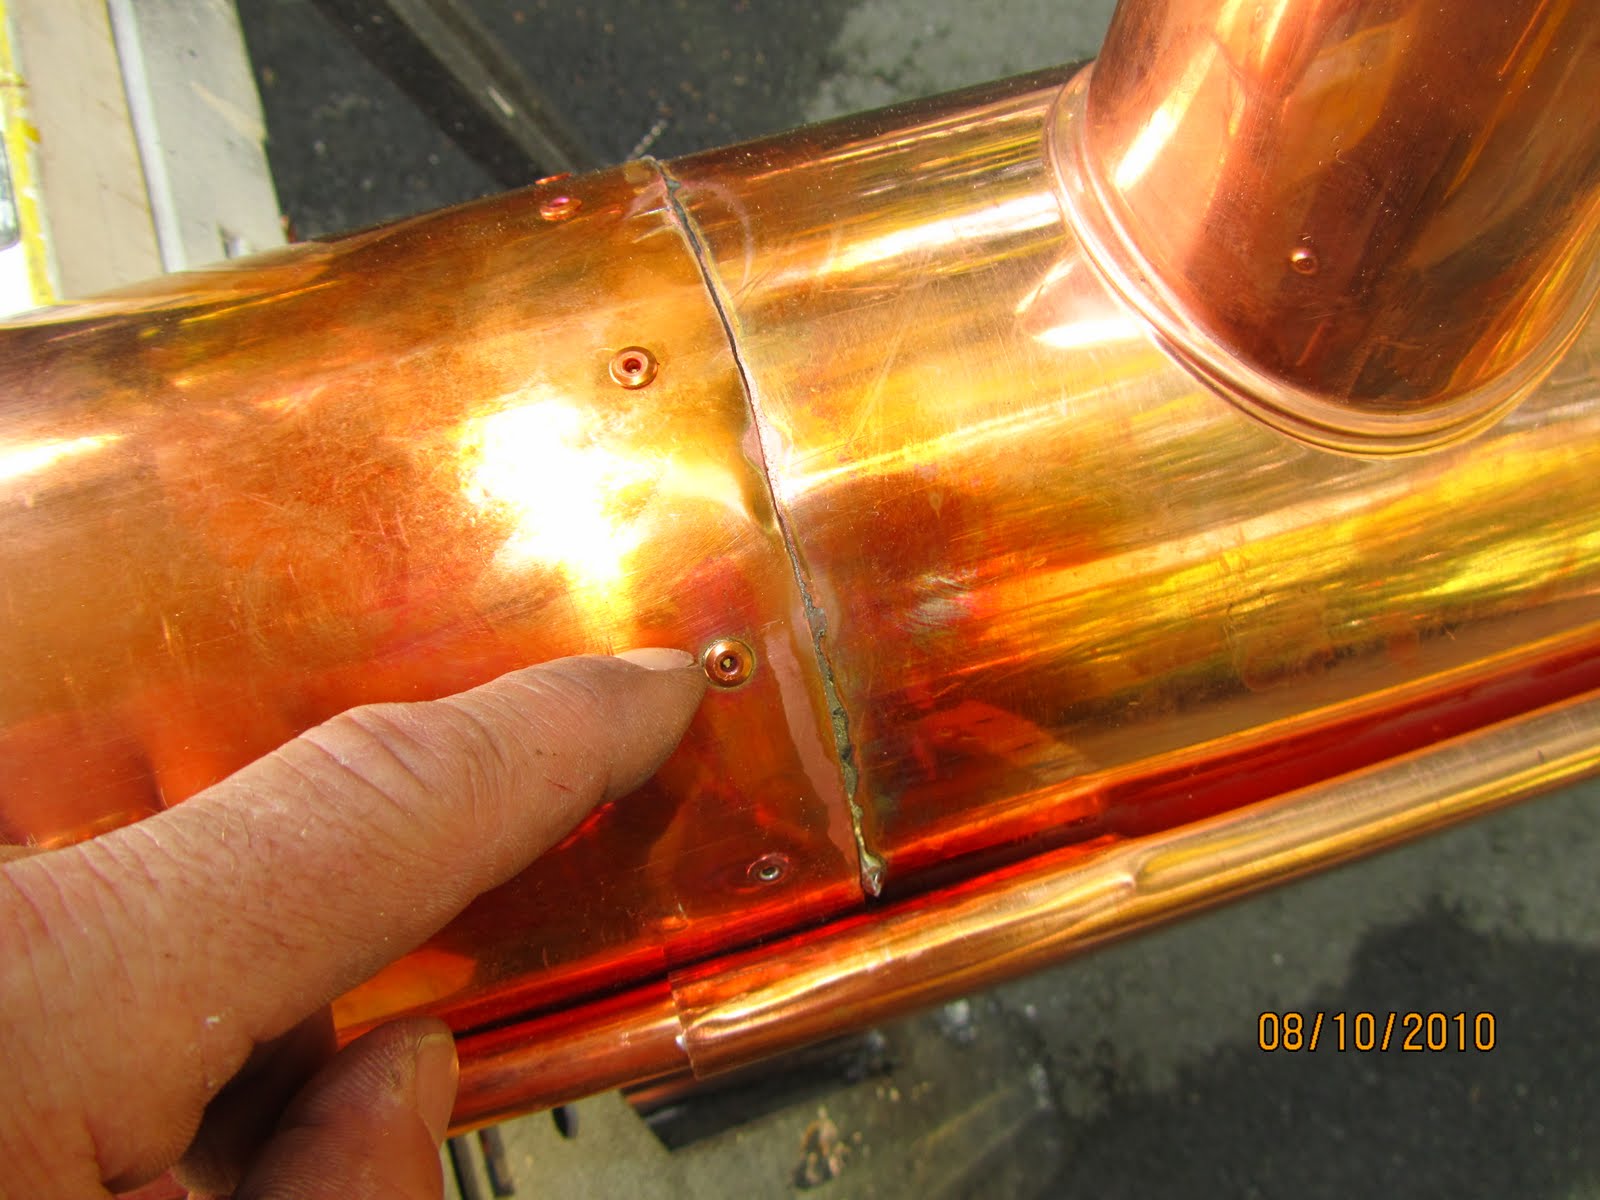
Once we cut the copper gutter to length we attached the end caps with copper rivets and lead solder.
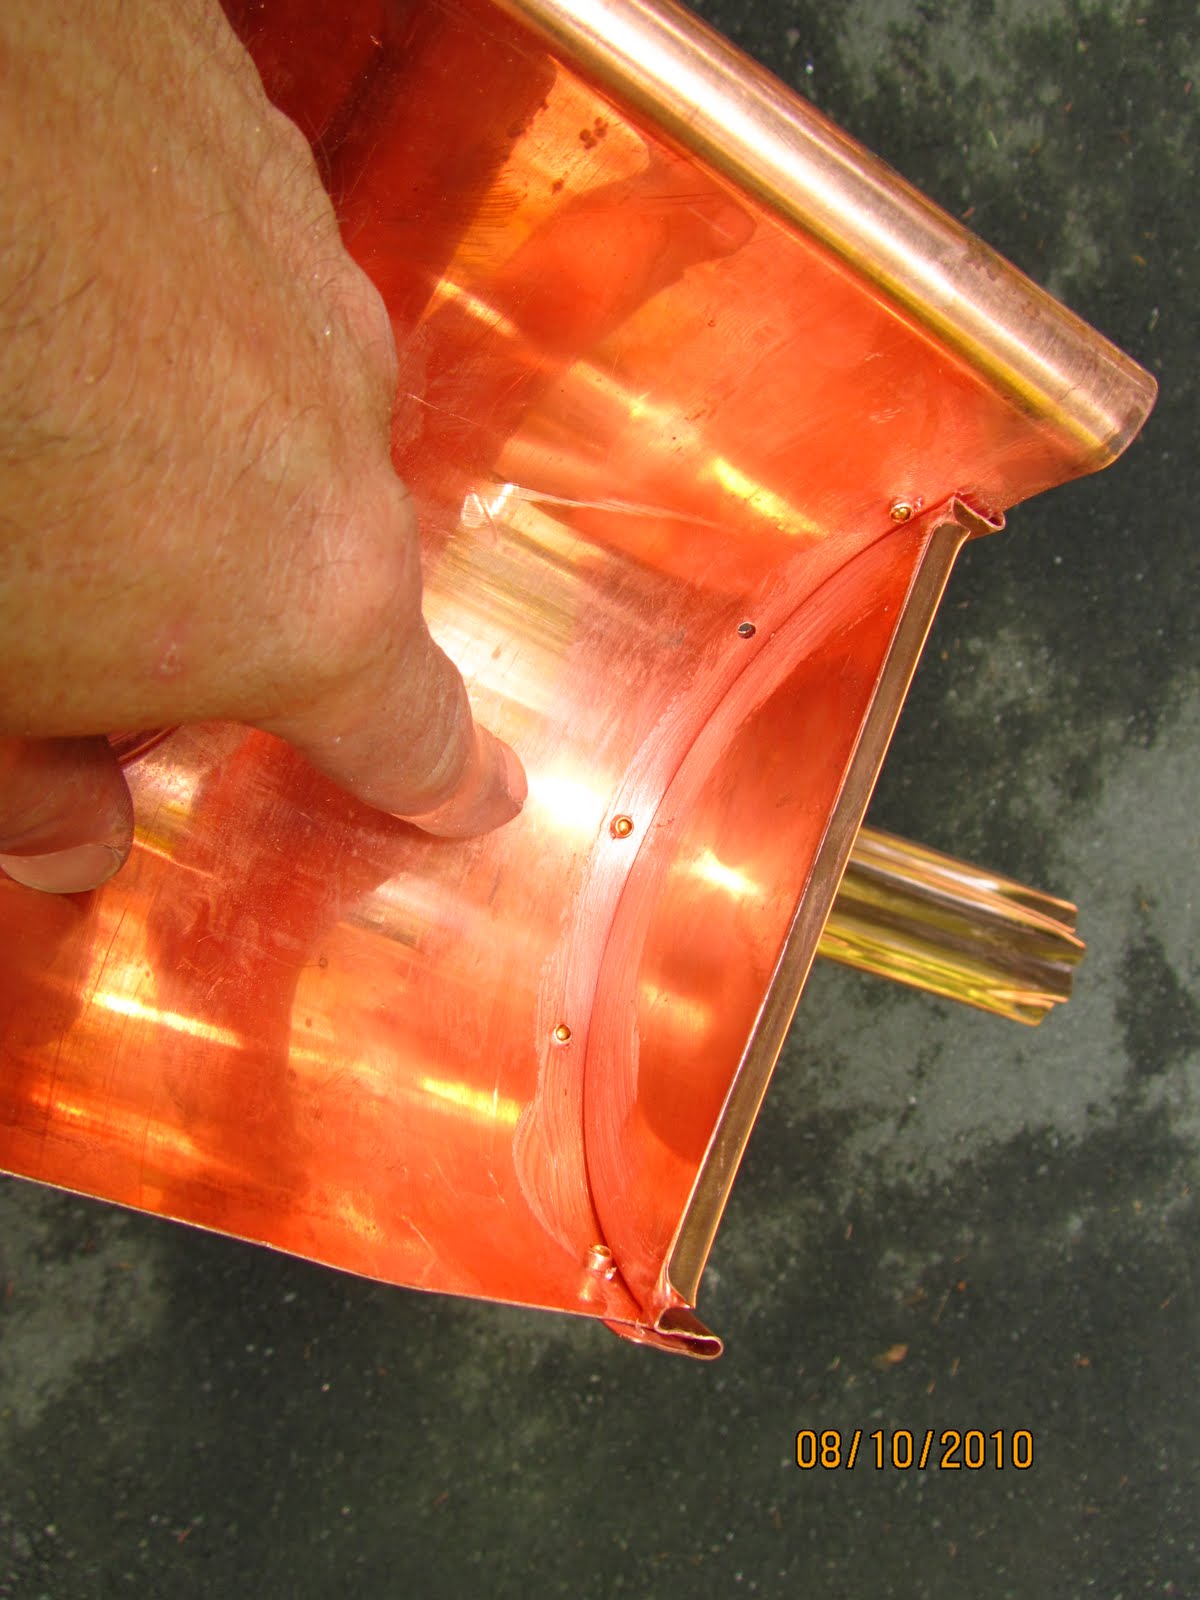
Rivets and Solder Make BEST Connection
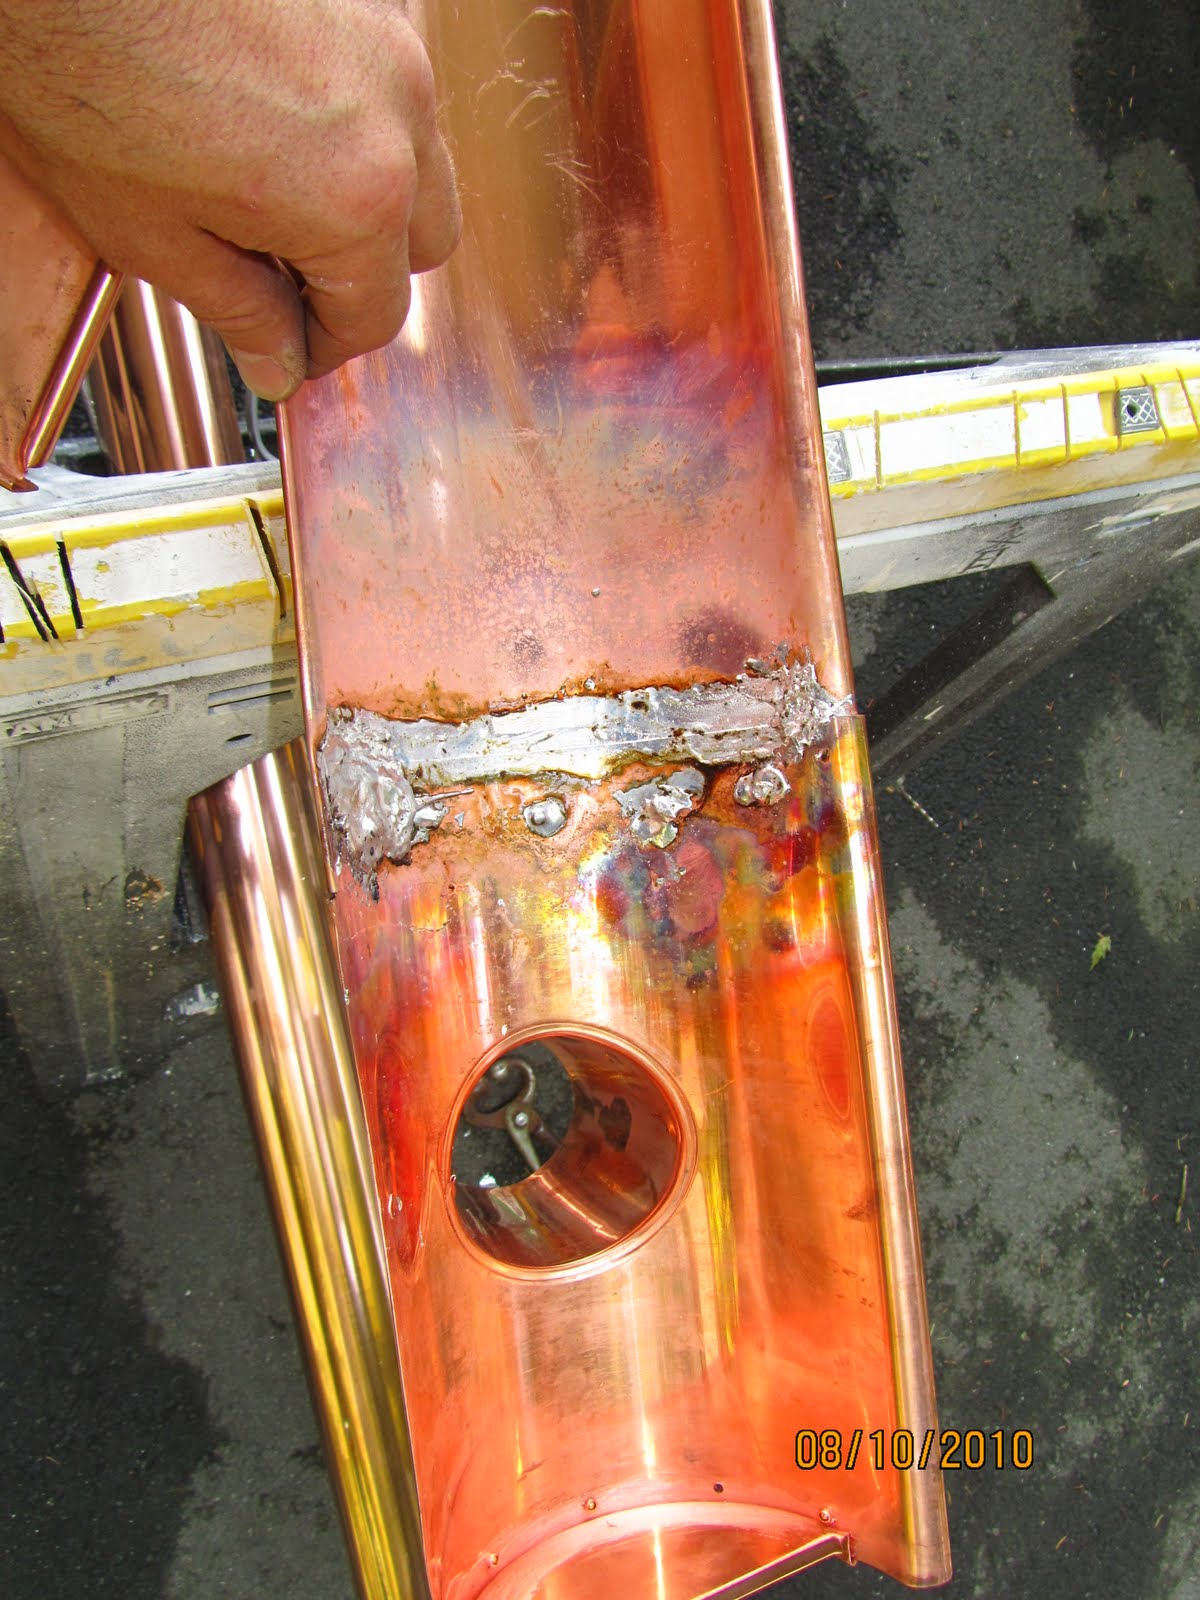
The outlet section for the gutter comes separate and need to be attached in order to connect a downspout. This too was connected with copper rivets.
and then soldered with lead solder.
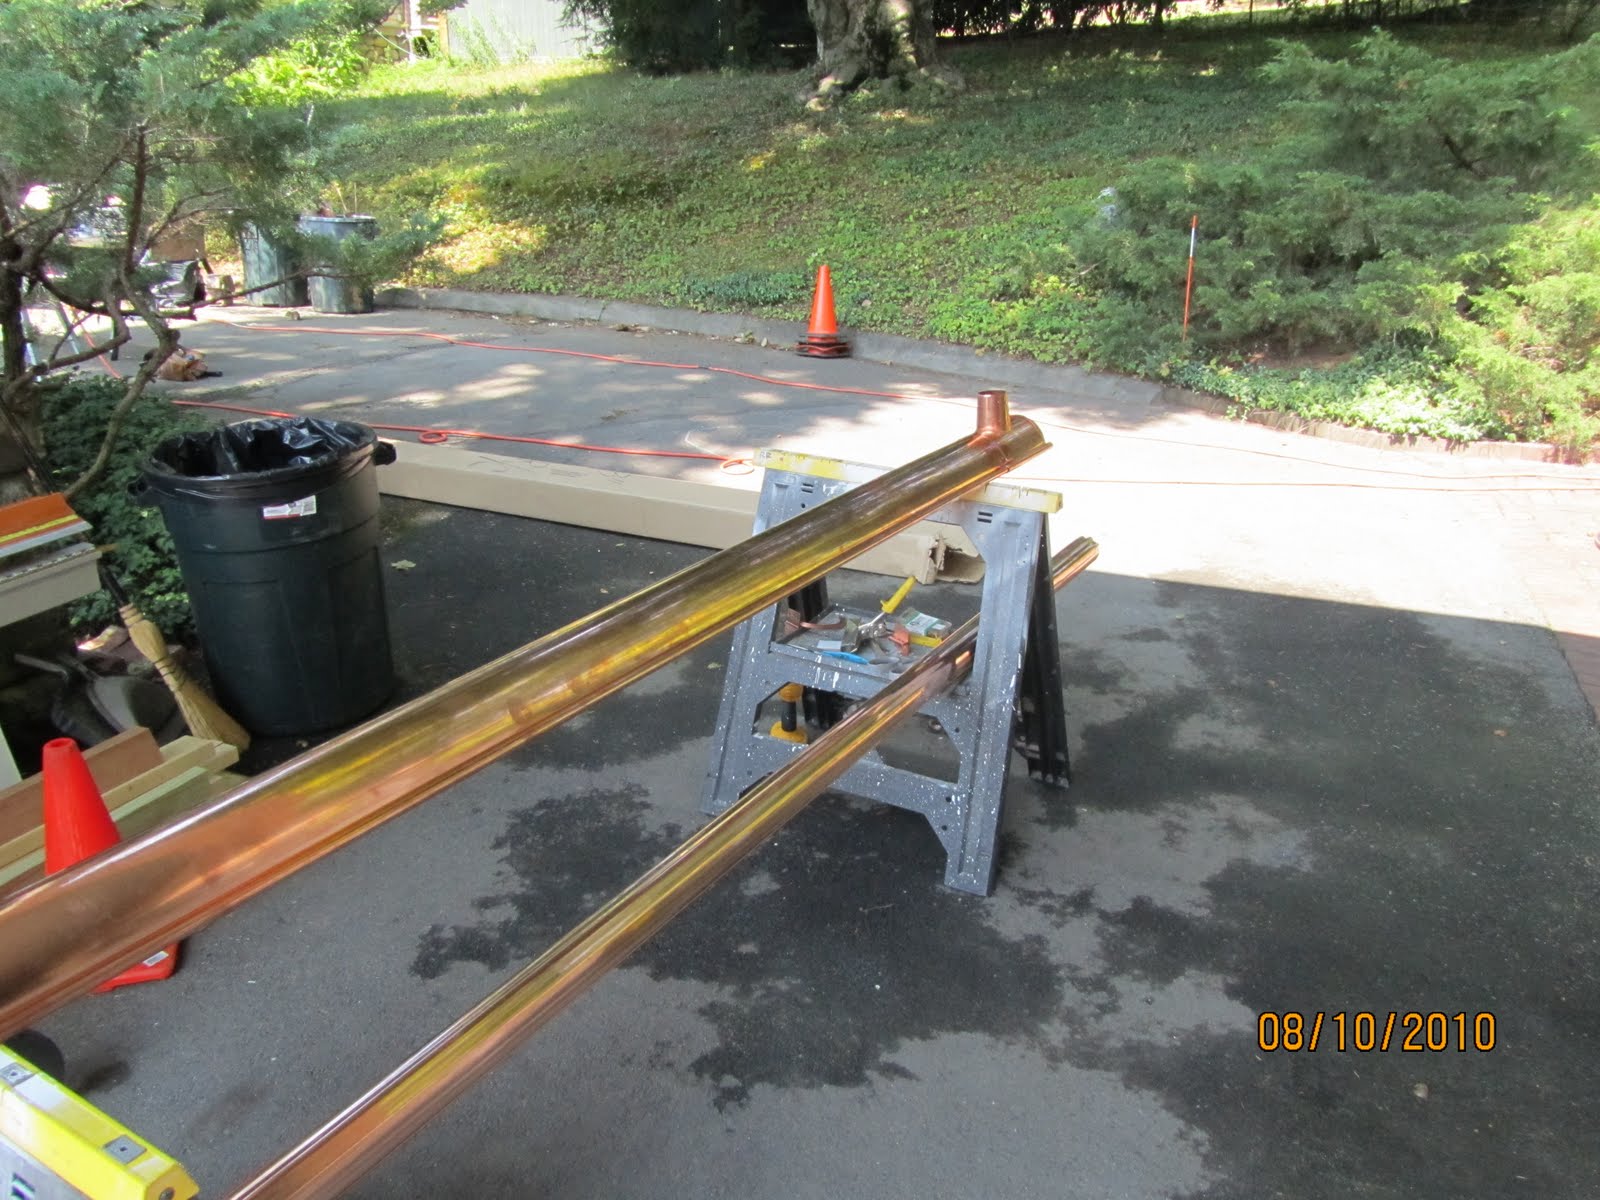
Original ten foot Length of copper gutter before cutting to size.
Install Hangers
5″ Copper shank and circle hangers were used to hang and secure this copper gutter. Note the crown molding profile on the cedar fascia board.

Install Down Spouts
Copper gutter in place with downspout and elbows.
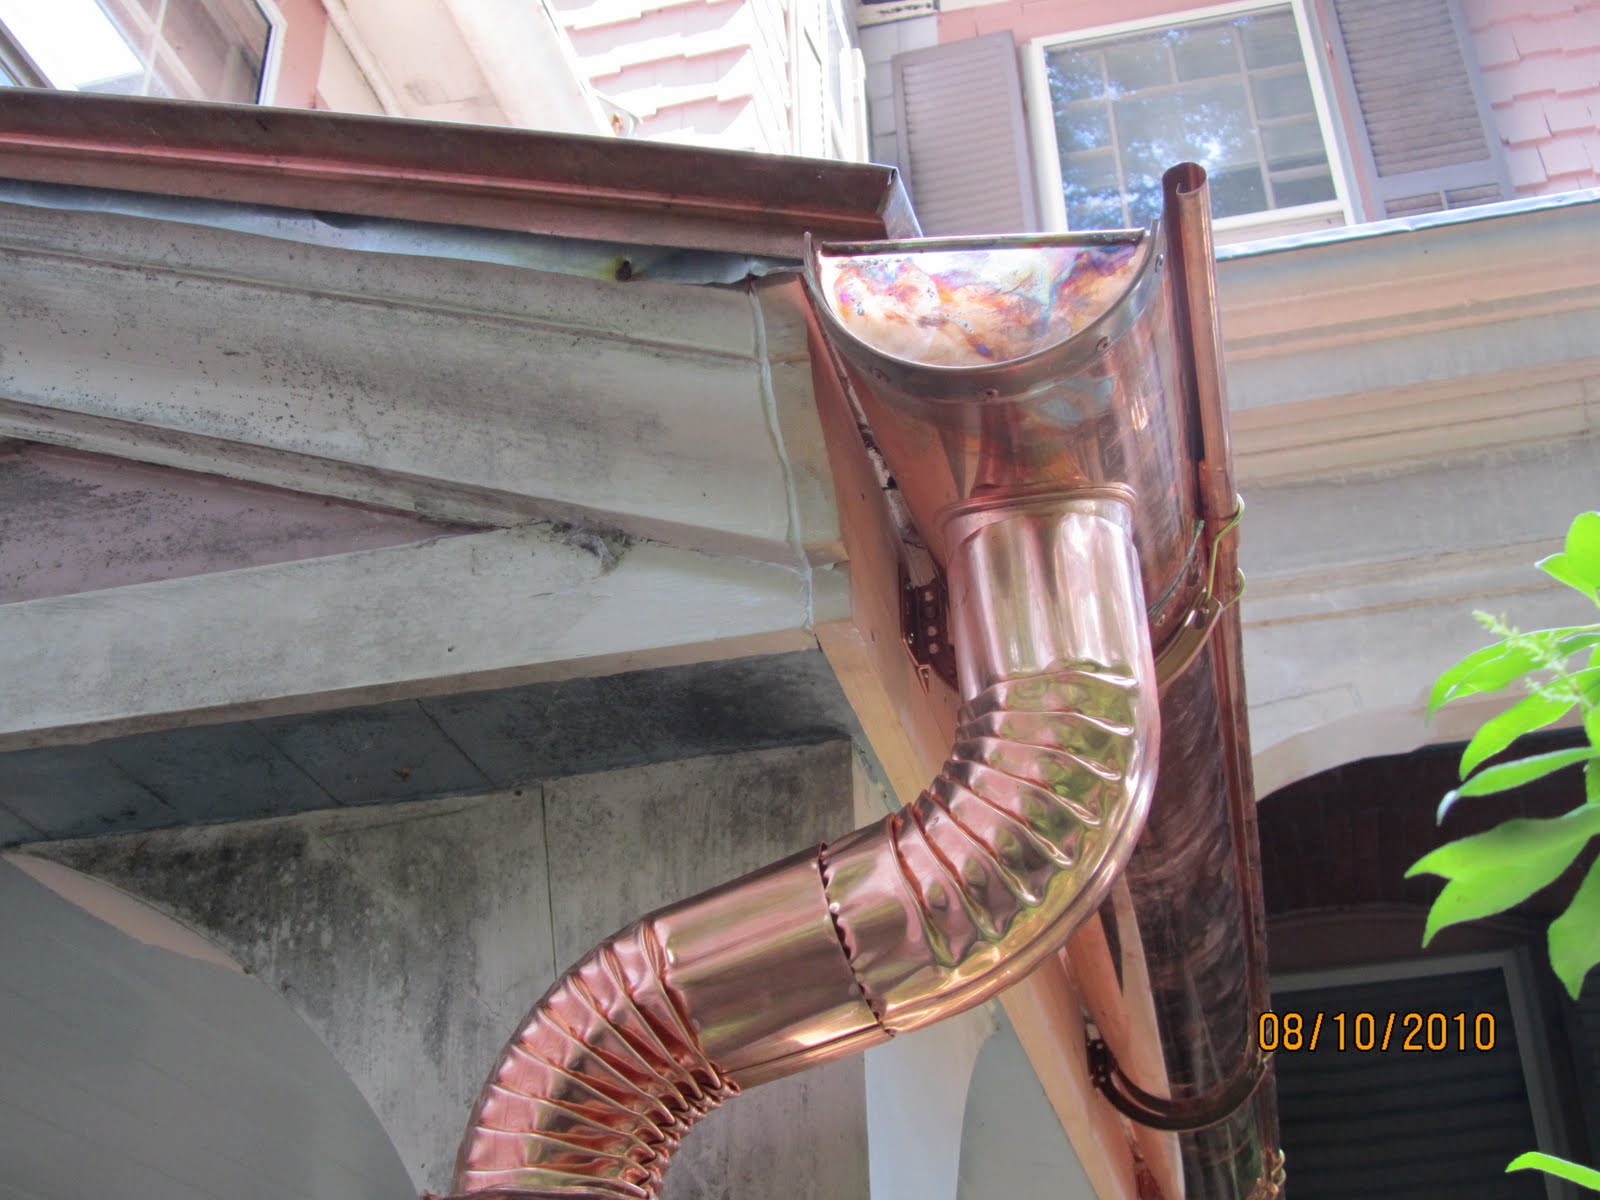
Front view of copper gutter system. Still waiting to install the downspout pipe. [left]