Installing A Built-in Bookcase
Installing Built-in Bookcases
Built-ins come in many shapes and sizes. Many times people place a built in into an odd or irregular spaced area other times people are looking to create an aesthetically pleasing effect or need more storage options.
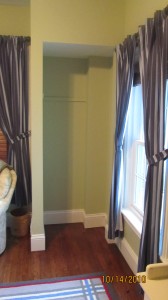
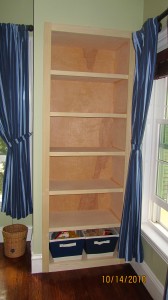
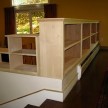
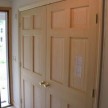
In this case the homeowners had a small irregular shaped, unused closet and a built in desk area that they wanted to transform into storage space. At the same time they wanted something that would add to the details of the room and not take away from them.
I built these built-in bookcases in my shop and then transported them to the customers house. The most demanding part of this install is moving the heavy units. Carrying these large built-ins out of the shop and up to the second floor where they will reside.
Once the built-ins were in the rooms where they would be place there were several things I needed to do before sliding them into the opening.
Book Case Installation Steps:
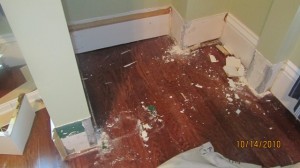
1. Remove baseboard trim and any shelf or trim that was in the way. One thing I’ve learned over the years is to try not to destroy the trim during removal. Many times this trim can be re-used and installed to tie in the new built-in to the existing trim. Once the trim is removed, make sure to pull the nails from behind to reduce face damage.
2. Scribe the unit to fit or shim if needed. In the closet space install I purposely made the bottom face frame ½” larger than the rest of the face frame.
I determined at the initial measuring that the floor sloped to the left 1/3” and by adding the ½” I was able to scribe the bottom to the floor and cut away the ½” on one side. Doing this left my face frame looking like the other sides.
I find the best way to scribe the bottom was to slide the unit into place and shim the low spot until the unit was plumb. Then I set my scribes to the gap under the shims and scribed the bottom of the face frame trim. I used a jigsaw to make a back angled cut and a block plane to clean it up.
After cutting the bottom face frame I slide the unit into the space. Using a level I check that it is sitting plump and then nail off the face frame with 2-1/2″ finish nails. After nailing off the built-in I then used the baseboard and base cap removed earlier to fill in the missing base trim.
I fill all of the nail holes with wood putty.

Finished and ready for the painter.
RELATED POSTS:
Tongue And Dado Joints For Bookcases
