Installing A Bathroom Vent Duct


Photos: Concord Carpenter
Venting A Bathroom
This article is about installing a bathroom vent duct.
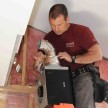
Recently a client asked me to evaluate her bathroom fan and how difficult it would be installing a bathroom vent duct. The existing fan was not removing the steam from the bathroom during showers.
Avoid Long Runs
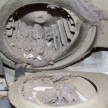
When I inspected and tested the fan I found the fan severely corroded and not pulling air well. A look in the attic revealed a fairly long duct run with plastic duct running parallel in the joist bay. the run was way too long and the fan basically was ineffective from day one.
Pitch Perfect
This duct was also pitch back to the fan and had sagged in the joist bay. Pitch the pipe toward the exterior of the pipe run. Water was found accumulating in the sagging portion of the hose. The plastic vent hose was also dry and brittle, no doubt from the high and low temperatures that this attic endures.
I suggested to the owner that by venting through the roof we could shorten the duct run by approximately 10′ and also eliminate one elbow. When figuring duct runs always remember that every elbow is the equivalent of 10′ of straight duct run in air resistance. The homeowner decided not to vent through the roof and to keep the existing duct run and vent location.
Installing A Bathroom Vent Duct
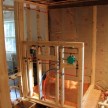
So we installed a more powerful fan and proper duct work.
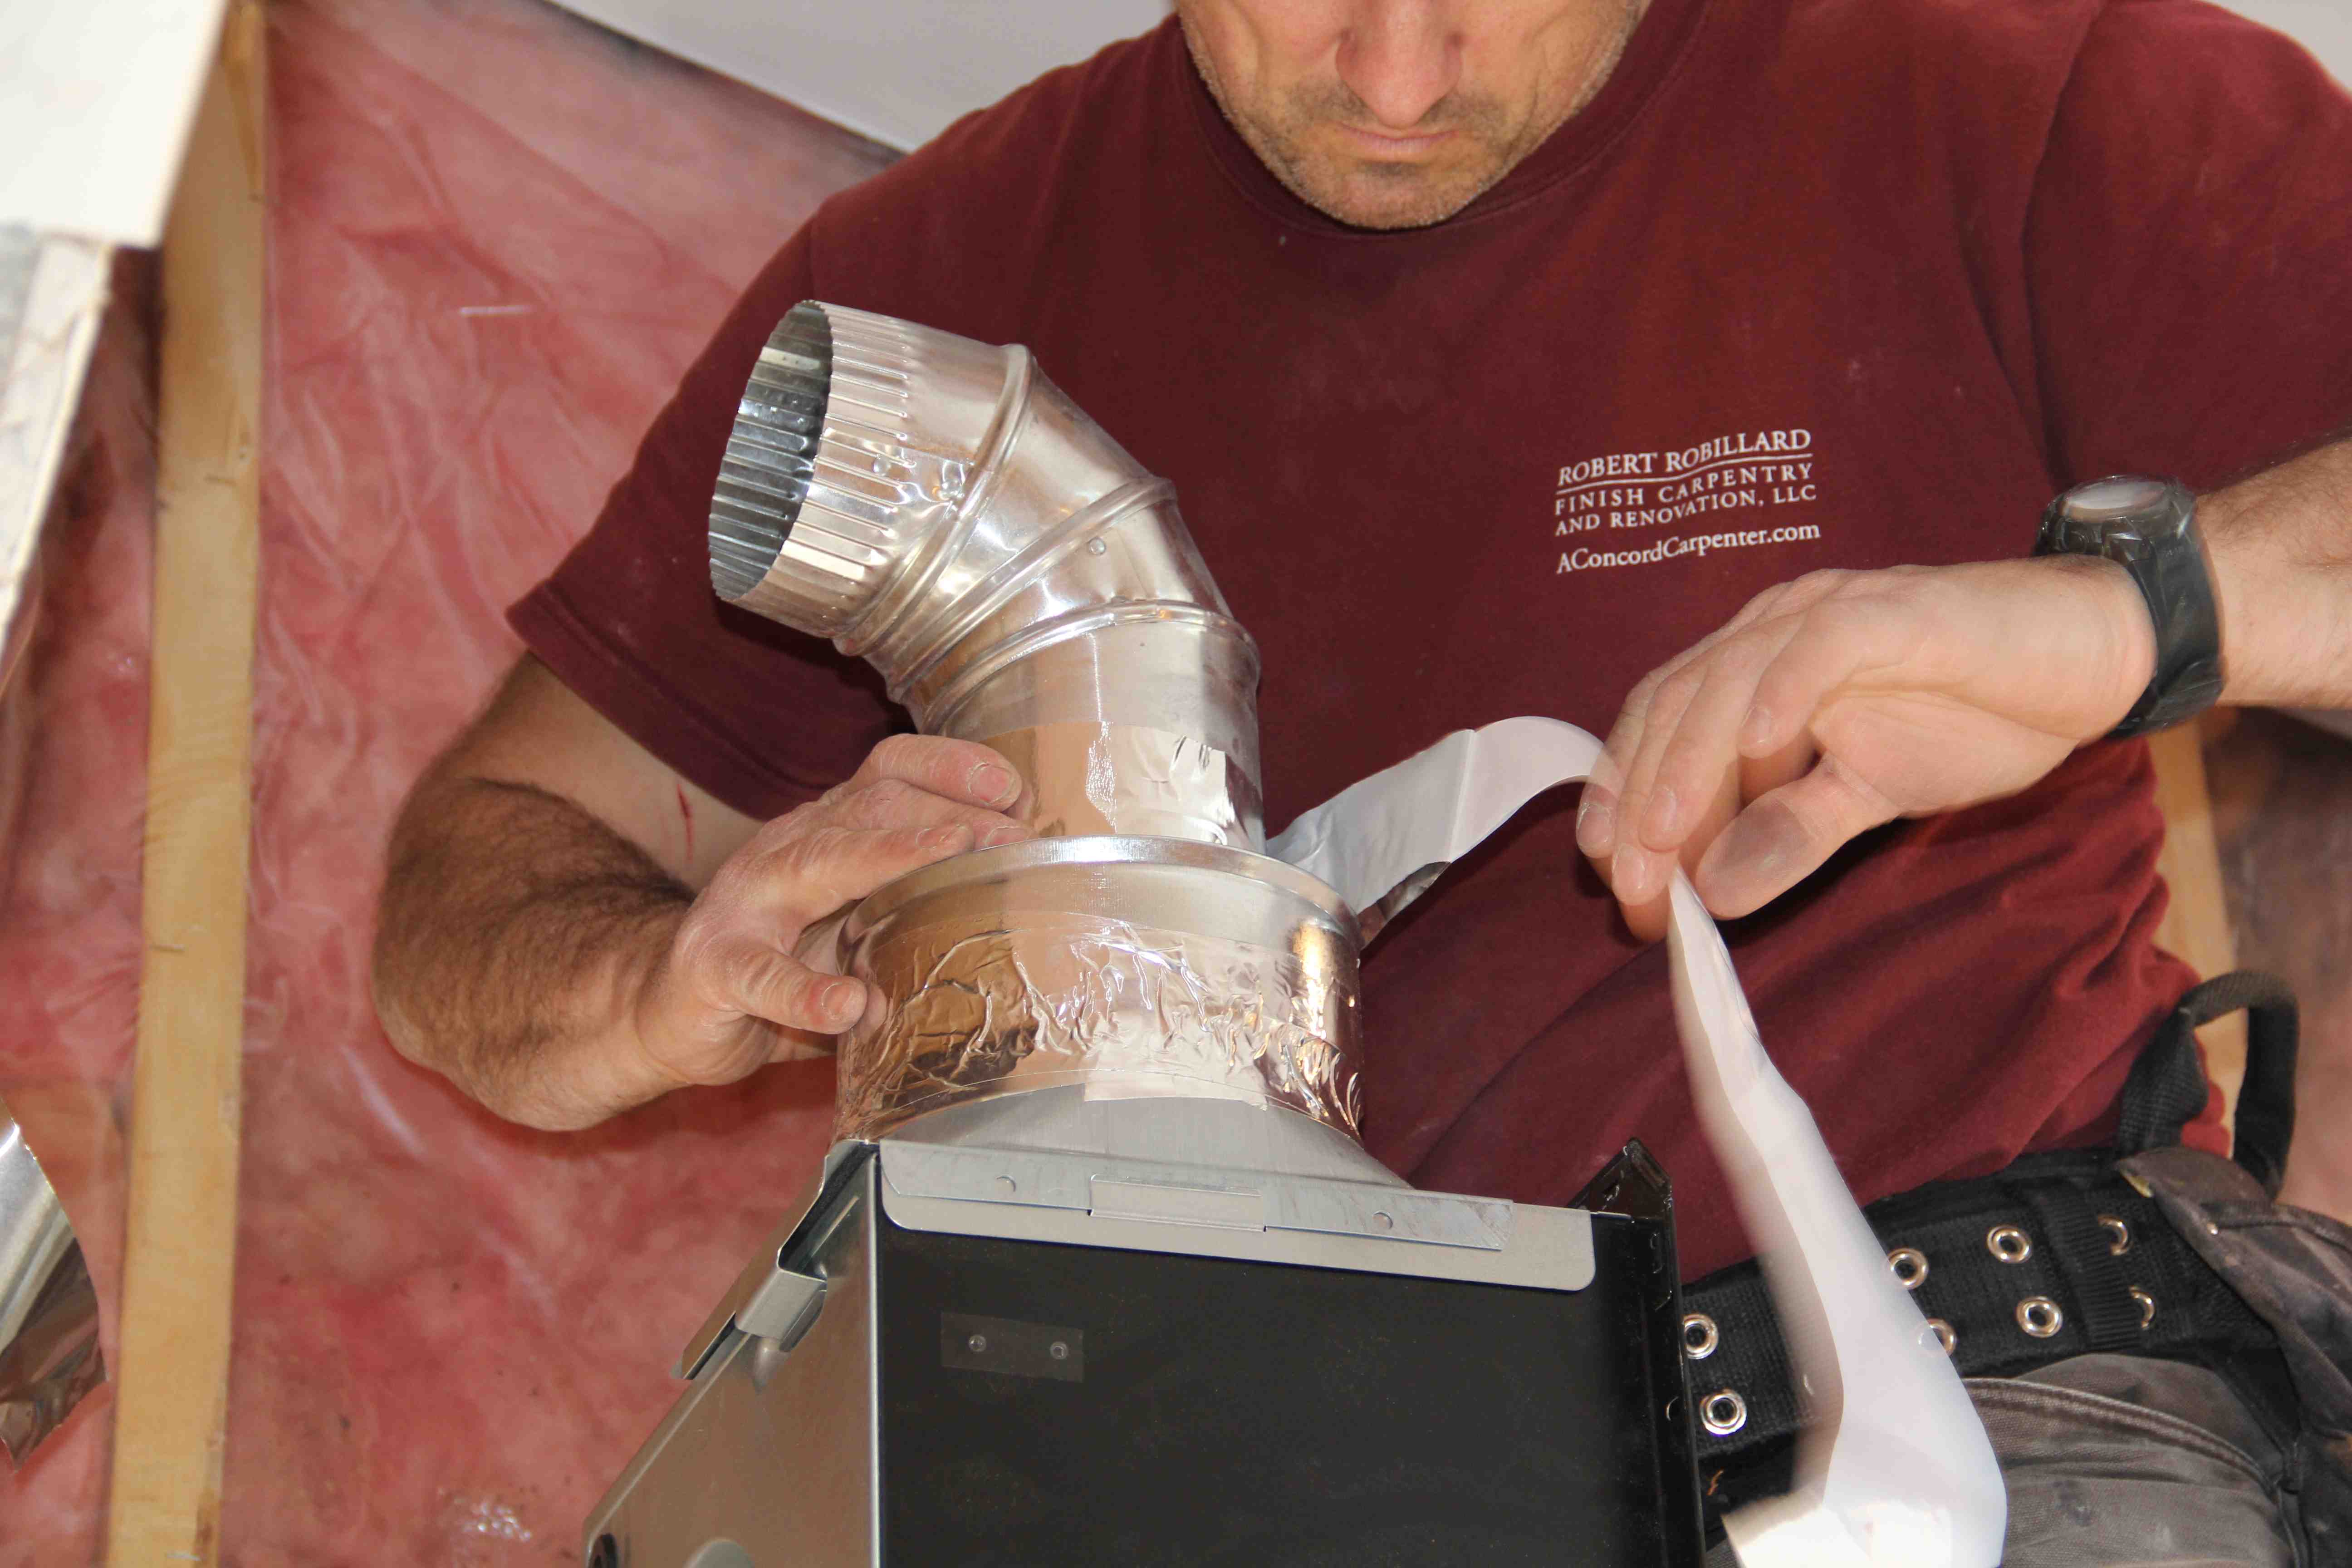
In the attic I installed sections of 4″ x 2′ Lambro # 229 aluminum pipe. I installed the pipe with the seams up to avoid any moisture leaking out of the seams resulting in possible staining of the ceiling below. Smooth aluminum pipe has less air resistance than the previously used ribbed flexible duct.

All duct seams were sealed with aluminum tape and installed with the seams facing up. [Do not use duct tape!]

Two adjustable elbows were used to get the pipe to clear the insulation and ceiling joists. The pipe was then attached to the elbows with a slight pitch toward the outside sofit vent.


Once the pipe was installed and attached to the sofit vent we covered the entire pipe with insulation. They make an insulation sleeve that insulates these pipes really well.
Installing a bathroom vent duct is a fairly straightforward project as long as you have access to the area above the fan

~ concord carpenter