How to Stain A Deck With Thompson’s Waterseal
Thompson’s Waterproofing Stain – Exclusively Available at Wal-Mart
Whether you just built a new deck or want to protect and revitalize an existing fence, maintenance of outdoor wood structures is paramount to keeping them looking beautiful. Protecting your outdoor structures requires some sort of waterproofing, which can be accomplished with an oil or a wood sealer, and since almost all wood will grey or silver over time, if you want to maintain a specific color, other than grey, a stain or paint is needed.
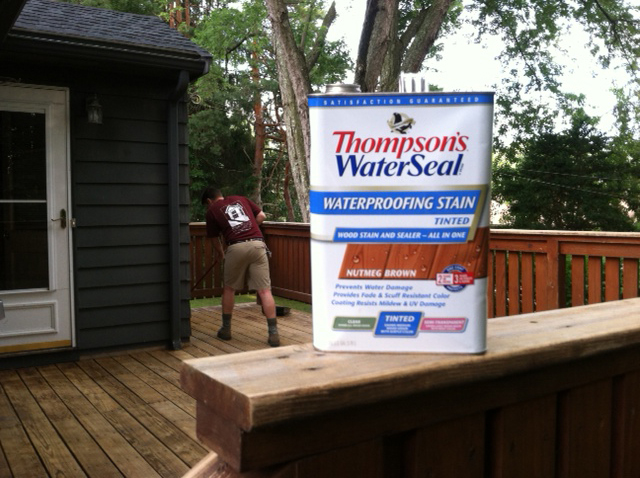
Thompson’s has a new waterproofing stain, exclusively available at Walmart, that combines those two critical steps to simplify your outdoor maintenance. This waterproofing stain is definitely a time saver, requiring only one coat to provide your deck or fence with beautiful color and long lasting protection that still lets the natural grain of the wood shine through.
Currently this product, Waterproofing Stain – Tinted, comes in one gallon tins and is available in three distinctive tints; cedar, desert brown, and nutmeg. Check your nearby Wal-Mart for availability and while your there you can pick up all the supplies you need to apply your stain for a professional finish in a short amount of time.
Before you Get Started:
It’s important you evaluate the state of your deck or fence before you apply a stain or waterproofing chemical. First and foremost your outdoor structure should be free of loose or flaking paint or stain, clean, and dry. As any good painter will tell you, the prep work that goes into a good paint job is what makes a professional job look so good. So it is imperative that you clean your deck or fence, I recommend you rent a power washer if you don’t have one, and use an appropriate deck cleaner for the state of the wood.
For this project I used DeWalt’s DXPW4240 gas powered pressure washer. Check out A Concord Carpenter’s video review here.
And don’t forget to give your outdoor structures the time to dry after a thorough cleaning. A minimum of 24 to 48 hours is recommended. We had a big storm pass through New England at the end of July, which forced me to wait an extra day to ensure this deck had the time to dry out before I applied the stain.
Preparation:
Before you apply the stain on the entire deck you should consider two things.
First, what order are you going to stain the components of the deck. This will ensure you don’t paint yourself into a corner, literally, and you don’t get stuck waiting for one area to dry so you can get to another area. I like to apply to vertical areas first, then work the perimeter of the horizontal surfaces, and back your way down the steps.
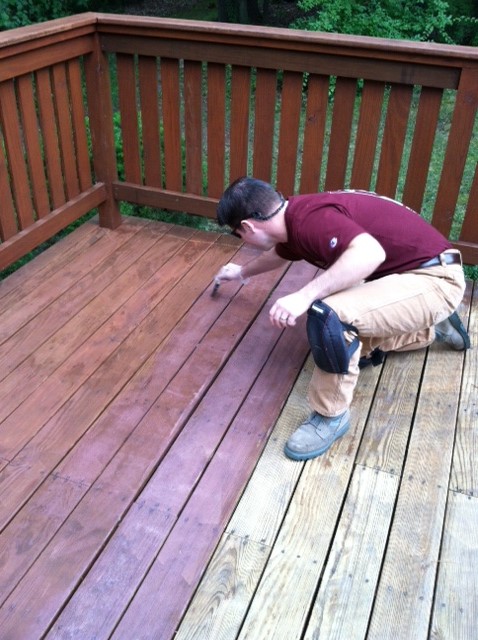
Second, be sure you test the stain and see how it looks before you commit to a day of work and possibly a color you don’t like. Upon opening the stain I was surprised to find it had a purple color, but after I applied it to a small area and saw the finished look I was happy to proceed. The distinct wet color was actually very helpful allowing me to distinguish between areas that have been drying for a bit and fresh applications. As the stain dries it turns a medium to deep brown, what I expect based on the advertised “Nutmeg”. I was very happy to find the stain was easy to work with and much more viscous than your typical stain.
Application:
 Now that your deck is clean and dry, you have a plan, and you know you like the color. NOW, it is ready for Thompson’s waterproofing stain. For this project, due to the dark color of the house and the color of the existing stain, the homeowner choose the Nutmeg tint, the darkest of the three available.
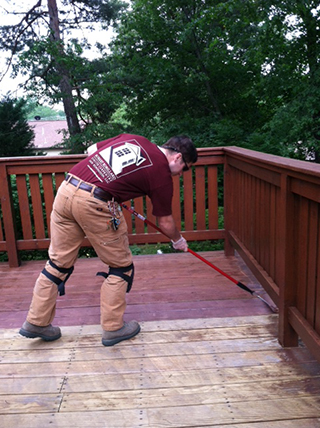
Use a paint roller or paint pad on a four foot pole or extension pole to keep you on your feet when applying the stain to decking. I like to back brush with a sponge brush when applying stain, it ensures an even distribution of the stain and the sponge makes spreading the stain with the brush even and consistent, a great tool for the DIYer. Additionally, a sponge brush is helpful to work the stain into gaps on the deck boards.
Clean Up:


