How to Make Birch Wedding Card Holders

![]() Making Natural Birch Place Card Holders
Making Natural Birch Place Card Holders

Natural Birch place card holders are perfect for that special occasion or rustic wedding to greet your guests and to identify and decorate your party tables.
These charming holders are made of real birch branches, and are perfect for decorating tables whether detailing seating for guests, identifying names or labeling food entrees. Birch lends a rustic quality to your tablescape, décor and or rustic theme. This article will explain how to make birch wedding card holders

How to Make Birch Wedding Card Holders
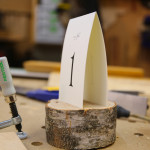
Rustic Birch table place card holders are made of natural birch, and can be any shape or size you desire. You can use branches with a series of slits to identify guest seating at a table or cut pieces of a larger Birch branch for table numbers or entrée name holders.
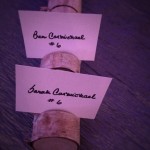
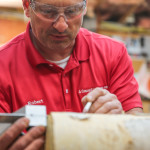
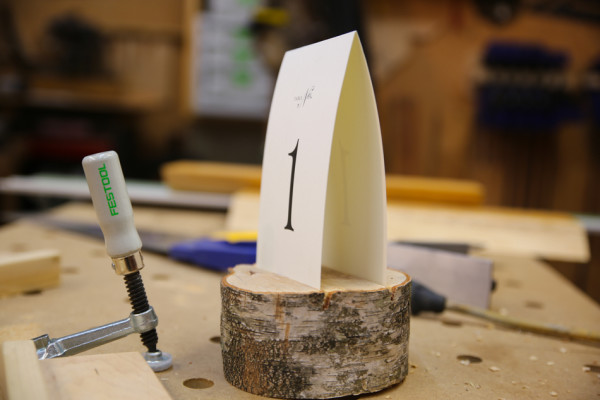
For table settings, we typically we cut a 3-4” tall piece approximately 4” in diameter. The top and bottom are sanded smooth, and two slots are cut at a o degree or 25 degree angle. the two slots account for a folded placard, shown in photo above. If you are using one sheet of paper – center your slot.
The benefit of having a 25 degree angle is the place card site at a comfortable reading angle.
Making the Birch Card Holders
- Determine how many place cards you need and multiple that times the height of your holders to get a total inches of Birch needed. Order extra more mis-cuts and irregularities in the Birch.
- Buy or cut your birch rounds to your size of choice. We purchased ours through a local nursery supply store.
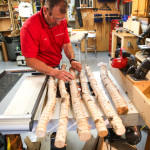
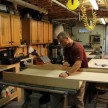
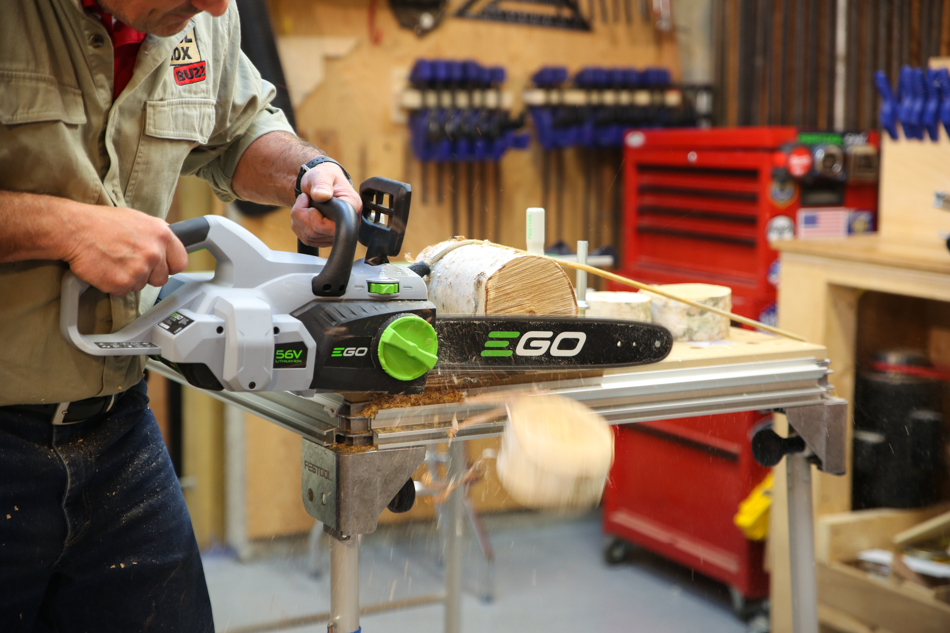
- We cut our Birch logs to size using a cordless chainsaw
- After cutting all of your parts its time to cut a card slot.
- Measure and mark the centerline on the Birch parts.
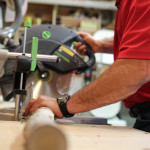
- We measured and cut our slots on a sliding miter saw with a depth setting. There is safety “saw kick back “concern when cutting rounded and irregular objects. To avoid this we build a cradle jig to hold the Birch securely in the saw. If your a DIY-er we recommend using a handsaw for safety.
- Another non-power tool alternative to cutting the slot is to use a handsaw. To do this you will also need a vise of clamping method. Simply clamp the Birch piece securely in the vise. Position the Birch sideways in the vise and use the vise jaw as a guide to cut a center mark with a handsaw.
- Using your handsaw, you’ll be sawing a slit/slice into the birch. Be careful to keep an eye on how deep your cut is. It doesn’t need to be big being that it will be holding a piece of paper or cardstock the size of a business card.
- Sand the top and bottom smooth.

Note – on the long branches you will need to cut all your branches to a uniform size to fit your table. Then space out you cards and mark the birch with a felt marker. Clamp the branch in a vise and make your cuts with a handsaw.