How To Install Kitchen Cabinets
Kitchen Cabinet Installation
Recently I had a small cabinet installation job that I thought might be a good opportunity to describe how to install kitchen cabinets. Before starting always make sure you have all of the cabinet components and appliances needed for the install.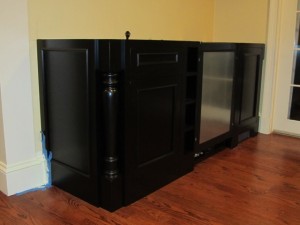
INSTALLATION INSTRUCTIONS:
1) Find the high spot on the floor and mark the wall:
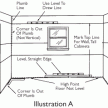
Using a 6 floor level I check the floor to see whether it is level. If it is not, locate the high spot.
Measuring up the wall from this point, mark the cabinet height on the wall. Using the level as a guide, scribe a reference line on the wall the full length of the cabinets.
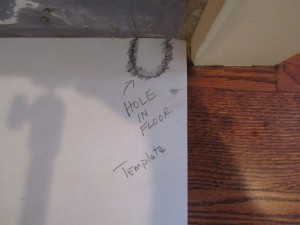
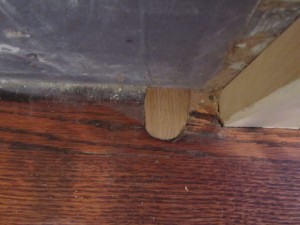
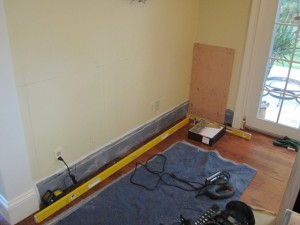
On this particular job I removed the wall heaters and had a tow kick heater installed. that meant I had to plug a hole in the oak flooring.
I traced the opening with a piece of paper and transferred the mark to some oak flooring. Using a band saw and a sander I cut and beveled the piece to create a wedge plug for the hole. Stain was added to blend the patch.
2) Mark cabinet layout lines onto the wall:
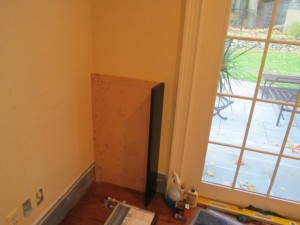
I use a folding ruler and a 24″ level to layout the entire cabinet plan on the wall to see how it will layout.
Tip: remove staples from cabinet box packaging, cut and use cardboard for floor protection.
3) Mark studs and locate and mark all pipes:
Locate wall studs using hammer and finishing nail or stud finder. Make marks for the wall studs at a height just above the base cabinet height.
If there are any pipes or other issues in the wall mark them too.
Tip: Windex works great fro removing erroneous pencil layout lines
4) Install the cabinets:
Tip: before installing the cabinets, remove the doors and drawers first to ease installation.
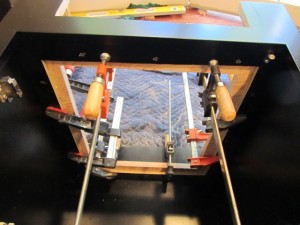
Slide the first cabinet against the wall. Using wood shims at the base of the cabinet sides, level it to the reference line.
Add shims at the back or front to plumb it. Once the cabinet is level and plumb, drill four holes through back of cabinet with a counter sink bit.
Make sure your holes correspond to the stud locations. try to screw through the mounting rails when possible.
Use 2-1/2-inch screws.
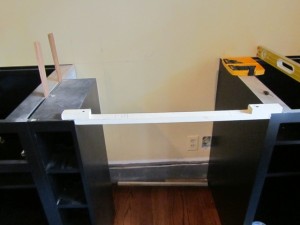
Use a jigsaw to make openings for vents, toe kick heaters or outlets on the wall. Here we cut out for the tow kick heater as well as made an access panel for future service or replacement. We saved the cut out for our access panel door and glued and screwed finish
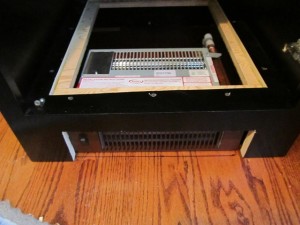
plywood on the bottom of the cabinet to support the access door. A 7/8″ hole drilled into on edge of the access panel serves as a finger pull.
5) Install the filler strips as needed:
If a cabinet run requires filler strips, carefully measure and rip each strip on a table saw to fit. Add a small amount of glue and clamp the filler strip to the stile of the adjoining cabinet, and then drill pilot holes for the screws through the edge of each stile and into the filler.
Countersink the holes so that the heads of the screws will not
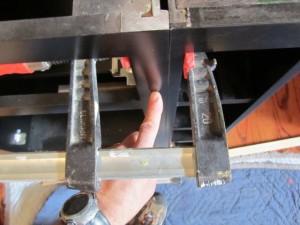
project above the surface. Chose locations for your screws that will be least visible. [example:
behind hinges or in drawer openings.] Fasten the screws, slide the cabinet back into position, and recheck for level / plumb.
6) Join the cabinets:
Clamp next cabinet to the first cabinet [style to style] making sure that the face frames are flush. Make sure you protect the cabinet finish from the clamp. Use a clamp that has a no mar face, a wood block or cardboard to separate the two.
Connect the cabinets by screwing them together through their stiles. Drill and countersink holes for two 2-1/2-inch wood screws at each joint. Be sure that face frames remain square and on the same plane as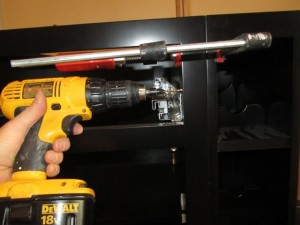 you tighten the screws. Secure this cabinet to the wall.
Periodically check the face of the cabinets with a long straight edge to ensure that they are in the same plane, add shims at wall to align cabinets if needed.
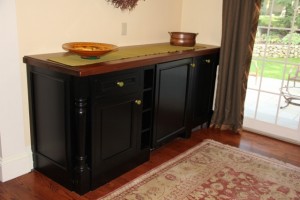
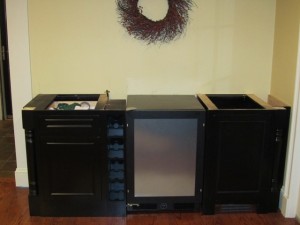
When joining smaller cabinets, like the wine rack pictured below, make sure you shim the back to match the front gap.
7) Install space for appliances:
Wherever there will be a dishwasher, oven, or other built-in appliance, provide an opening the exact width required for clearance. Check the manufacturer’s literature for this dimension. Measure the opening at the front and rear and at the top and bottom then cut
scrap strips to help you maintain your clearance. Then install your next cabinet on the other side of your scrap spacers. Re-check your clearances before screwing that cabinet to the wall.
Many cabinet manufacturers provide 1/4″ or larger toe kick material or a baseboard molding to wrap the cabinet bottom. Use a small pry bar or wood chisel to hold the trim tight to the floor and install with finish nails or brads. In difficult to nail areas construction adhesive may be helpful providing it will not squeeze out and be seen on the cabinet finish.
9) Install the doors, drawers, panels and knobs:
10) Use the touch up marker as needed:
Many cabinet sets come with a putty and marker pencil. I use the marker to color in the cuts make for the toe kick heater.

STEPS:
1) Find the high spot on the floor and mark the wall
2) Mark cabinet layout lines onto the wall
3) Mark studs and locate and mark all pipes
4) Install the cabinets
5) Install the filler strips as needed
6) Join the cabinets
7) Install space for appliances
8) Install the toe kick trim
9) Install the doors, drawers, panels and knobs
10) Install counter top.


