How to Install an Interior Window Sill

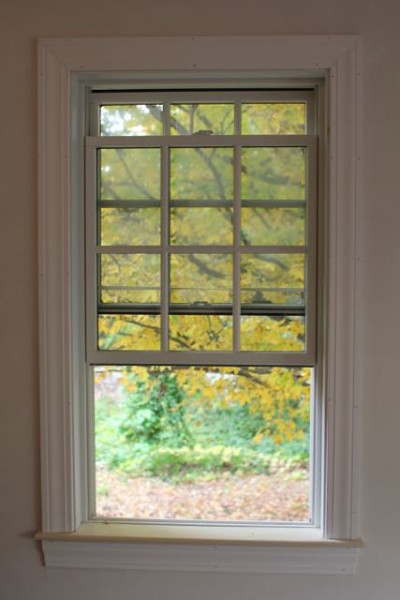
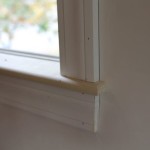
Finished look
How to Install a Window Sill
People do not often think about window sills but they are an integral part of interior time and window trim. A well-executed window sill installation can create a finished, classy look.
A window sill is made up of two parts, the shelf is the base or bottom of the wind w and the apron. Or “stool” is the decorative window trim underneath the shelf.
Whether you are changing out trim, remodeling or simply adding windowsills to plastered openings, the result can create a customized, finished look.

Finished look
Steps on How to Install an Interior Window Sill
- Mark 3/16” or a ¼” reveal mark on your window jambs.
- Hold a scrap piece of your window trim casing against each window side, and at your reveal mark.
- Mark a reference line on the wall, on each side of the window.
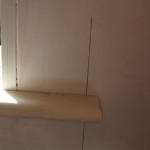
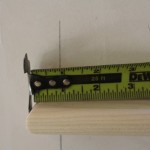
- Determine your window sill “horn” overhang. I typically use ¾” for an overhang.
- Measure the distance between the two wall marks, then add 1-1/2 inches to factor in your ¾” overhang on each side. This measurement is your window sill length.
- Cut the window sill stool to length.
- If desired, use a router to create a ½ round over on the front edge and sides
- Sand out the router bit mill marks
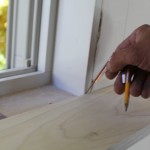
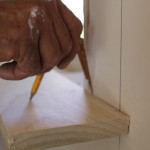
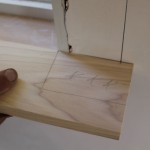
- Hold the window sill against the window and on your layout lines. Use a compass scribe to mark where it meets the window sash and wall. Use a combination or speed squared to complete your lines. I often put an “X” in the areas I will be cutting out, as a reminder.
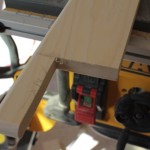
- Trim the stool along the scribed lines using a jigsaw.
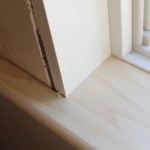
- Set the stool in place, and make necessary adjustments to get the window sill tight to the window and flanking walls.
- Attach the stool to the windowsill using 6d or 8d finishing nails.
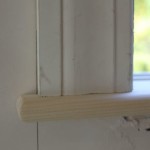
- Install the side window trim
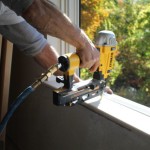
- Nail window trim casings to the window’s side jambs using 6d finishing nails. Nail up through the window sill and into the vertical casing for a tight joint.
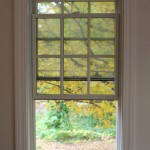
-
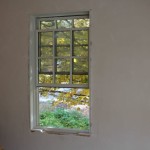
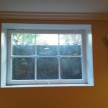
- Bare window
-
- Trim mark on wall
-
- Jamb Reveal
-
- Window sill overhang
-

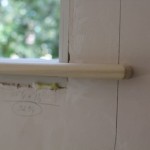
- Rough window sill board
-
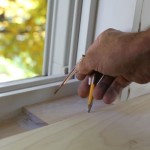
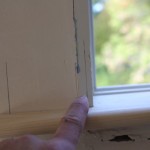
- Compass scribes – gap
-
- Marking gap
-
- Marking gap
-
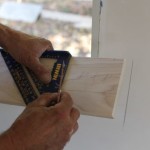
- Laying out wall cut out
-
- Wall cut out
-
- Dry fit
-
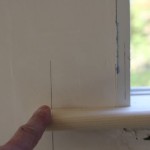
- Fit at wall
-
- Verticalk trim joint
-
- Fastening
-
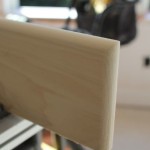
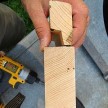
- Rounted profile
-

- Routing edge
-

- Routing edge
-

- Sanding mill marks
-

- Cutting out scribe marks
-

- Jigsaw cuts
-
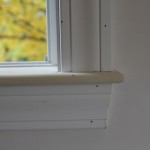
- Overhang
-
- Cut out – wall
-
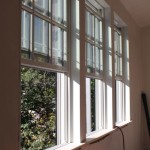
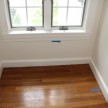
- 3-window siill
-
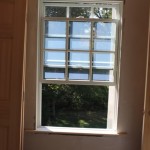
- 1- window sill
-
- Finished look
-
- Finished look
-
- Finished look
-

- Finished look
If you enjoyed this post, make sure you subscribe to my RSS feed!