How to Eliminate Squeaks In Hardwood Floors
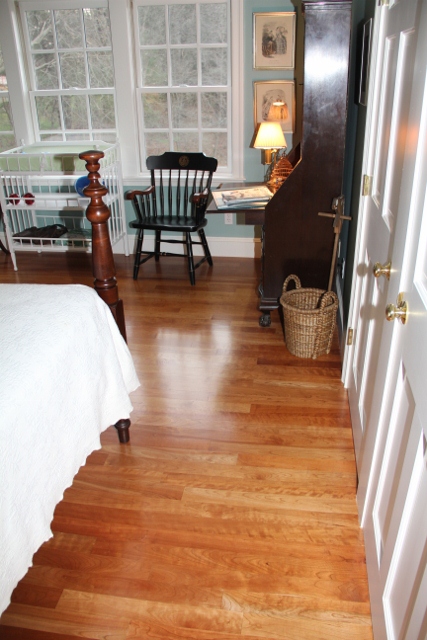 Floor Squeaks
Hi Rob Thanks for all the great info in your column, website and newsletters. I would appreciate advice on how to eliminate squeaks in hardwood floors.
Our fairly standard oak floors seem to get more squeaky spots with time. Is there a way to fix them – do we nail or screw down those spots? Thanks, Marla
Hi Marla,
I has a similar problem many years ago and I installed new slats coupled with mid-span supports. I used cut off 4×4 and installed them in the middle of the slats to support the mid-span. Worked like a charm
I personally enjoy my 1863 floor squeaks as it alerts me when my teenagers are home!! My guess is that your floor is nailed through the tongue [hidden fastener] and either the nails are loosening up, were too short or the sub-floor below is loose.
I’d hate to see you install face nails or fasteners in a finished oak floor, these repairs are BEST done from below, unless you have carpet.
 What Causes Squeaks
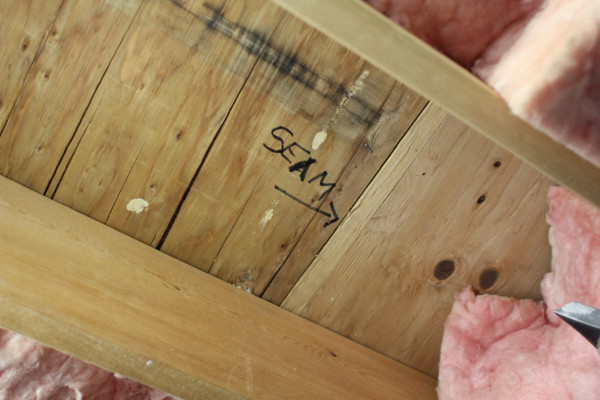
Squeaks are often caused by movement and rubbing of in wood seams such as sub-flooring sheets or boards, friction in tongue and groove or ship-lap flooring.
If you can stop the movement and you stop squeak, but that is easier said than done. If the floor joists below are exposed you can inspect the areas that seem to squeak the worst first. I wish I knew what type of sub-floor you have because it would dictate my approach.
 Plywood Sub-floor:
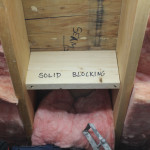
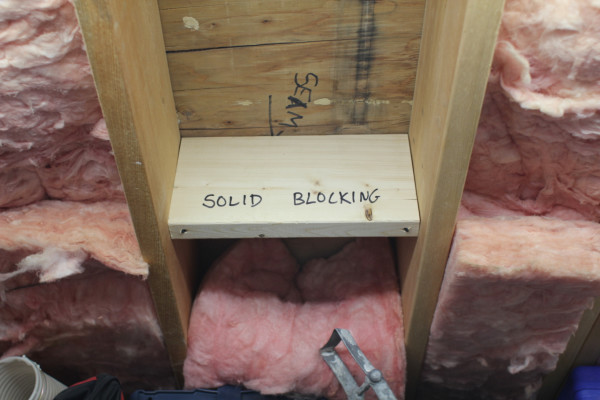
If you have a plywood floor, squeaks over a joist are best silenced from top fasteners, although a repair from underneath the floor is cosmetically more appealing. Squeaks between the joists in the plywood seams are best silenced by installing blocking under the seam, and fastened to the two floor joists.
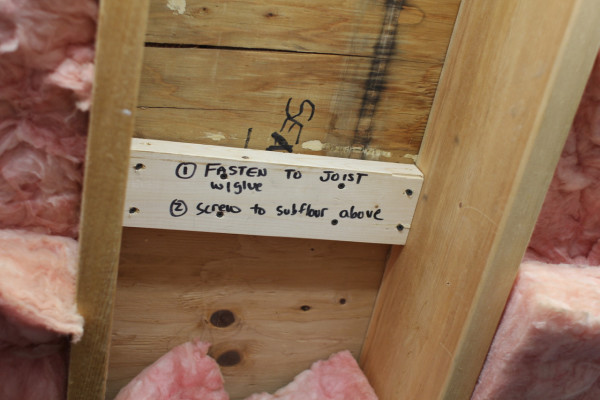
In this case I would install a liberal amount of construction adhesive to the top edge of my blocking and ensure a snug fit up against the sub-floor when securing the two adjacent joists. Screw the block to the joist first, then install a screw through the block and into floor – to pull it down. Have someone stand on the area while doing this to apply downward pressure.
 Wood Strip Sub-Flooring:
Blocking works well here too. Installing a screw on an angle through the joist and into the floor. Try to get some construction adhesive along the joist on both sides of the squeak while the floor is raised, to allow some adhesive to enter the crack between floor and joist. Again, have someone stand over the area for downward pressure.
Be careful not to use too long a screw or penetrate too far so your screw penetrates through the floor above. That is a rookie mistake and we’ll have you sit in the truck for the rest of the work day! I’d be lying if I told you I didn’t learn that the hard way! J
Commercially Sold Metal Brackets:
There are also metal brackets sold commercially that reduce or eliminate squeaks. I’ve never used them but they do appear to require minimal skill to install.
They usually consist of some sort of metal angled base used in conjunction with screws to pull the floor in tightly against the joist.
If you choose this route I would still deploy construction adhesive at the floor and joist junction.
Fasteners from Top Down:
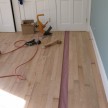
This would be my last resort approach, and is BEST done before you refinish your floors. You can install trim screws in inconspicuous areas, but the squeaks always seem to be on the path most traveled! Alternatively, you can install these screw with wood plugs, and then refinish the floor.
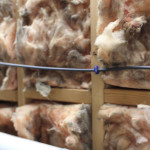
- 1×8 sub-floor boards
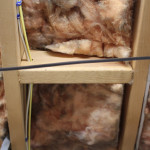
- Midspan criss bracing
- Midspan solid blocking
- solid blocking
- Glue block pulls floor to block
- Solid blocking


