How To Eliminate Paint Brush Stokes

Eliminating Paint Brush Strokes
My painting contractor always told me to have that a paint project was 805 prep and 20% paint. Even with the prep being the lion’s share of a paint project, there is still some skill required to get the paint to “lay down.” Laying down means without brush strokes or “rope marks,” as we affectionately call them in the trades.
Proper Preparation
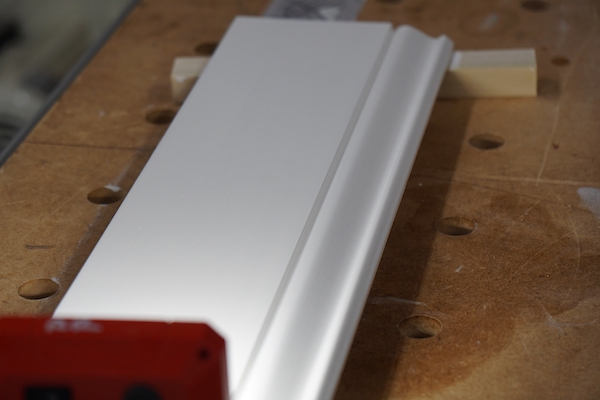
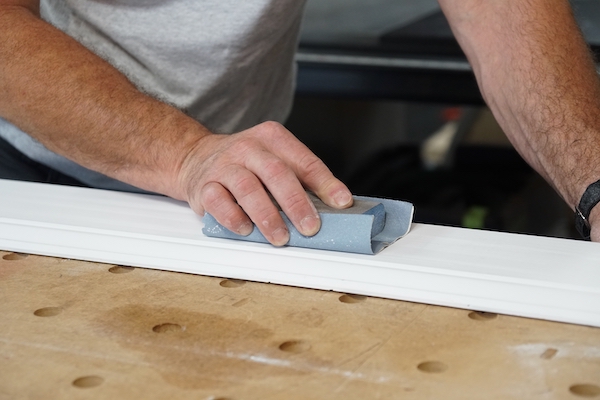
Proper preparation should end with a surface that is smooth and clean. If you are repainting trim that has brush marks already, you’ll need to sand out those brush marks completely smooth and flat prior to dipping your paintbrush.
Prepping starts with using the highest grit sandpaper that will produce efficient results. Work your way down to more aggressive sandpaper grits, only if needed. I start with 220 grit and work down through 180, 150, 100 grits, as needed. The goal here is to sand the surface smooth and flat. I sand the entire surface which ensures the best mechanical bond for the paint to adhere to.
Note – Any painted trim prior to 1978, the test should be tested for lead paint. Read and follow the Federal guidelines for lead paint. Protect Your Family from Lead in Your Home (PDF).
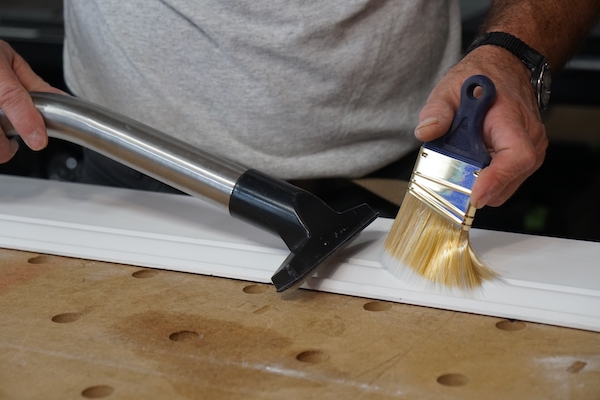
Once you finish sanding I vacuum up the dust with a HEPA vacuum. If you’re painting trim with routed profiles, using a chip brush to help remove the dust and get it into the vacuum is helpful.
It’s important properly control air dust, vacuum the entire area, control humidity, eliminate airborne dust, and ensure that your painted surface is free of dust.
Preparing Your Paint
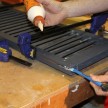
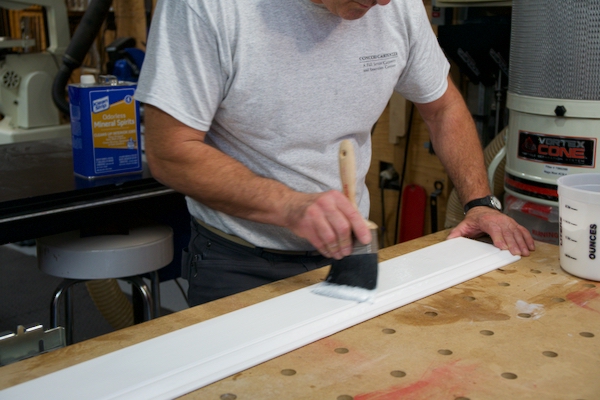
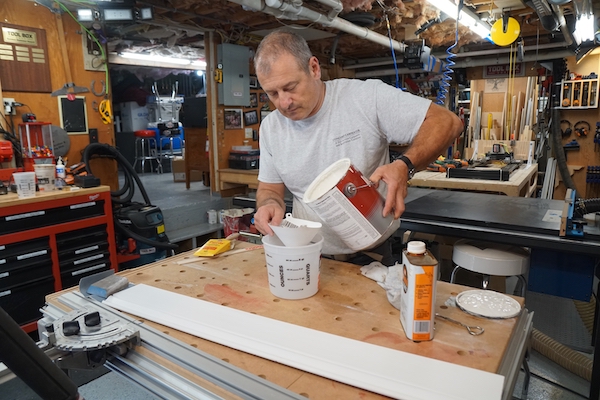
The best way to get oil-based paint to “lay down” is to pour the paint into a working bucket and thin the paint 5% with paint thinner and Penetrol.
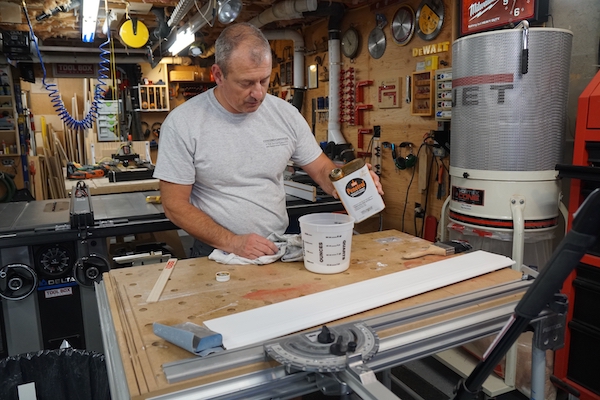
Penetrol is an oil-based additive that helps improve paint adhesion and flow in oil-based paints, primers, and varnish. Once you thin your paint, thoroughly stir the paint until you reach the proper viscosity. To know when it’s ready I allow the paint to drip off the stirrer into the bucket. When the paint hits the surface and disappears, smoothly back [levels out] into the paint you’ve reached the proper viscosity and you’re ready to apply paint.
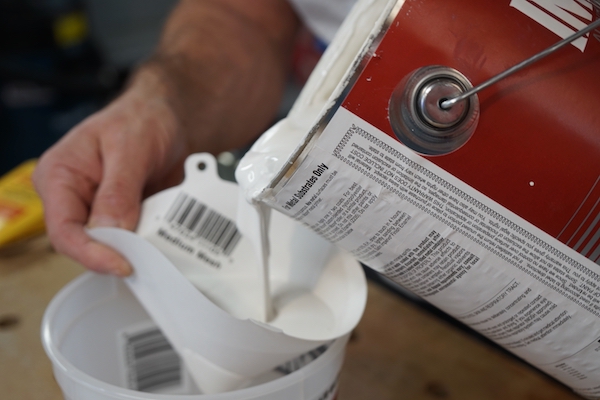
Note – if you are reusing paint from a used can, make sure to stain/filter it prior to use.

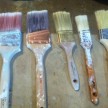
The Right Brush
Using the right brush is important. Purchase a high-quality brush. A high-quality brush is designed to hold more paint and apply it more evenly, which will help you reach your goal of a glass-like finish.
I like Wooster and Purdy brand brushes and look for a brush with natural bristles made with animal hair.
Applying the Paint
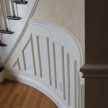
Apply paint to ¼ to 1/3rd of the brush bristles and apply paint to the surface, ensuring complete paint coverage. Working the paint into the surface with back-and-forth strokes until it “feels even.”
Once the board is completely covered in paint, use the tip of the bristles apply a gentle “tip-stroke,” from one end of the board to the opposite end – using one continuous stroke [End-to-End] if possible. You will receive better results if you tip in the same direction. Once you’ve done this leave that area alone and don’t go back over any paint that is tacking or drying.
If multiple coats are needed, sand the trim lightly [220 grit] between coats. Following this process will ensure that your paint project will be free of brushstrokes.