Prepping New and Old Walls for Paint

How To Paint New Plaster and Old Painted Walls In Same Room
Many folks think that prepping new and old walls for paint is the same process, it’s not!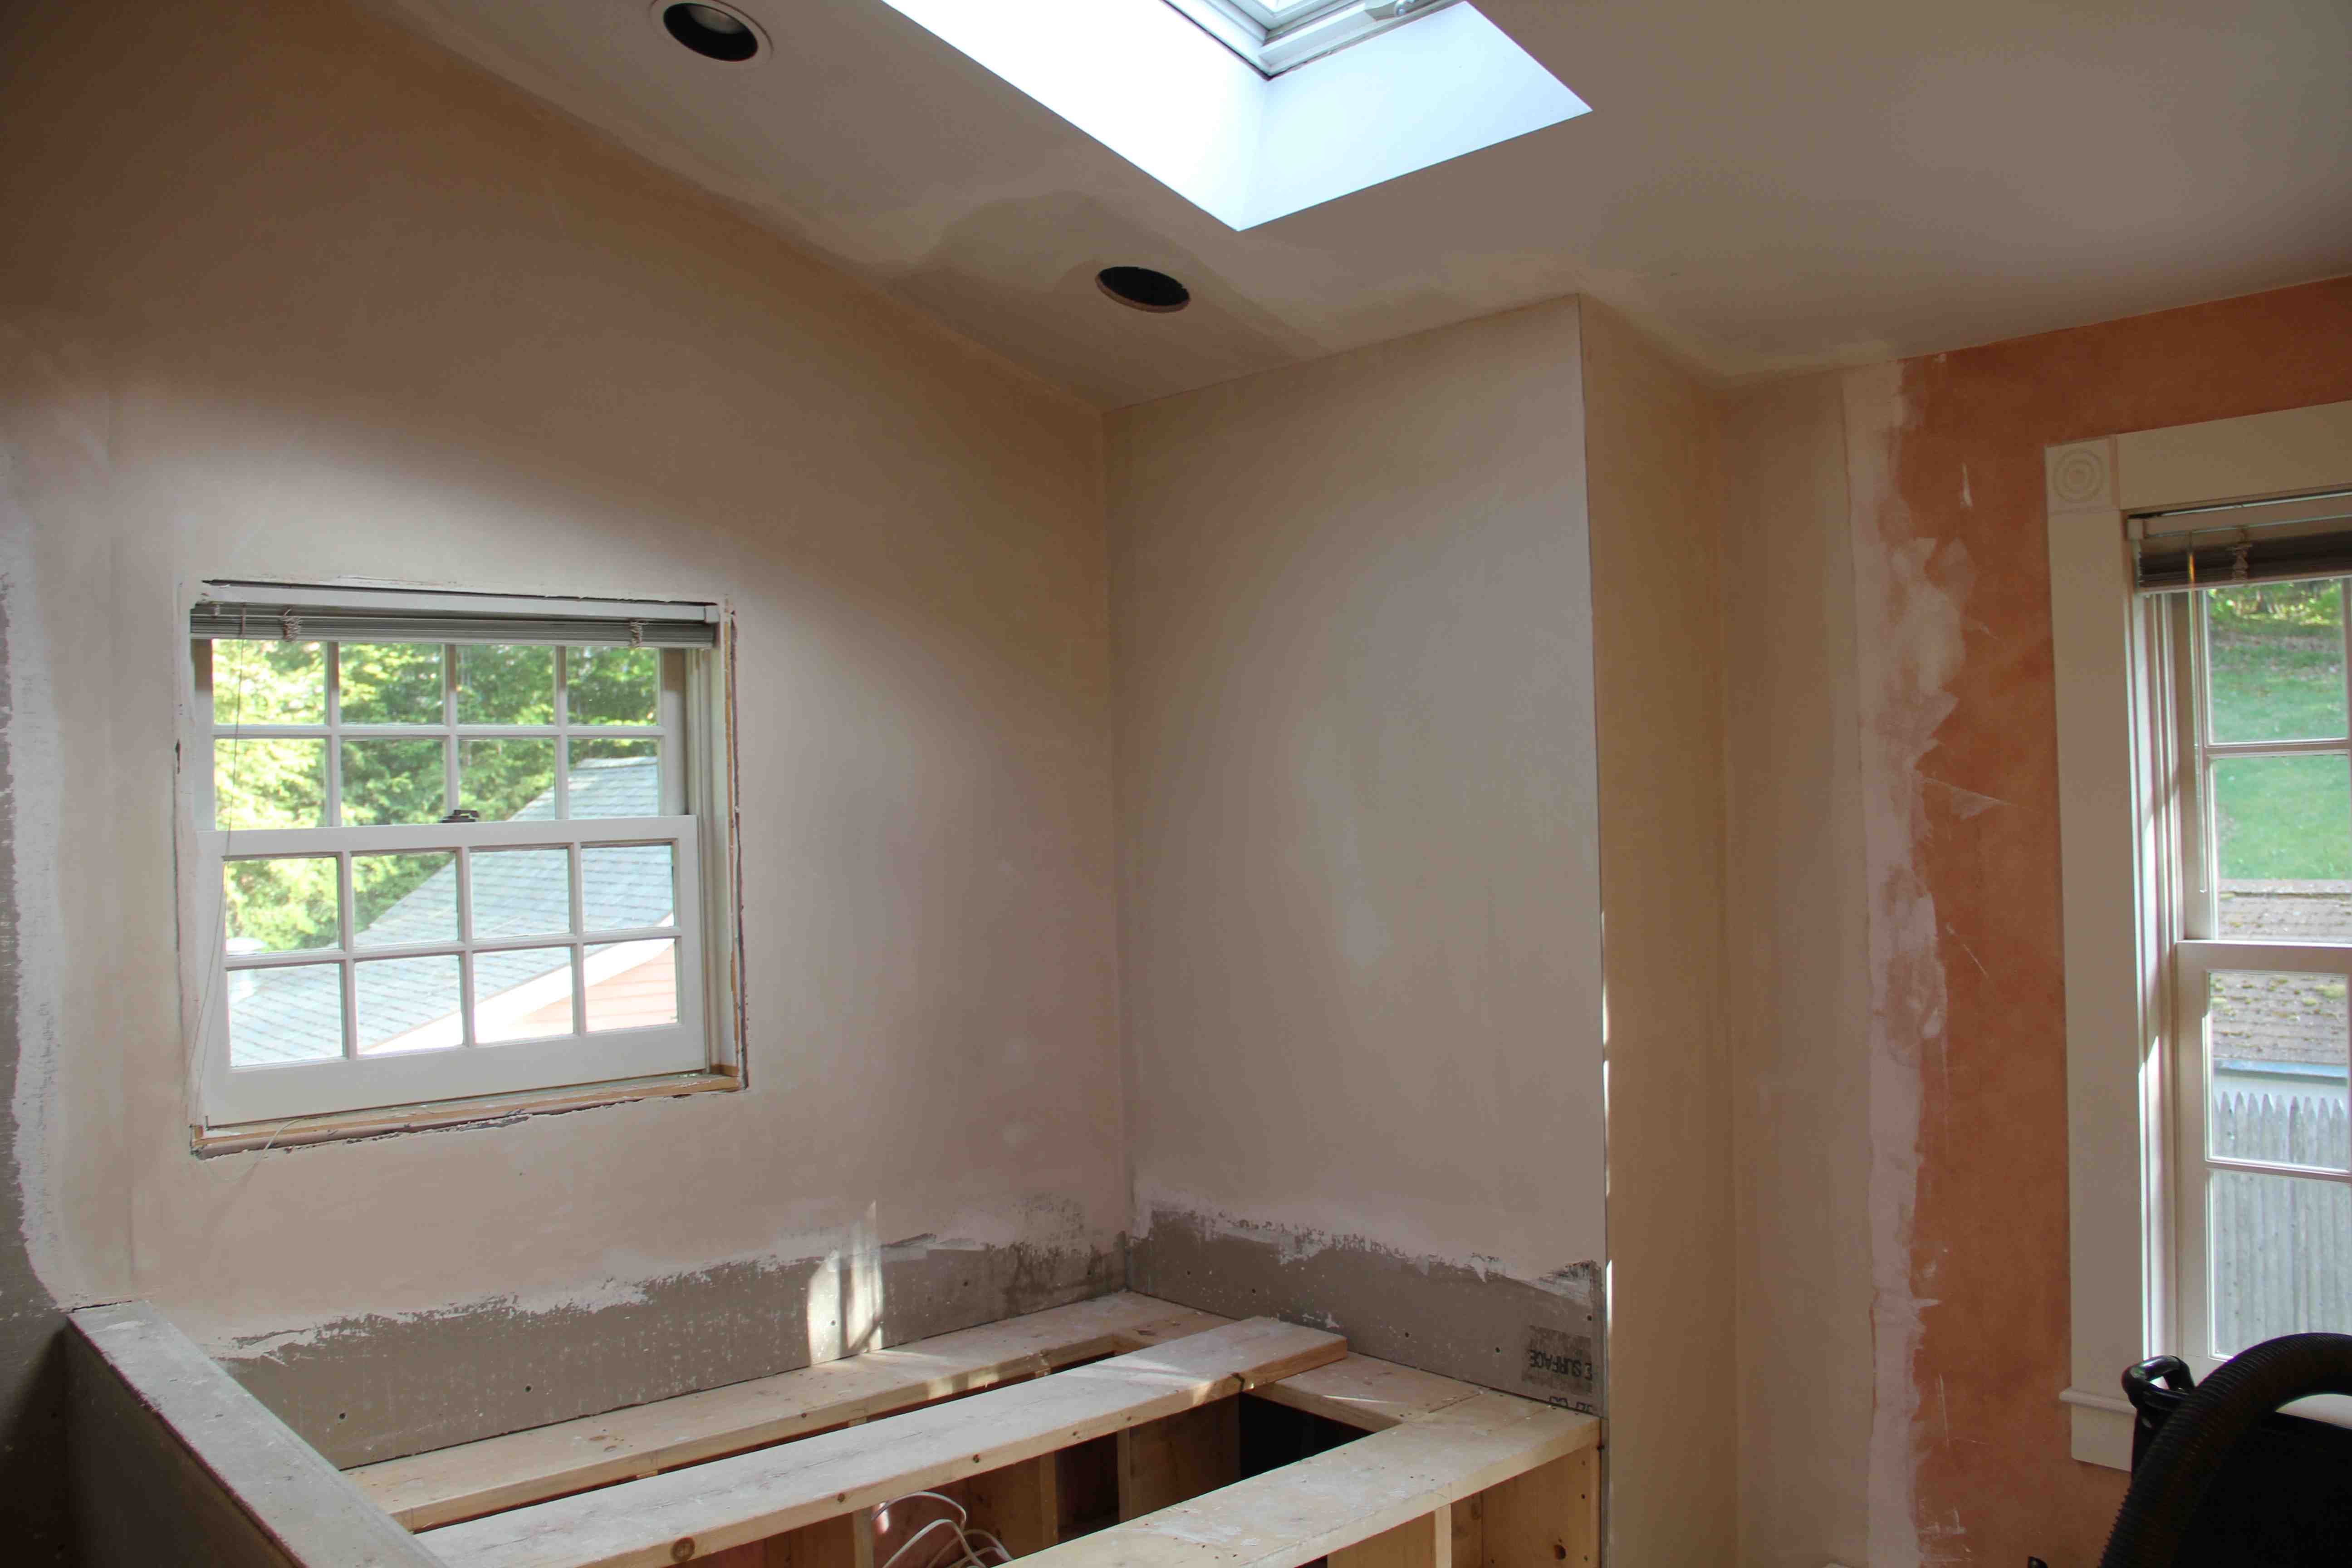
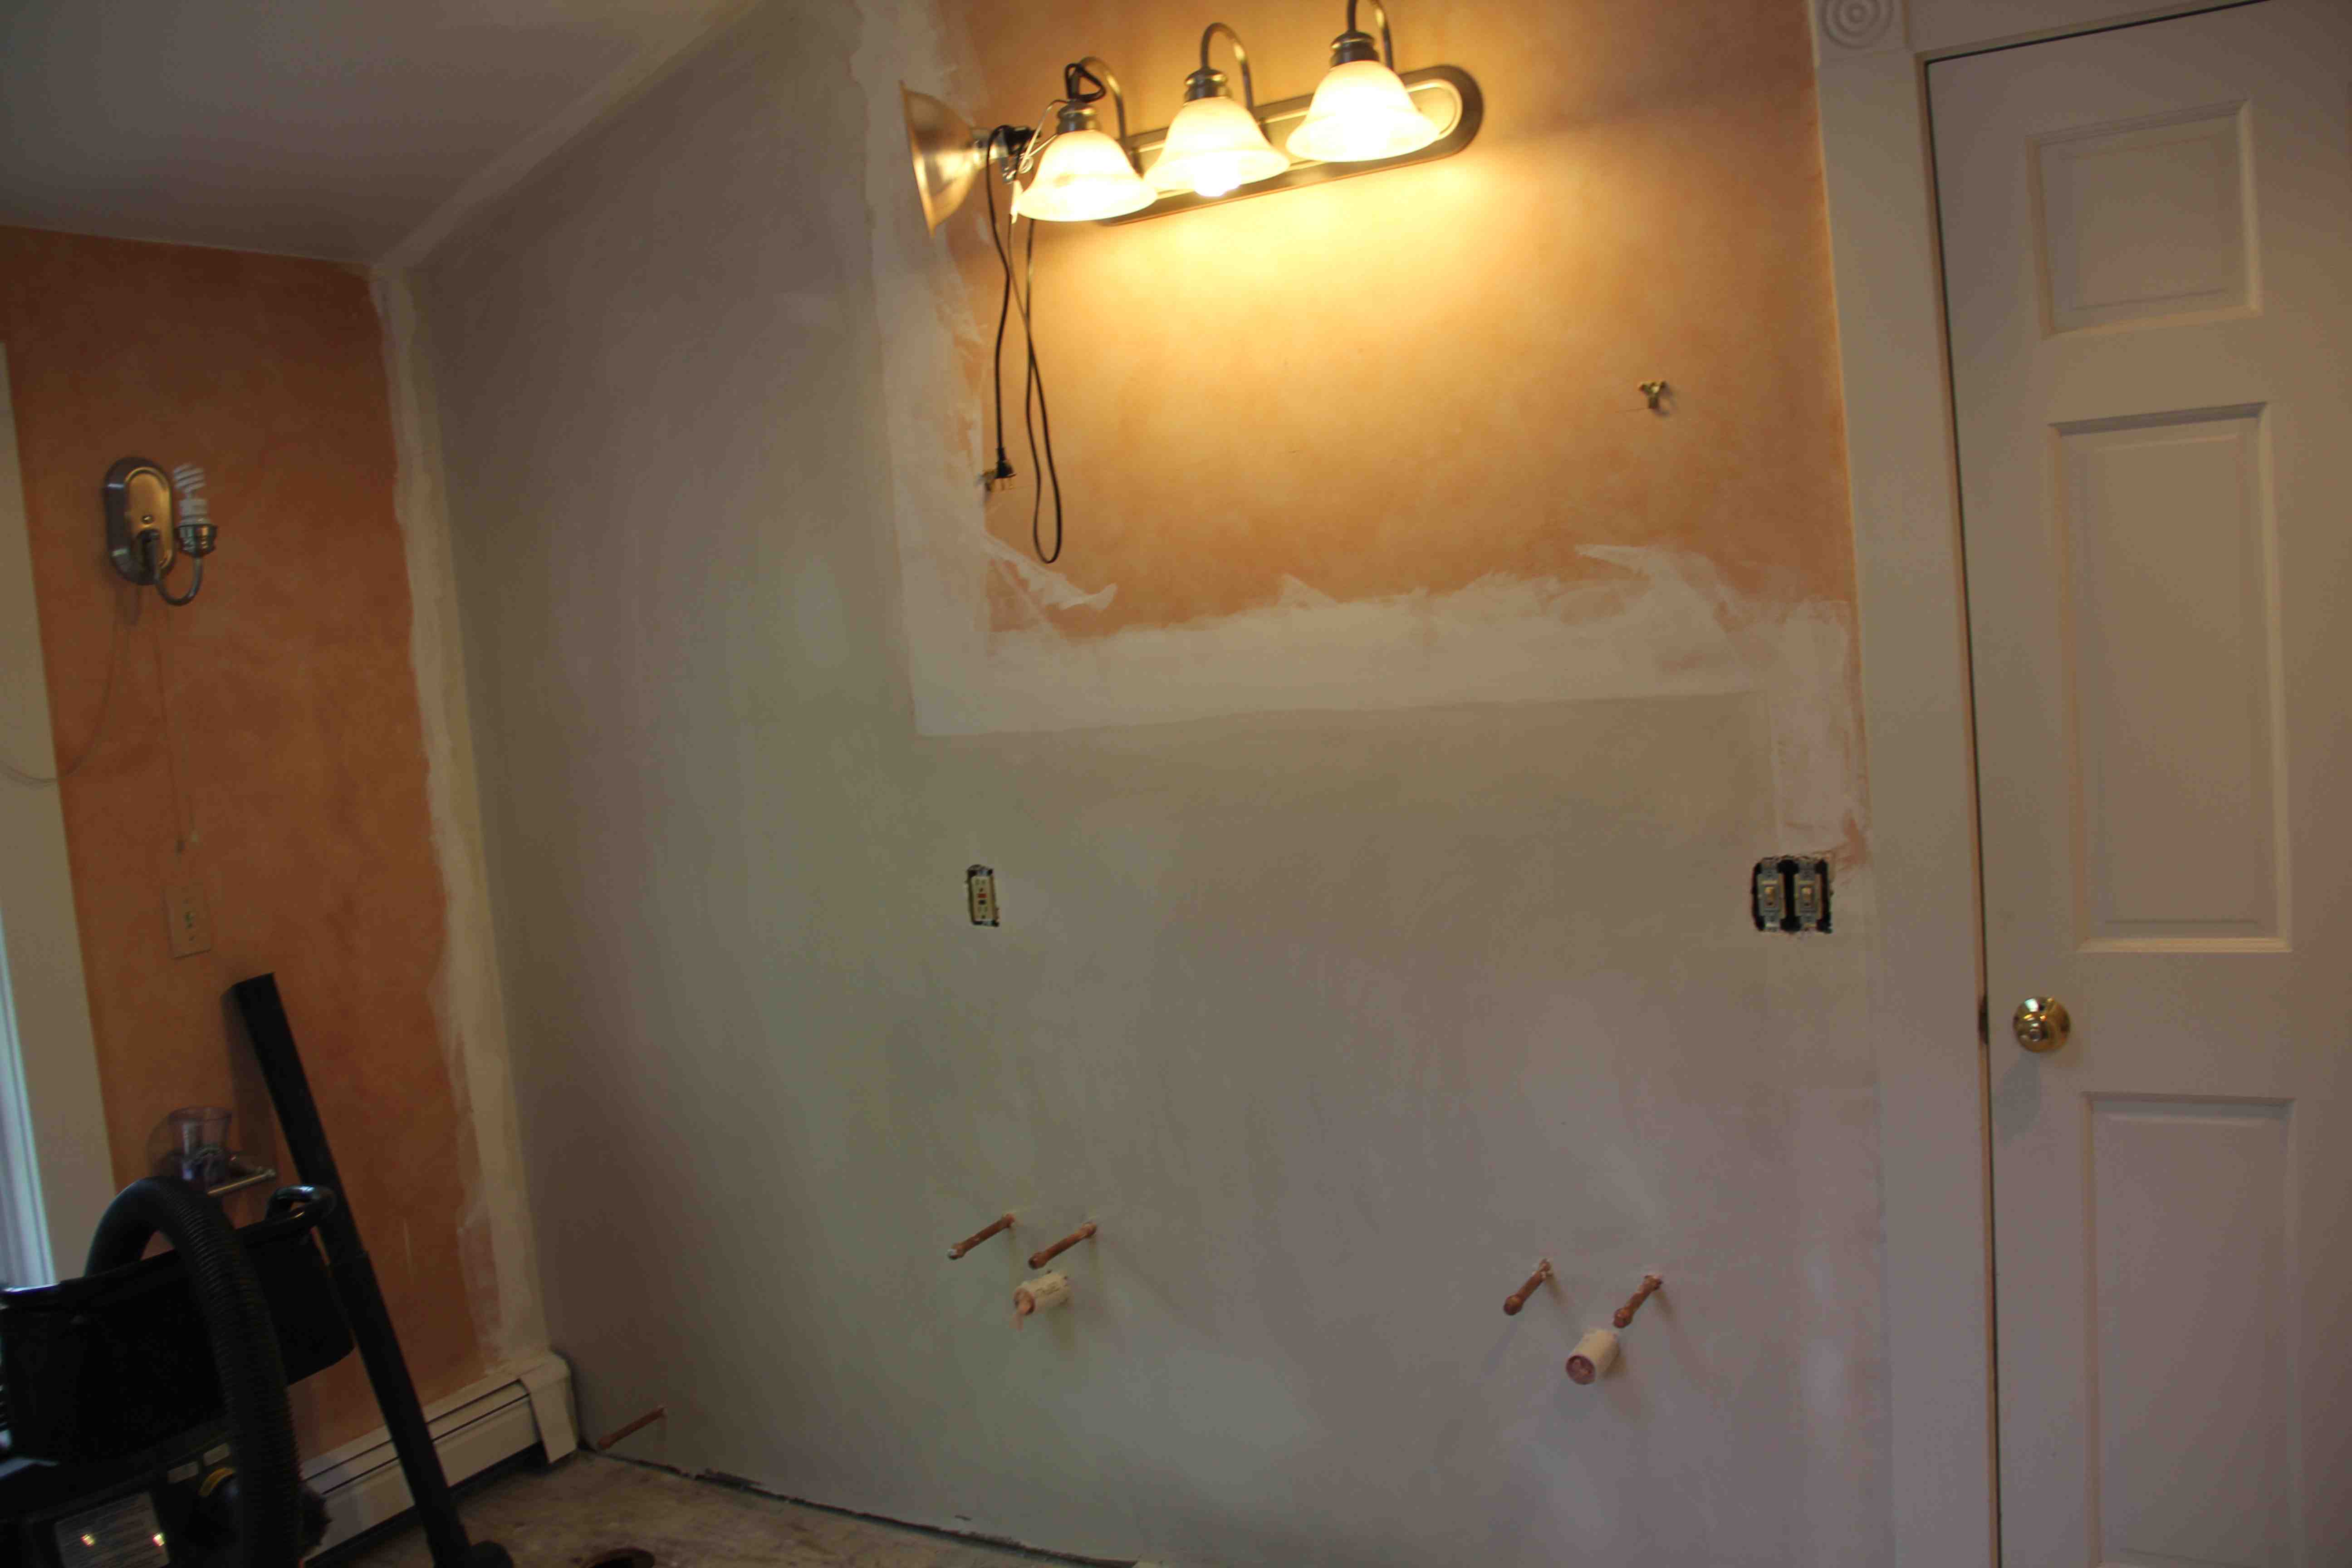
New plaster or drywall should not be treated the same as old walls. Often times during a remodel you will come across new walls butting into and blending with old painted walls. This article will prepare you properly with the knowledge to be able to apply a proper and long lasting paint job to both surfaces.
Prepping Walls for Painting
- Before prepping a room for painting, protect the furniture and flooring from dust, and paint splatter. If possible it’s best to empty the room.
- Plan and have a dust control strategy in place. Follow Best Practices for job site dust control.
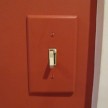
- Remove light fixtures and wall plates, store loose parts in a large freezer bag

- Cover the outlets and switches with blue tape
- Sand all new plaster
- Wash all old painted walls or better yet, lightly sand them with 150 grit sandpaper
- Feather sand all new to old wall seams
- Dust and clean all of the the walls. For most surfaces, use a damp sponge, towel or a vacuum cleaner.
- If painting a bathroom or kitchen, wash the walls with a solution of approximately three teaspoons of trisodium phosphate [TSP] or laundry detergent to one gallon of water.
- Scrape any cracked or flaking paint with a paint scraper. For other small imperfections on the wall such as plaster bumps, smooth them away with sandpaper. An electric sander with a dust extraction vacuum attachment works extremely well and provide an almost dust free sanding environment by preventing airborne dust.
- Repair any large wall damage or holes.
- Prime the walls and allow to dry. Use a good oil-based primer for all wall surfaces especially if you have new plaster and old painted walls or if the old walls are stained from water or smoke damage.
- After priming go back and fill any small wall imperfections with wall patch or drywall compound.
Preparing Walls For Paint Video:
Materials Needed:
- Sand paper – 150 grit
- Oil primer
- paint-can opener
- stir sticks
- roller and covers
- extension pole for the roller
- paintbrushes (one for latex paint and one for oil-based paint),
- paint tray
- gloves
- drop cloth
- Painters tape
- Slotted and Phillip screw driver to remove light fixtures and wall plates.
Priming Procedure:
- Start in the corners of the wall and up near the ceiling, “cut in” the paint with an angle brush at all wall edges and around all trim and and light and electrical receptacles.
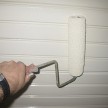
- When priming with a paint roller try to work in 3 by 3 areas at a time.
- Start in a corner and roll the primer in a “W” pattern to start and to evenly apply paint, then fill in the rest of the area without lifting the roller off the wall to avoid seams in the paint.
- Apply one coat primer and two top coats.
- Tip – if painting the walls a different color have the paint store tint your primer for better color coverage.
If you enjoyed this post, make sure you subscribe to my RSS feed!