How To Paint Bead Board
Painting Bead Board
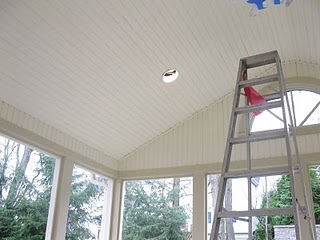
A wood bead board ceiling or wall, provides a classic texture and depth. Bead board is commonly used as wainscoting, wall or porch ceilings, back splash, or around kitchen islands.
Tips on how to paint bead board:
Step 1 – Wash area thoroughly.
Step 2: Sand if Necessary, fill holes and defects.
Step 3 – Remove Sanding Dust
Before priming and/or painting can be down, wipe down the entire area with a tack cloth to remove the fine sanding dust.
Step 4 – Prime if Necessary
If installing new bead board prime both front and back sided of the bead board this helps to protect against short-term moisture damage from the primer and long-term moisture damage from the walls. Priming the back side of bead board is especially helpful if it is being placed in bathrooms or in a home surrounded by a humid, moist climate.
Step 5: Caulk after priming.
Step 6 – Paint Bead board
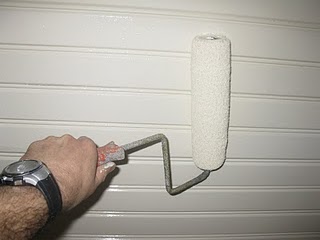
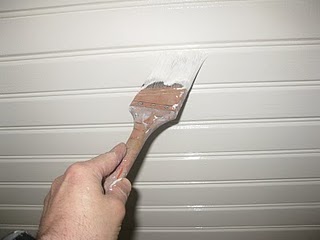
Painting bead board with a paint sprayer will save you time. But if your like me and do not have a sprayer the next best thing is using a 3/8″; nap roller and back brushing.
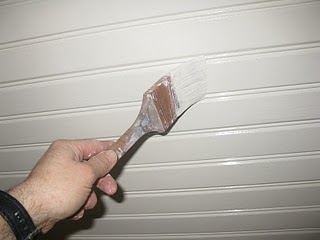
The roller is your paint delivery system and the brush gets into the groves and provides the final finish brush stroke.
Paint bead board in small sections. [I work left to right and paint approx. 4-6 boards at a time.]


