Delta 18 Inch Drill Press 18-900L
Setting Up The Delta 18-Inch Drill Press, Model 18-900L
The folks at Delta recently shipped out their new 18″ Delta 18-900L drill press with lasers to evaluate.
The Delta 18-900 laser, drill press has a slew of very cool features, such as, sixteen speeds for drilling a variety woods, plastics, and metals. A rack-and-pinion table allows for a smooth raising and lowering of the work table and a cool task light and alignment laser help aligning and drilling tasks easier.
This drill came in a heavy carton on a pallet and was super heavy. I needed to carry it into my shop in pieces. Once I had it in the shop I had the drill together in one hour. Here’s how went:
Unpacking and Cleaning:
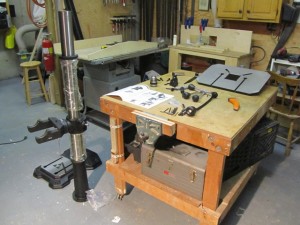
1. The first thing I did was lay everything out on my shop floor an work bench to make sure all of the necessary parts were present.
2. Remove the protective plastic from the machined metal 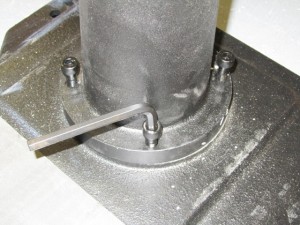 surfaces. to remove the rust preventative oil from the metal I used paint thinner [mineral spirits]. It wipes off easily.
Assembly:
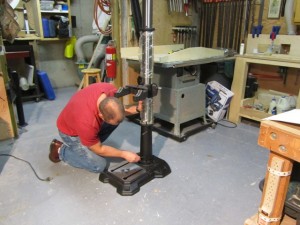
1. Attach the column to the base. I suggest you insert all three socket head cap screws in and leave them loose until all three are inserted and aligned, then tighten them. this large Non-Tip Base increases stability.
Delta provides the needed hex wrenches to attach the needed bolts.
2. Attach the table. I was pleased to see that Delta provided an over-sized work table.
The table has built in screws that insert into the columns table mounting bracket. Oversize knobs make this connection tight but allow for adjustment.
3. Assemble the table raising and lowering handle.
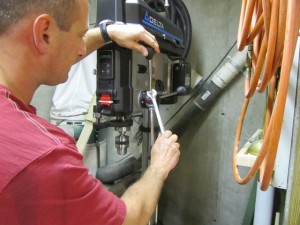
4. The next step really should be done with two people. Being stubborn and wanting to get the 18-900L assembled I decided to do it myself. I tightened the press work table and placed the heavy drill press head onto it.
I then set up a study 3×3 cube to stand on and give me leverage to lift the head into place. I was able to lift and use my knee to get the head aligned with the column post. Once in place align the head, base and table and then secure and lock into place with hex nuts.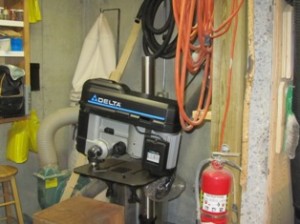
This heavy-Duty 3/4HP Motor provides ample power for demanding drilling applications
Installing the chuck:
1. Check to make sure the tapered hole at the bottom of the spindle is free from rust preventative oil or debris.
2. Clean the spindle adapter and chuck.
3. Push the spindle adapter into the the spindle making sure the tang engages it’s mating slot.
4. Rotate the chuck until the jaws are fully retracted. holding the chuck on the spindle use a rubber hammer to tap the chuck in place.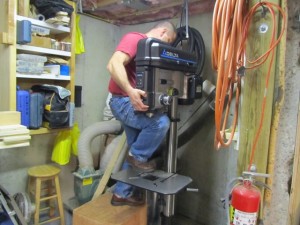
Assemble the handles and accessories:
1. Assemble the 3 handles and use a wrench to secure tight.
2. Install the light.
3. Attache the belt tension lever handle.
Check belt adjustment and tension and follow manufacturers directions to adjust if necessary.
Auto-Tensioning Belt Drive System allows for fast and easy speed changes while maximizing transmission efficiency with consistent belt tension and motor alignment.
4. Using a level, check and adjust the table tilt pointer so that it reads zero and level. The over sized table with bevels 0°-90° left and right, tilts forward 0°-48 °, features T-slots for clamping, and a removable center insert for through-table drilling
5. Plug the 18-900L drill press in and turn it on. Test the light, laser, depth of stop, table tile and drill some test holes.
The 18-900L has all of the necessary controls and adjustments in front of the machines face. This prevents you from reaching past the dril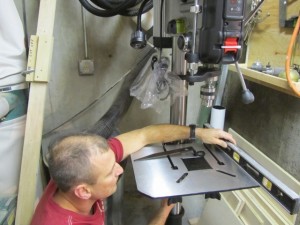 l bit to turn any of them on or off, possibly getting clothing caught or hurt by the drill.
Adjusting the spindle return spring:
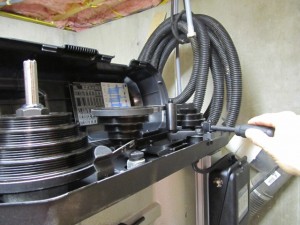
1. After testing the 18-900L Delta drill press I noticed that my spindle did not return fast enough for me.
2. I unplugged the tool, removed the black plastic cover and slightly loosened the spindle spring nut until the spindle returned smoother, quicker and easier – according to my preference. [turn counter-clockwise to increase and clock-wise to decrease]
Check laser adjustment:
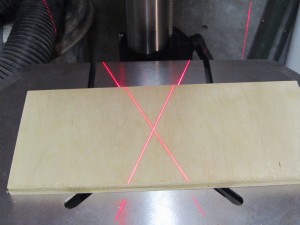
The laser was set at the factory and did not need adjustment. There is a method to adjust the laser in the manufacturers manual.
Protect the metal surfaces:
1. To prevent my tools from rusting in my shop I always have a dehumidifier running. I also coat all of the unpainted surfaces with good quality auto wax. [California Mother’s 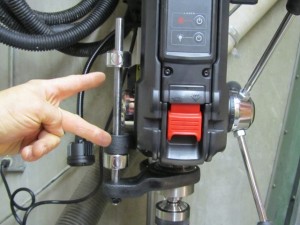 was]
was]


