Acute Angle Jig To Cut Extreme Angles

How To Make An Acute Angle Jig For You Miter Saw
There are many times that I find I need cut trim or molding at an angle greater than my miter saw was designed for. Most miter saws cut to 45 degrees or slightly larger, usually 50 degrees. this is where an acute angle jig saves the day.
Some Examples are rake board trim where molding dies into a Greek Revival Cornice return or base cap transitions at a staircase.
So here’s the scenario – what if you need to cut 55 degrees or greater angle? Your miter saw may go to 60-degrees but if you need to cut beyond what your saw is capable of, you’ll need an acute angle jig.
Acute Angle Jig Accessory Fence
One example where it paid off to use this jig. I was on a project where I needed to install trim on trapezoid style windows and built-ins. This meant that the trim angles were going to be larger than my miter saw was able to cut. We made the jig onsite and were trimming windows within 20 minutes.

How To Make An Accessory Fence
The goal here is to make an auxiliary fence jig that can be clamped or screwed to your miter saw fence. I’ve made several of these jigs over the years and have learned that each miter saw has different dimensions, and quirks, so you’ll have to make yours fit your saw. When doing this try to think about how you will clamp the jig to the saw, and material to the jig.
I pretty much use two versions. One is for thinner, smaller moldings like casing, base cap, and band moldings and the other is for larger moldings and crown molding. I’ll show you both.
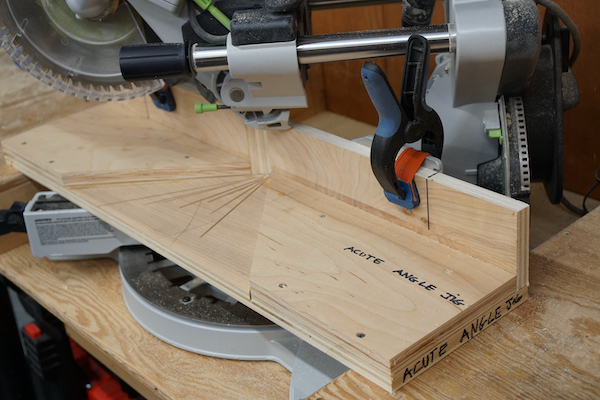
The first jig is one that spans both sides of the saw blade. It allows you to change the blade left and right without moving the acute angle jig.
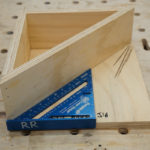
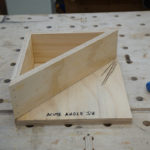
Acute Angle Jig Base and Fence
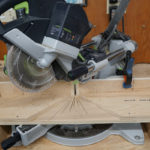
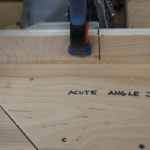
I used scrap Birch plywood for my jig. I like using plywood because of its stable and durable. Holding the base plate on the saw, adjust the saw blade depth to cut approximately ½” into the jig base. If you forget to do this you’ll cut through your fence – you don’t want to do that.
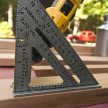
Note – I initially started off with a larger 9-3/4” deep base which I liked because it allowed me to clamp-on really sharp angle cuts. Unfortunately, I was unable to see the miter scale so I ripped 2” off the base. Later I added angle marks to the edge of the jig. In hindsight I had, I thought of this earlier, I could have left the larger base.
Determine Height of the Fence
I initially made my jig fence the same height as the 4-1/4” extension wings but quickly learned that the saw head hit the fence, so I cut ½” off the fence for clearance. The fence and base plate were assembled with glue and screws.
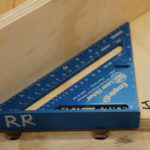
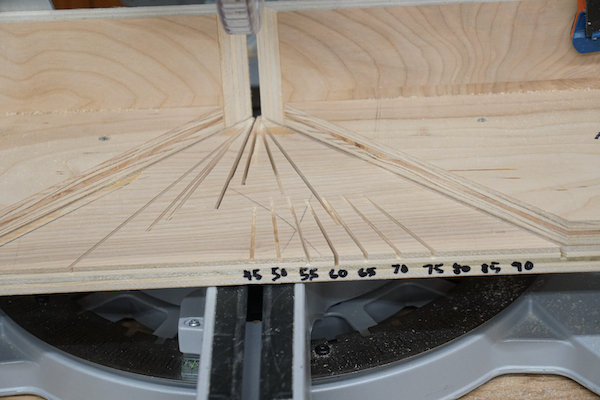
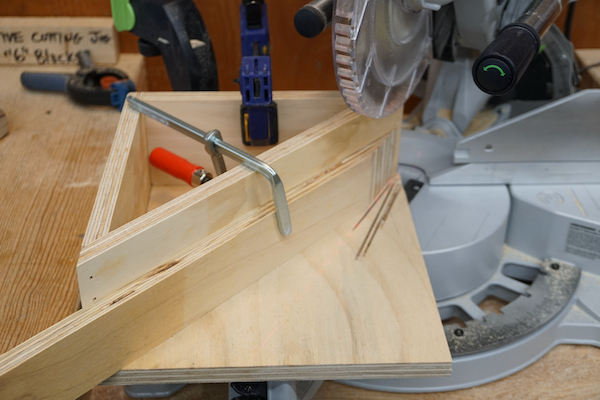
Add the Angle Guides
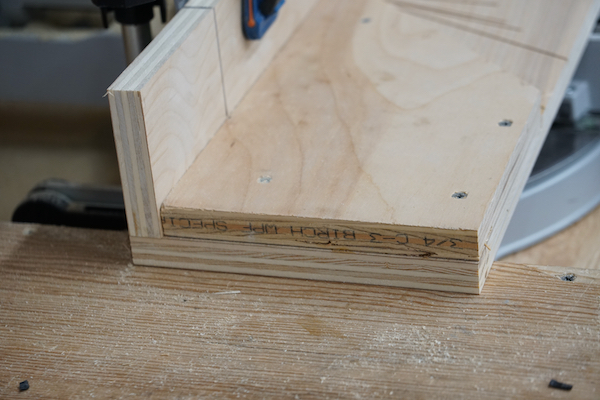
I added a second layer of ¾ plywood to the jig base. I made reference marks for setting the fence in the saw and then clamped it in place. Here’s where you can geek out on this jig If you make your fence longer than your aluminum saw fence you can screw tabs on the backside to index on the saw fence.
You also can use thicker wood, to get you a deeper, larger angle guide.
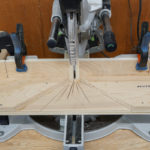
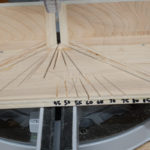
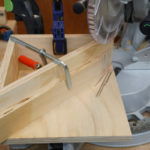
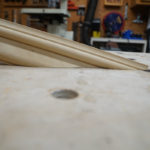
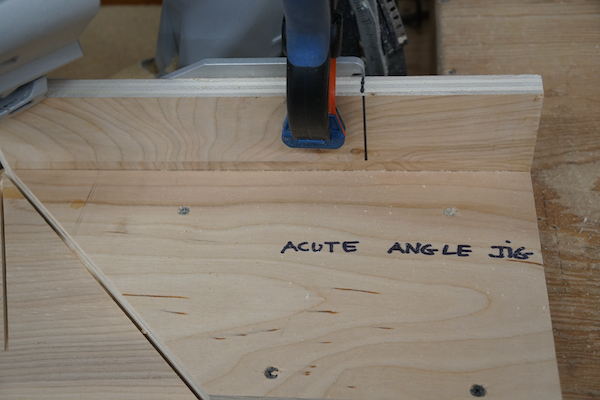
With the fence clamped to the saw, mark the maximum cuts of the blade in each direction. This will help you avoid installing glue or screws when you later cut out the angle guide from the jig base.
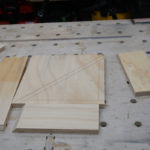
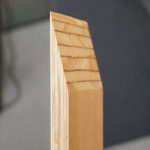
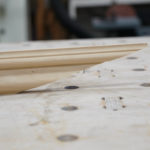
Cut Out the Angle Guides
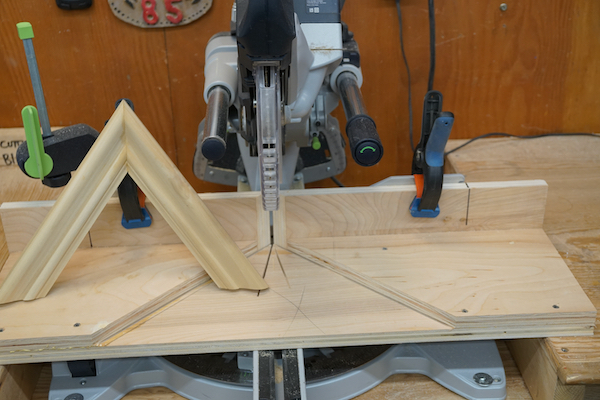
Set the saw to 45-degrees in both directions and cut and remove the angle guide from the jig base. The result is a 90-degree, ¾” deep wedge. These are your new acute angle guide fences.
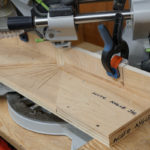
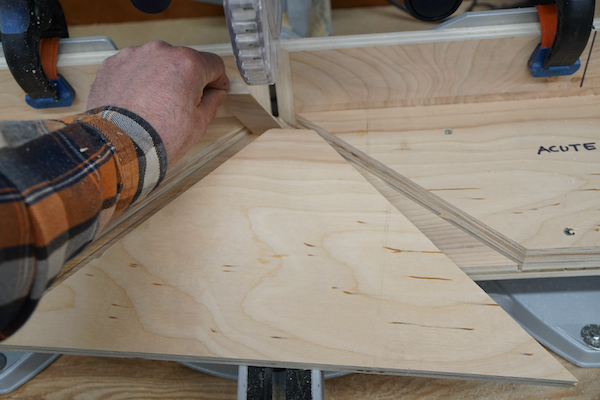
Using the Acute Angle Jig
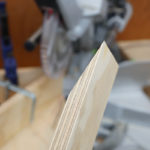
Align a piece of trim in the wedge and back it off the rear of the fence slightly, to avoid catching the cutoff during the cut. Clamp the piece your cutting to the jig for safety. When cutting allow the saw blade to come to a stop before lifting the saw head.
Pro Tip:
When cutting super sharp angles like 75-degrees, depending on the width of the molding, there may not be room for a clamp. In these situations, I put a brad nail or two into the molding to hold it in place. Don’t ever try to freehand the cut!
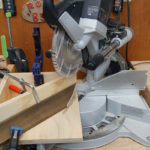
Cutting Angles Greater Than 45-Degrees
Ok, this can get a bit confusing. When the saw blade is set at its normal zero degrees position, the jig will cut a 45-degree angle. Set the saw to 5 degrees in either direction and it will produce a 50-degree angle cut. Set the saw 5 more degrees for a 55-degree angle, move it another 5-degrees and it will cut a 60-degree angle, and so on.
Acute Angle Jig Cut Scale
| Miter Scale | 0 | 5 | 10 | 15 | 20 | 22.5 | 25 | 30 | 35 | 40 | 45 |
| Angle Cut | 45 | 50 | 55 | 60 | 65 | 67.5 | 70 | 75 | 80 | 85 | 90 |
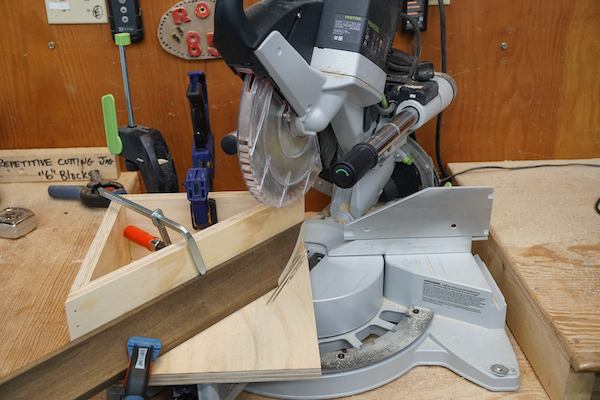
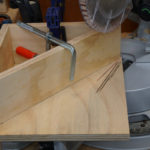
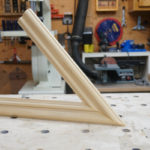
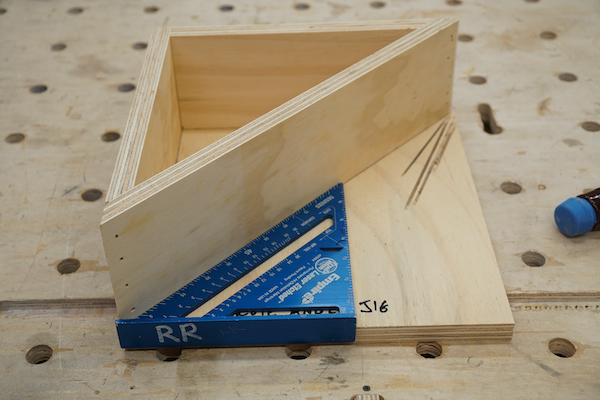
Crown and Larger Molding – Acute Angle Jig
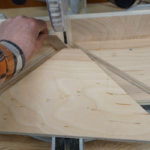
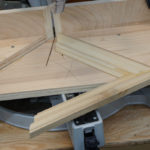
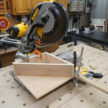
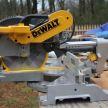
For larger moldings or crown I use an acute angle jig with a larger fence, allowing me to cut nested crown. This jig is set on one side of the saw but can be used on either side. The jig clamps to the miter saw fence, in line with the saw blade set at 90-degrees. For safety, I add a third clamp to hold the molding to the jig fence.

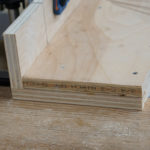
To make this jig I cut some scrap plywood 12” x 12” and installed a 45-degree fence with two supports. The end result is a triangle on a jig base, this design is durable and can get tossed around the shop or job trailer with little worry.
Note – After building this jig, I think the rear support fence could be lowered which would give more clearance for your hand and a clamp.
Sometimes the simplest jigs can be the most used and the handiest, and this acute angle jig for the miter saw might fit that bill.