Using Large Head Casing

Using Large Head Casing for Windows and Doors
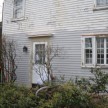
My wife decided to convert our parlor into an office. My job today was to remove the old Rosettes and top casings [photo below] on all the doorways and windows and to replace them with trim that matches the stain glass window [ two photos down]
The idea was to create an entablature detail that had a more period character and charm to the 1863 year old house. Finish trim can make a big impact in a room with a small time and money investment. It’s my hope that the shadow lines and depth of the newer head casing will make a big impact in this room.
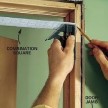
Creating and Installing the Head Casing Assembly:
Our head casing is made up of two parts: a 5/4×6 and a cap molding. Traditionally this cap molding is solid, so we chose and kept it that way.
I like using the 5/4 stock because it sits proud of the vertical casings and creates a detail and shadow line at that juncture – a real nice look.
Many times carpenters will substitute small crown molding instead of using a solid molding.
Procedure
- I removed all of the top casings and rosettes on all the doors and windows.
- I measured the length of the top head casing by measuring the width of the vertical casings.
- I added 1/2 inch to the length of my measurement to give the new head casing a 1/4 inch overhang on each side.
- After measuring and cutting my head casing I sanded the board and edges prior to adding molding.
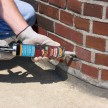
- I then added 1-1/4 inch band molding to the top edge and return mitered the sides. Use glue on the band molding and miters then a pin nailer or a brad nailer for attaching the returns.
- Once the glue joint was dried I sanded the miters and molding.
- The head casing was then installed with 2-1/2 nails. Primed and painted.


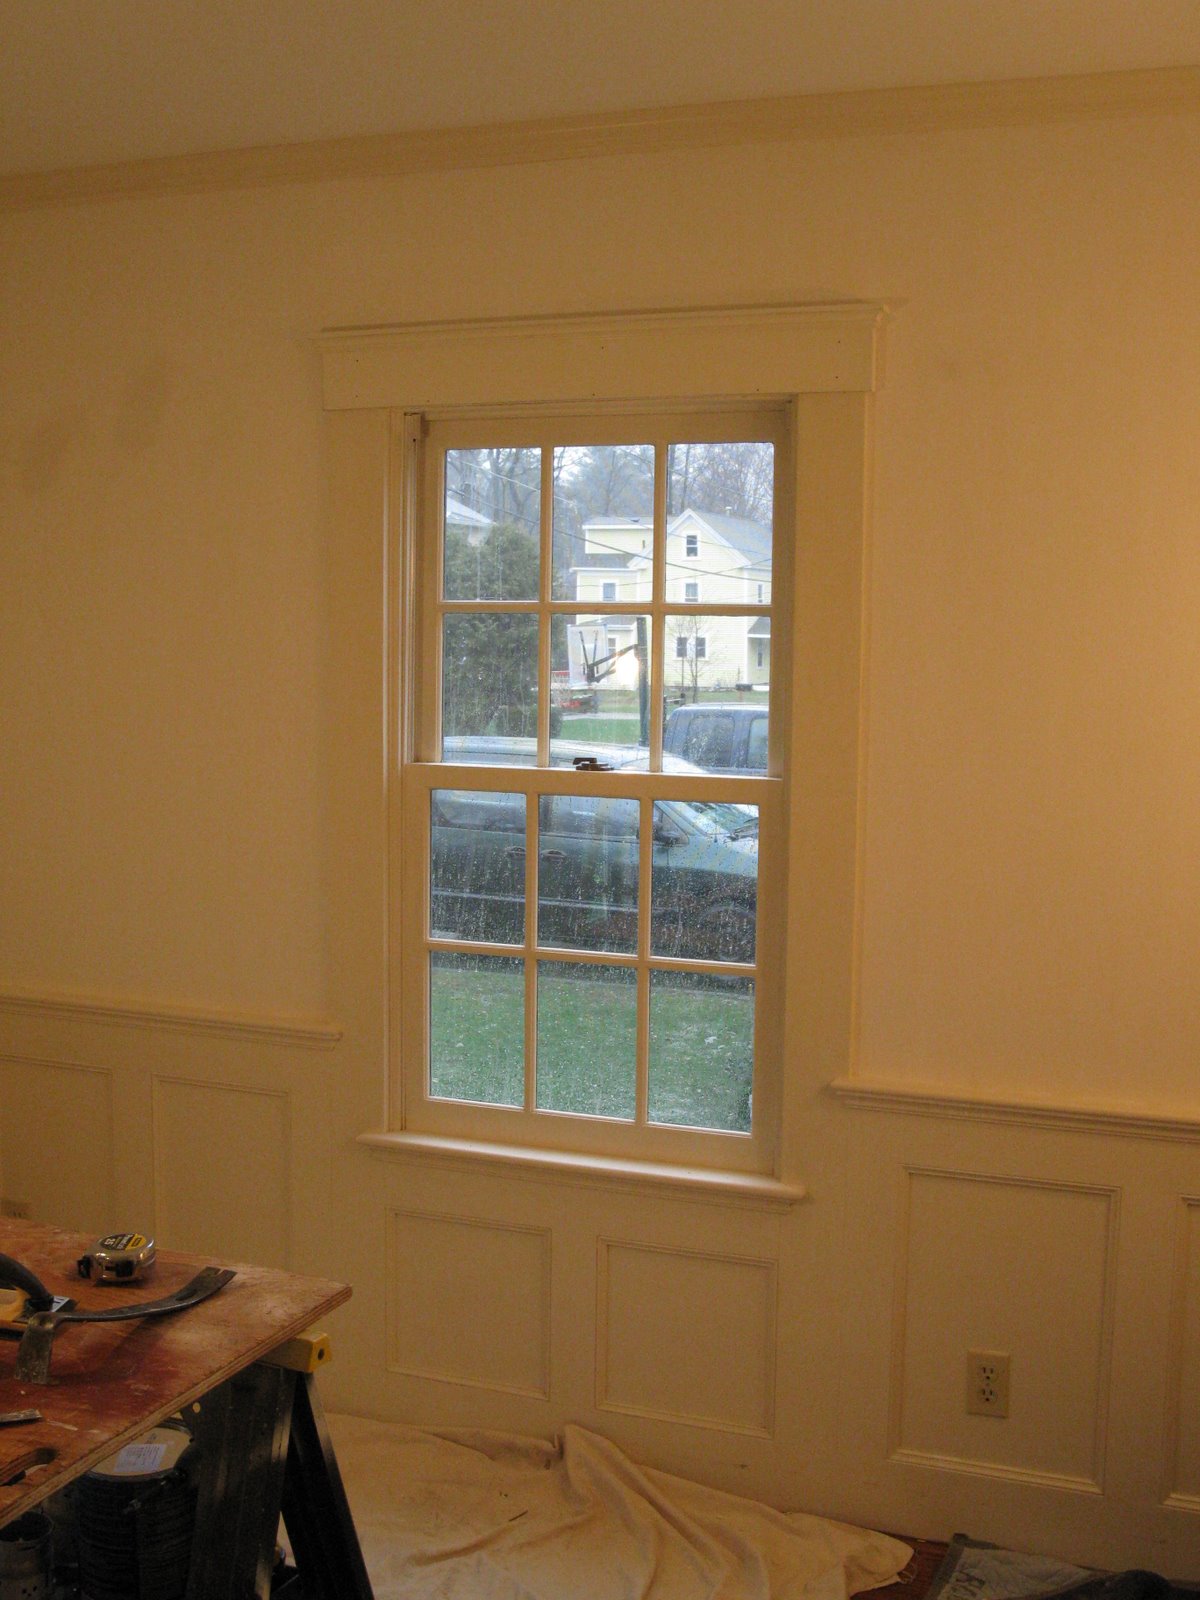
Stripped walls of wallpaper paste, prepped walls and tore off and replaced the top trim on the doors and windows….. ready for prime and paint!
Head casings primed and one top coat – applied in shop.
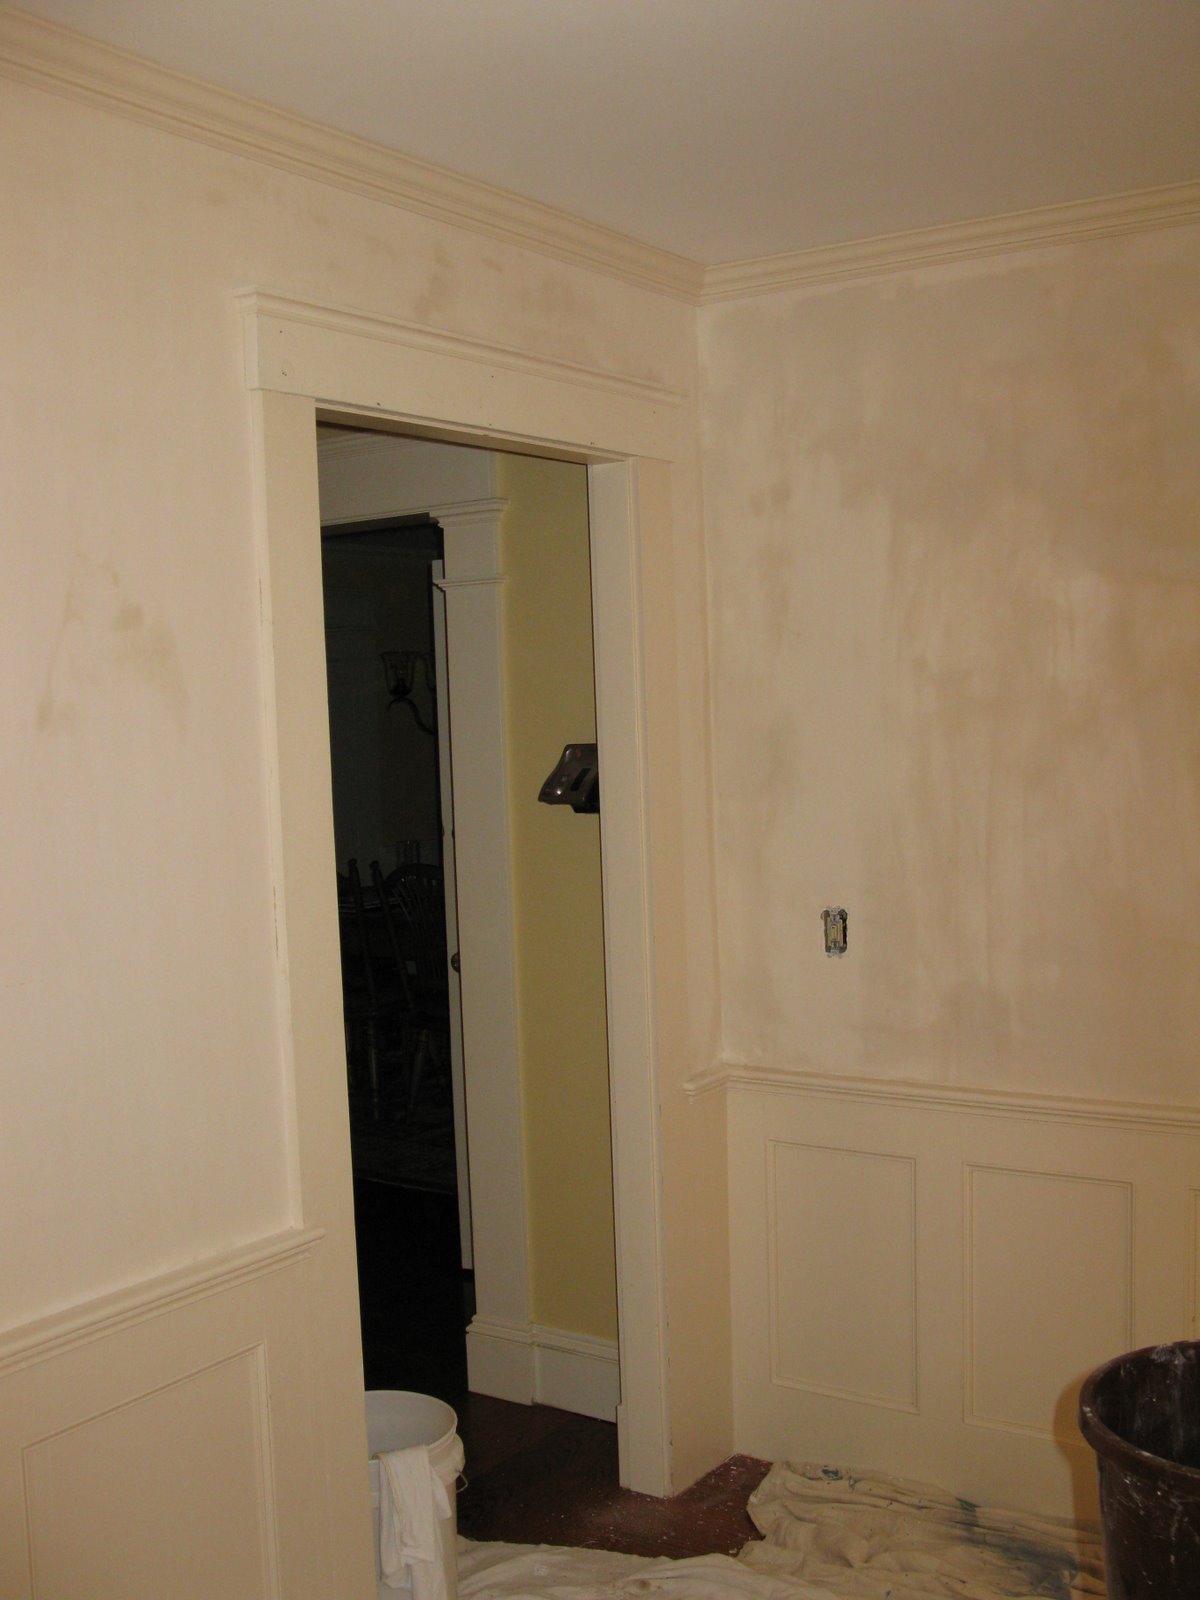
 Top casing and corner rosettes removed

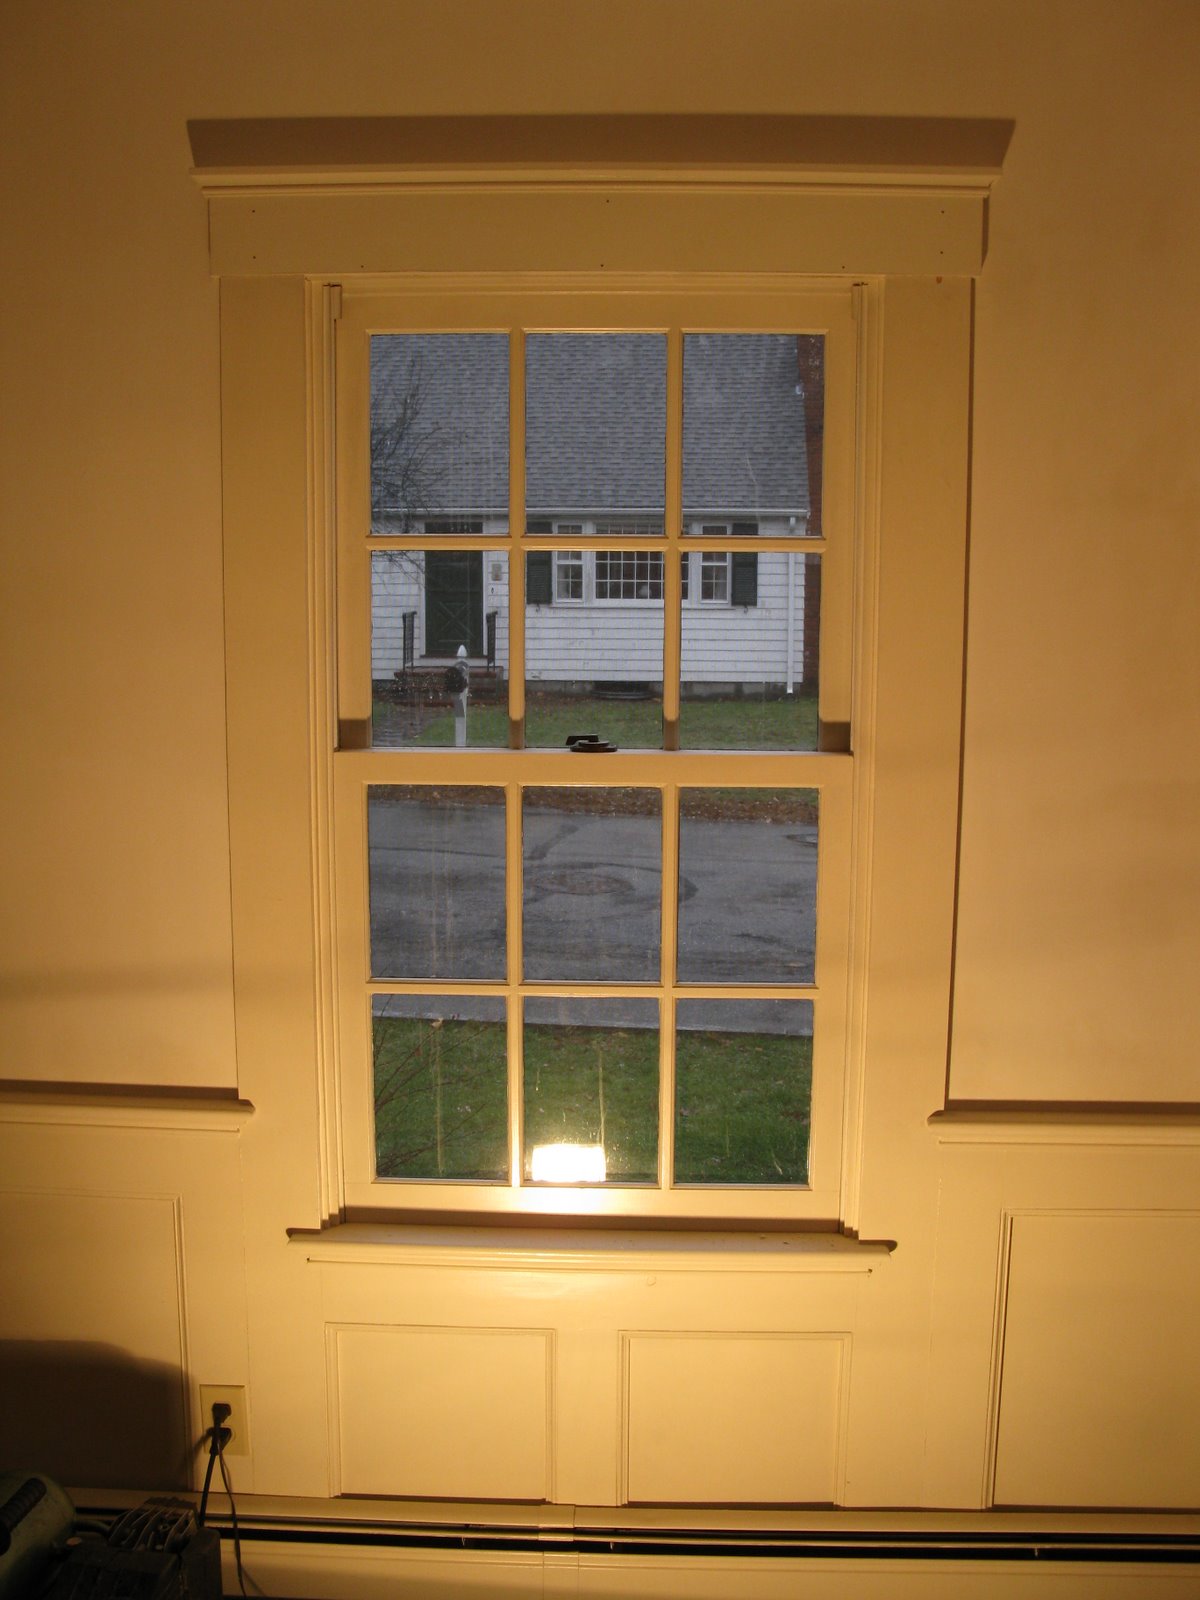
Head casing applied

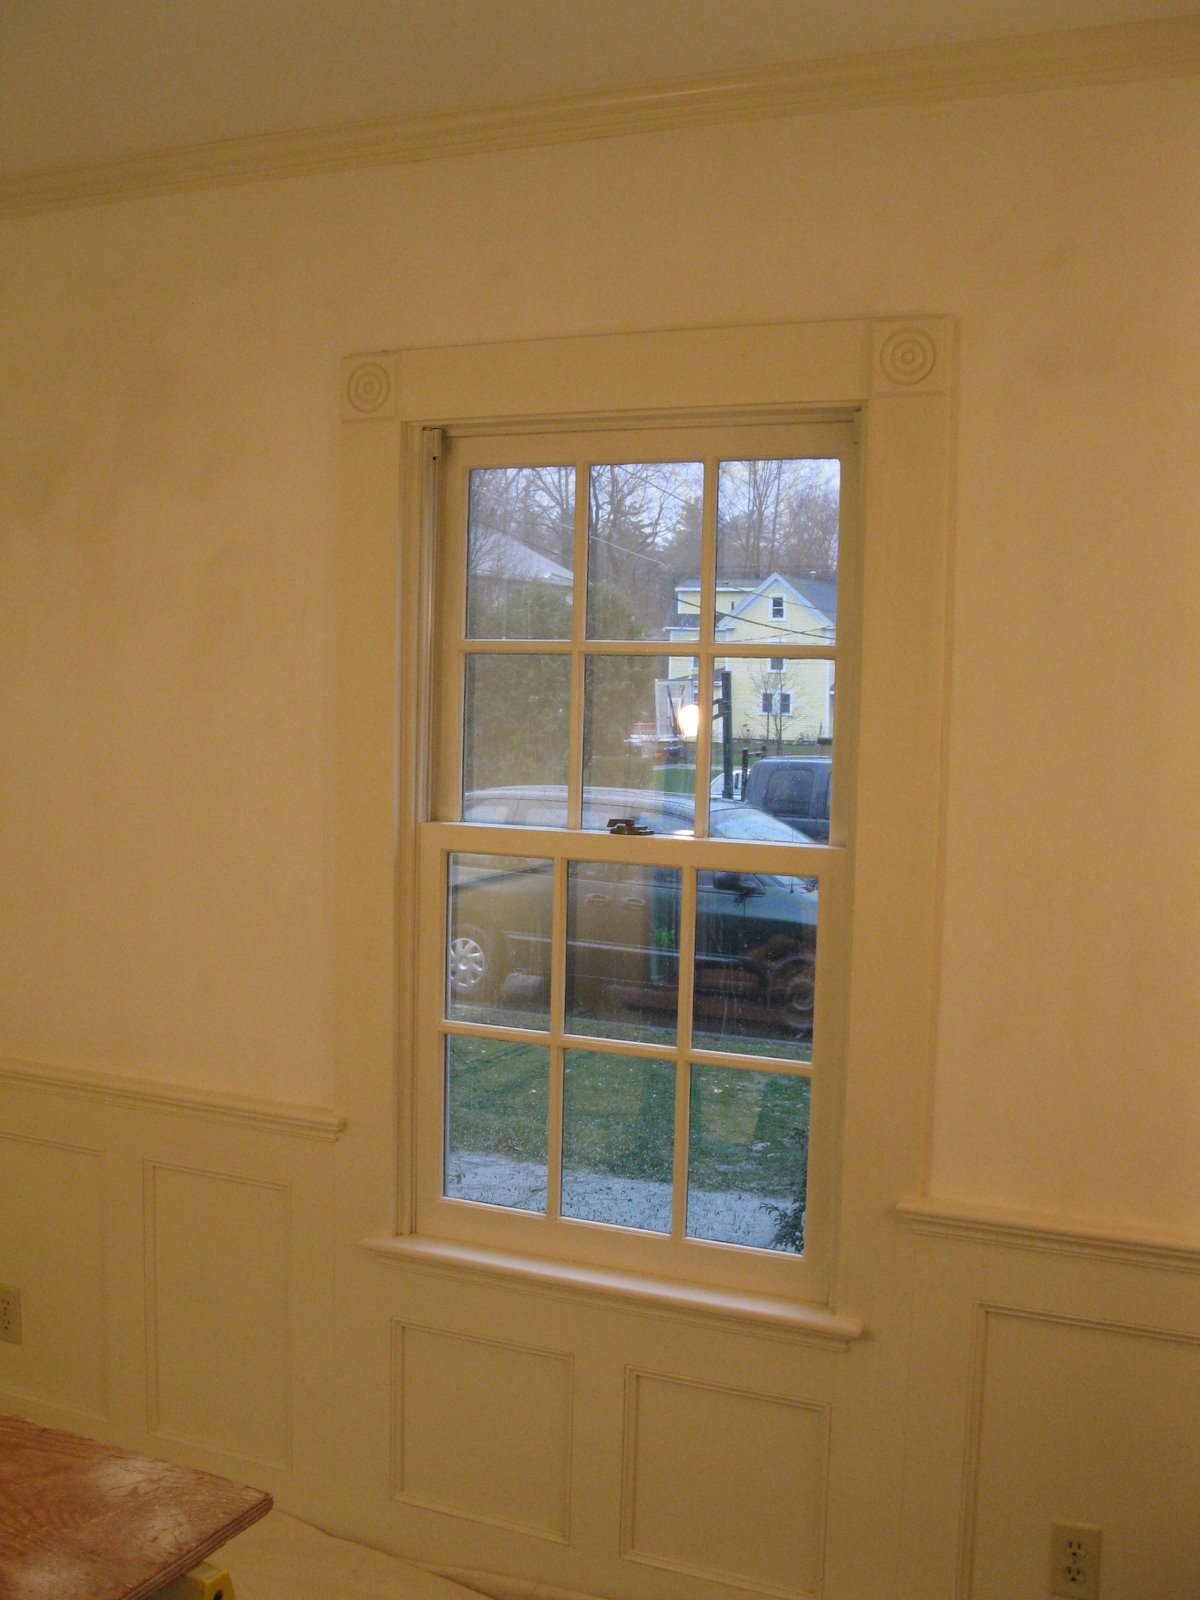 Above picture shows old trim with rosettes in corners. New head casing applied below.
New look works well with wainscoting, love the shadow lines.
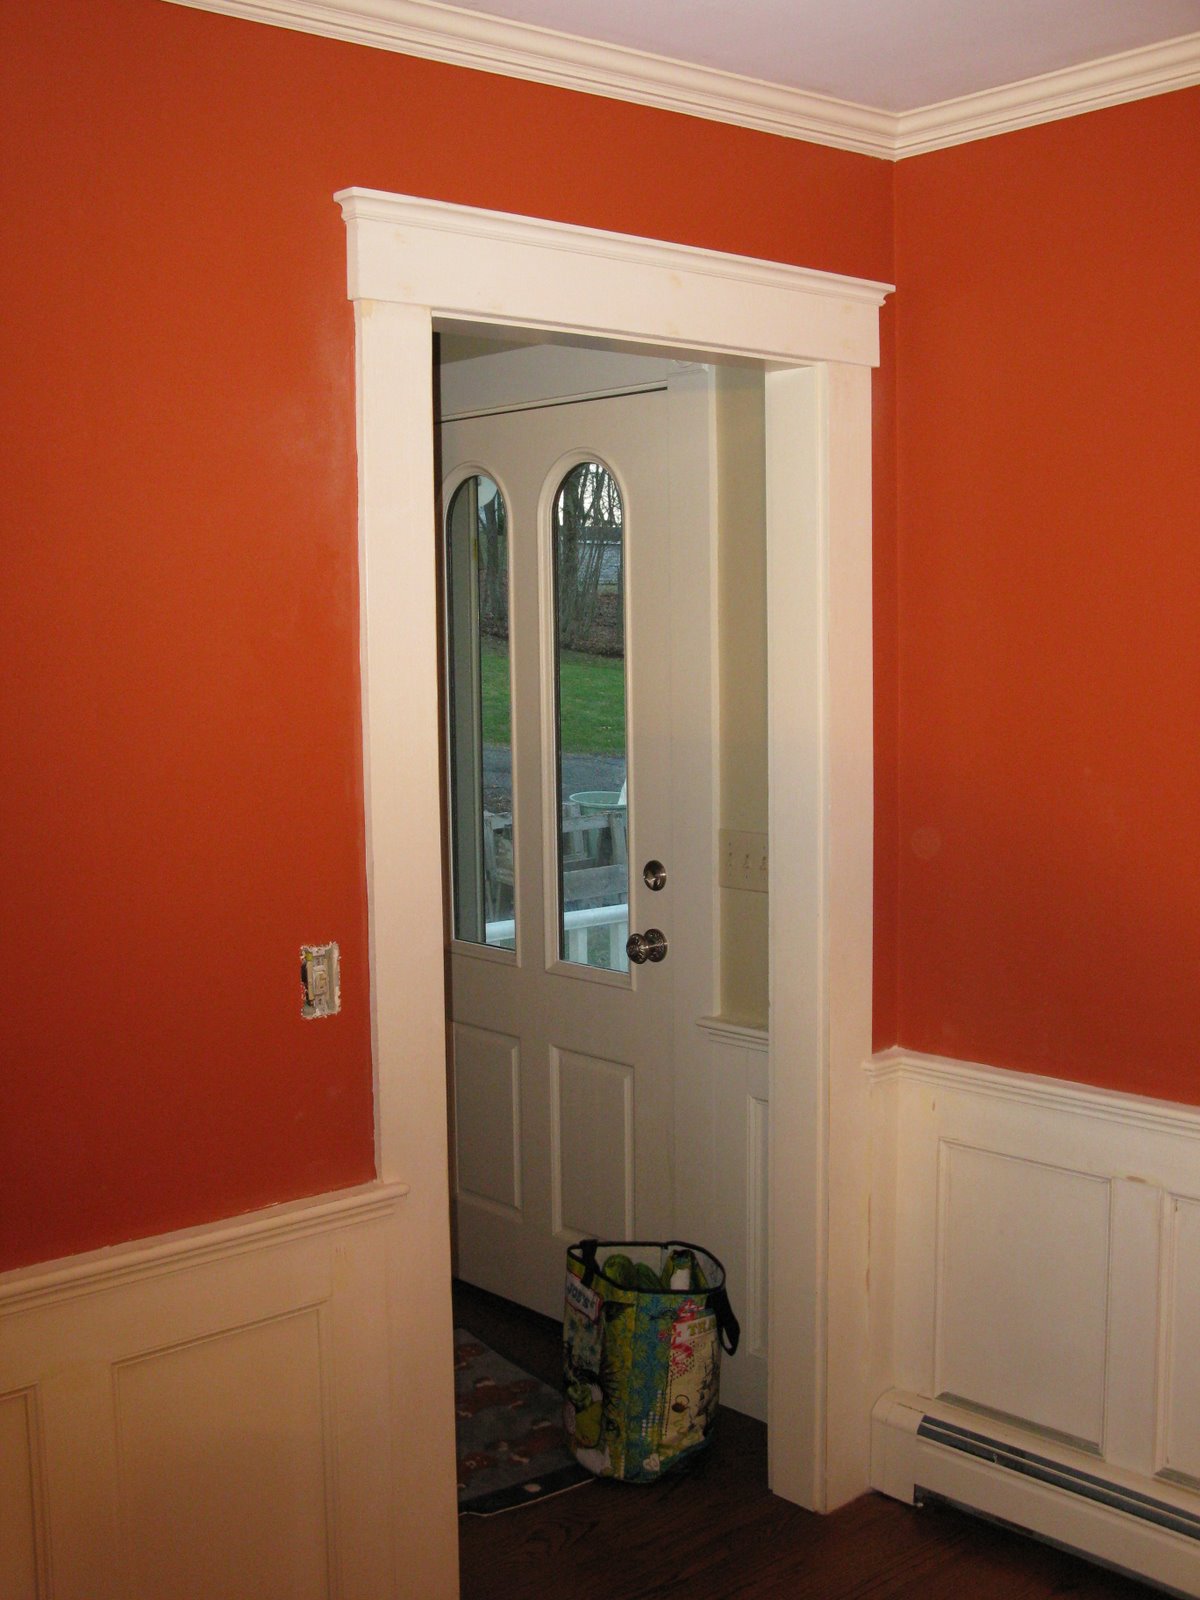
Finished prepping walls, first coat of red paint applied. Trim sanded.