Importance Of Using Before And After Photos

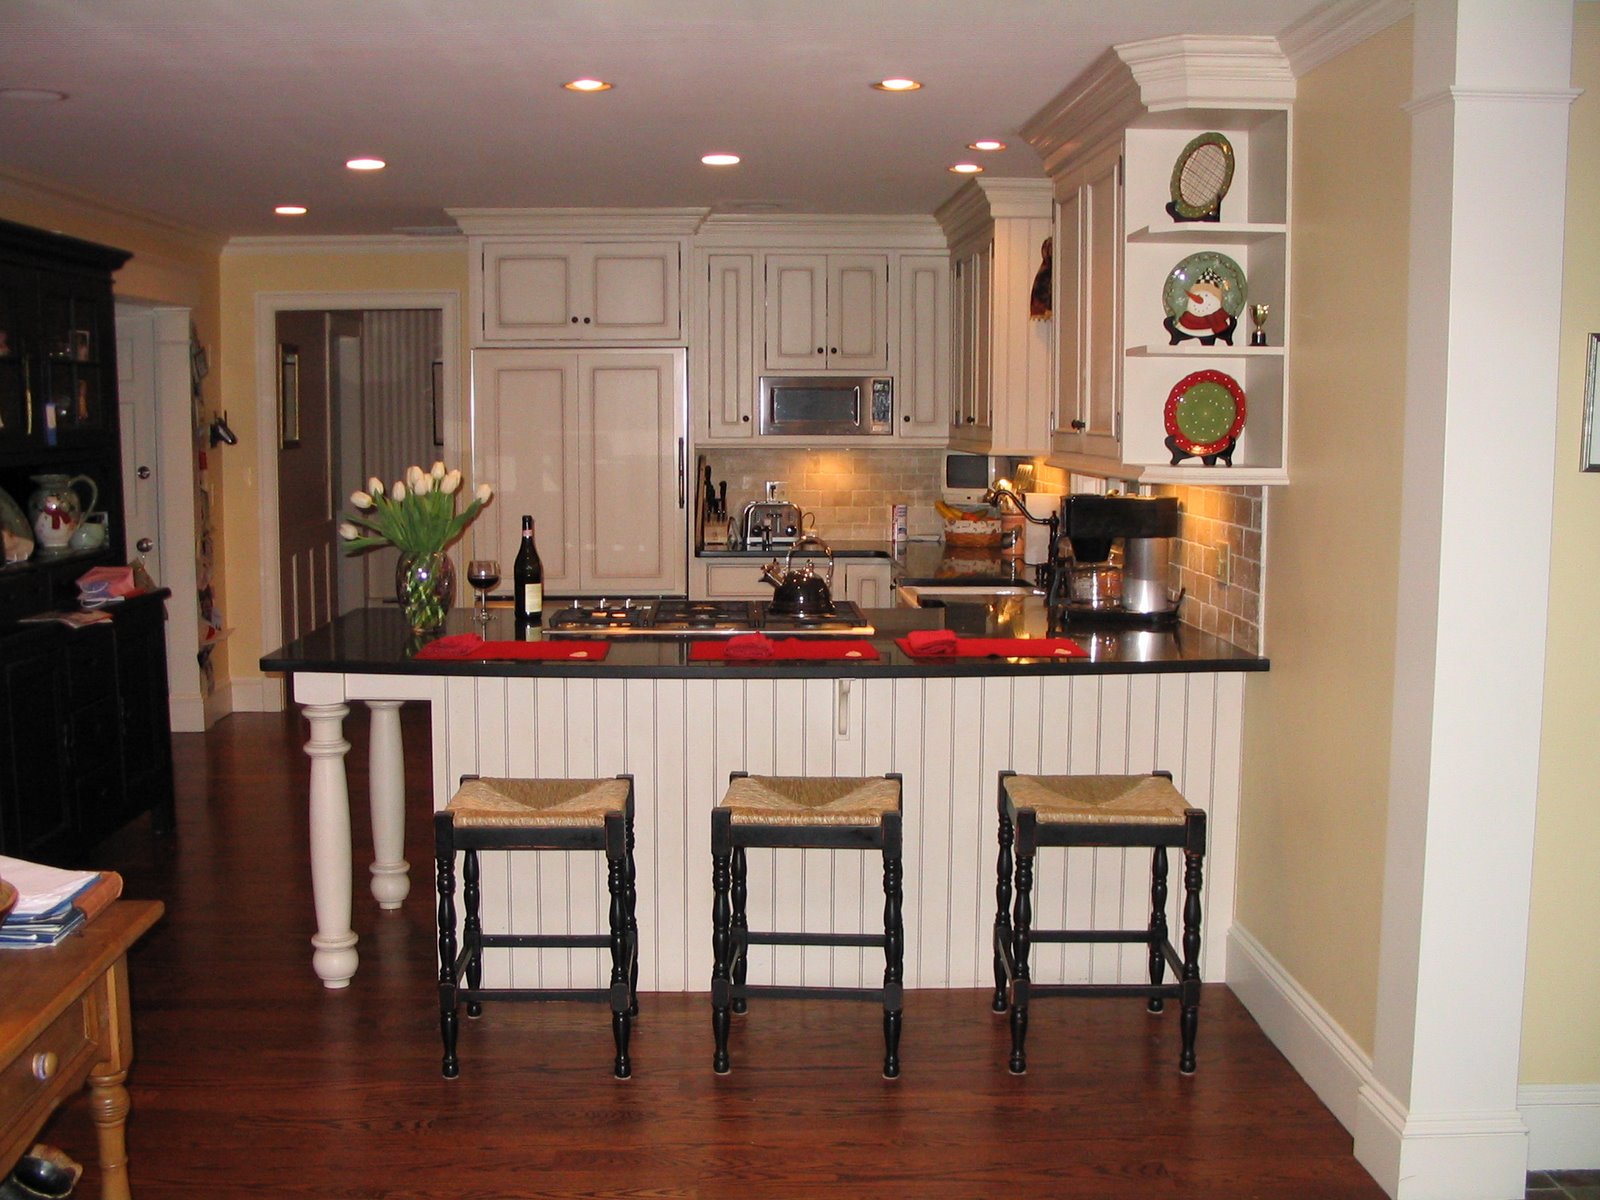
Before & After Photos
Before, during and after kitchen remodeling pictures are very important, to us as it shows our ability to maintain the highest quality of work, on all of our kitchen and bath remodeling projects.
Additionally documenting any project with photos can be helpful for future remodeling purposes as well as legal and insurance reasons in case of an accident, damage or faulty workmanship.
Planning A Remodel?
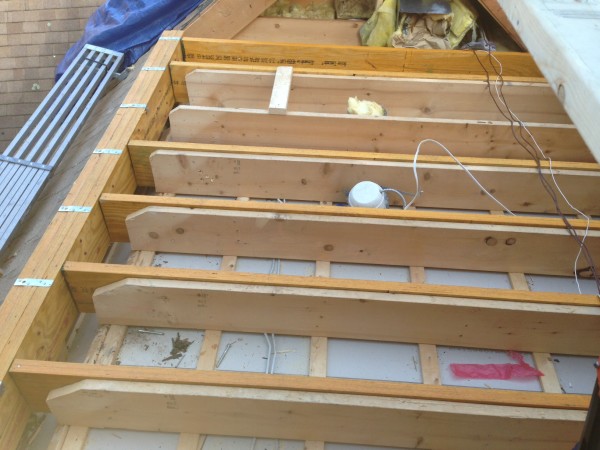
Photos of construction phases, wire, pipe and framing placement often come in handy later when planning additional remodeling or repair work. Knowing where not to nail, in order to avoid gas or water line inside a wall, can be useful information.
Photography can help you plan and prevent potential problems.
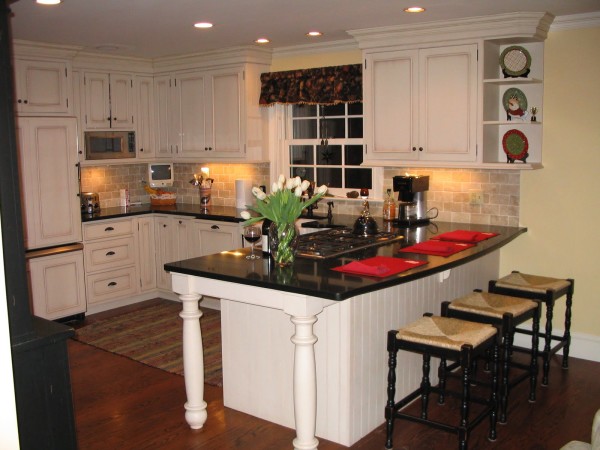
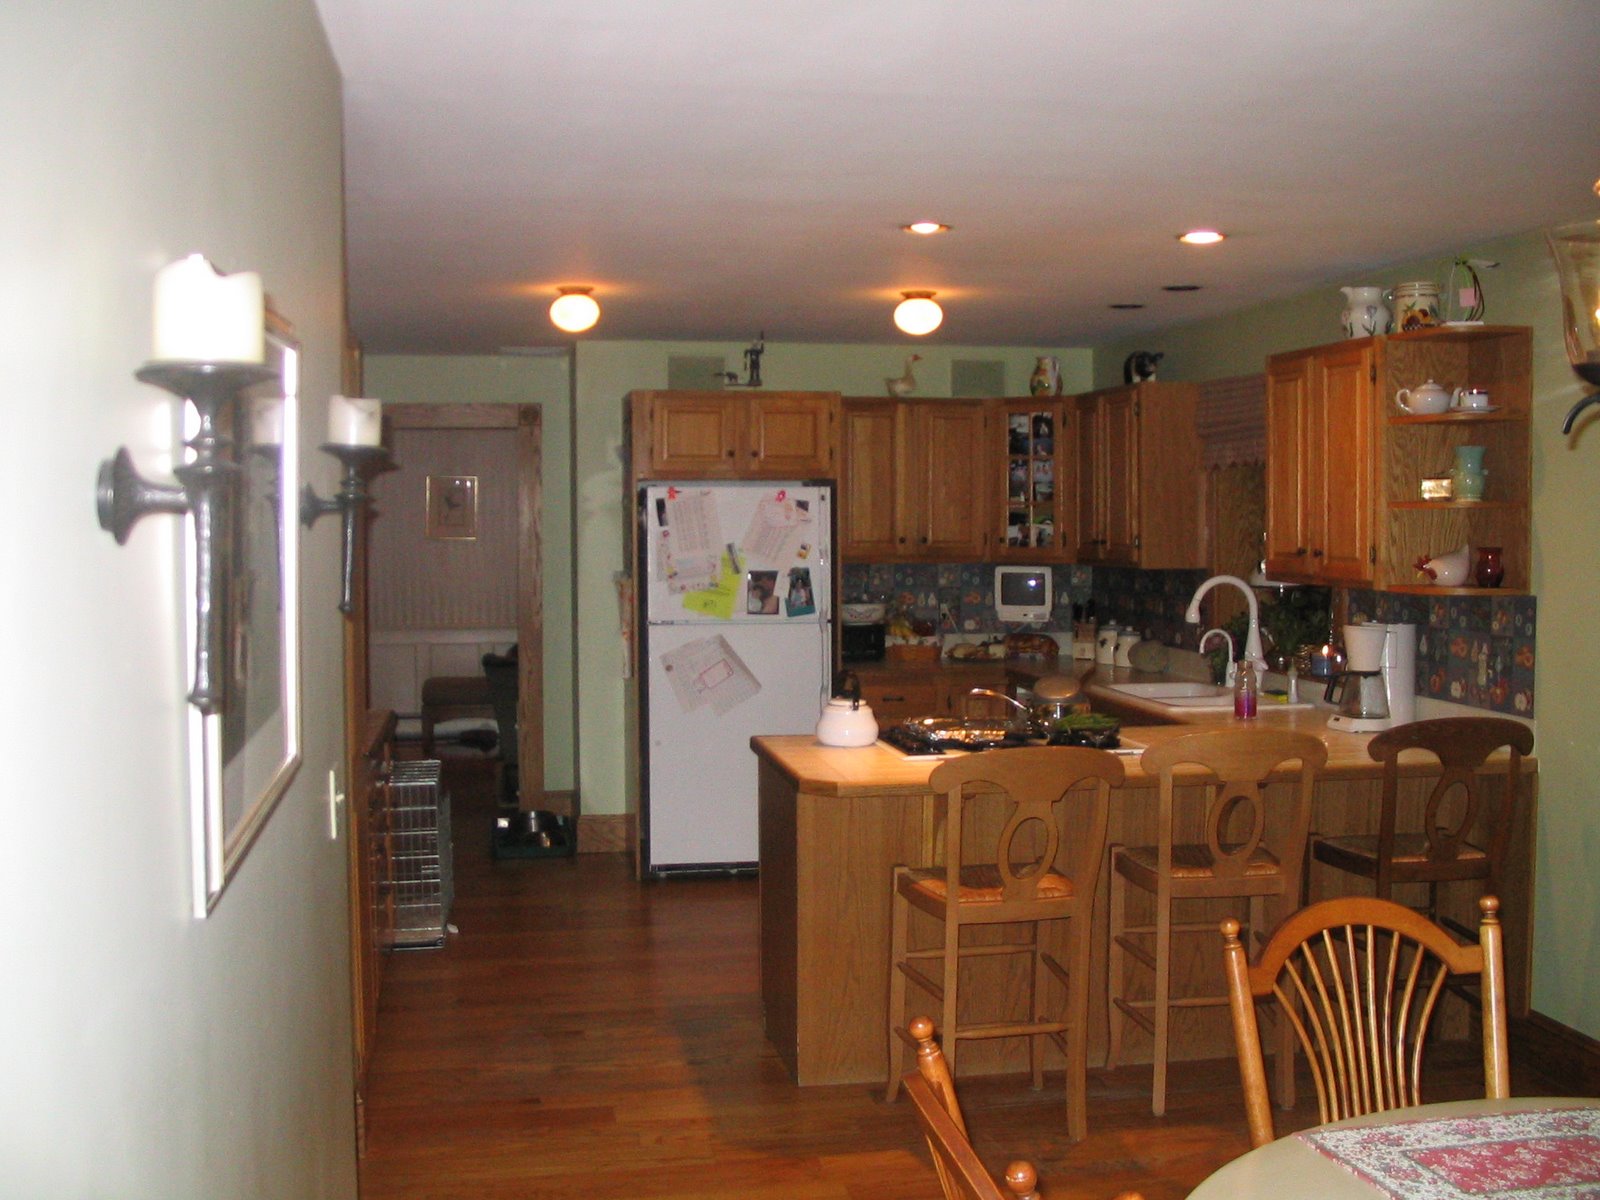
Kitchen remodel – After Photo
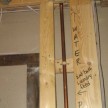
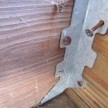
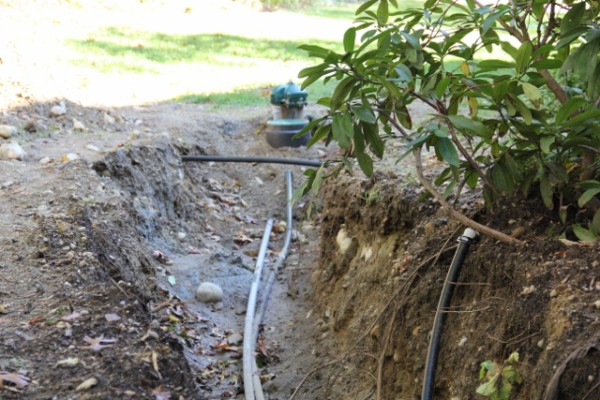
Locates Gas, Water, Drywells and Electrical Lines
Using photos and including a tape measure in the photo can help later on locate utility lines exact locations. Digital photography allows you to enlarge the picture to see the tape measure to locate utilities or special framing with in a wall or cavity.
Photos can be useful orienting plans and sketches, especially of subsurface structures. Once these items are buried, it’s hard to do a forensic exploration and many times the actual location changes due to unforeseen obstacles like rocks, ledge or other older lines.
Educating Customers
Photos help the contractor educate clients that a certain phase was completed or a condition was located and addressed.
Being able to say to your client, ‘This is what it looked like when we closed,” can be a useful tool. After all a picture is worthy a thousand words!
Customer Photo Binder
Many times I will create a binder for my clients. The binder will include key photos along with appliance manuals and product warranty information.
In this binder I include all of the contractor that worked on the project and their contact information as well as paint colors, model numbers, etc. This gives them a useful resource book for later repairs, replacement or remodels.