Making a Carpentry Template


Making and Using Carpentry Patterns and Templates
Making and using carpentry patterns and templates help to make woodworking and construction projects efficient, repeatable and accurate.
Templates are usually low cost to build, and an accurate way to transfer spatial measurements to any sheet material or flat surface.
Once made, a template can be used, over and over again, saving time on future installations.
Templates eliminate the need to use a tape measure, reduce the chance of measuring mistakes, compounding errors or miscuts. This is especially helpful when you are working with expensive materials.

Template Materials
Templates can be made with all types of material. I mostly 1⁄4 in. thick Luan plywood or even thick cardboard. I prefer Luan, because its cheap and easy to work with. If your template will be used over and over again, then I suggest using Baltic birch plywood. Baltic Birch is durable and has very little voids. Woodworkers will often se Baltic Birch fr repeated use of flush-trim or pattern bits because it won’t leave tracks along the template edges from pressing against the pilot bearings.
Template assembly can be accomplished by using hot-glue, a pneumatic stapler or even small screws.
7 Common Template Applications
- Fitting parts into an irregular space or getting an exact fit into a regular space.
- Granite counter tops
- Mortising with a router.
- Building and fitting cabinets.
- Fitting cabinet hardware.
- Fitting complicated drywall, door blanks or trim
- Whenever we do a project that has the potential to be built again; or if the design is somewhat difficult.
How to Make a Template
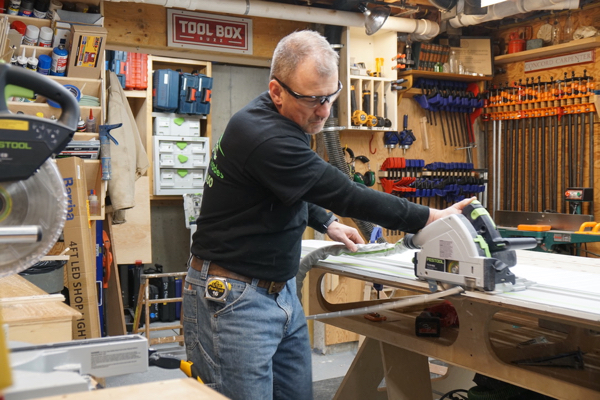
On a table saw, rip 3-5″ strips of 1/4″ plywood or Luan plywood. I usually make the strips as long as I can and bring plenty with me.
Use a jig saw, or utility knife to score and cut luan plywood to a rough size.
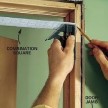
Place the luan plywood strips against the surfaces you will use the template on. you will want to use the luan strips to create a perimeter around the area you want to template. Check for parallel measurements on all sides.
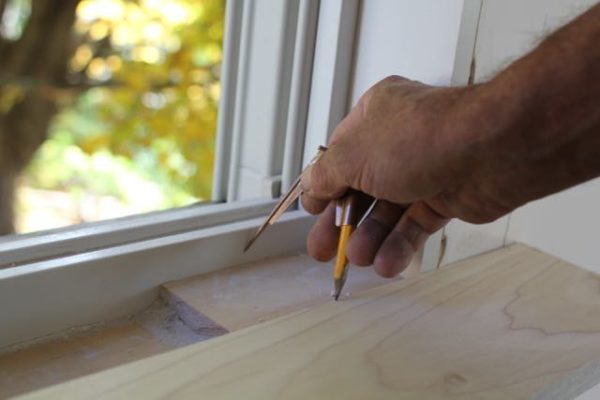
If you’re dealing with irregular surfaces, scribe the parts tight to the surface before putting the template together. If scribing is needed – Find the largest gap between your wall and the strip and open your scribe to the gap width. Now with the scribe set to the gap width, scribe the strip along the entire length of the wall.
You can use a plane or jig saw to cut along the scribe lines. After cutting, check the strip for fit and correct if necessary.
Pro Tip: if your project is longer than your plywood strips, you conjoined two or more to make the template longer.
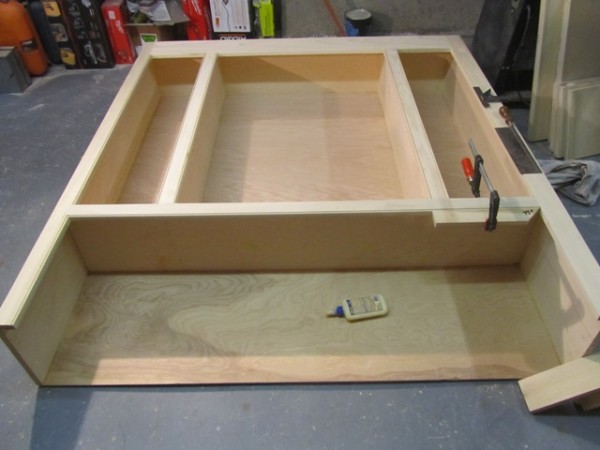
Staple, hot glue or screw together the perimeter parts.
Pro Tip: If your fitting your part or panel into an existing space you may want to leave a small gap in order to get it into place. Countertop fabricators recommend ¼” gaps between counter tops and walls but it’s important that the template exactly record existing irregularities.
Thin cross-braces can be used throughout the center of the template to strengthen and reinforce it for transporting and handling in the shop. I sometimes install corner bracing, or diagonal strips to avoid the frame from shifting or being knocked out of square. This is cheap insurance and tie well spent if you want accuracy.
I make notation on the template. Called “witness marks,” these notations help create a better understanding of field conditions and also serve as a redundancy check for your template. Some example markings might be:
- Markings indicating left, and right sides, front or rear.
- Center markings
- Markings for outlets or cut outs
- Panel thickness, details, or finishes
- Overhang, or overlap information
- Exposed edges
Once the template is complete you can take it to your shop and make your project to the exact dimensions of your template or pattern. Templates and patterns will save considerable layout time and produce more consistent, accurate results.