Maintaining and Storing a Snowblower

How To Properly Prepare You Ariens Snowblower For Storage
Springtime means putting away the snowblower and dragging out the lawnmower. Many homeowners neglect to maintain and storing a snowblower properly. Taking a few important steps to ensure that your snowblower is properly stored for the offseason.
Snowblower Storage Steps
- Adding fuel stabilizer to the gas
- Drain the fuel
- Lubricate important parts
- Change oil
- Change spark plug [as needed]
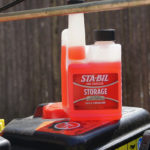
Fuel Stabilizer
Adding fuel stabilizers to fresh gas can Is important to keep the gas from going bad throughout the winter season.
Adding fuel stabilizer prevents your gas from breaking down and turning into varnish-like gunk that can clog your tank, injectors, fuel lines.

The gas we use today has ethanol in it. Ethanol gas is hygroscopic and absorbs water, and oxidizes when it reacts to the oxygen inside the tank. Fuel stabilizer absorbs moisture in the tank.
Look, I realize a lot of folks do not do a lot when it comes to maintaining and storing a snowblower. While NOT recommended, If you choose to do nothing to your snowblower at lease add stabilizer and fresh gas to your snowblower. Make sure to top off the fuel leaving no room in the tank for water to condense and collect over the warm weather months. Run the engine for at least five minutes to blend throughout the fuel system, then close the fuel valve, if equipped, and allow the engine to stop on its own. If the engine is electronic fuel injected (EFI), simply turn the ignition key to the off position.
Drain The Fuel From Snow Blower
A better approach to maintaining and storing a snowblower at the end of the snow blowing season is to drain the gas.
BEST PRACTICE is to always drain the tank completely. Siphon or pump the gas out and run the engine until it stalls.
To drain the tank, siphon or pump the gas out and run the engine until it stalls.
If your snowblower has a carburetor you can open the drain plug at the bottom of the bowl and drain the remaining gas.
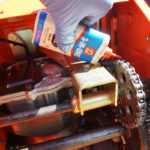
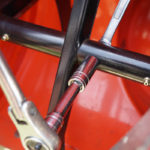
Lubricate Your Snow Blower
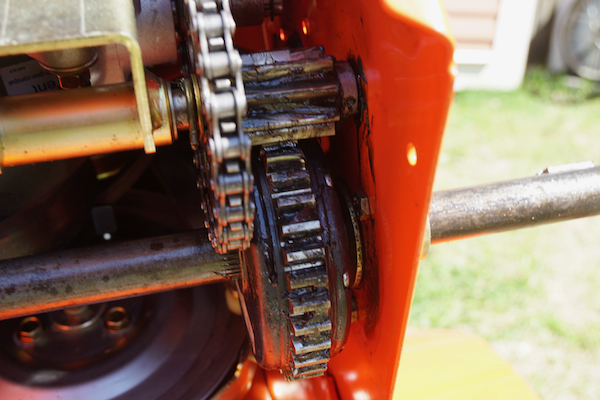
Failure to properly lubricate your snowblower will ensure that your unit will rust and eventually fail. Additionally, rust on the axles can prevent the wheels from being removed and make it WAY MORE difficult to lubricate the pinion shaft or remove the rear cover.
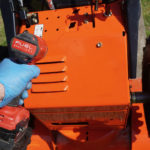
Prior to lubricating your snowblower remove the key and disconnect the sparkplug.
Tilt your snowblower onto the front of the housing, this is called the service position. Remove the snap clips from each wheel axle and remove wheels. Use care not to lose the key on the wheel axle. This key holds the wheel from spinning freely.
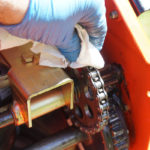
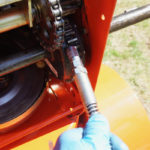
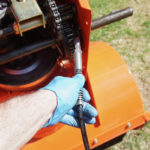
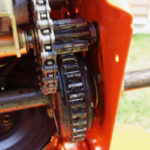
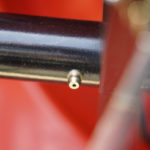
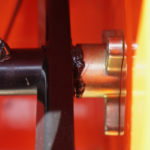
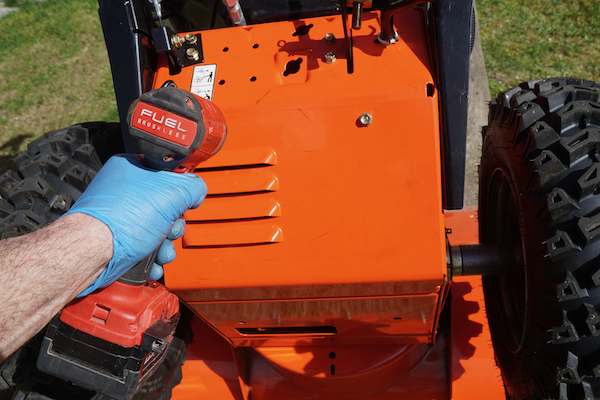
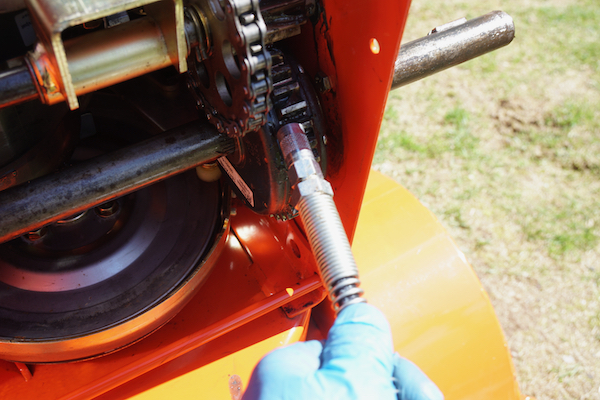
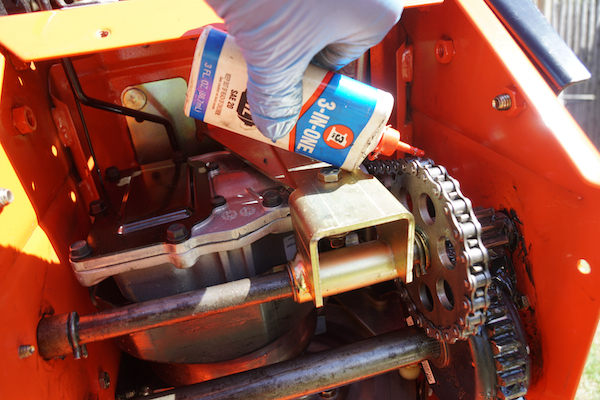 Remove the six bolts holding the bottom cover to expose the chain and gears. Once the bottom cover is removed clean and lubricate the chain, gears, pinion shaft, and axles. [See steps below] Do not allow grease to contact the friction disc or drive pulley. I use a rag or shop towels to cover the traction drive pulley.
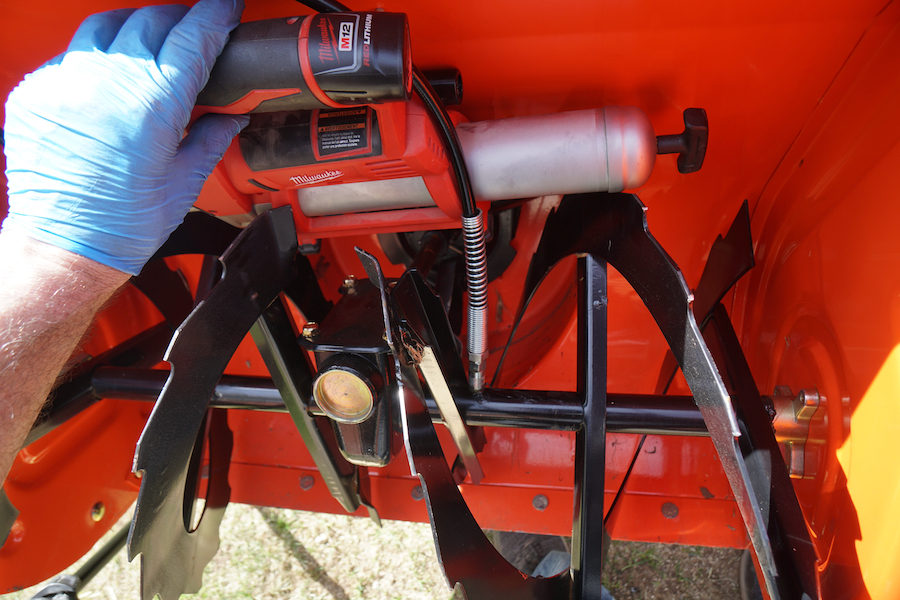
When done reinstall the cover and return the snowblower to its operating position and then remove the two shear pins. Once the pins are removed lubricate the grease fittings and spin the two augers to distribute the grease. Reinstall the shear pins.
Snowblower Lubrication Steps:
- Rotate the chain and apply a light oil to the links around the pinion gear and wipe excess oil from the chain when complete.
- Spread a thin layer of grease on the gears
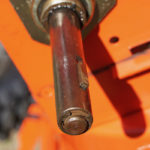
- Spread a thin layer of grease along the hex shaft, gears, and axle shafts.
- Rotate gears to spread grease
- Pump grease into the end of the pinion shaft grease fitting
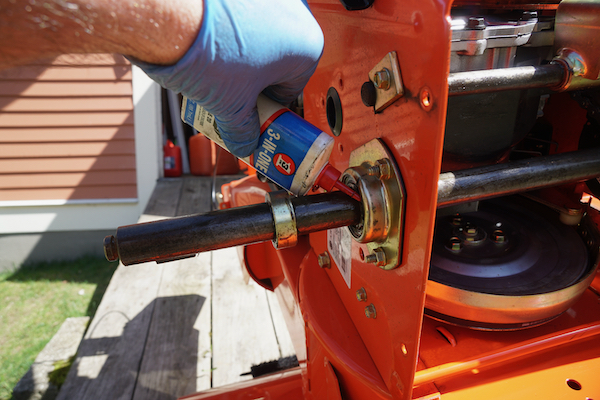
- Apply light oil to the axle ends.
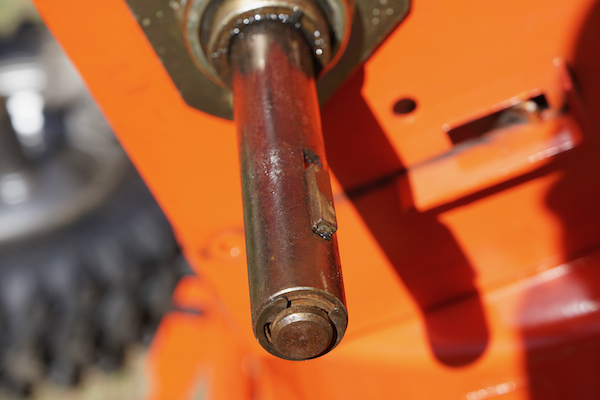
- Grease the axle shaft and apply some grease in the keyway, it helps hold the key in place while reinstalling the wheel
- Reinstall the bottom cover
- Reinstall the wheels over the axle and axle keyway key.
- Rotate the unit into the operating position
- Remove the shear bolts from the augers and pump grease into the auger shaft grease fittings.
- Turn the augers by hand to spread grease along the auger shafts and reinstall the shear bolts.
Change The Snow Blower Oil
This isn’t necessarily critical maintaining and storing a snowblower, however, if you didn’t change the oil this season, it’s best to get it done now.
Remove the oil drain plug and allow the oil to drain for a few minutes. Reinstall the drain plug and tighten the plug. Fill engine with the manufacturer’s recommended oil type and volume and reinstall the oil fill cap.
Change The Spark Plug
When it’s time to conduct pre-season routine maintenance, it is recommended to replace the spark plug or at least removing, inspecting, and cleaning it before the first use of the season. Some folks wait two years prior to changing out the spark plug.
Store Your Snow Blower
Once all these steps are complete you can rest easy knowing your snow blower will be ready to go in come winter. Remember to store your snowblower to a cool, dry protected area.