Eagle America Fluting Jig And Edge Guide

Fluting Jig and Edge Guide
This jig allows you to route straight and accurate flutes and dado’s on any straight, curved or arched board quickly and easily. This jig came with everything needed except the router.
The directions provided are not great and I used the two pictures to figure out the assembly.
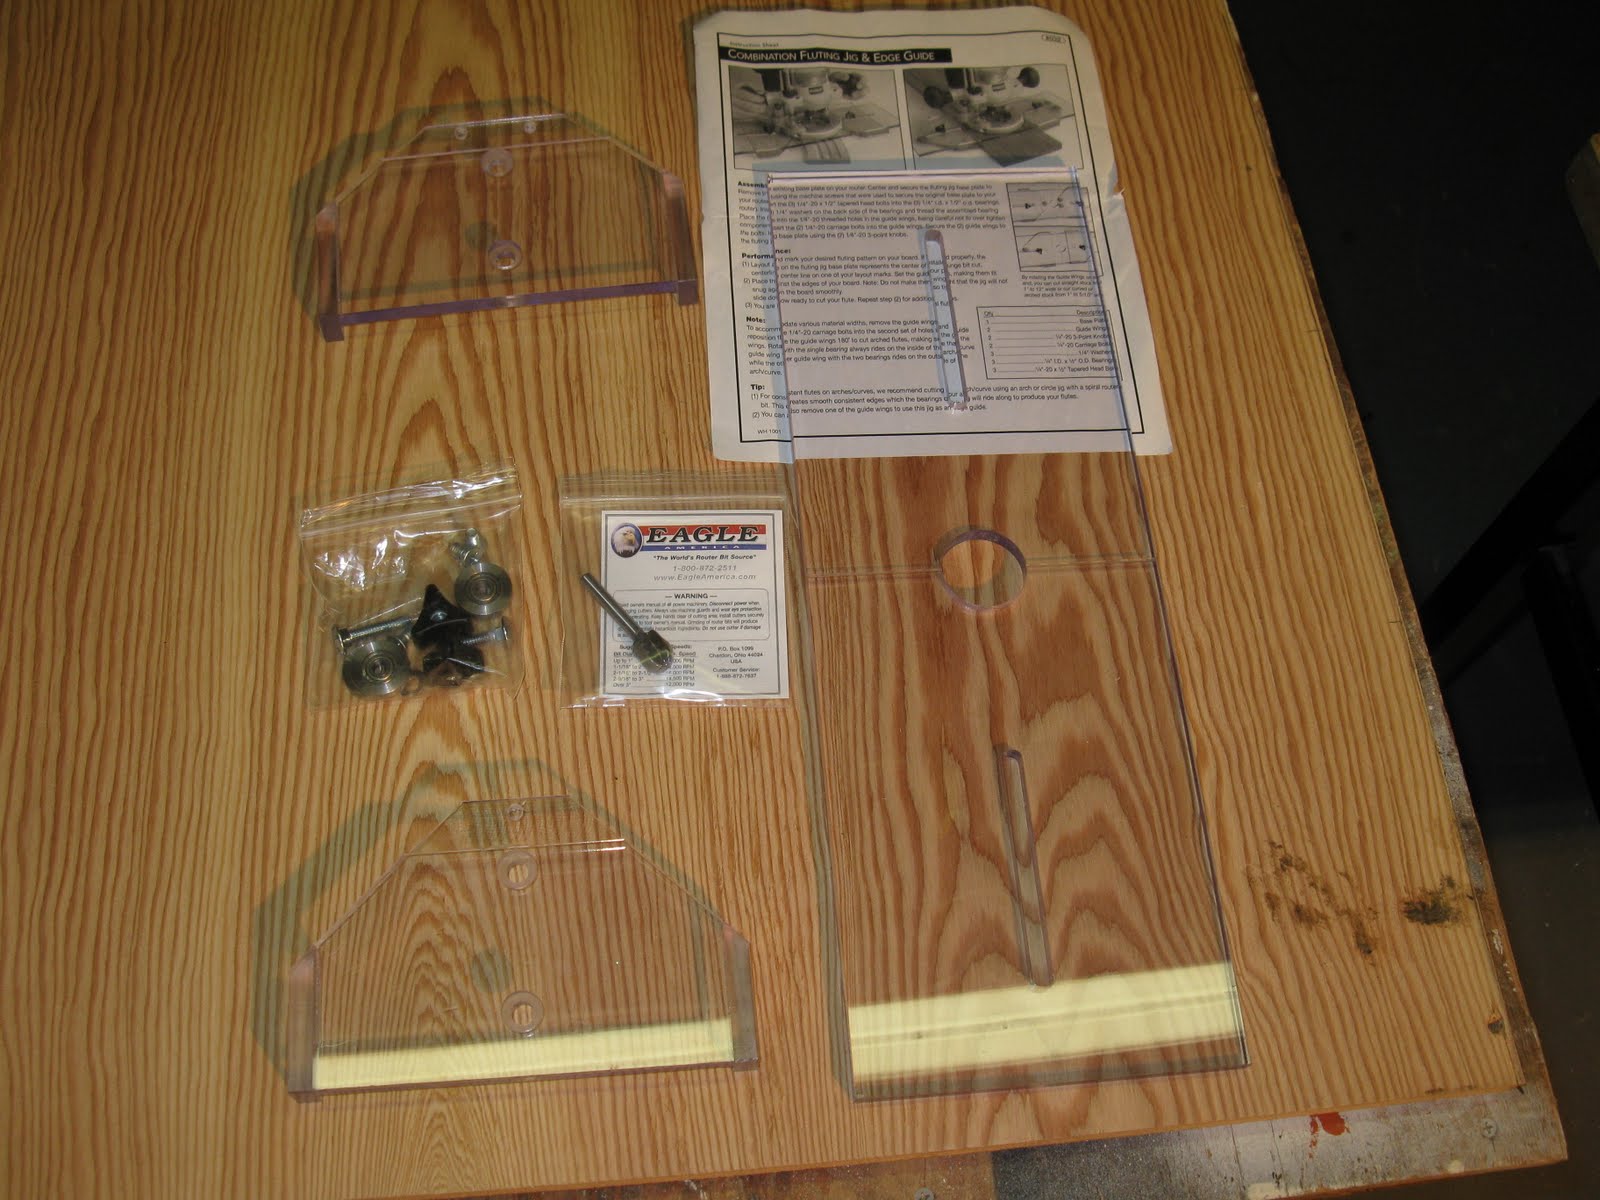
These two holes on each “guide wing” is for adjusting to different board widths.
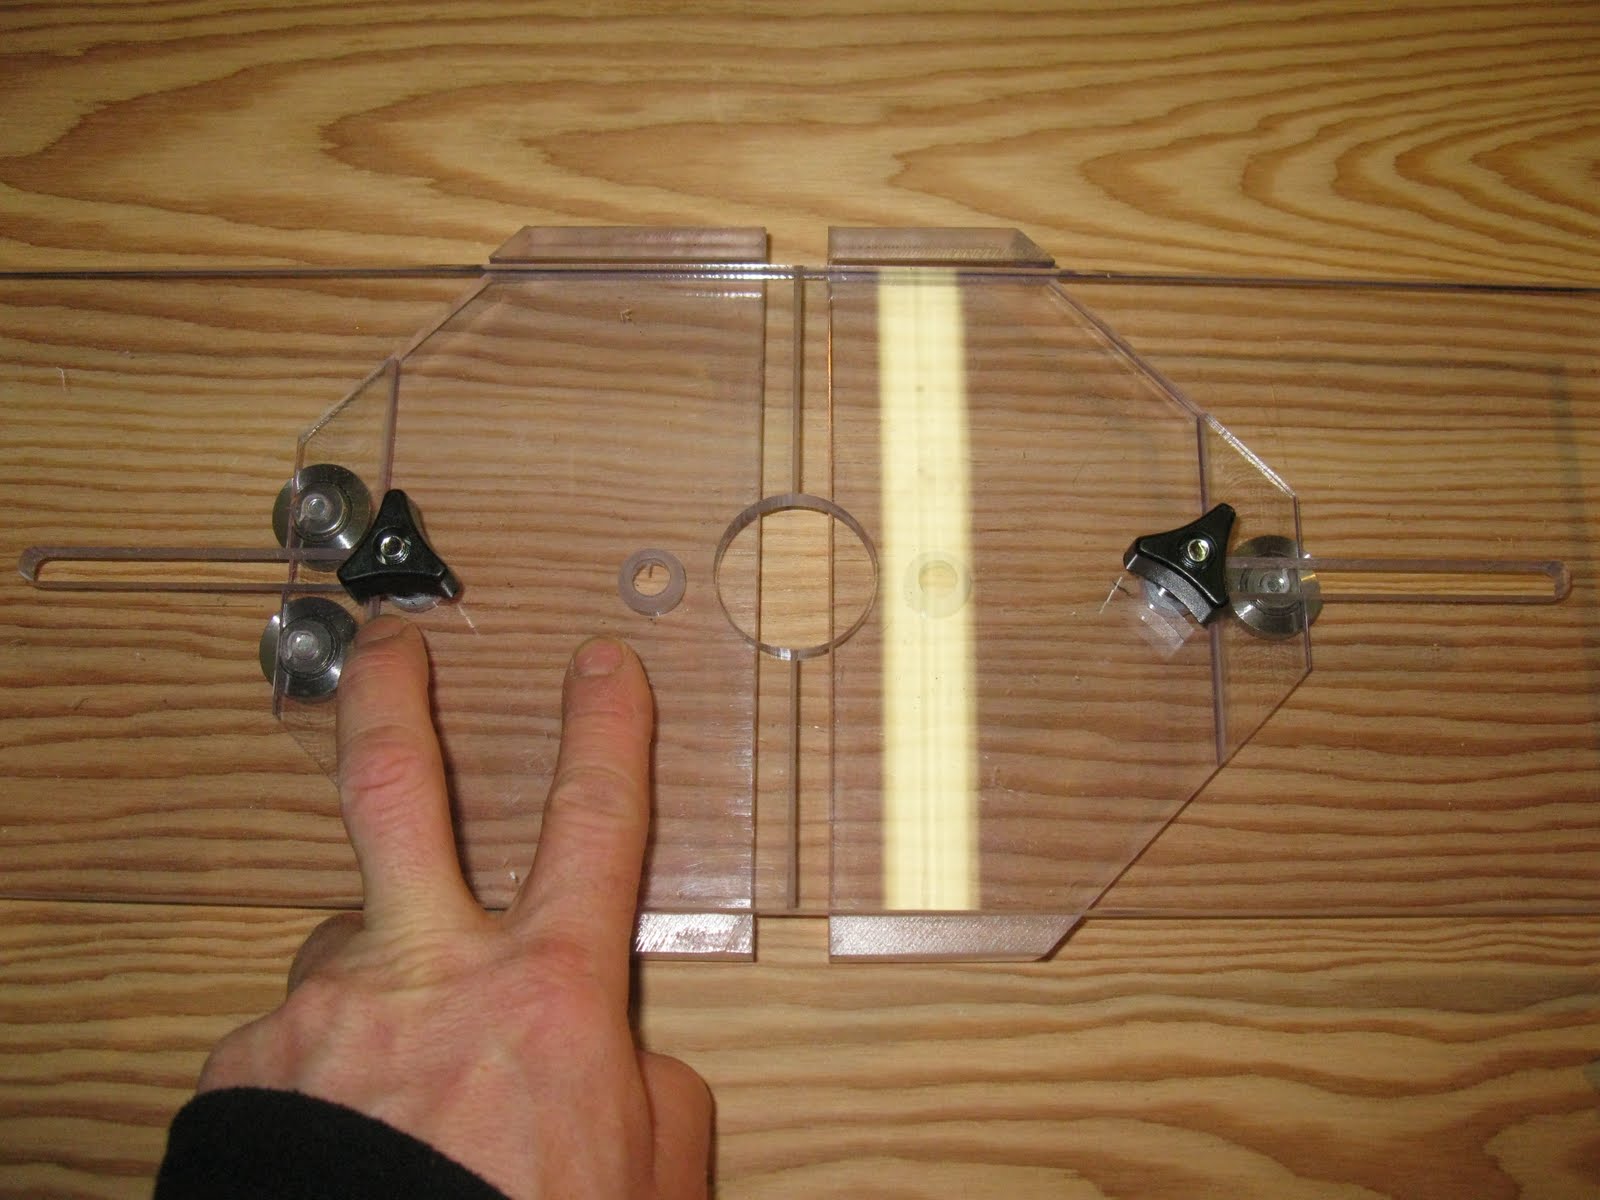
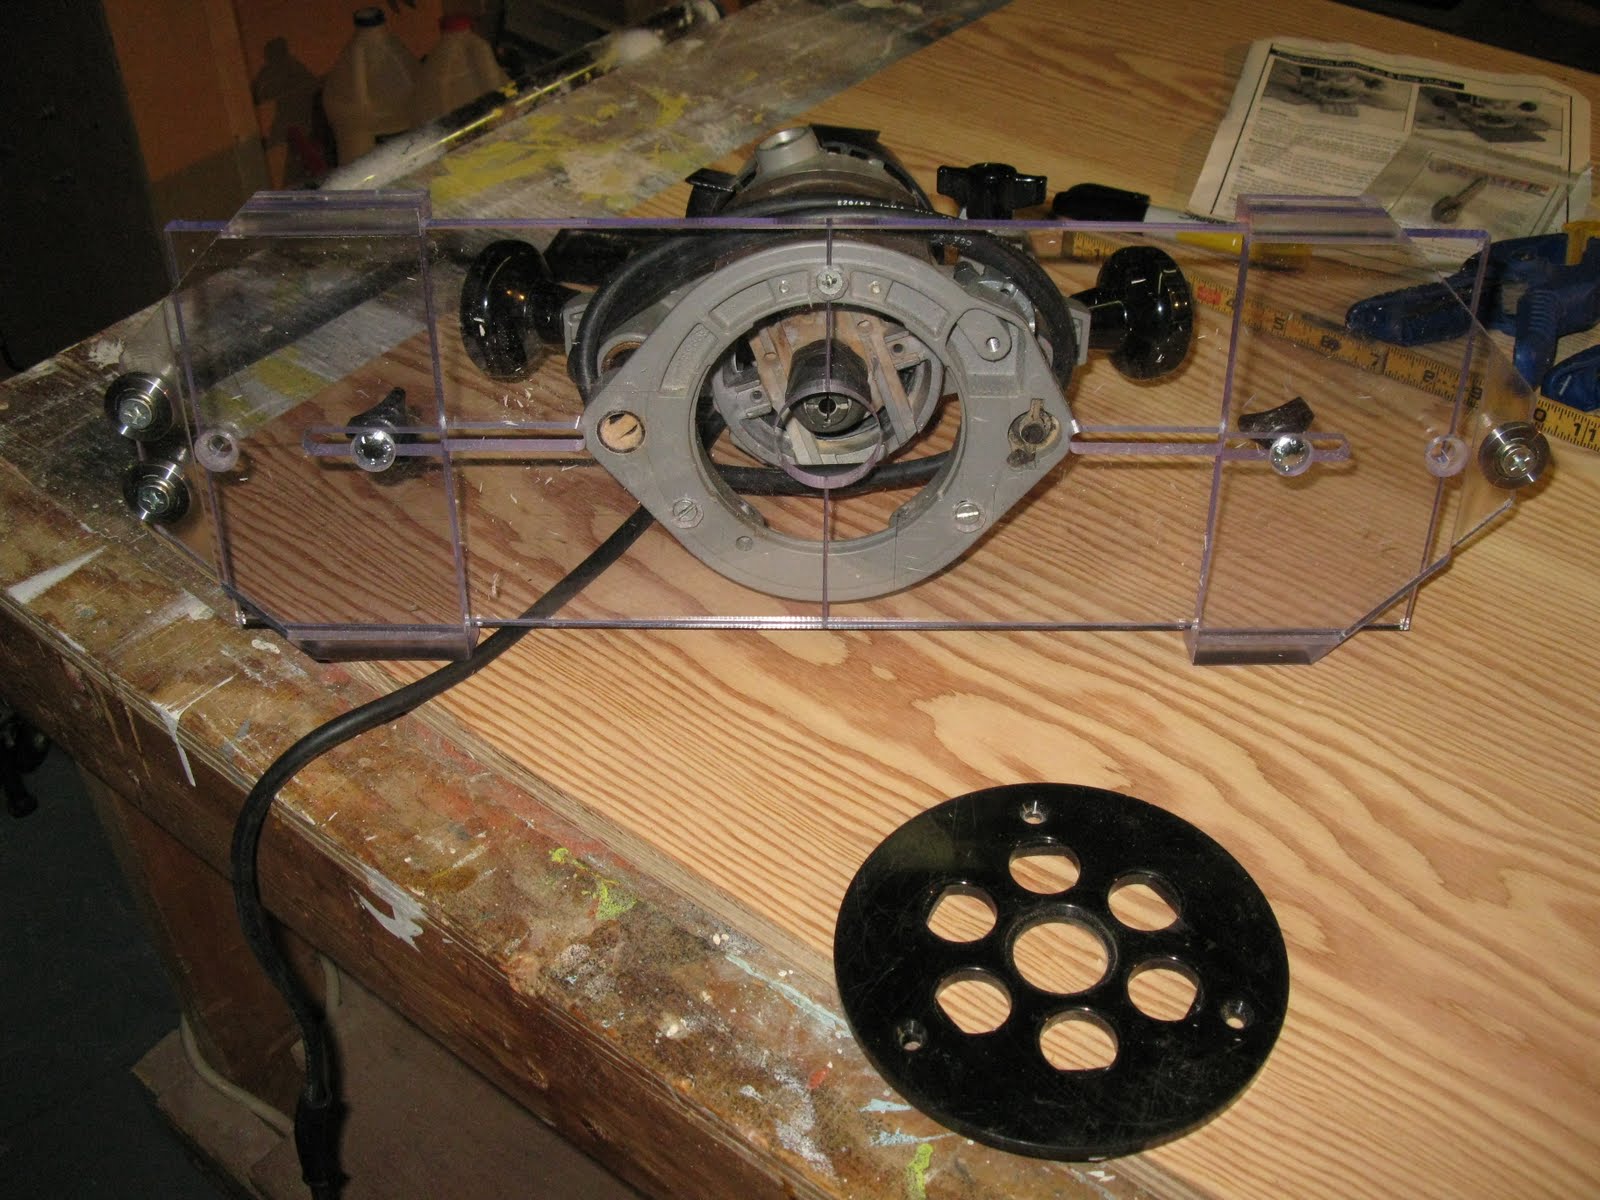
Attach the two guide wings with the ball bearings and provided hardware. The jig assembled in seconds.
The jig is 3/8′ thick and is a made from a durable, impact resistant polycarbonate.

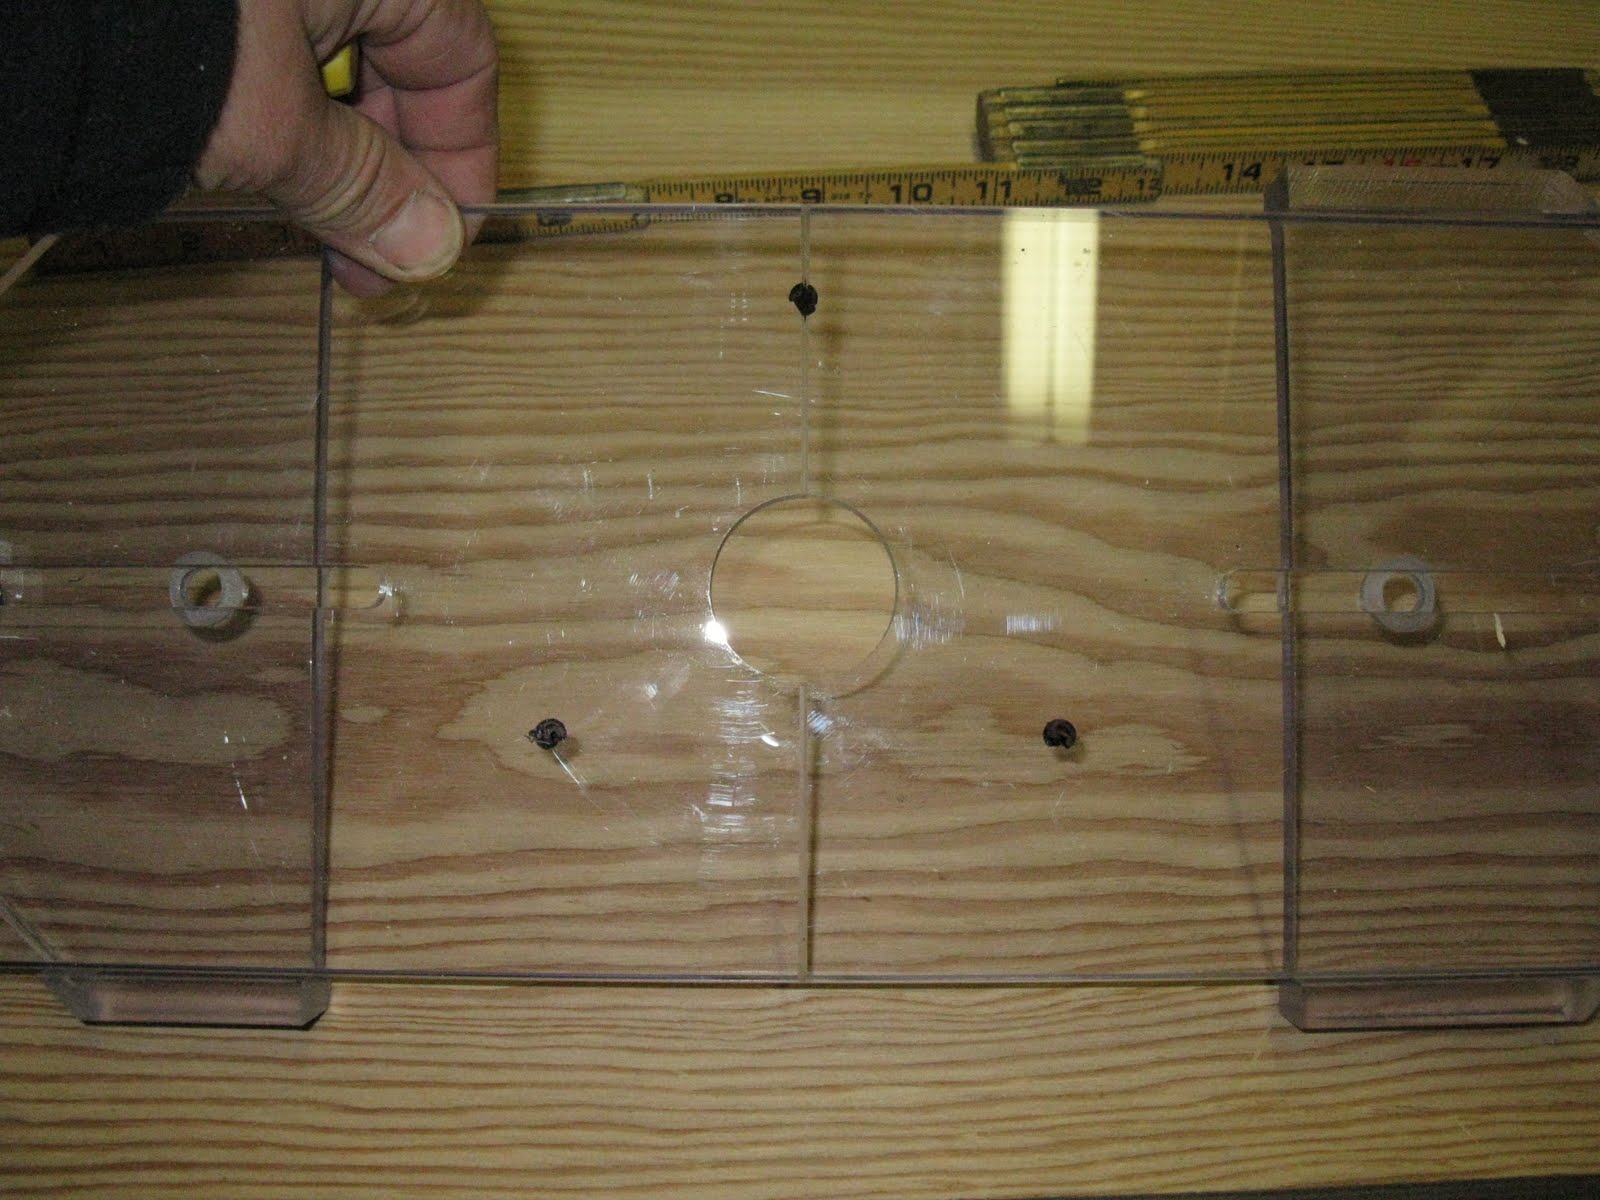
Before using this jig you first have to attach it to your router base. This requires drilling the jig to match the router base holes. Below I am lining up my router base to trace and mark the holes.

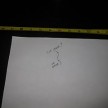
Black “dots” mark the spots I need to drill out.
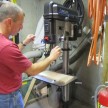
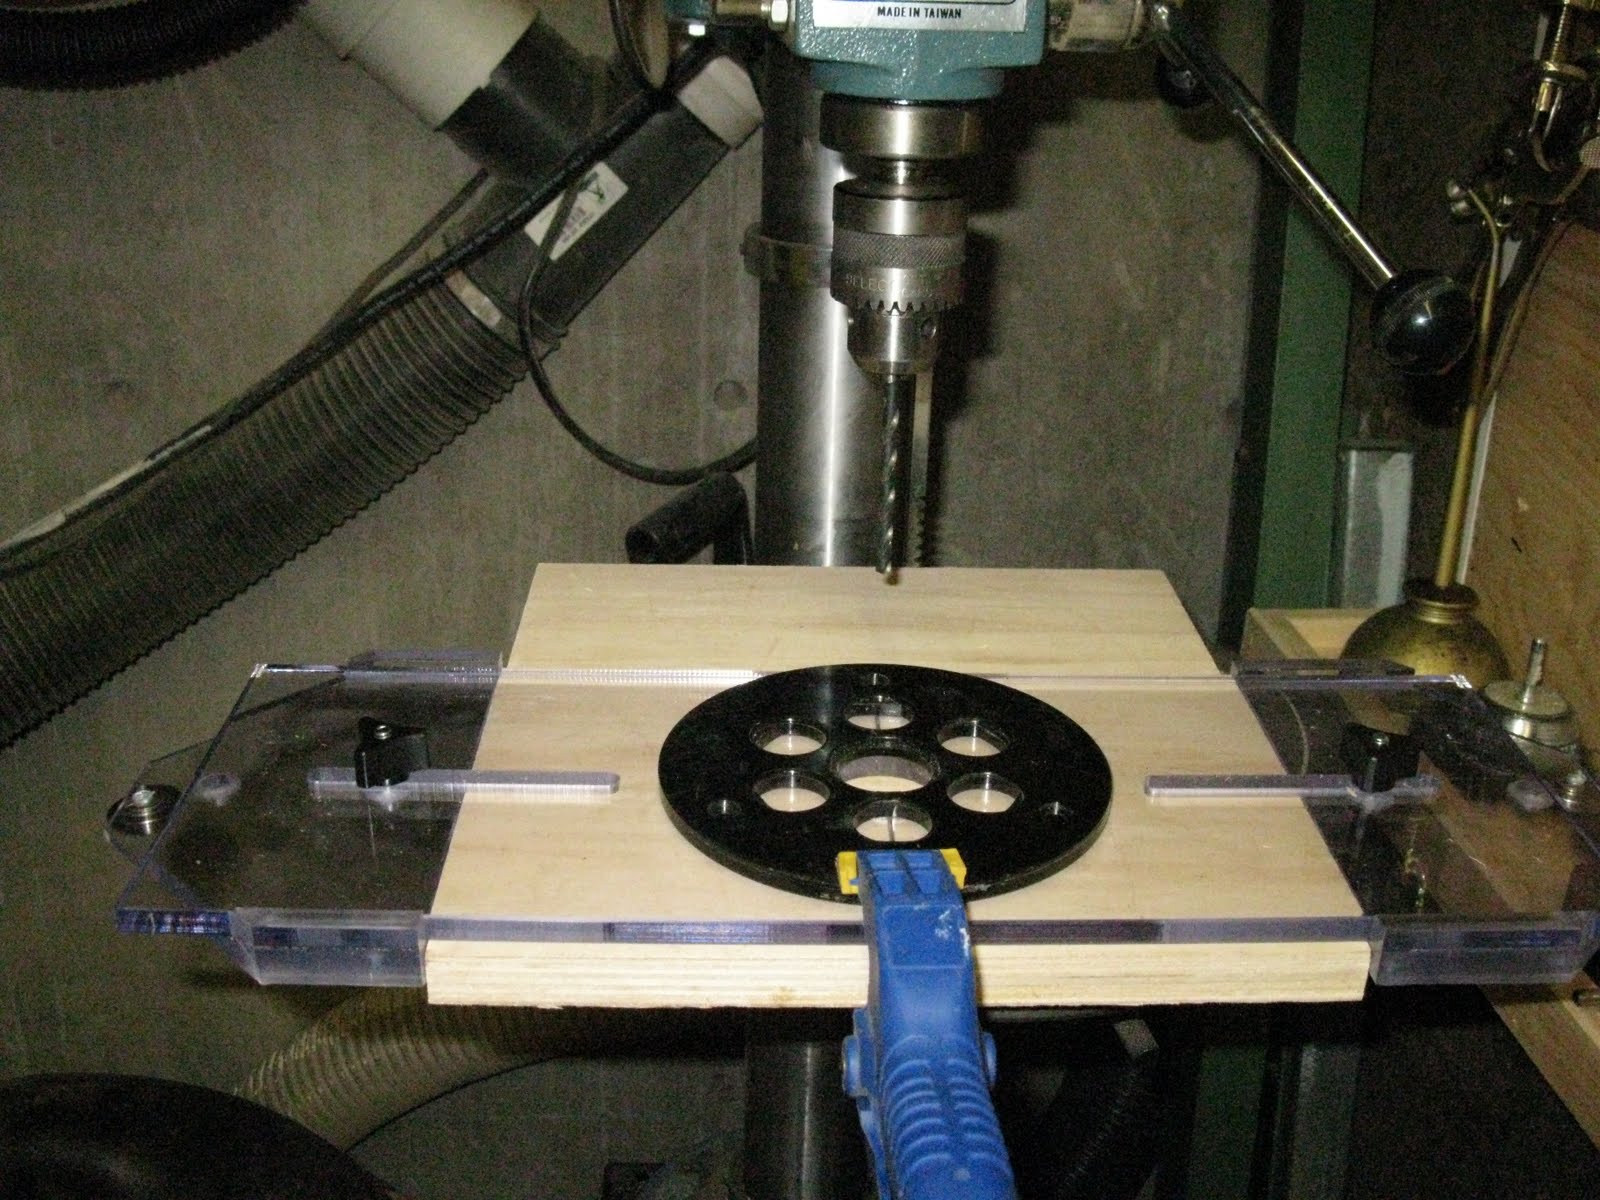
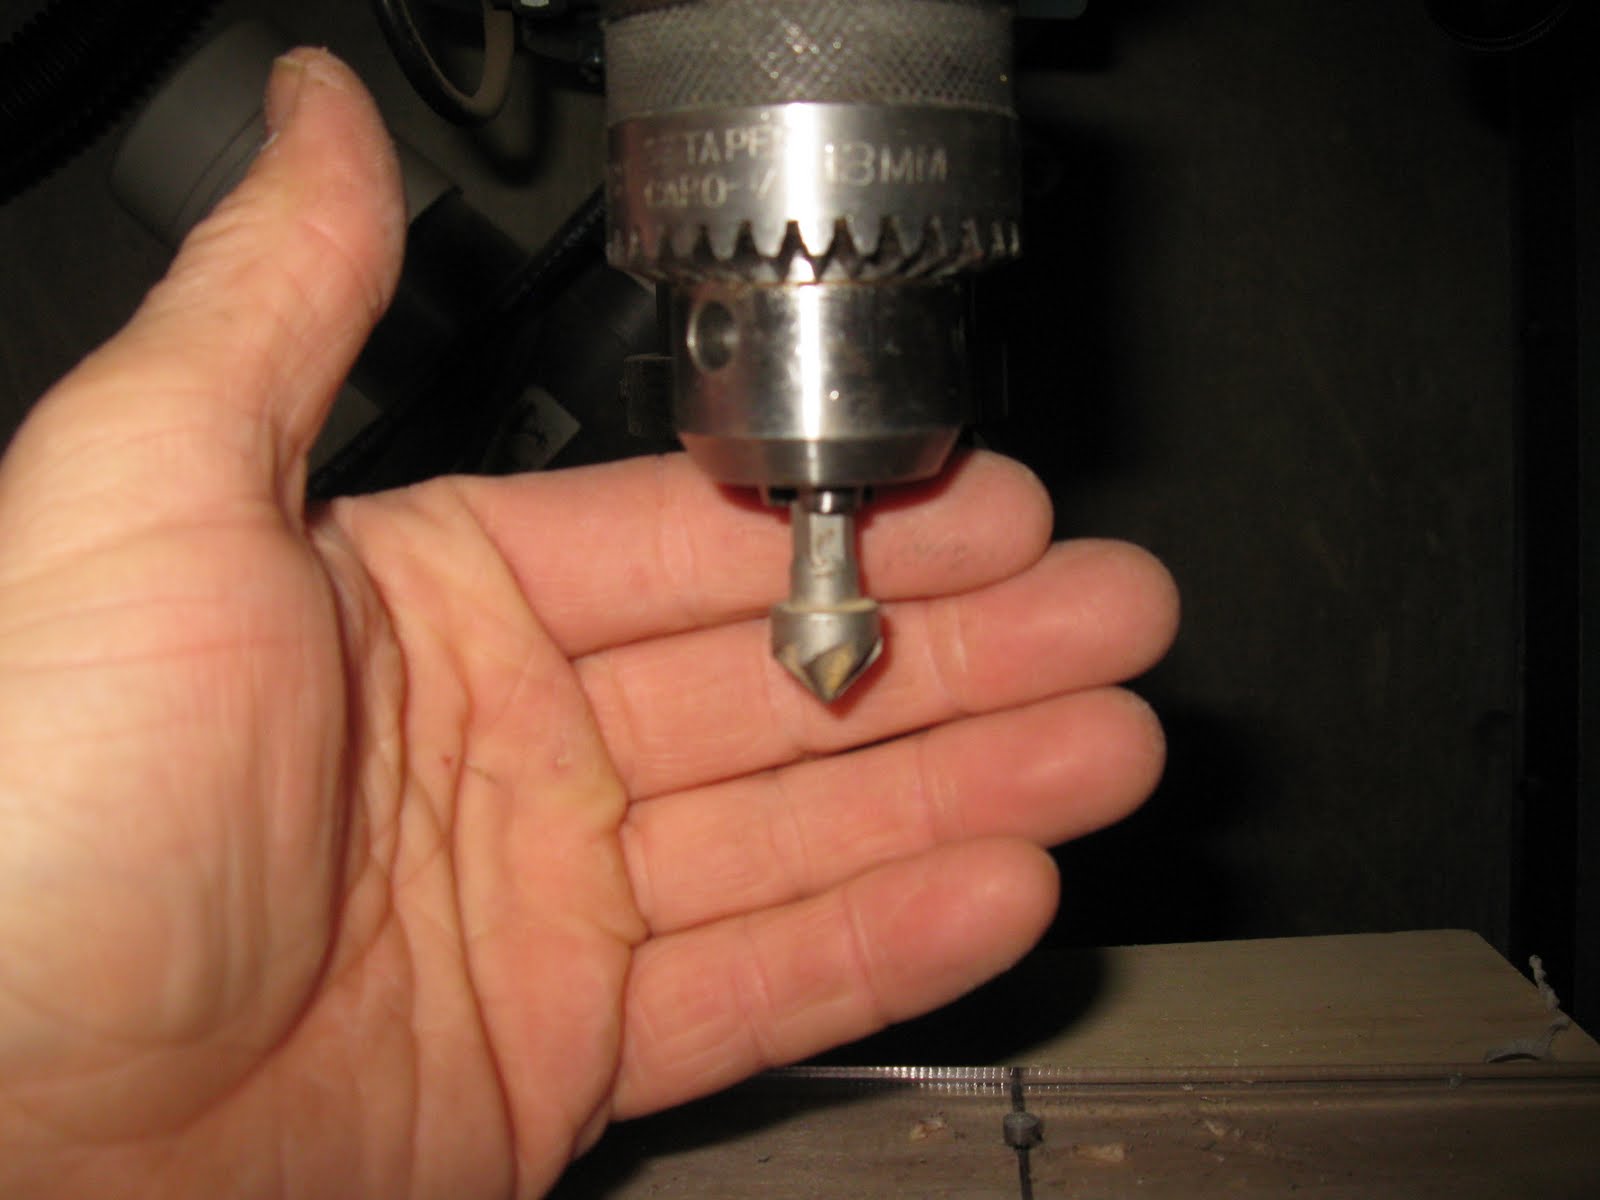
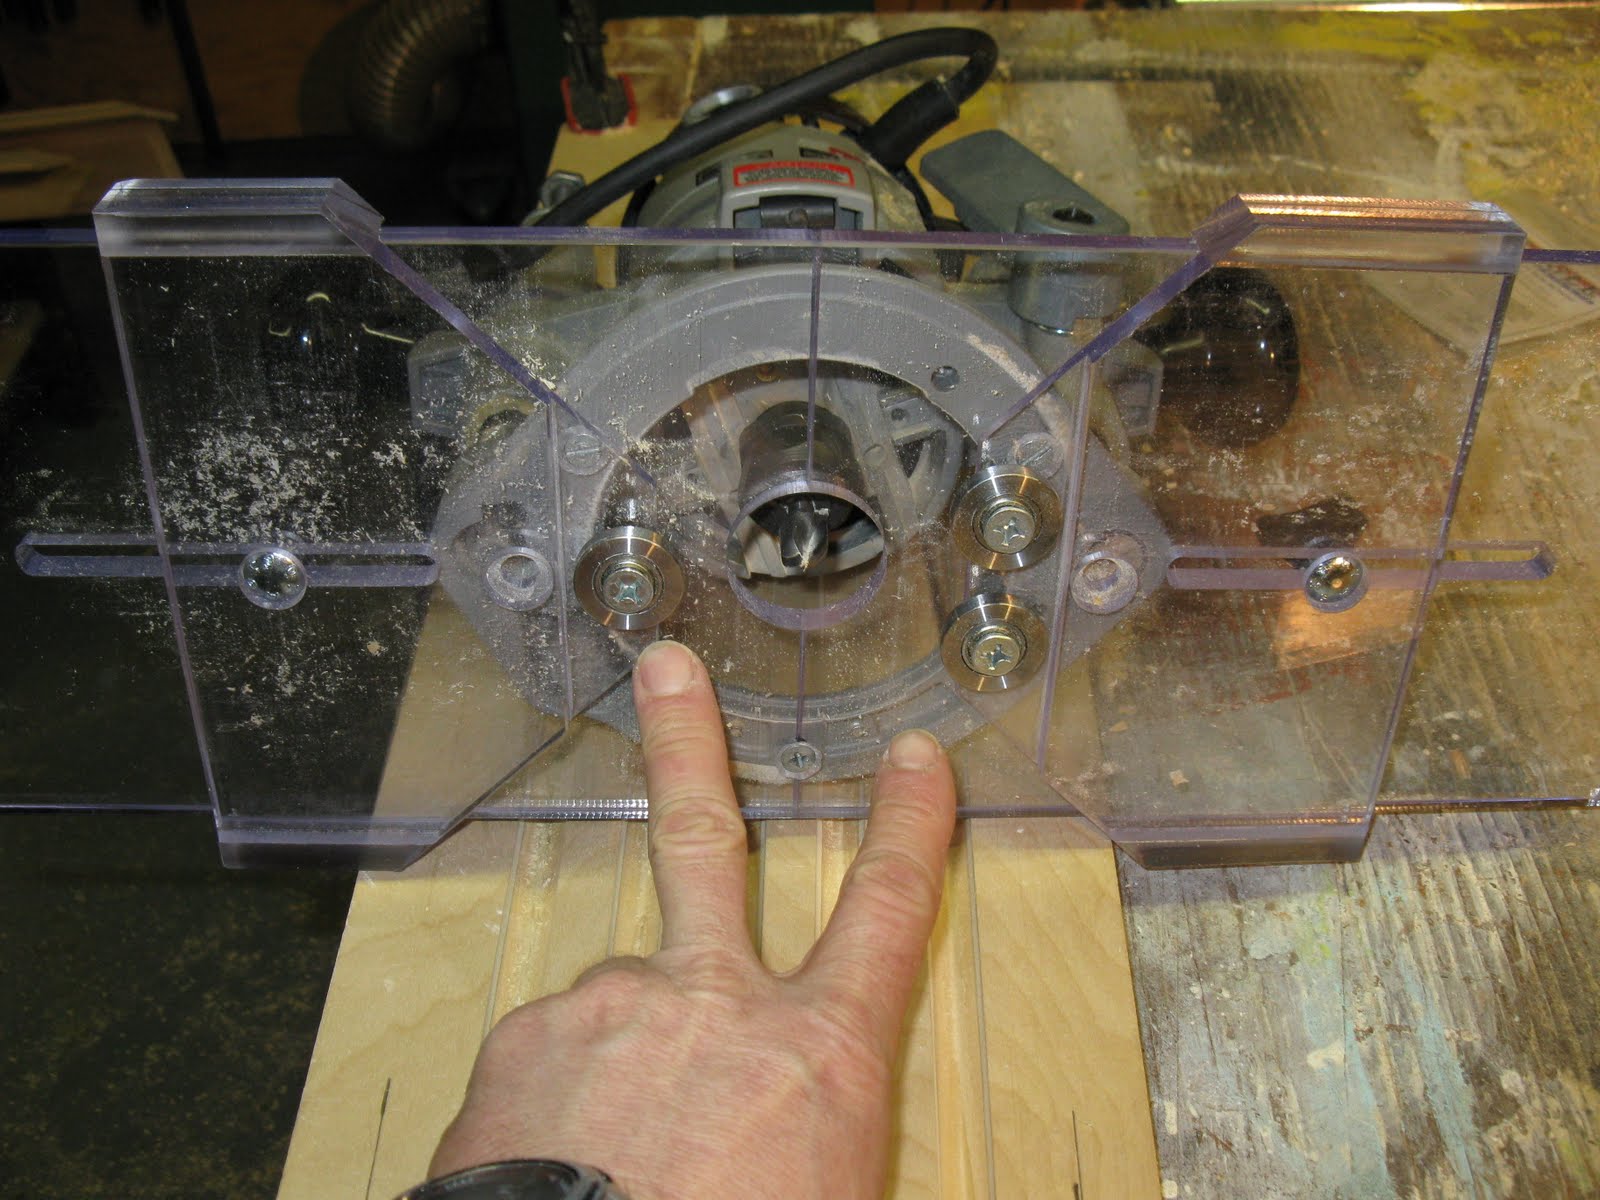
I set up my drill press to drill out the three mounting holes, using the base plate as a guide.
Countersink bit I used on the jig.
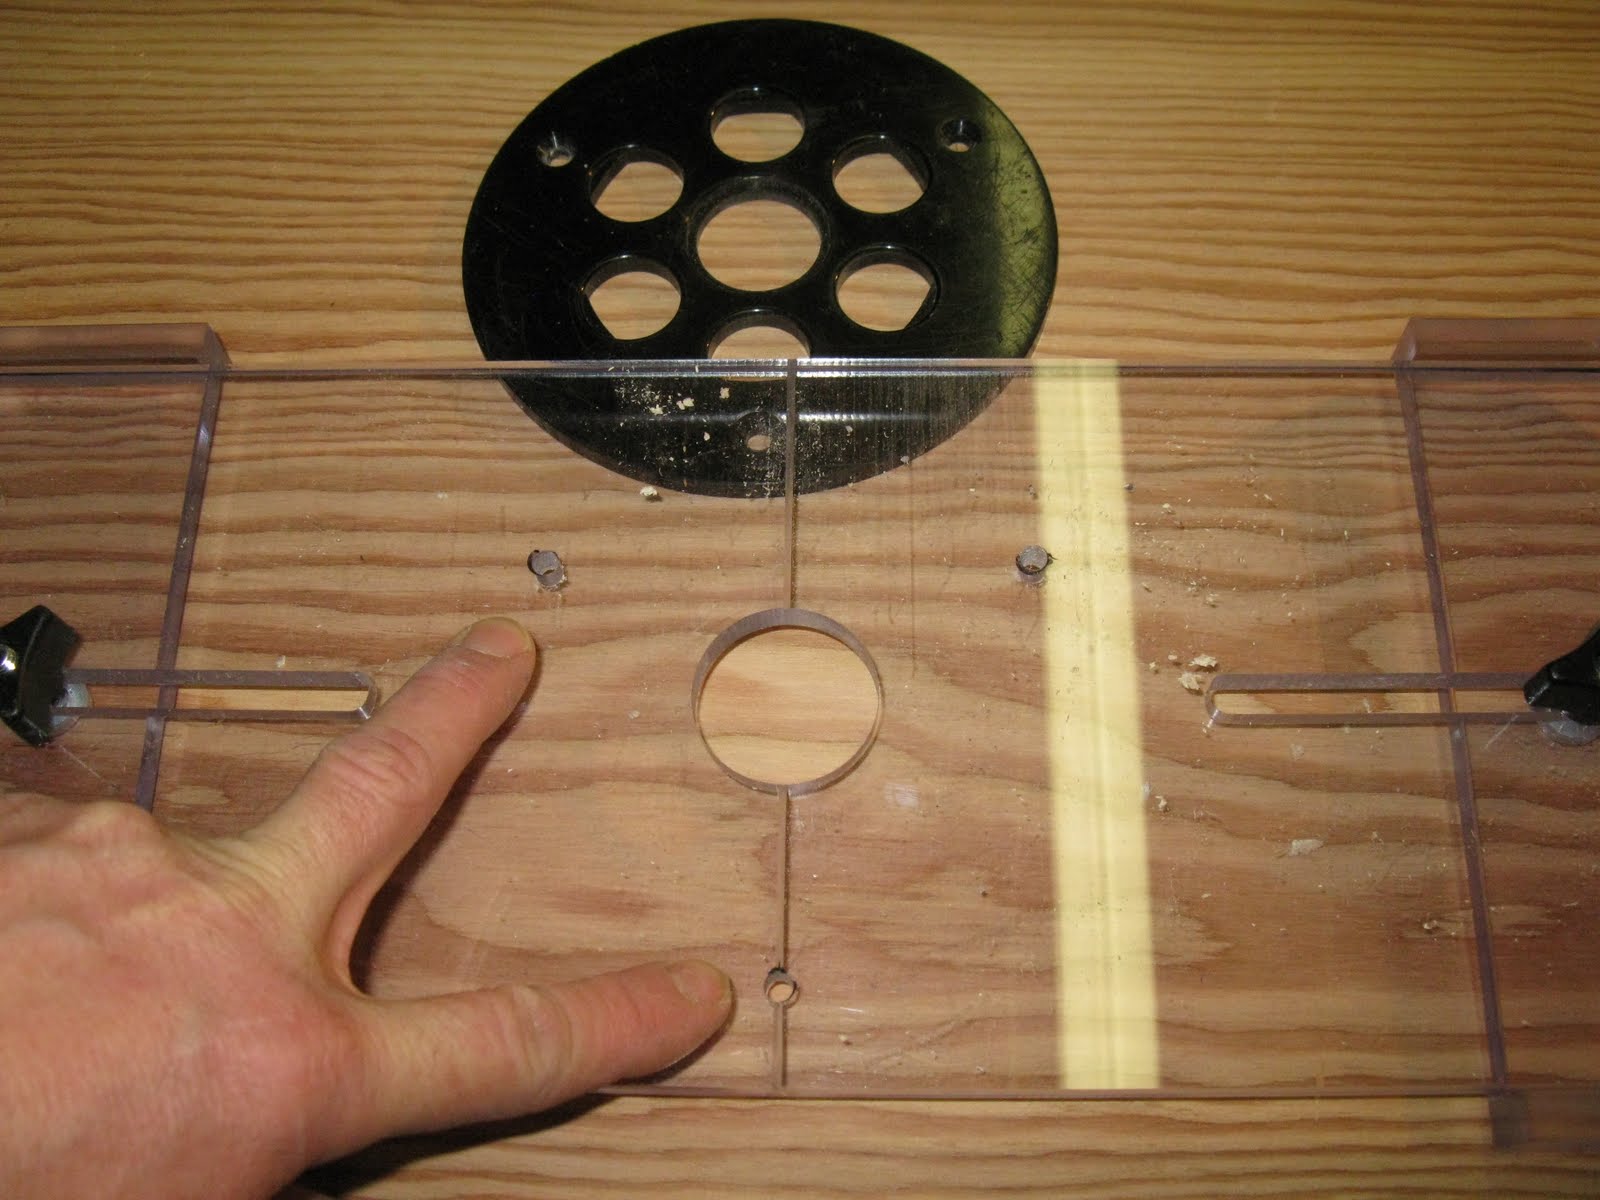
Holes countersunk and screws set inside for a test fit. If installed properly the router bit and reference lines on the jig will line up and can be used to assist you line up to pencil layout marks on your wood.

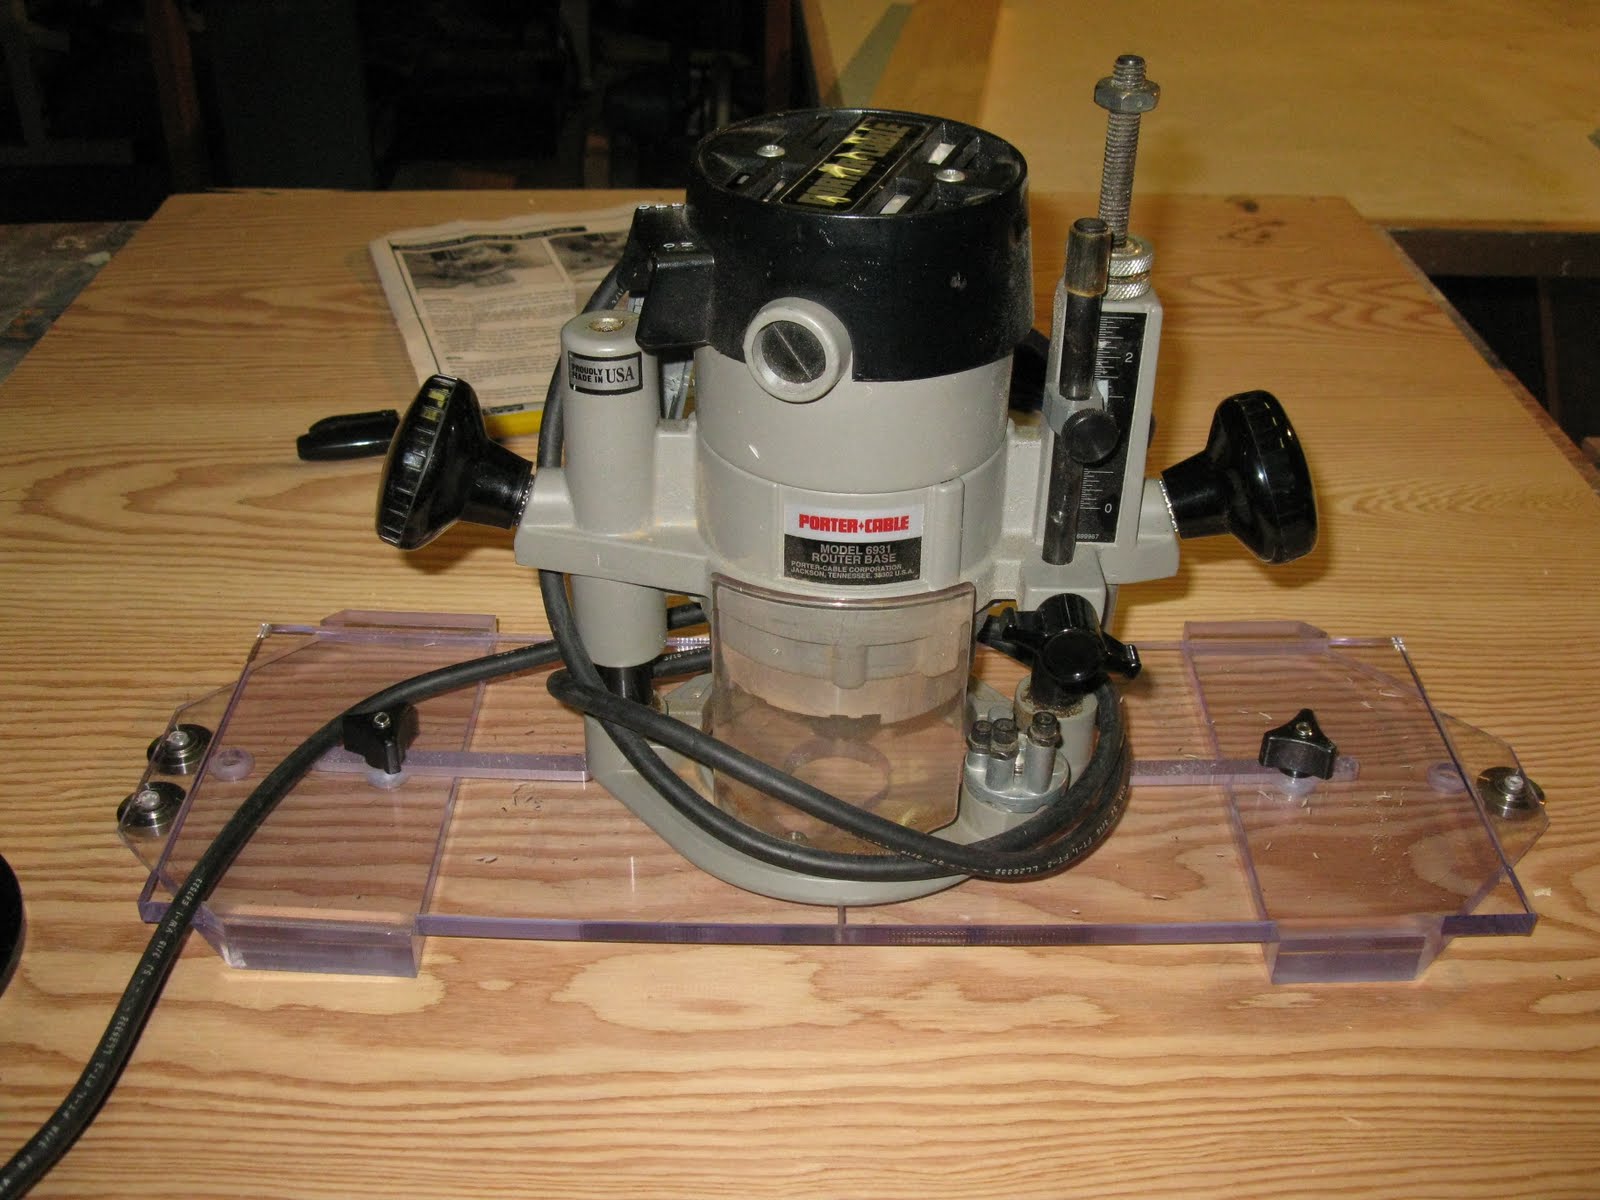
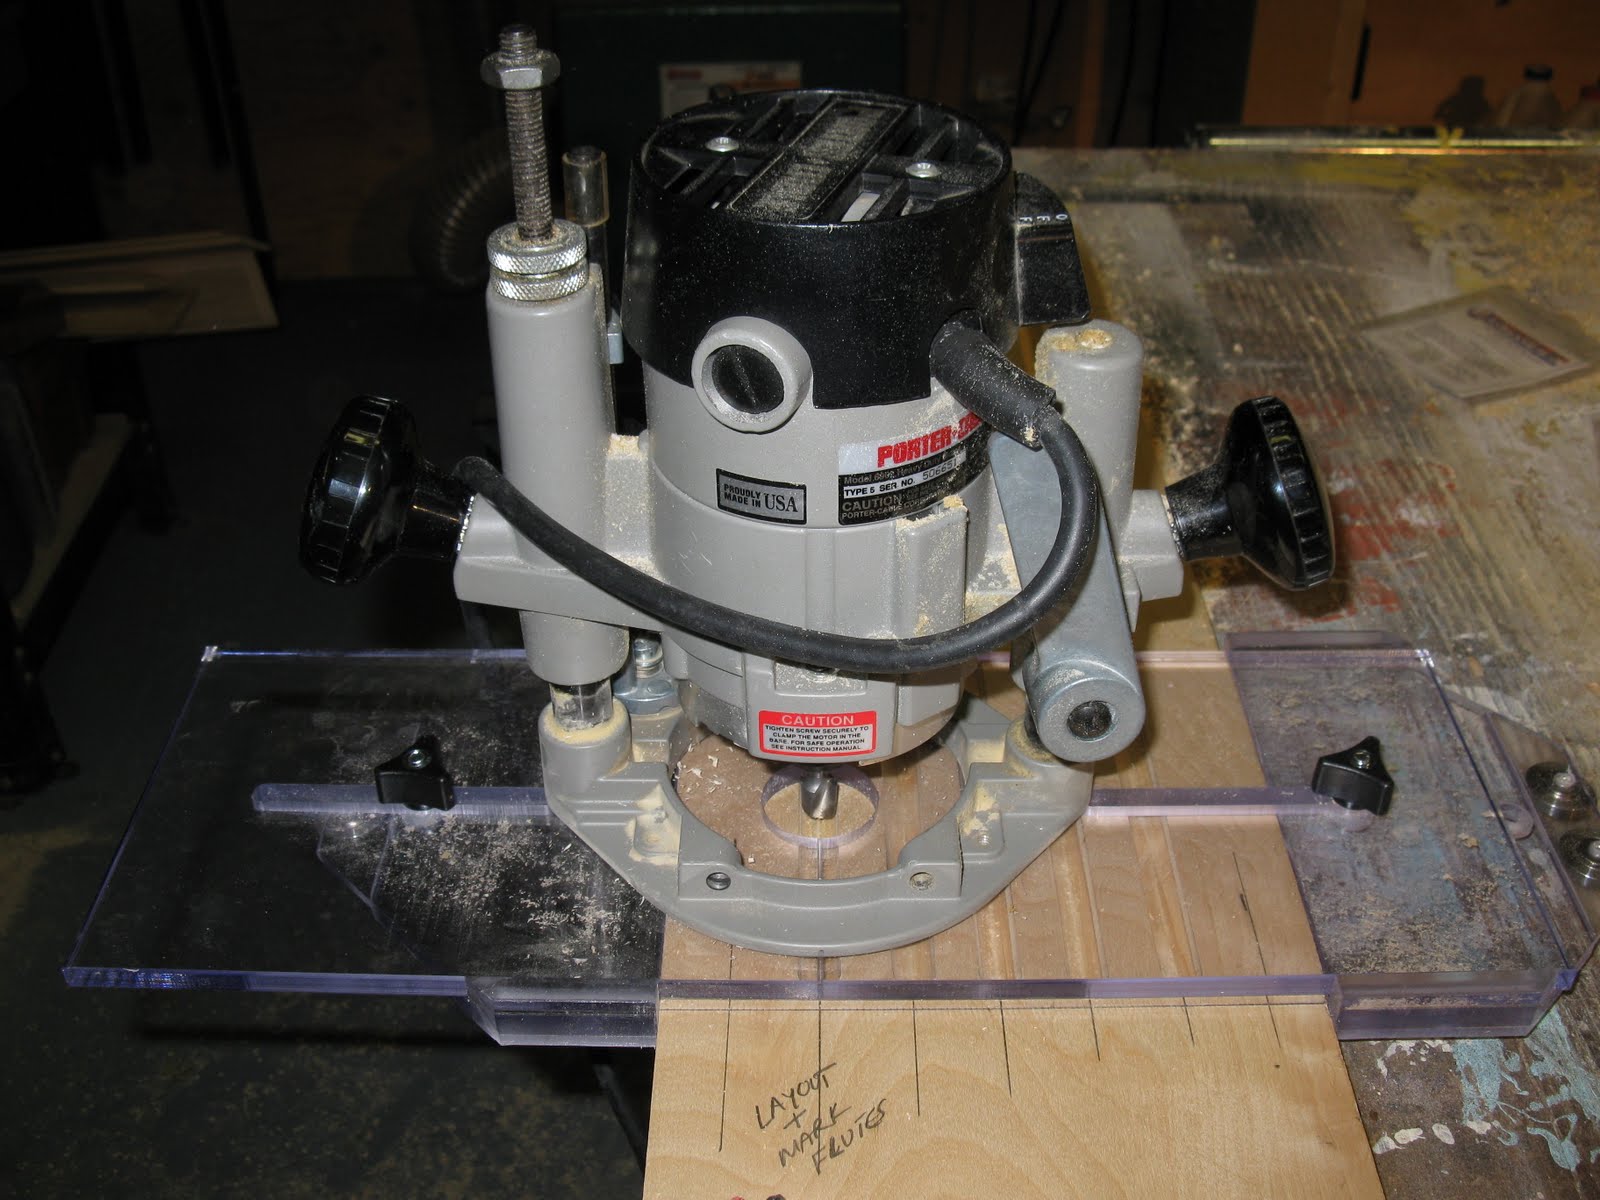
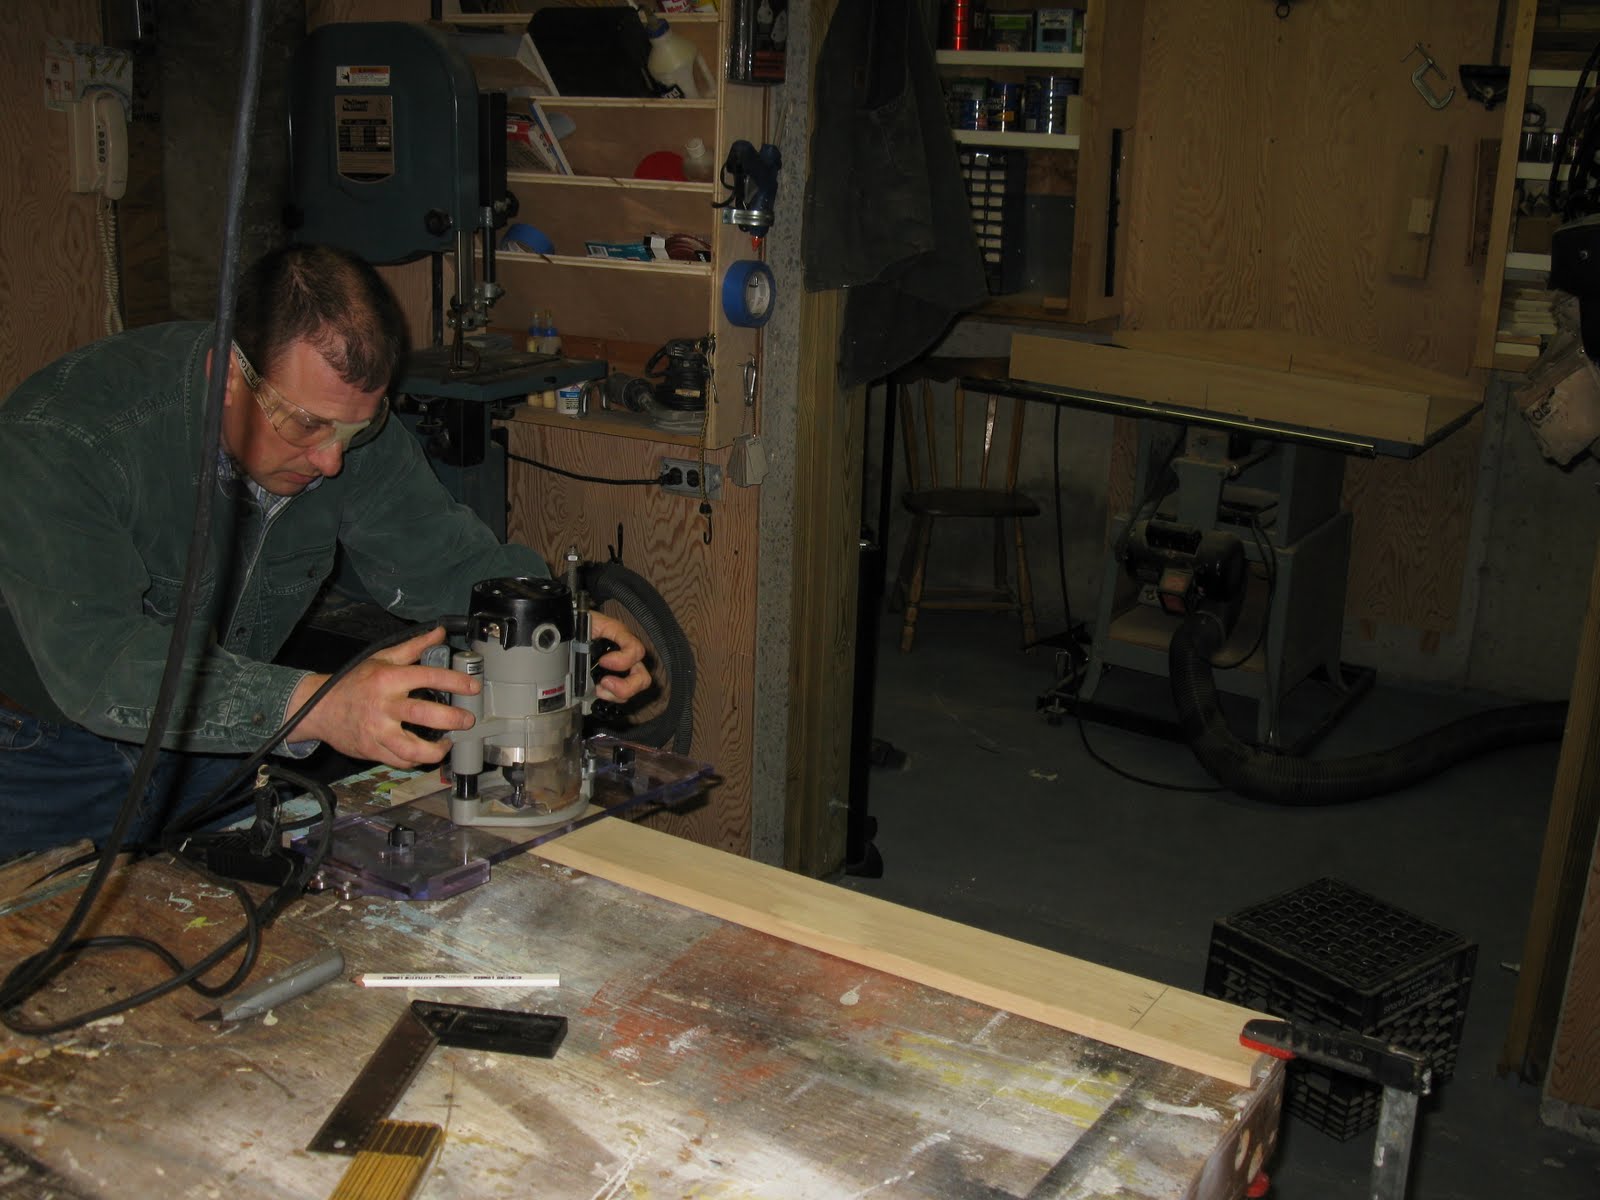
Fluting jig mounted to my router and ready to try out. The process of installing this to my router too approximately 20 minutes.
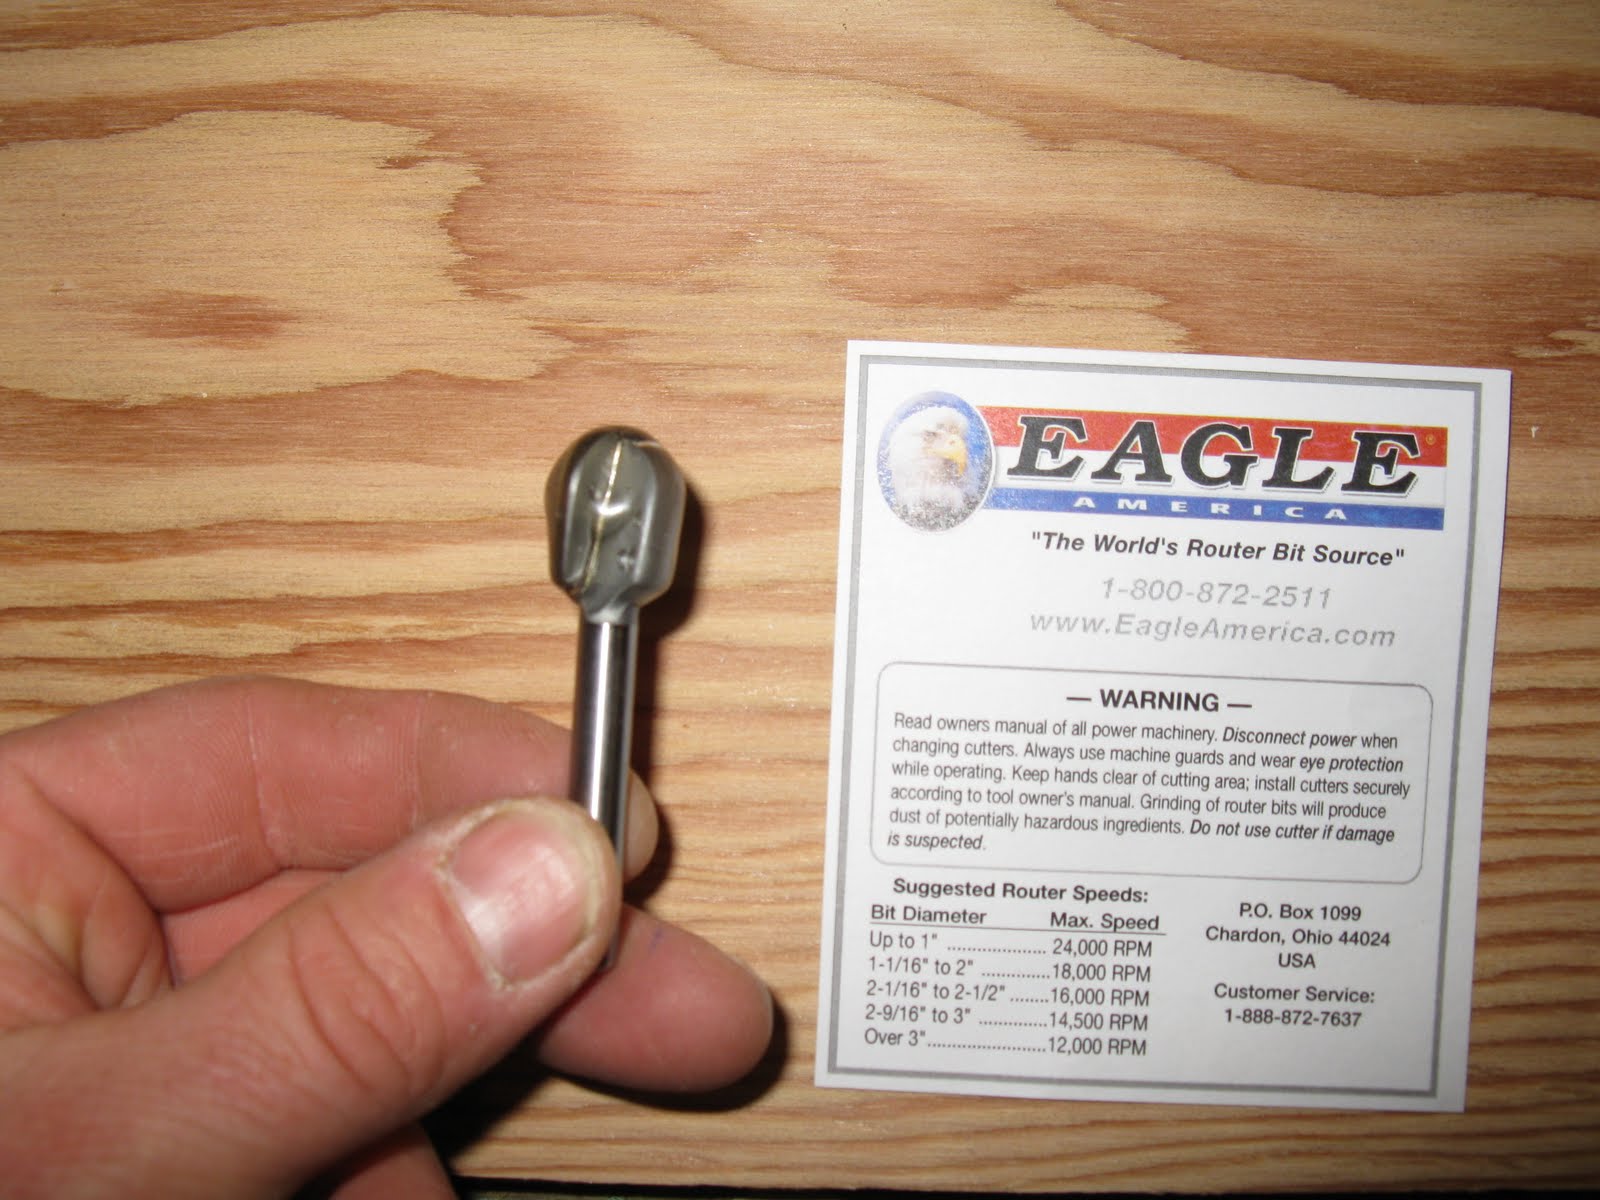
Eagle provides you with a decent 1/4″ shaft, carbide round nose, fluting bit.
All set up to test out.
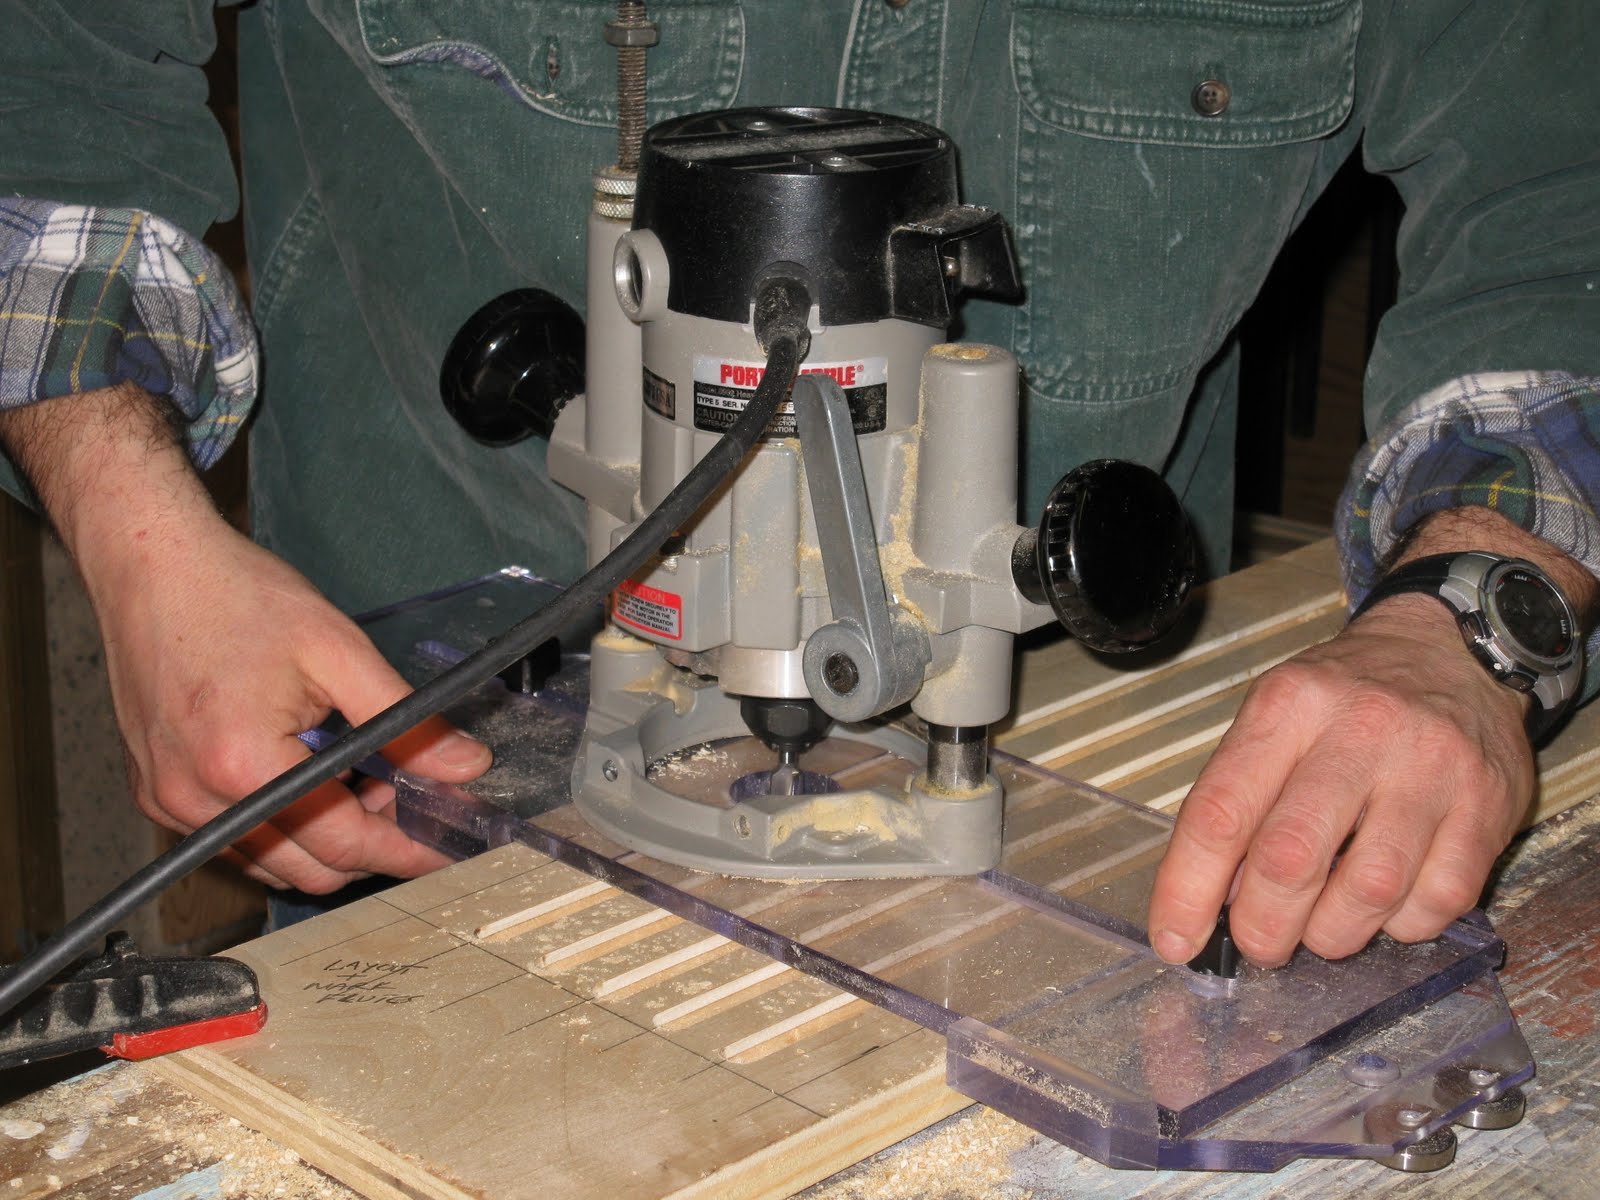
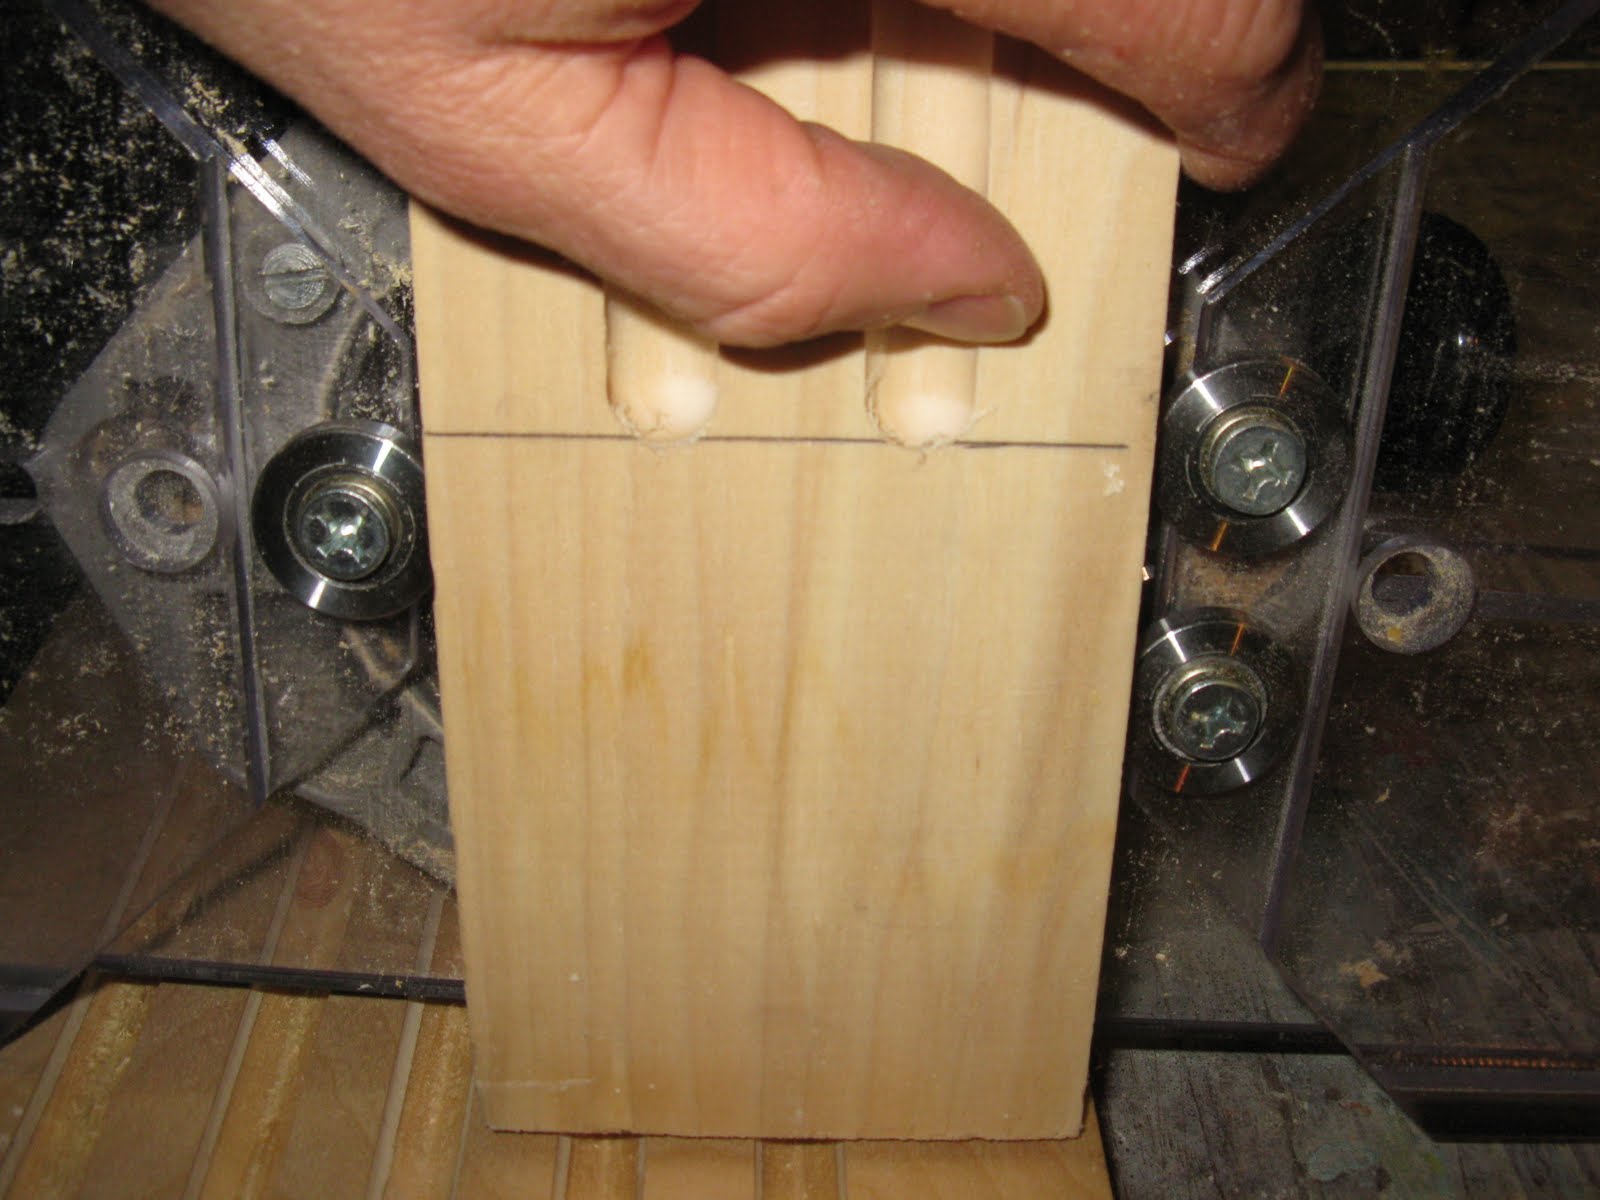
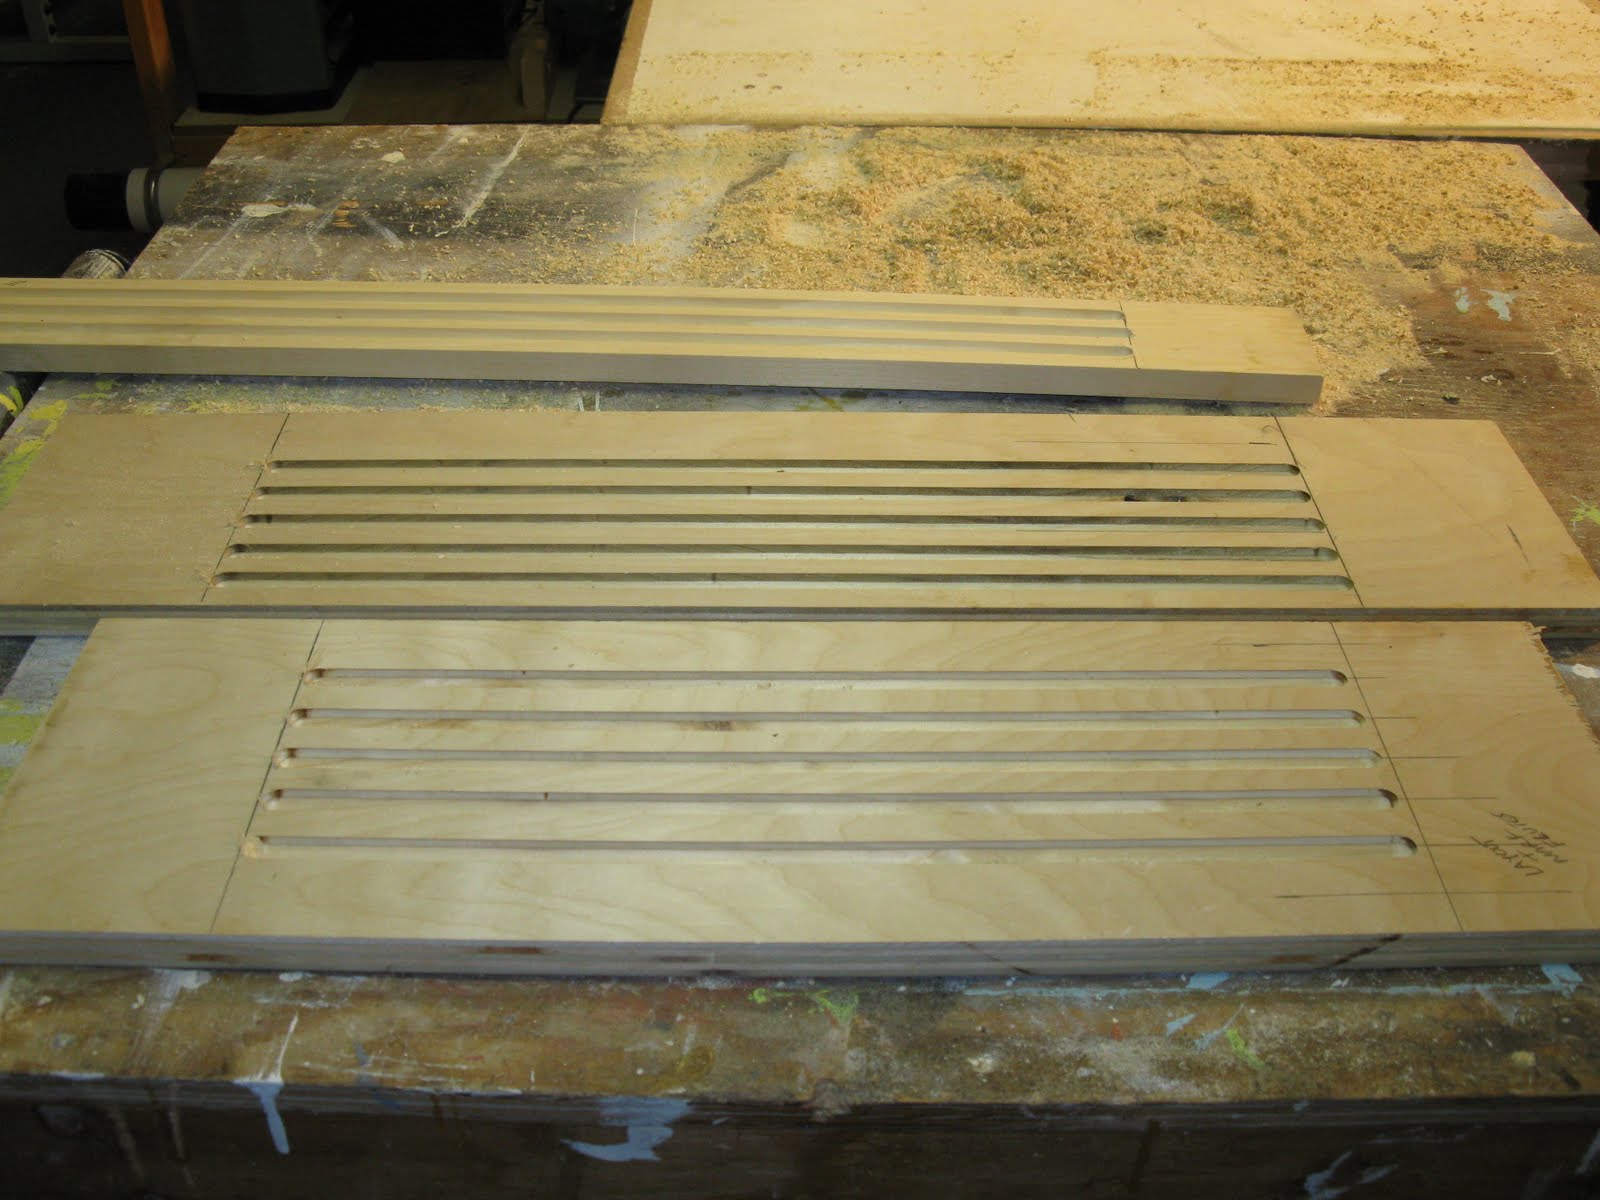
I laid out and marked my test piece where I wanted to rout my flutes.

The easy to adjust guide wings and centering line allow you to quickly index the centers of multiple flutes or dado’s for fast, repetitive cuts.
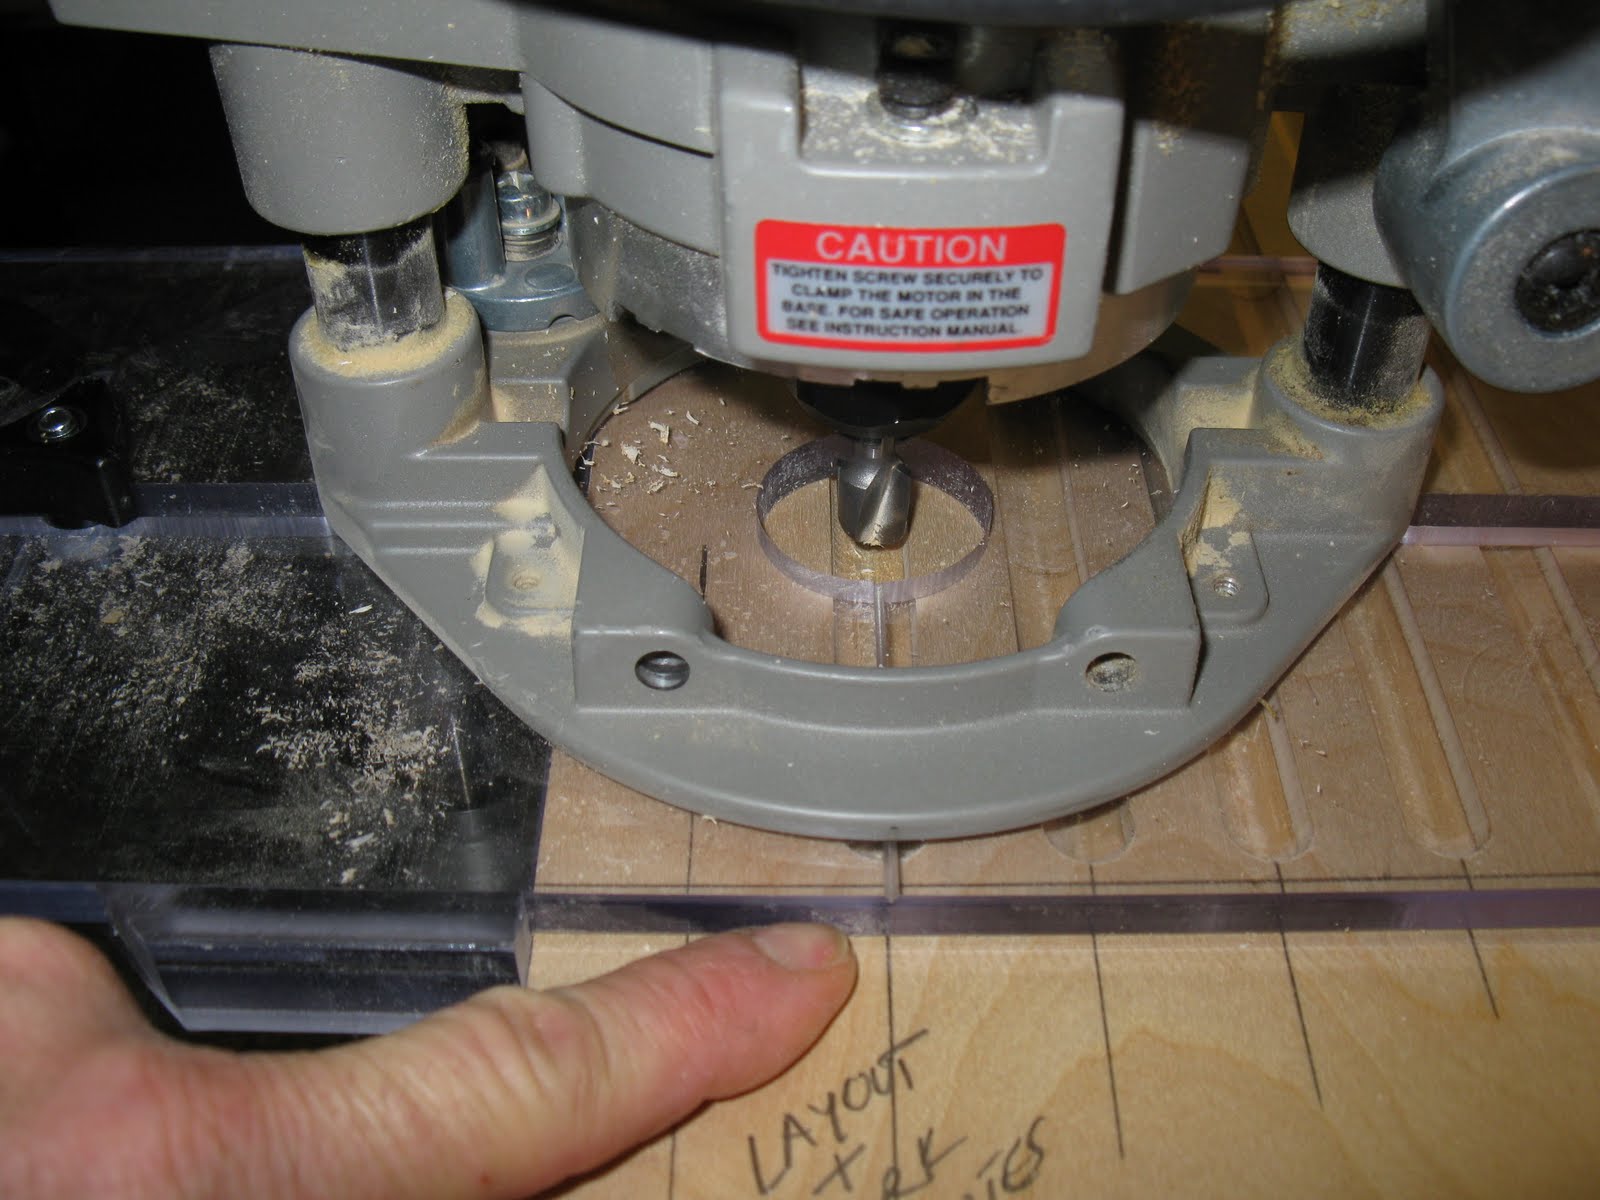
After I routed the first flute, I loosened the black knobs, slid the router over to the next layout line, readjusted the wings to the boards edge and tightened the black knobs.
I repeated this step until I was done adding the flutes to the board.
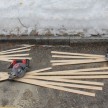
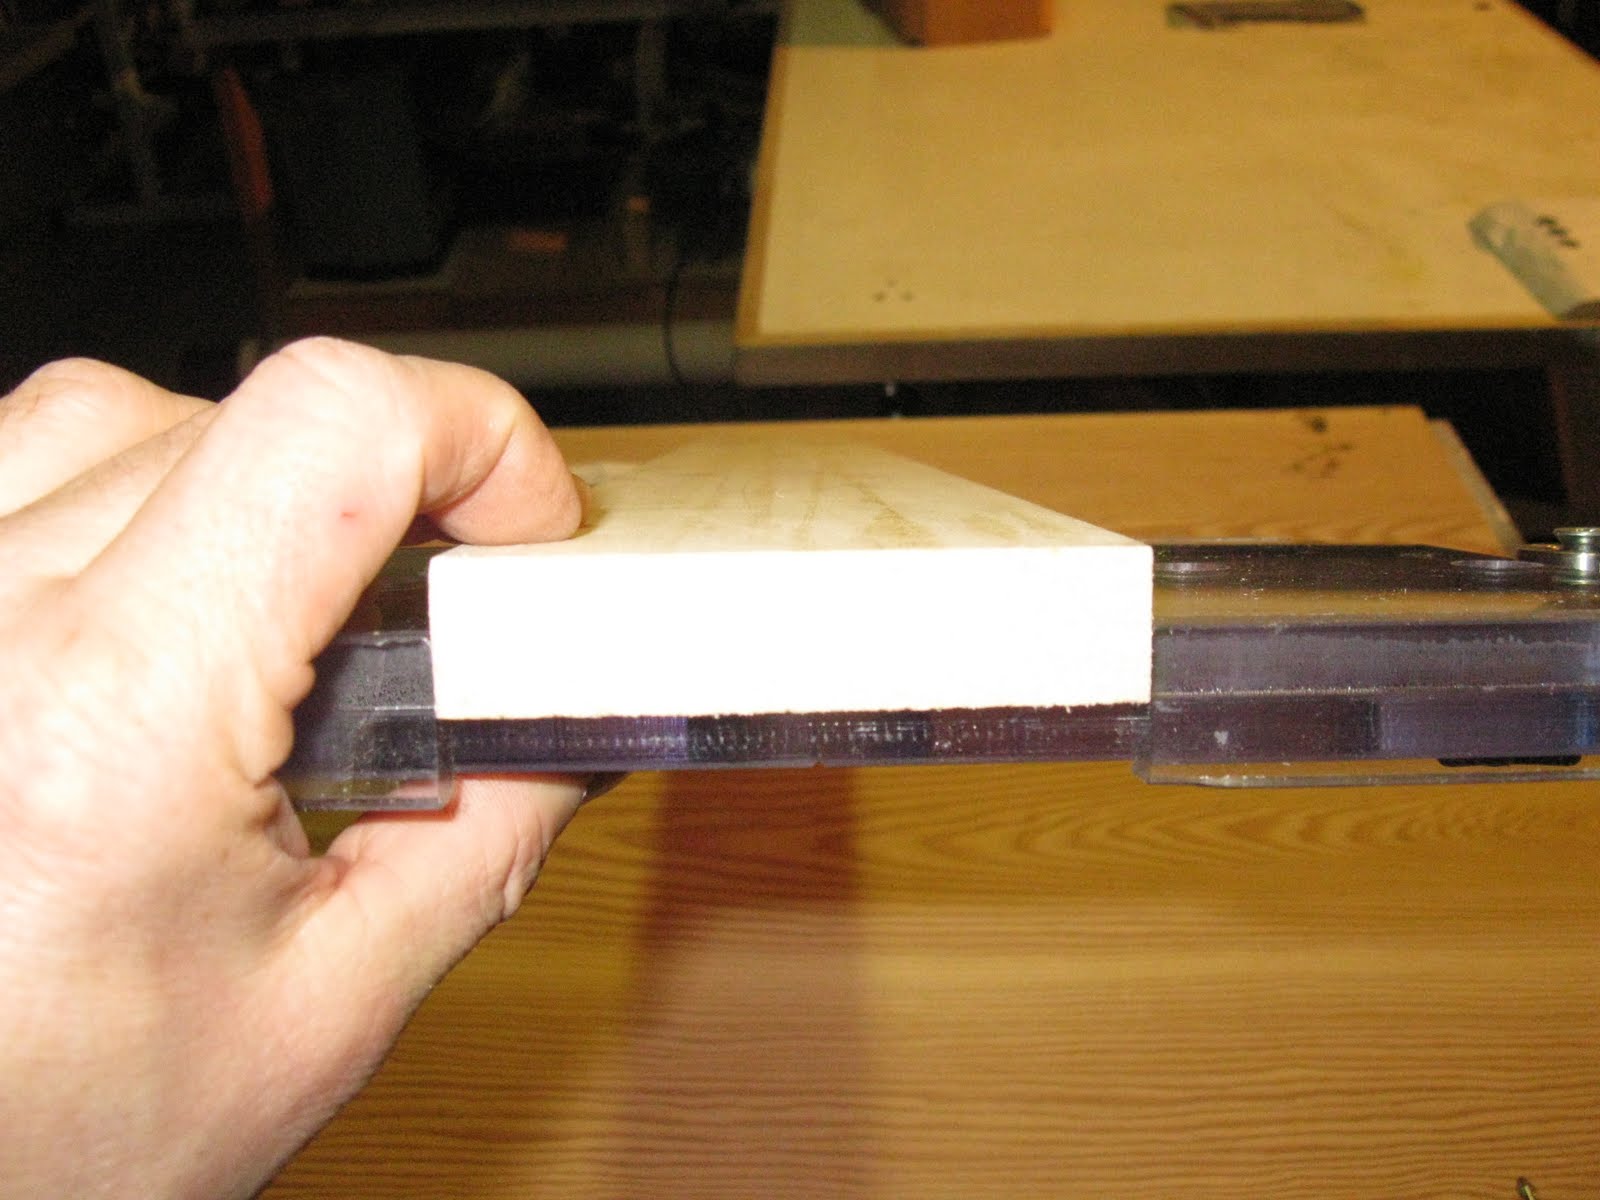
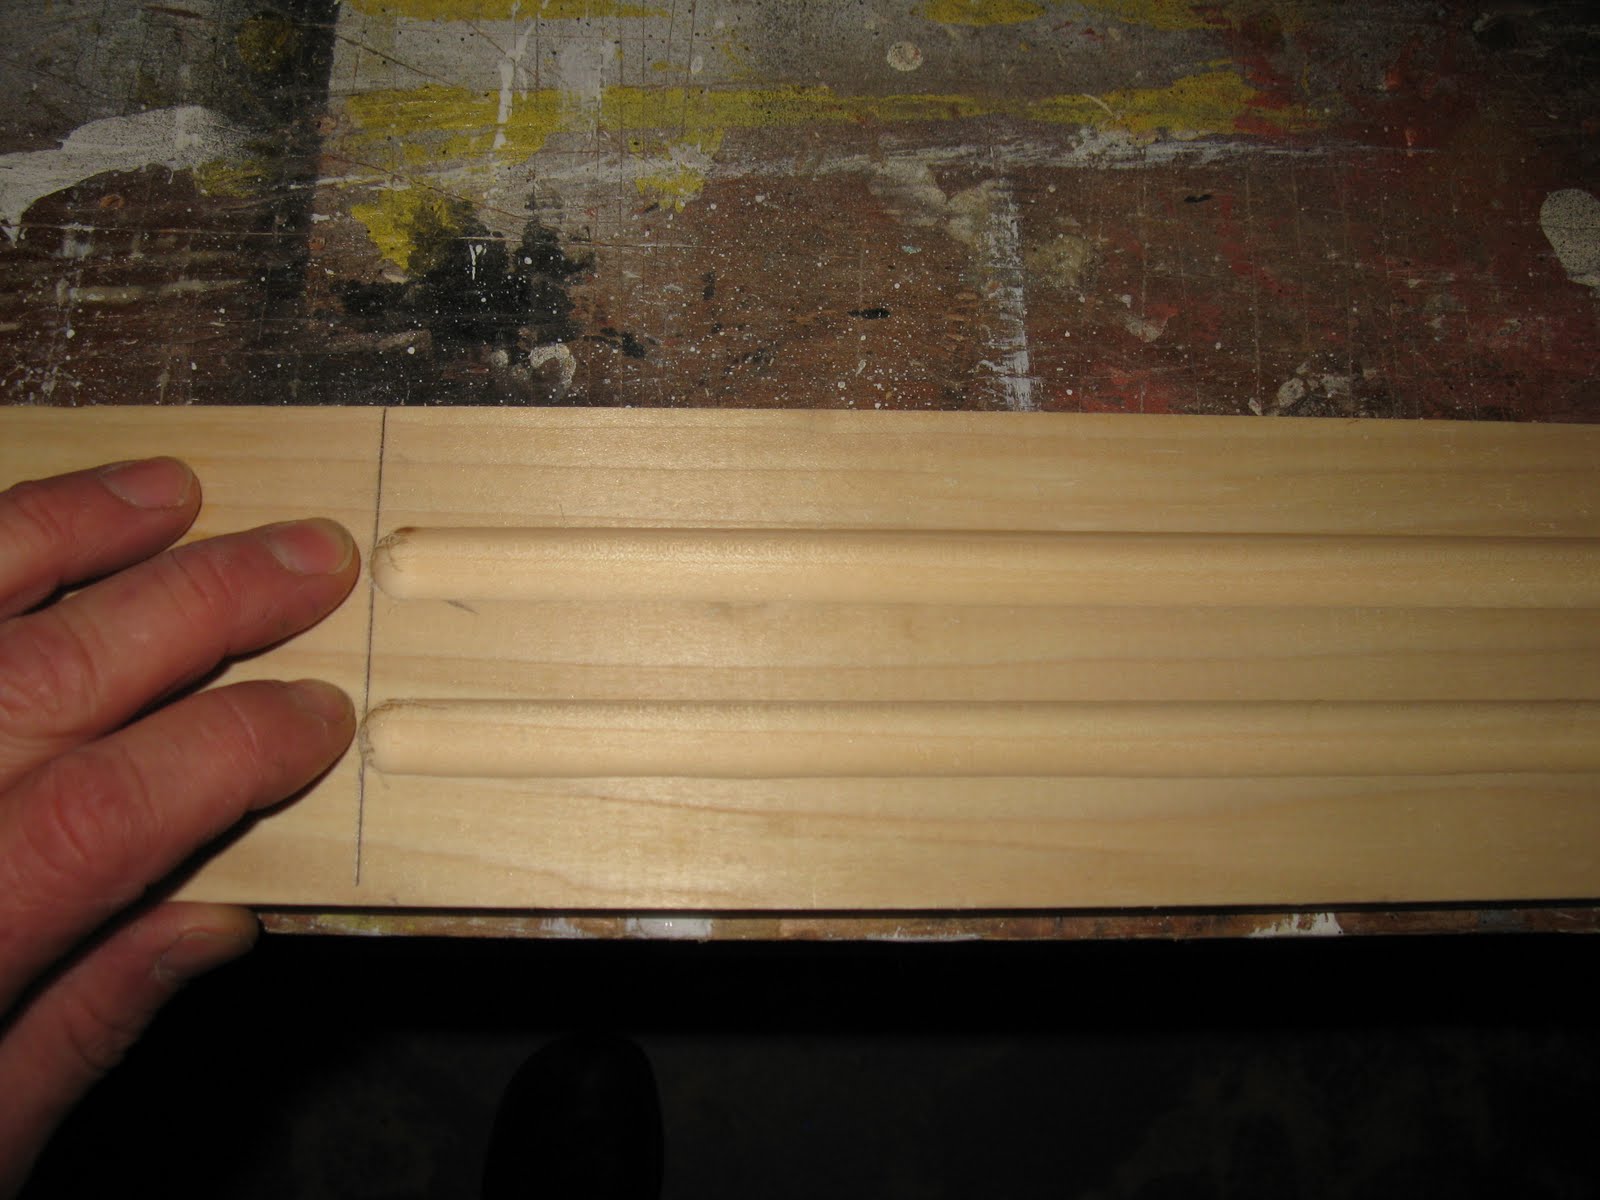
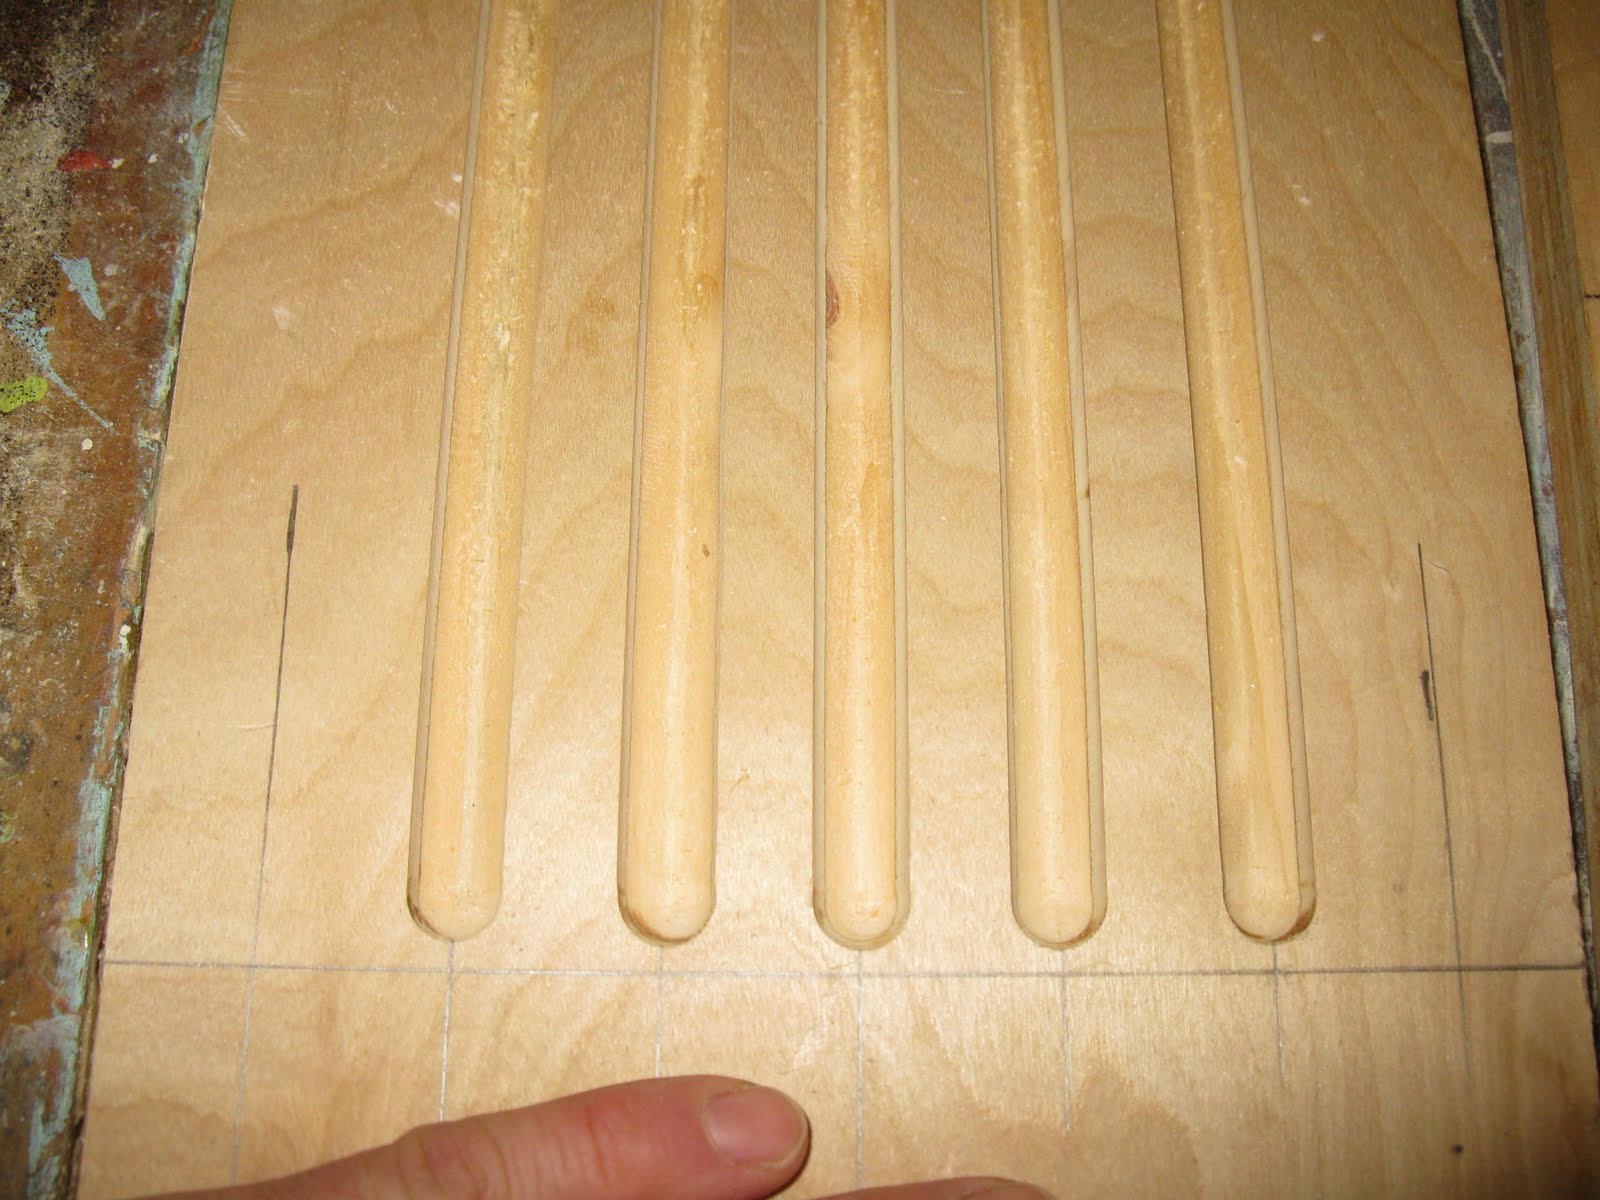
Sample flutes on a scrap board. Nice cuts!
This jig will work on straight stock from 1″ to 12″ wide and curved or arched stock from 1″ to 5-1/2″ wide.
To use the jig on curved stock simply by rotating the guide wings on each end so the rollers are touching the curved wood. Note the ball bearing rollers, they ride the curved edge of the board and will produce consistent flutes every time.
These three rollers assist the jig when following curved trim.
You can also remove one of the guide wings to create the perfect edge guide.
Sample cuts in scrap wood.
OVERALL IMPRESSION:
I really liked this jig. What a time saver!!!
The jig was simple to use, feels sturdy and durable, and will allow you to create clean looking , straight and effortless repetitive cuts.
I highly recommended this jig. for less that $ 60.00 and Eagle Americas “Total Satisfaction” guarantee you can’t loose.
Eagle America sells these jigs online.