Building A Child Play House
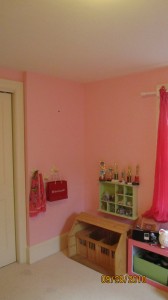

BEFORE AFTER
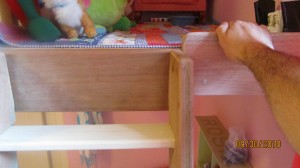
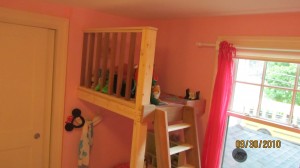
We recently built a child’s playhouse for a client. There’s nothing better than a cool child play house to capture your child’s imagination and make it a reality. With about $130 worth or wood, some planning and some tools, you can design, build, and decorate a playhouse that will stand up to the wear and tear that your kids will give it. The key is to build your child’s fort structurally strong, safe and fun!
Here’s some tips:
1. Build a strong, sturdy structural frame that will attach to the wall studs with 3″ screws or timber lock structural screws. We used 2×4’s screwed together with 3″ galvanized deck screws. This frame was a 40″ x 40″ square with one 2×4 as a middle joist.
2. Use 3/4″ quality plywood for a floor and screw it down to the frame every 6-8″. We used A?G grade plywood for it’s smooth finish.

3. Build a railing and make it strong. Our railing is made with mahogany 2×2 deck balusters, space 4″ on center. The top and bottom of the railing is poplar and the railing ties into a double 2×4 post. The double 2×4 post runs to the floor and is also the forts post.
4. Build a safe, sturdy ladder to be secured to the fort frame. Our ladder is made from 5/4″ x 6 mahogany and has 3/4″ poplar treads dadoed into the ladder sides. We used a miter saw to score the dado lines and cleaned out the material with a sharp chisel. Glue and screws hold the treads and ladder rails together. Mahogany plugs finish off the screw holes.

5. Sand everything to eliminate splinters
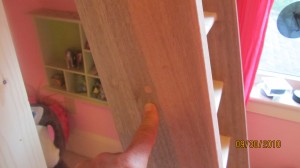
6. Attach the leg to the frame with 3″ screws.
7. Locate the wall studs, level a line on both walls and screw 2×4 frame to wall. Use 2 screws per stud.
8. Secure leg to floor with finish nails or screws.
9. Attach plywood base.
10. Plumb and attach railing to plywood base, double 2×4 post and wall.
11. Cut top of ladder to mate with forts frame. Attach 5/4 material to the back of the ladder with 2-3 screws into each rail. Then screw this block to the forts frame, plugging the screw holes.
12. Paint, hang curtains under it, it’s open to yours and your child’s imagination!


