Building A 20′ Foot Stage Door

Building A Theatre Door
Recently we worked at the “Friends Of the Performing Arts Center” [FOPAC] on 51 Walden Street in Concord, MA. They asked us if we were interested in Building A 20′ Foot Stage Door. had fun with this project!!
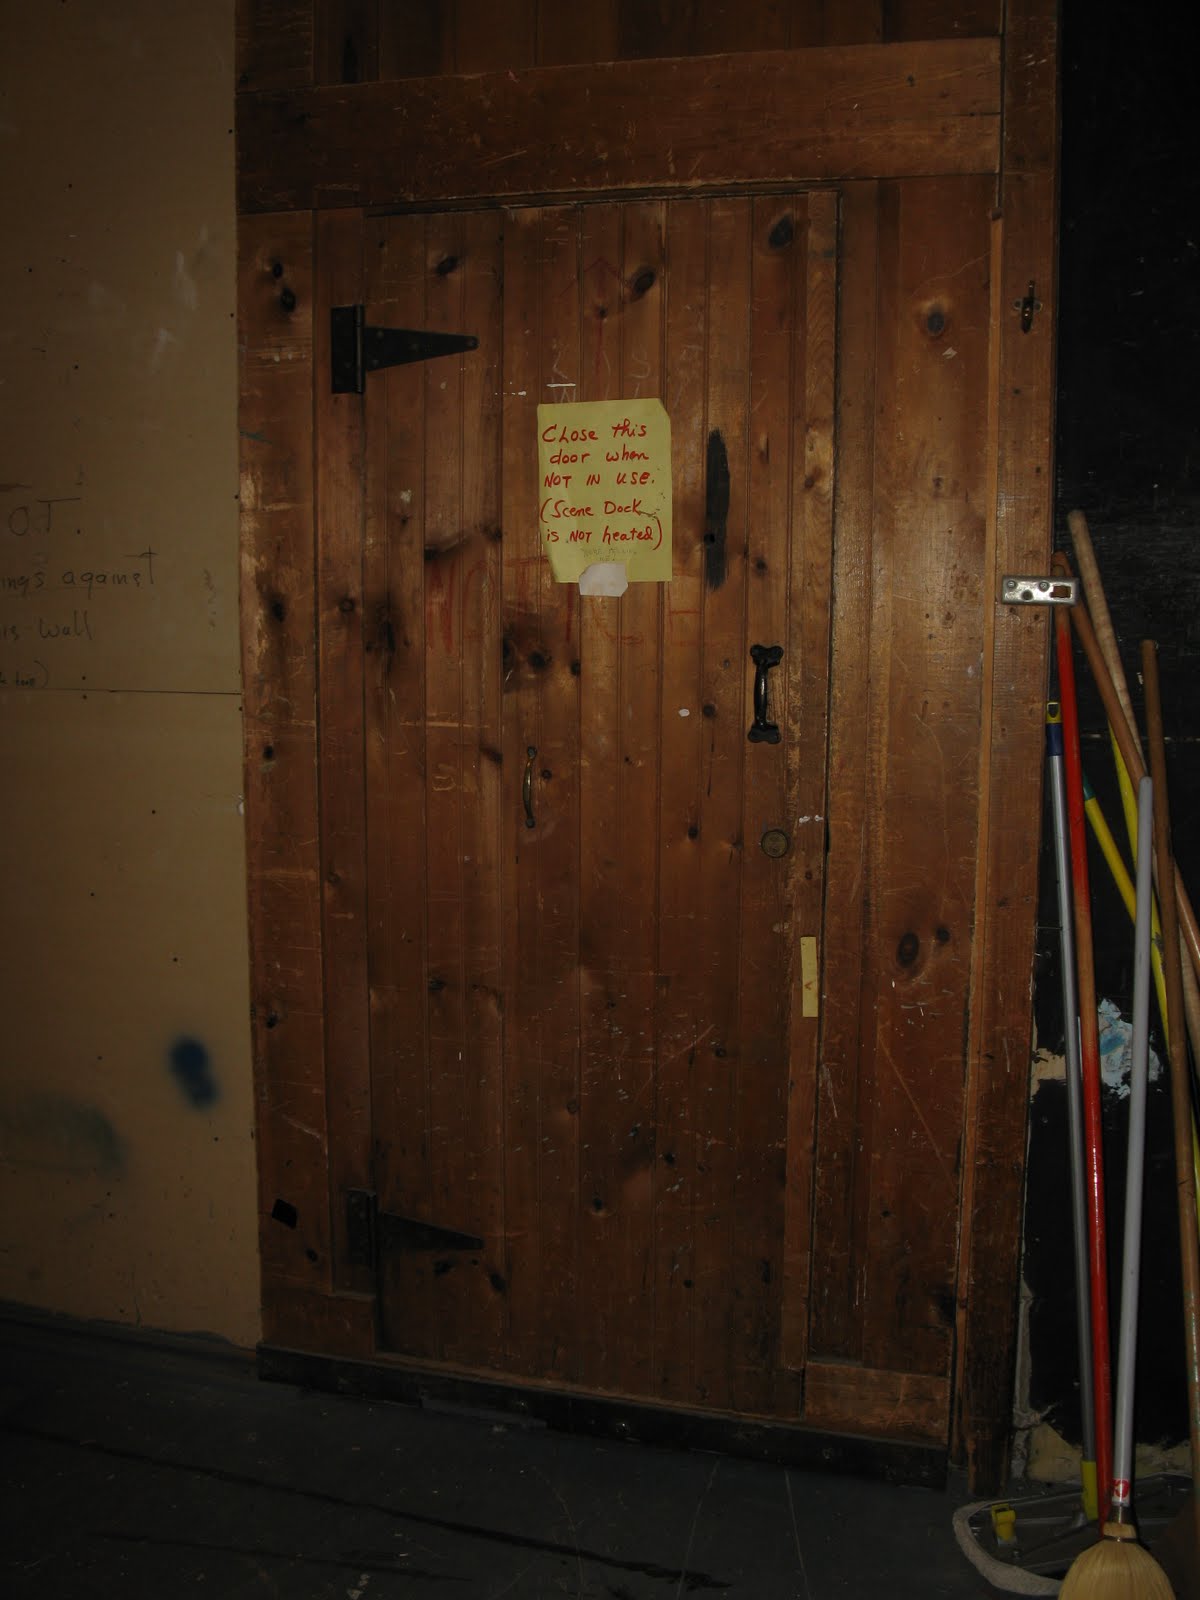
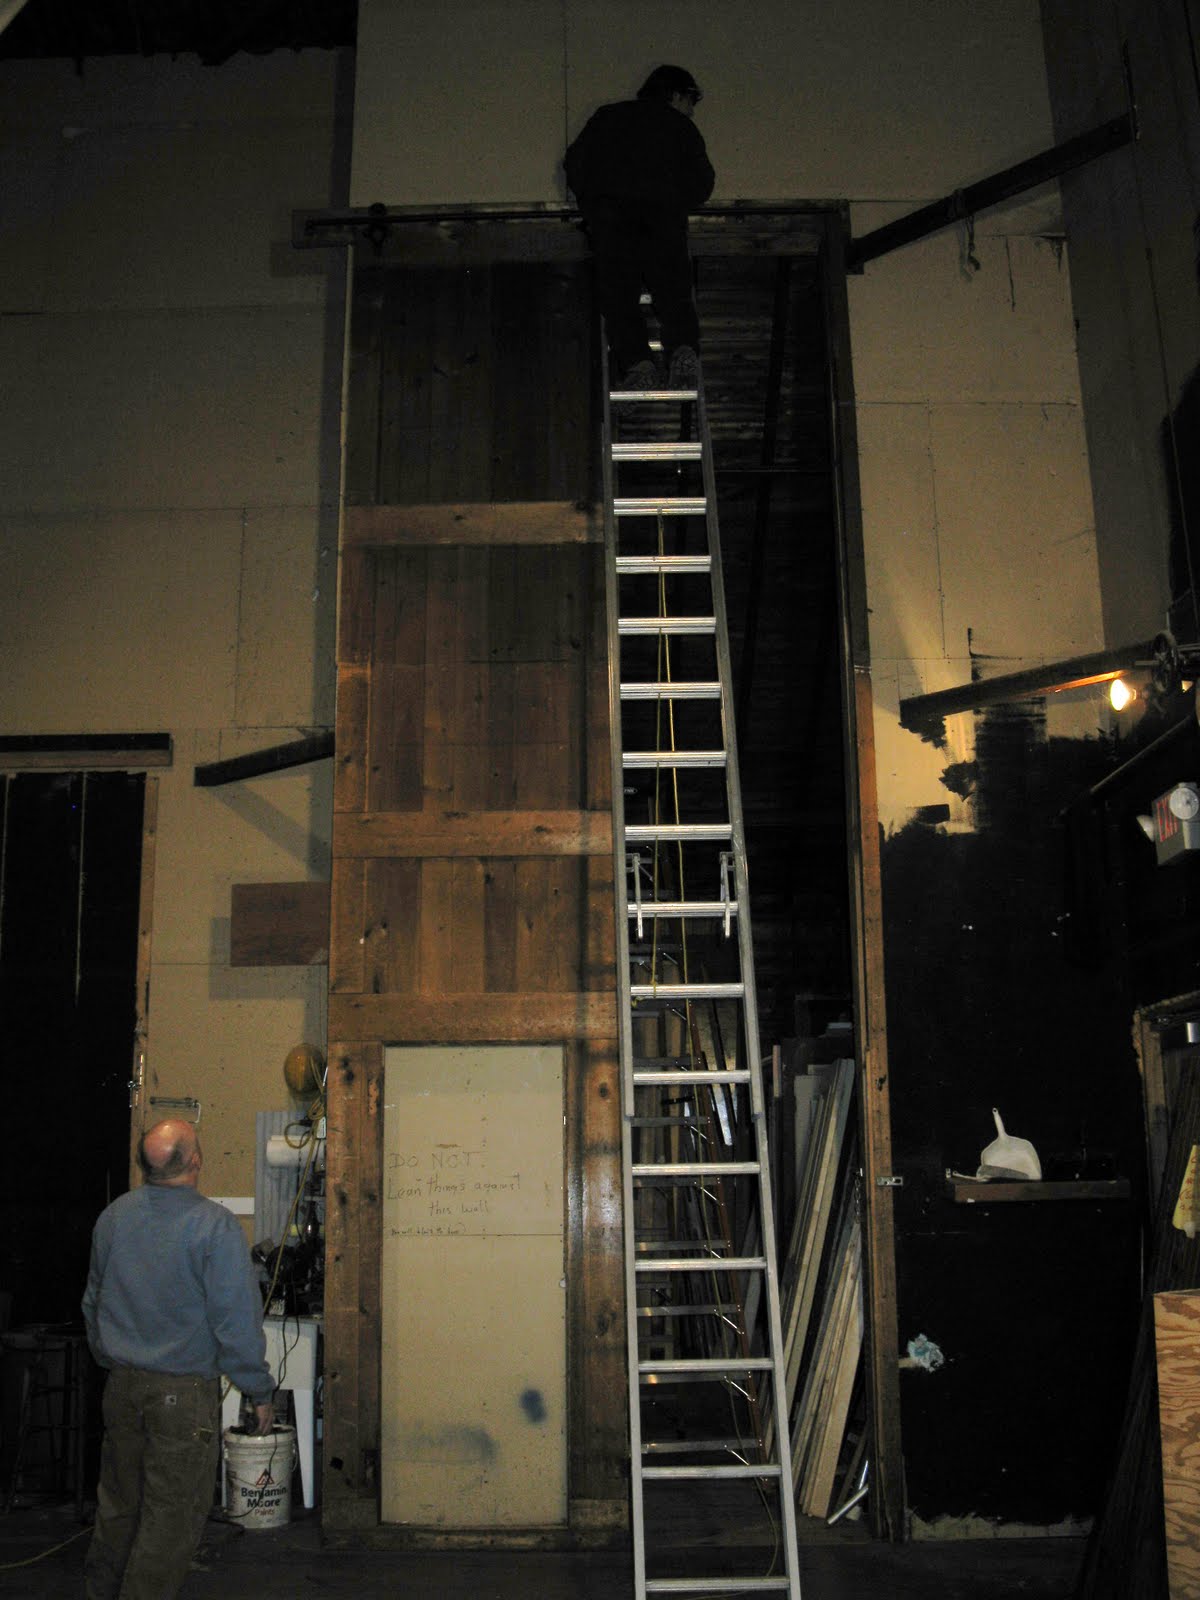
Part of the work we did was to replace their old 20 foot high “scene dock” door. This door opens to an unheated storage room where all of the tall scenery back drops / walls are kept.
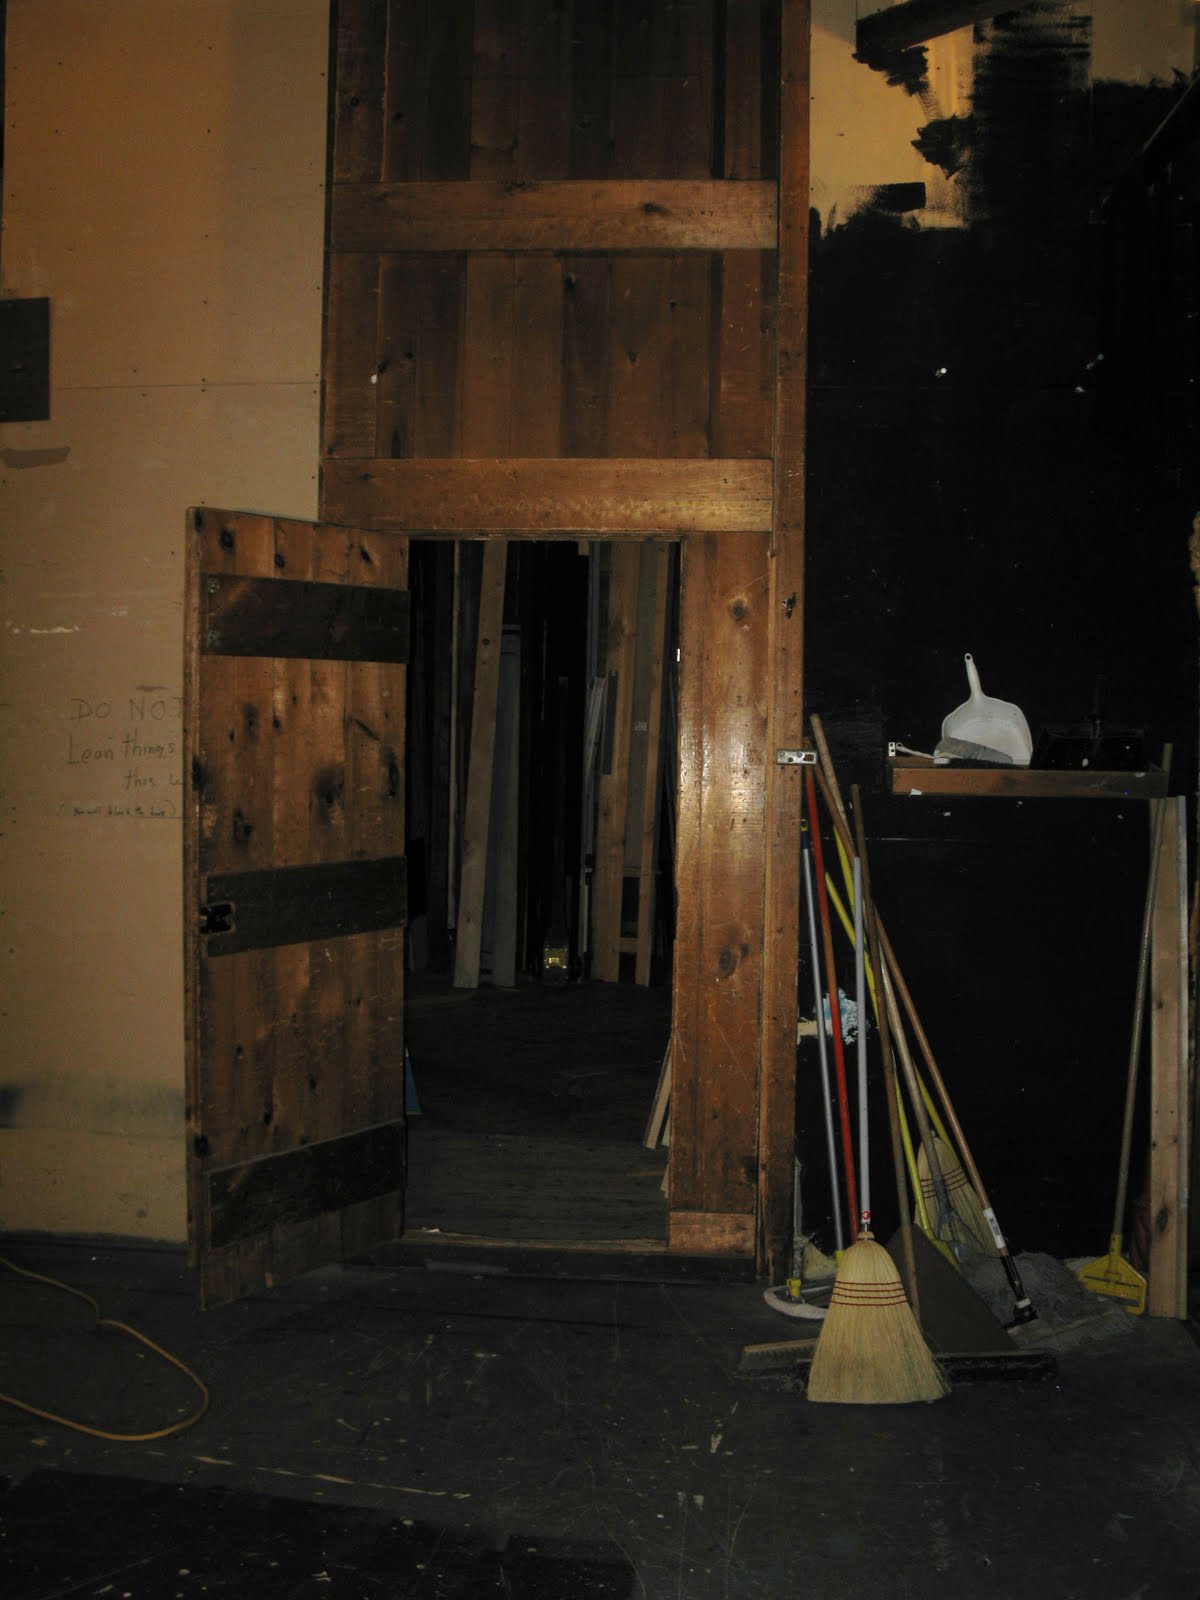
The door opened on barn door slider hardware and had a personnel door in the bottom. The door slides open to the left.
The major complaint with this 85 plus year old door was that it was un-insulated and leaky. This resulted in a very cold stage area for the actors.
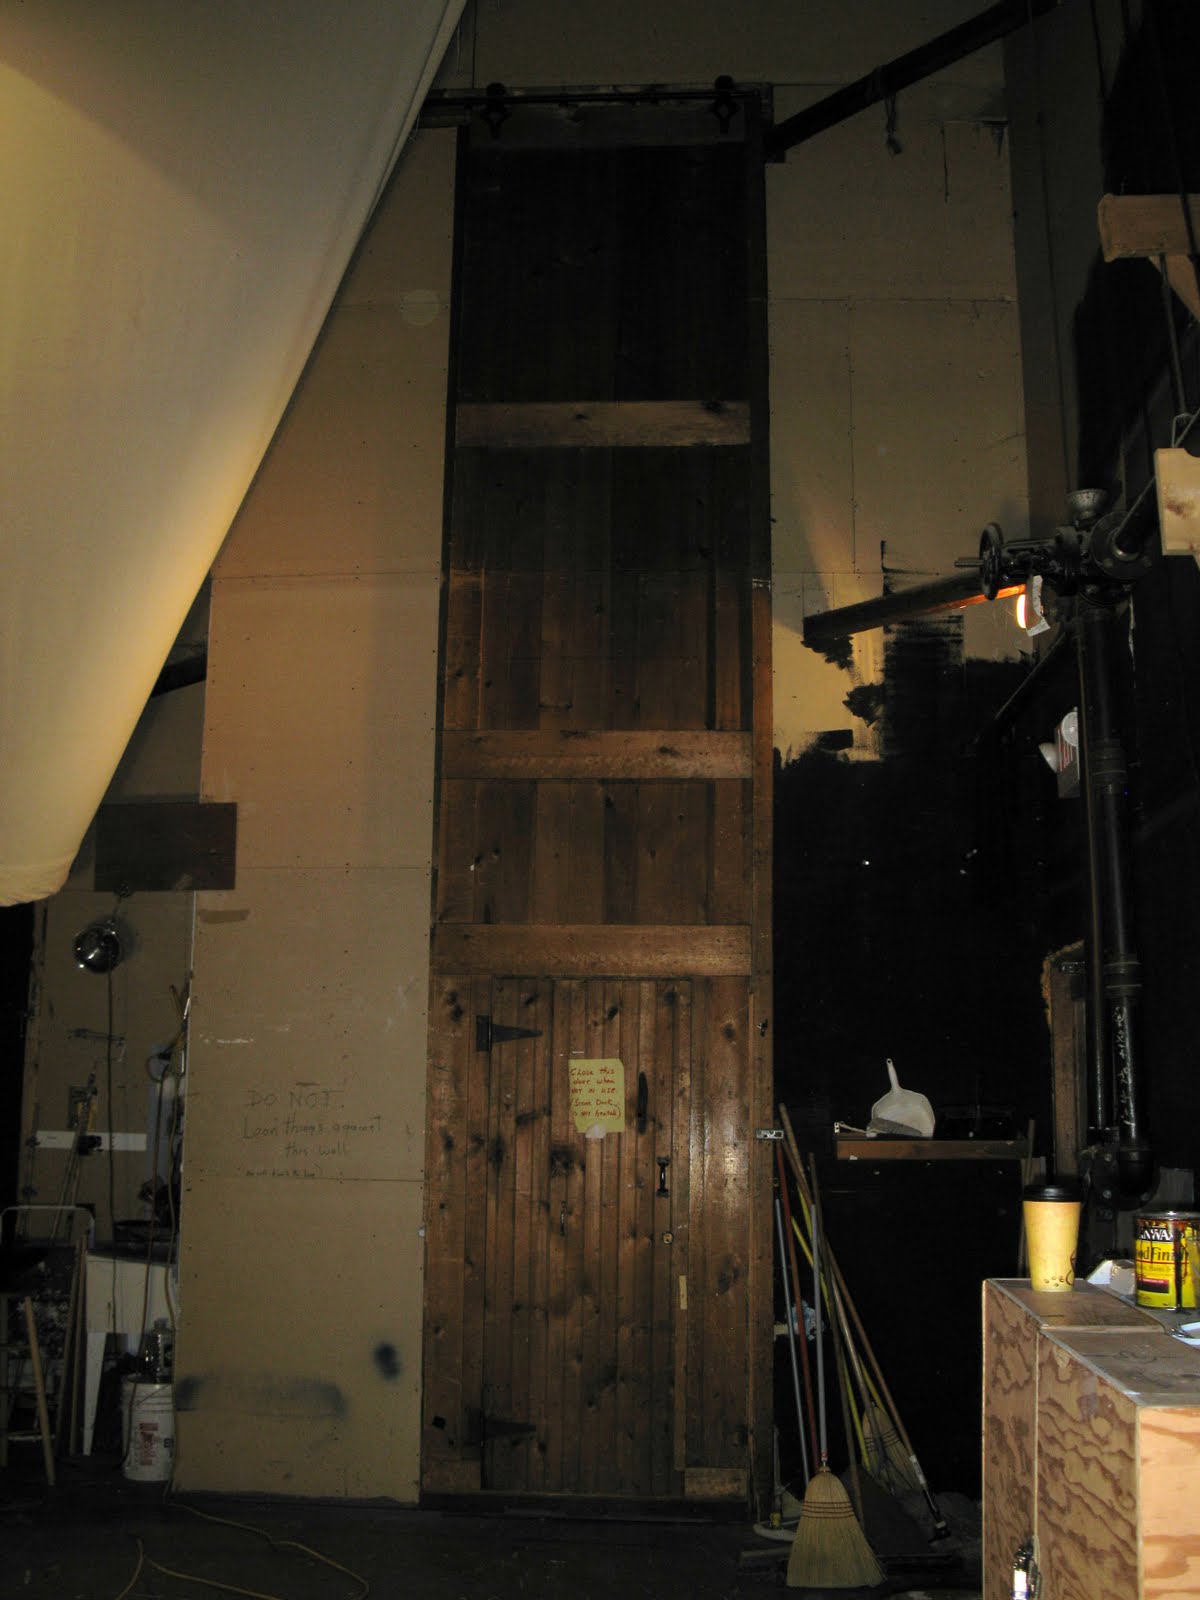
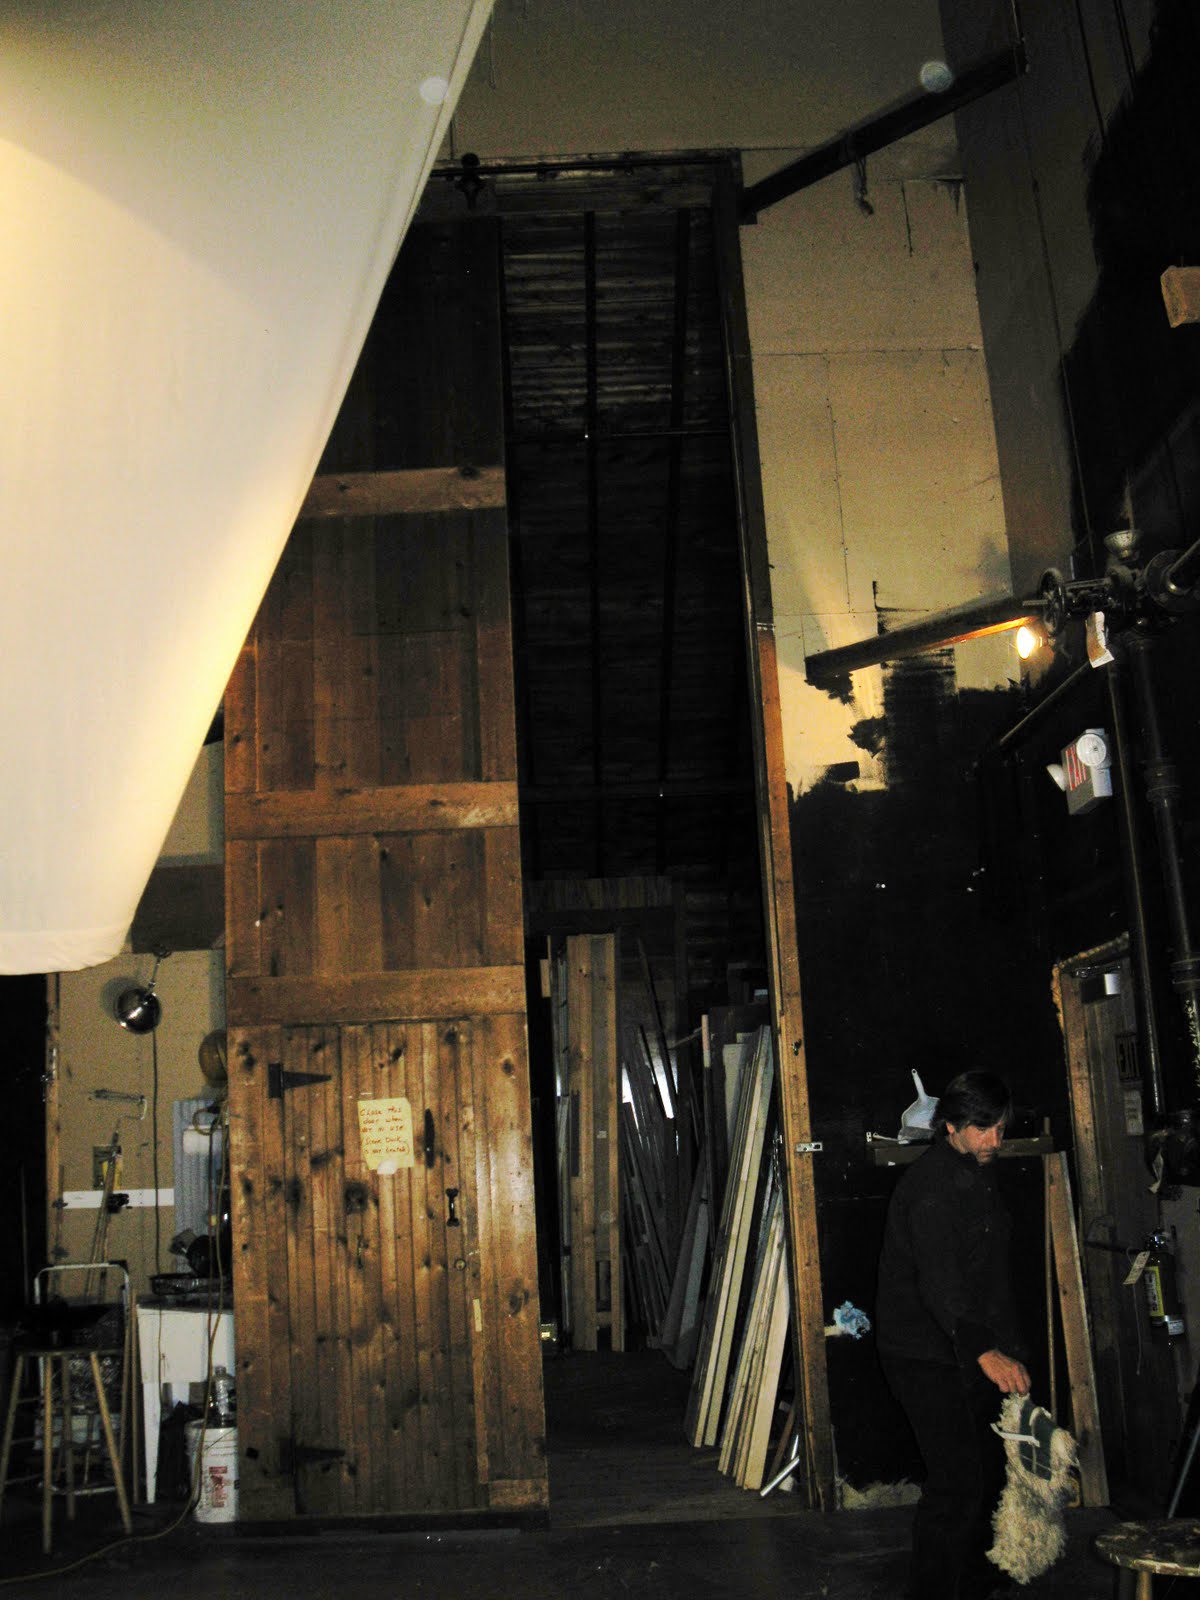
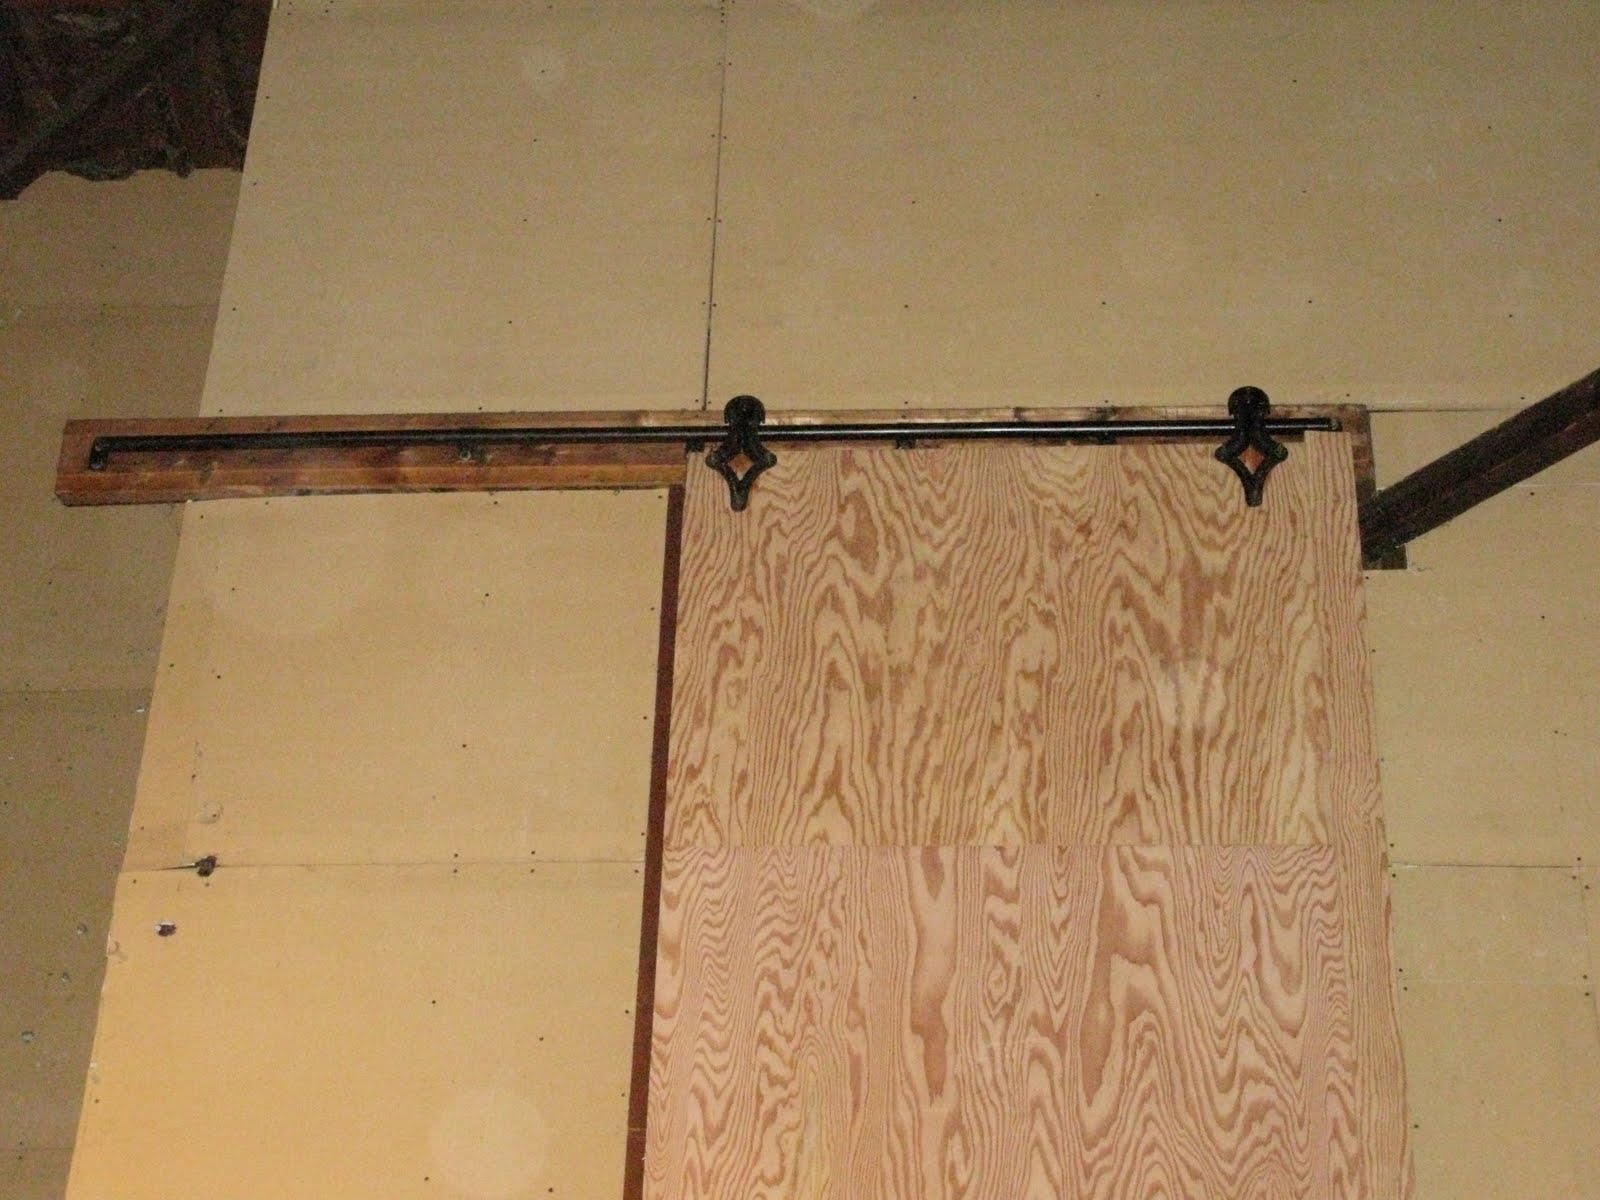
View of the full 20 foot door. I forgot to adjust my ISO setting on the picture ~ sorry for the quality.
The door closed into an overlapping lip that held it closed and in line with the hinges above.

Another view of the overlapping lip.
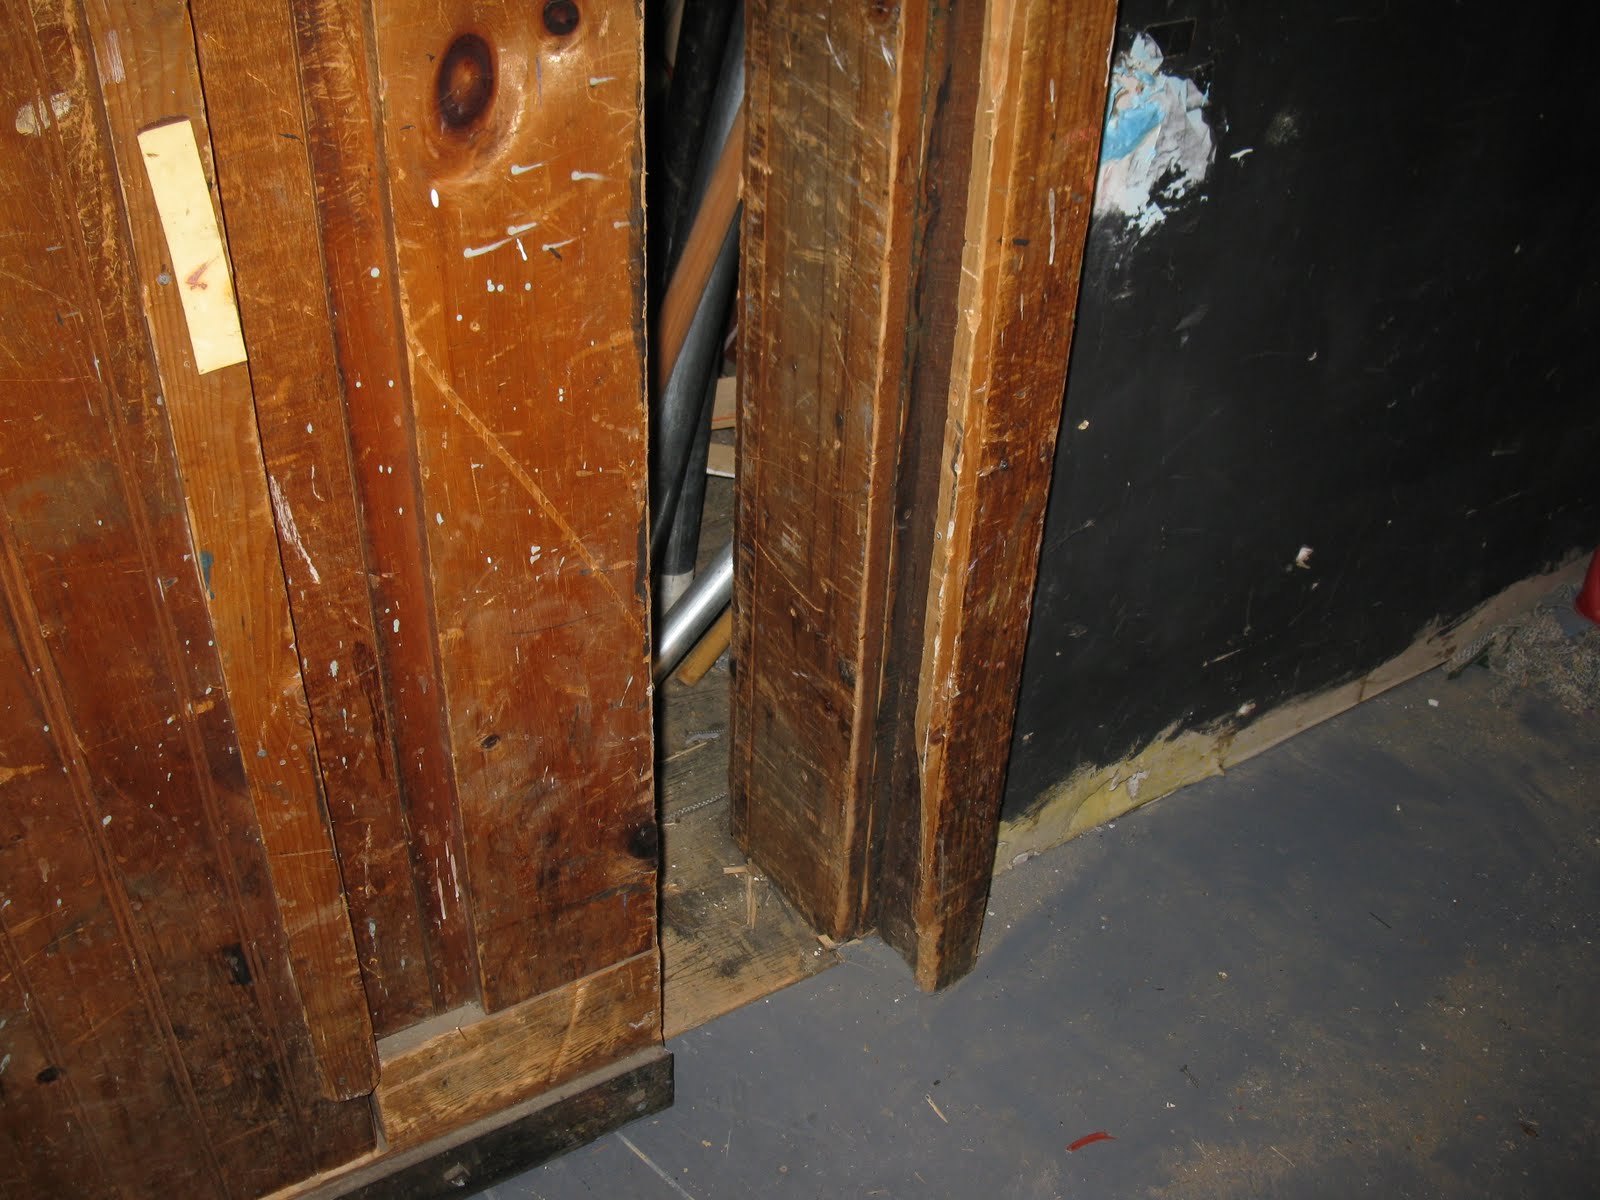
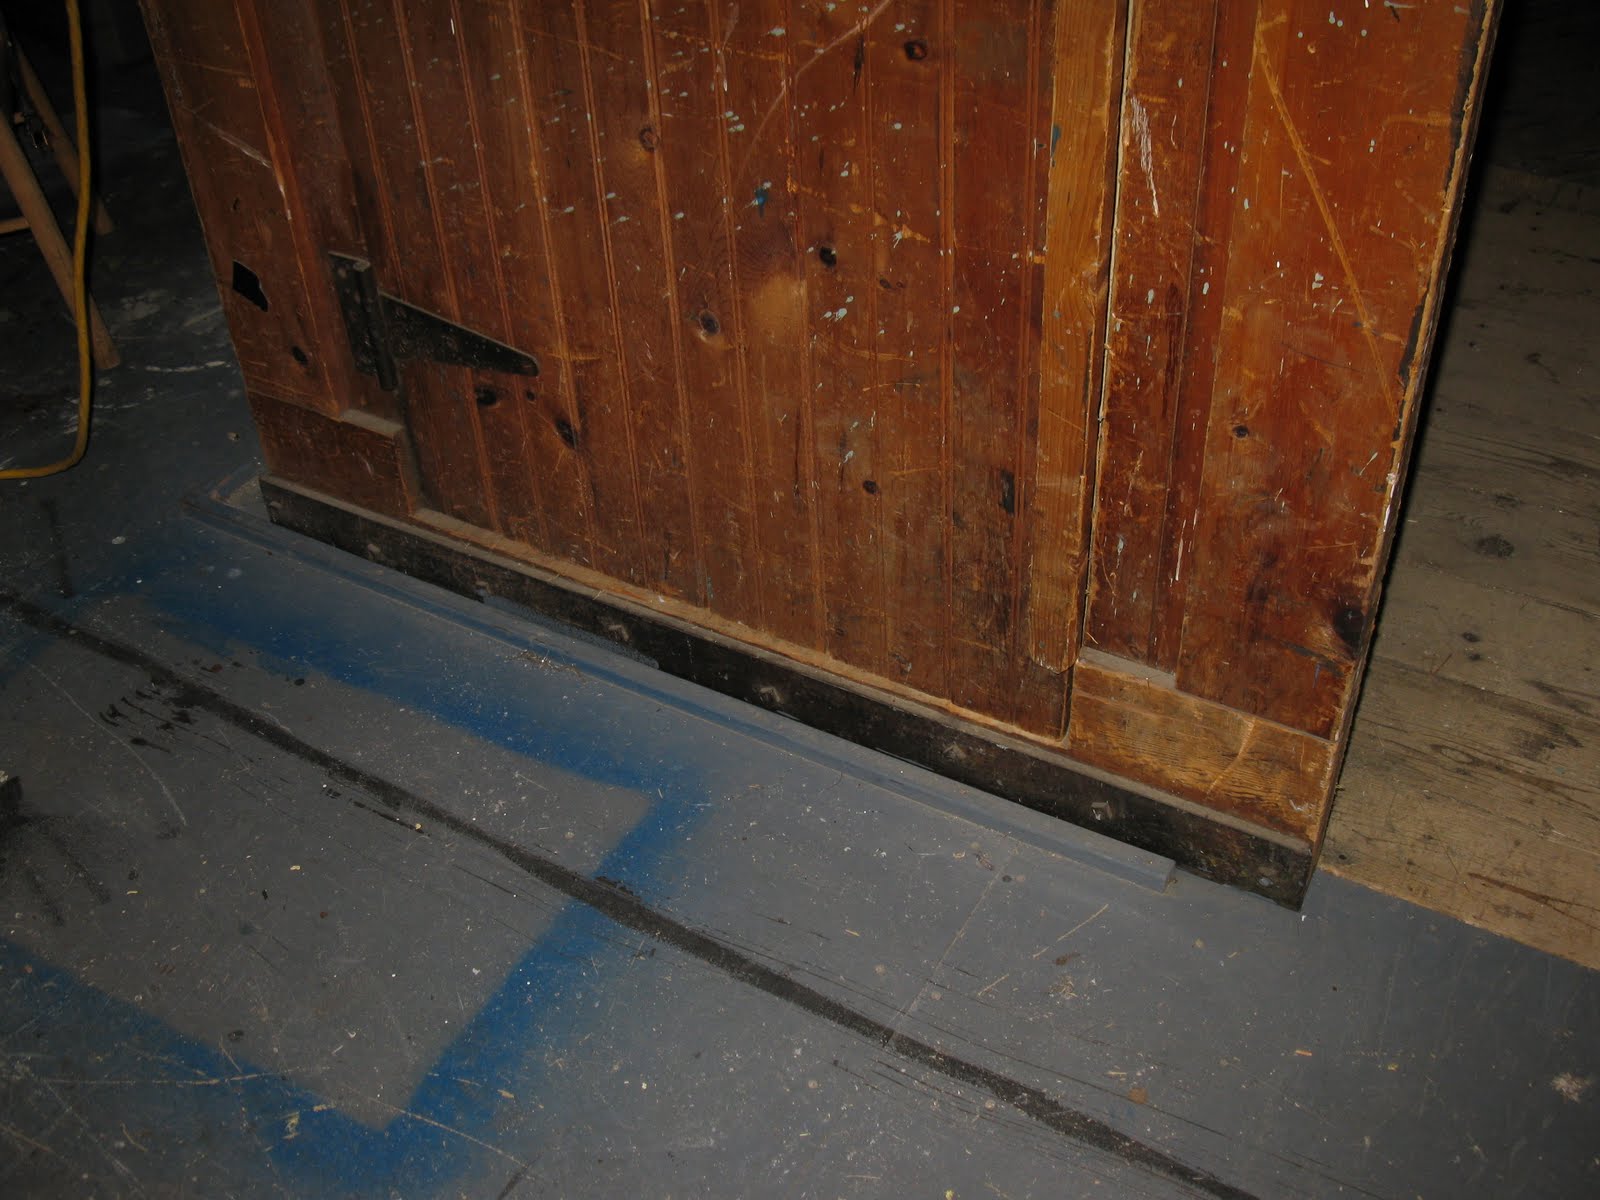
The bottom of the door had a heavy steel bar bolted to it for rigidity. The floor had wood strips to guide the door as it slid on its rollers 20 feet above.
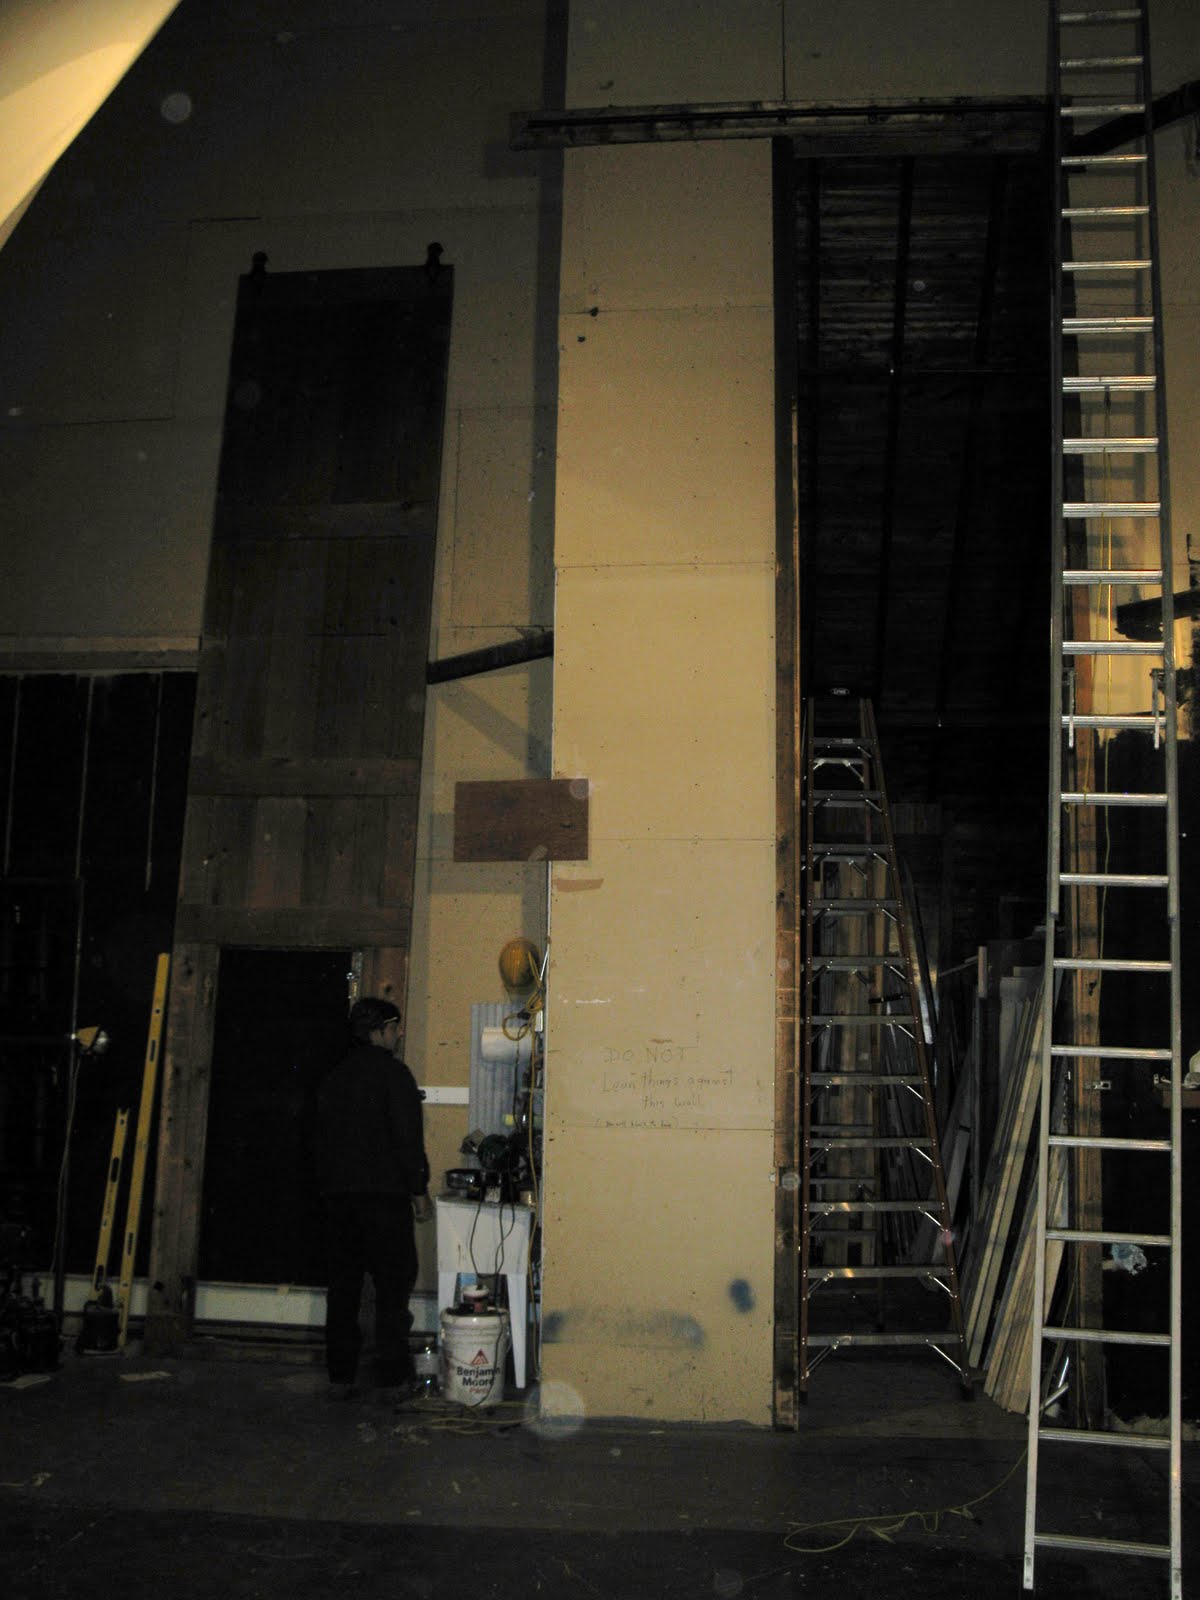
Scene dock door in the open position. the white on the upper left portion of the picture is a white sheet used as a stage backdrop to hide the door and other items back stage.
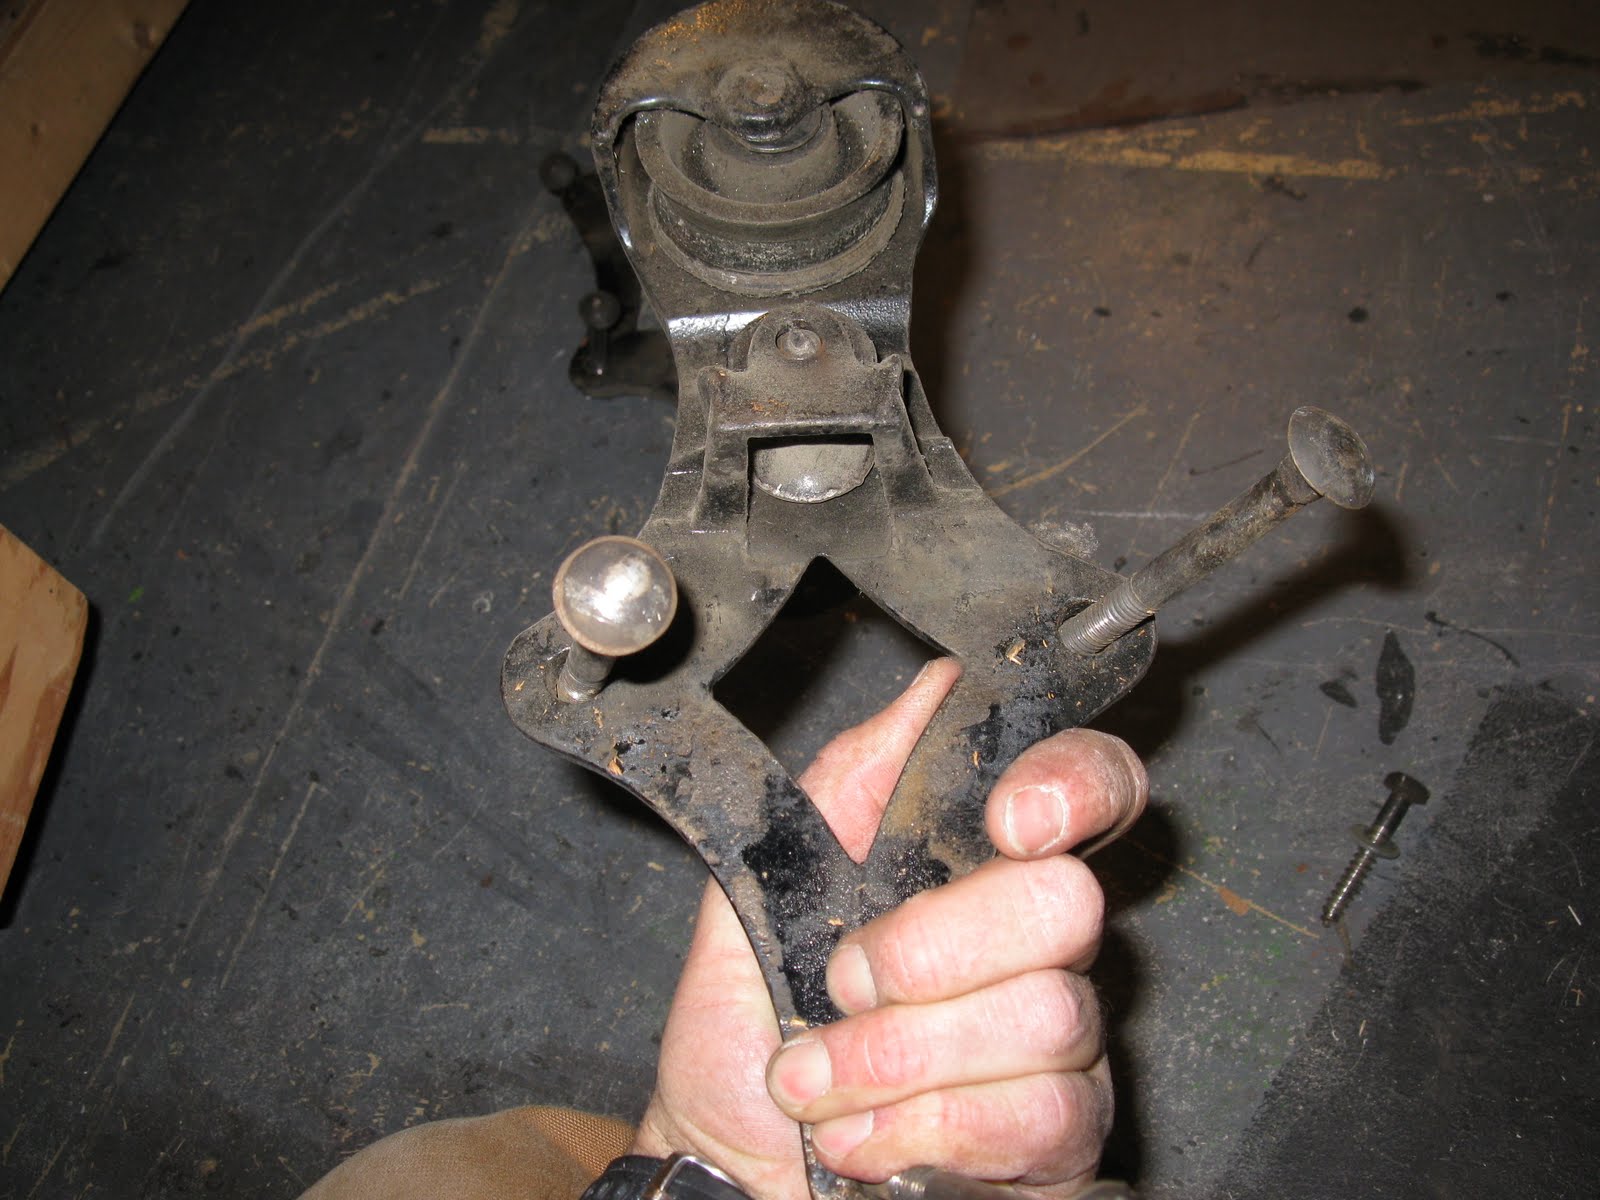
Close up of one of the door rollers. The rollers glide along a 1″ steel bar.
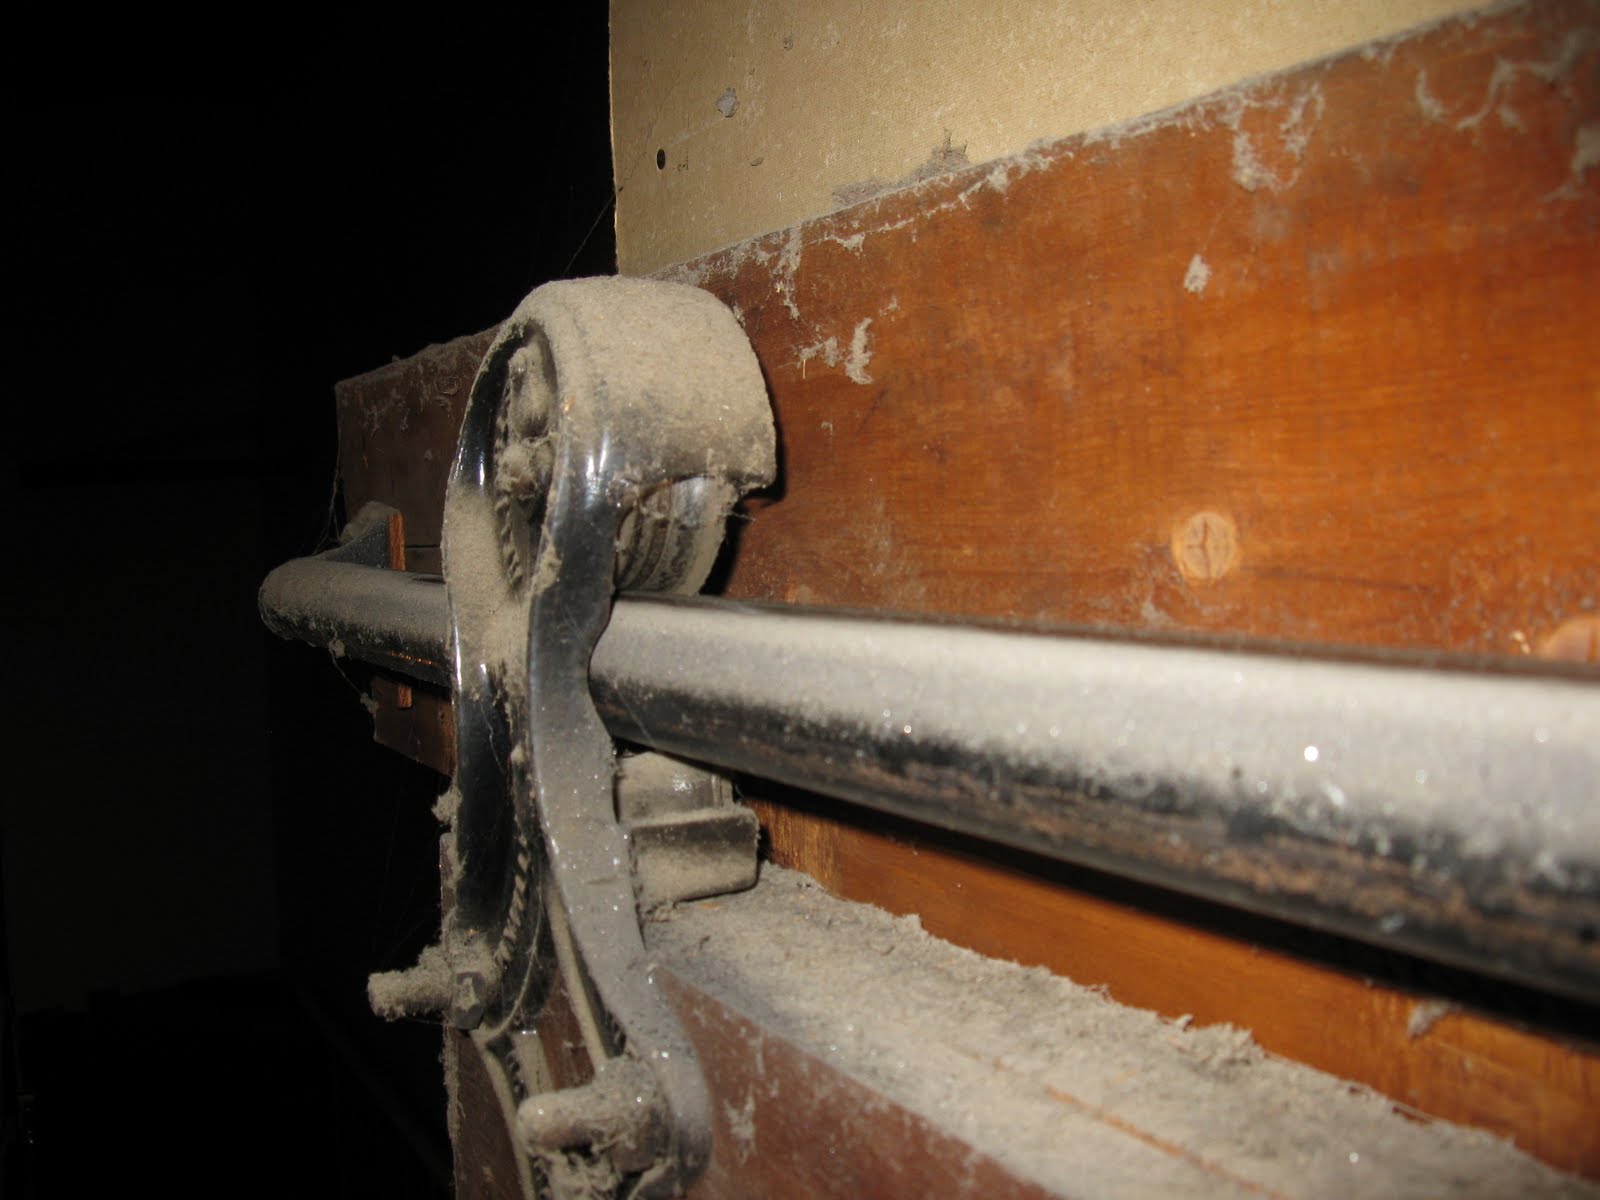
Top of door: rollers and bar.

Close up of roller bracket. The writing on this roller indicate that it was made by a company called Allith–Prouty Co. Danville, Il, USA.
I found an old advertisement on the web that showed the hinge and mentioned: ” The original round track hardware manufacturers.” The made hardware for sliding doors, fire doors, merchandise carriers for factories and rolling ladders.

Inside the stage dock are stored “back ground scenes.”

We slid the old door off the bar and laid it door on the floor where we dismantled it and recycled the wood for future play scenes.
In the photo below the old door is off the bar and leaning against the rear stage wall.
Building A 20′ Foot Stage Door
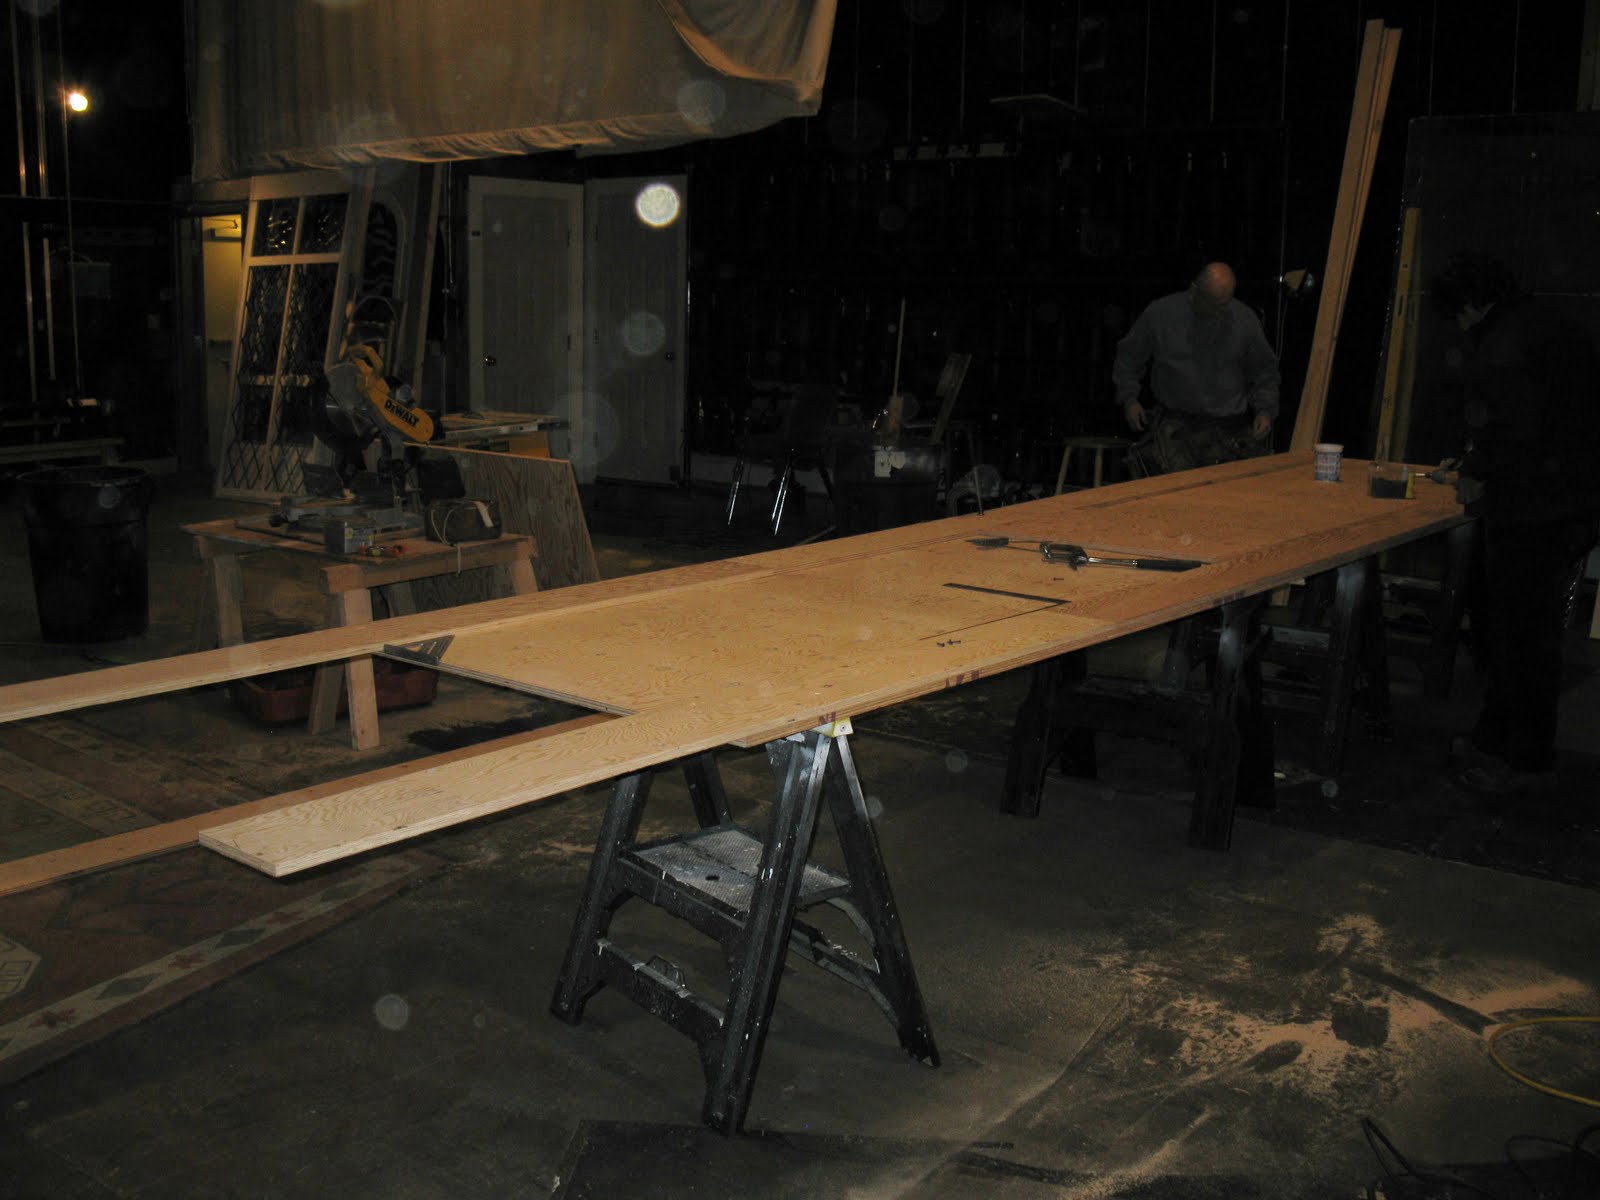
Our plan was to construct a new “Scene dock” door in the same dimensions as the old door so we could use the old sliding hardware system. We determined a double sided 1/2″ AC plywood door with 1″ of foil insulation board sandwiched between would work.

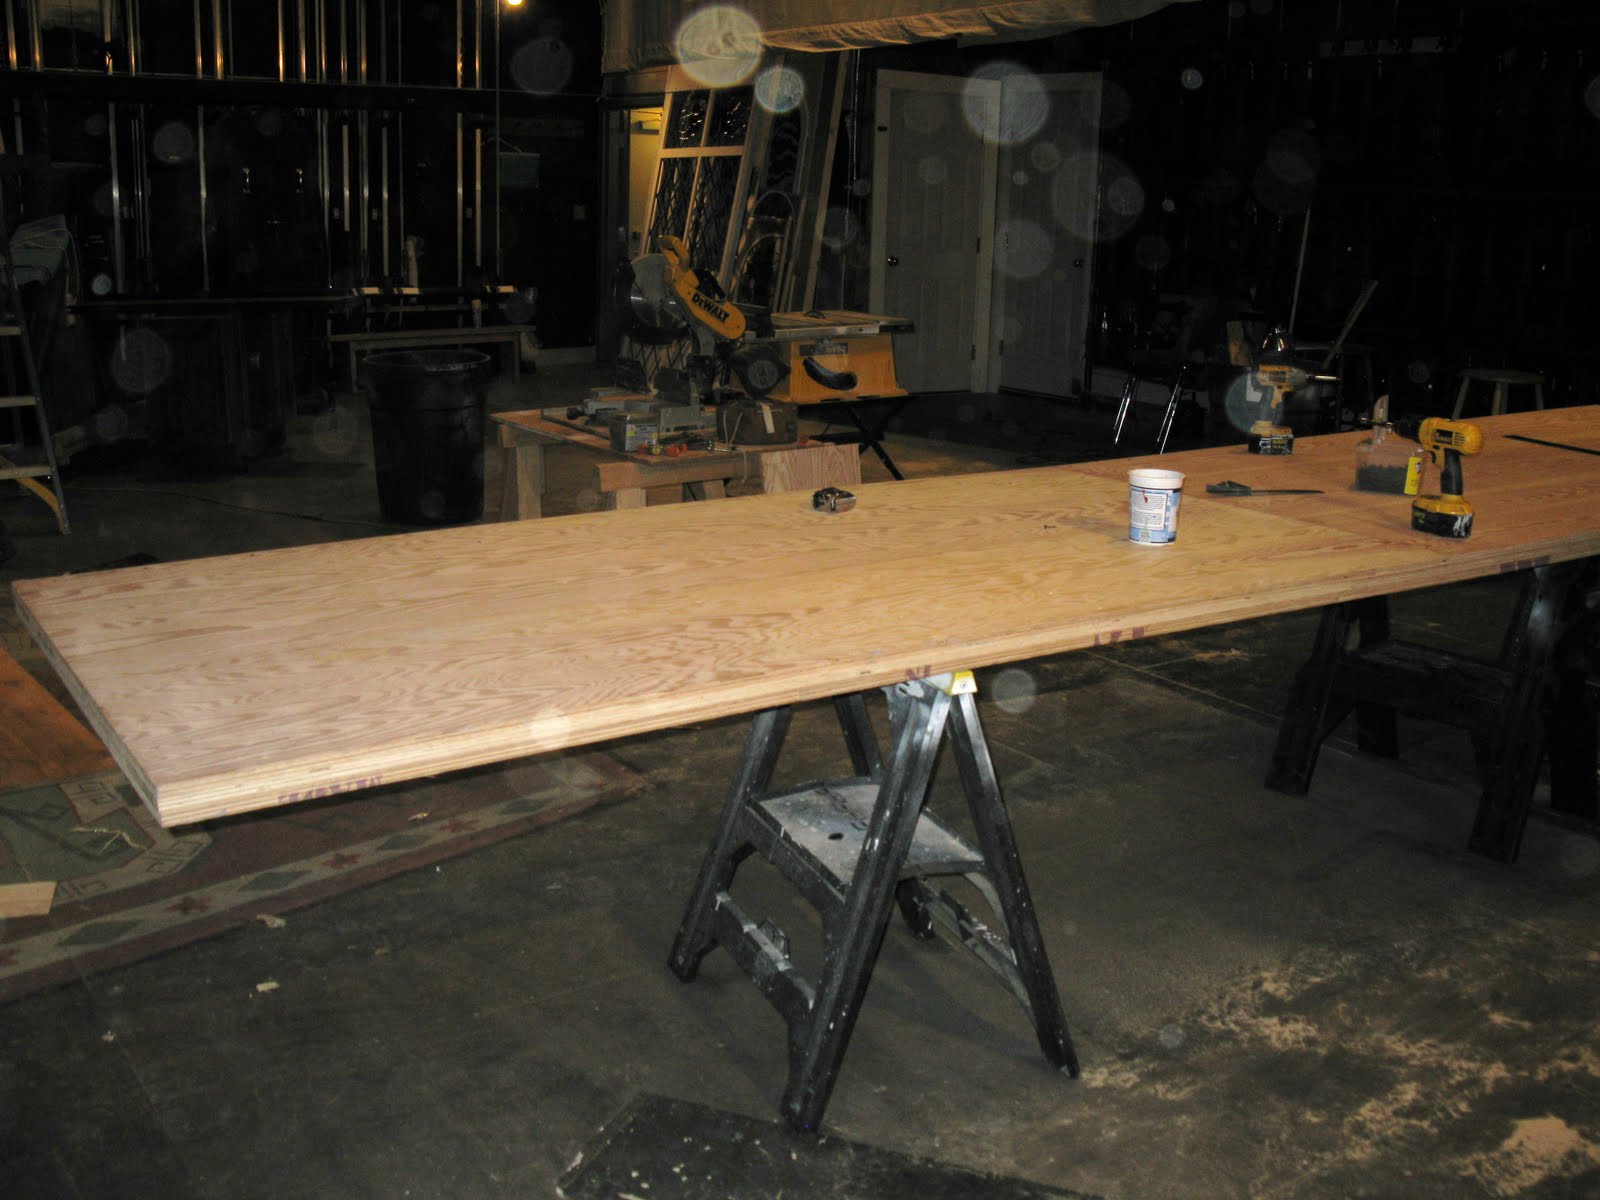
Laying out the new door.
The new door is held together with hundreds of screws.

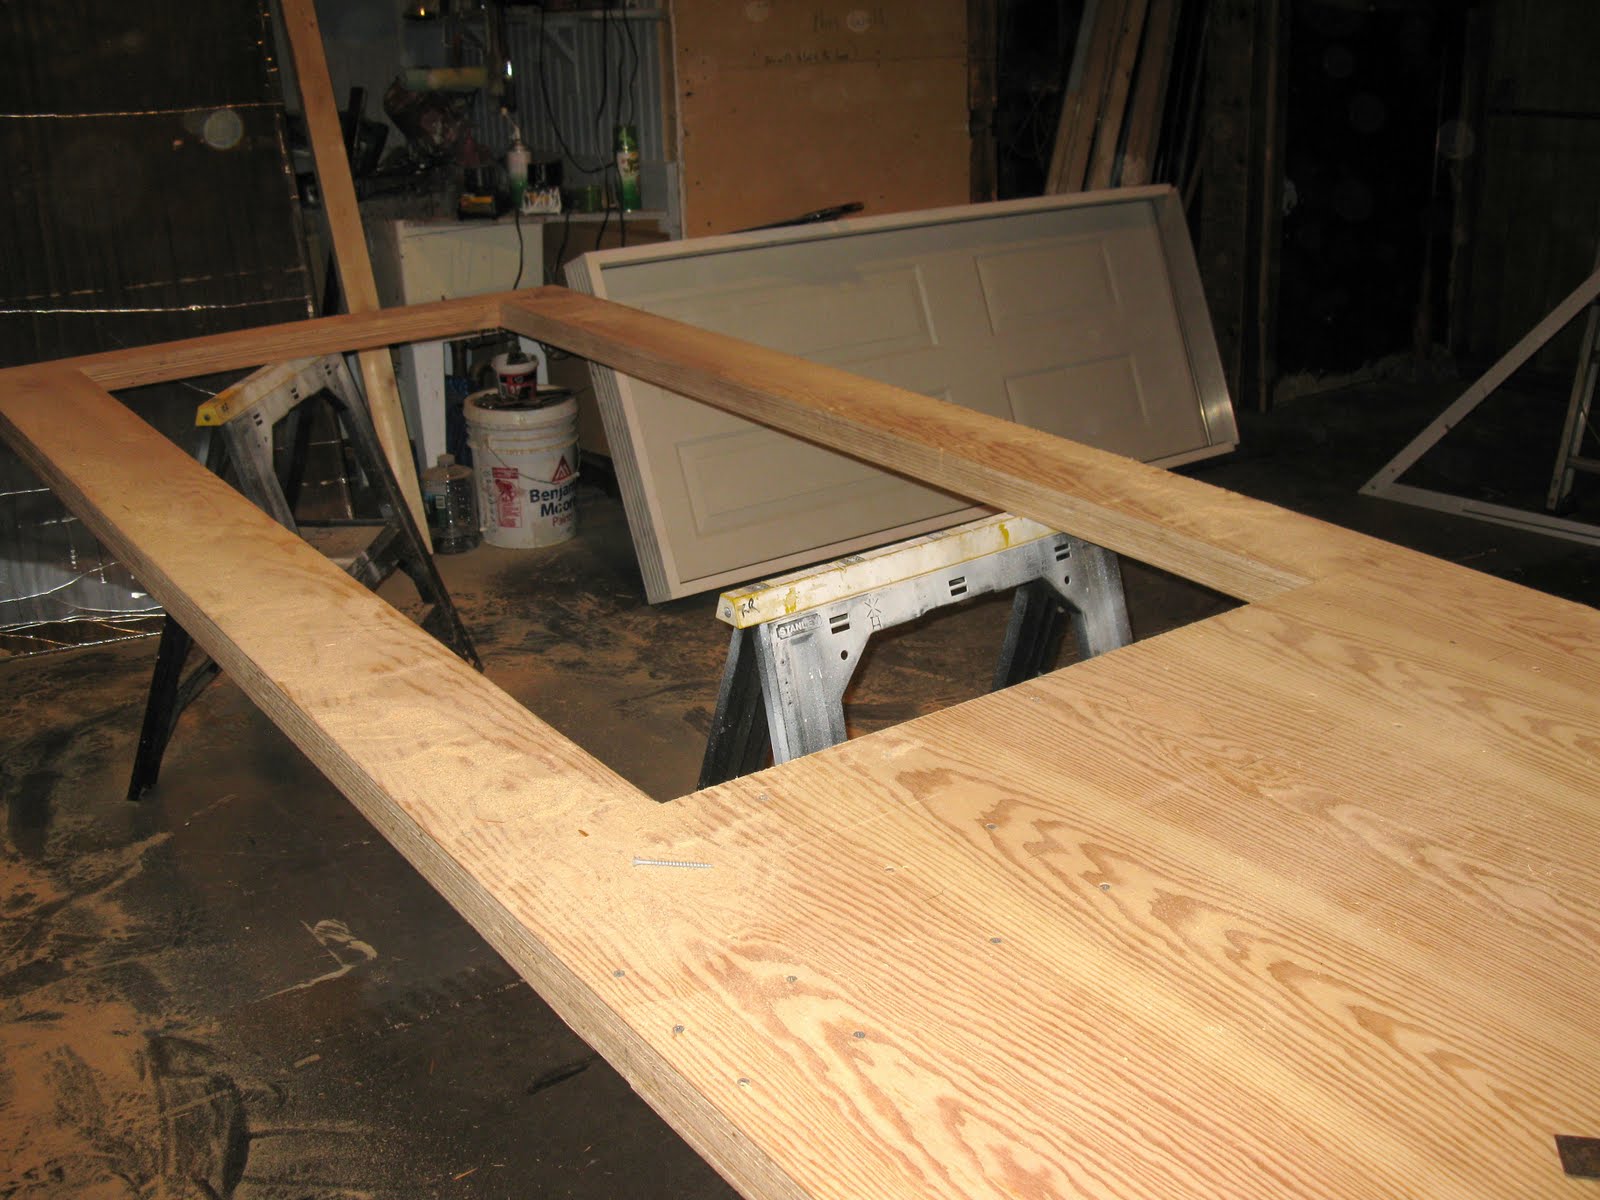
The new door is complete. Now we had to cut a hole in the bottom to accommodate the new personnel door. [visible in the upper right of photo]
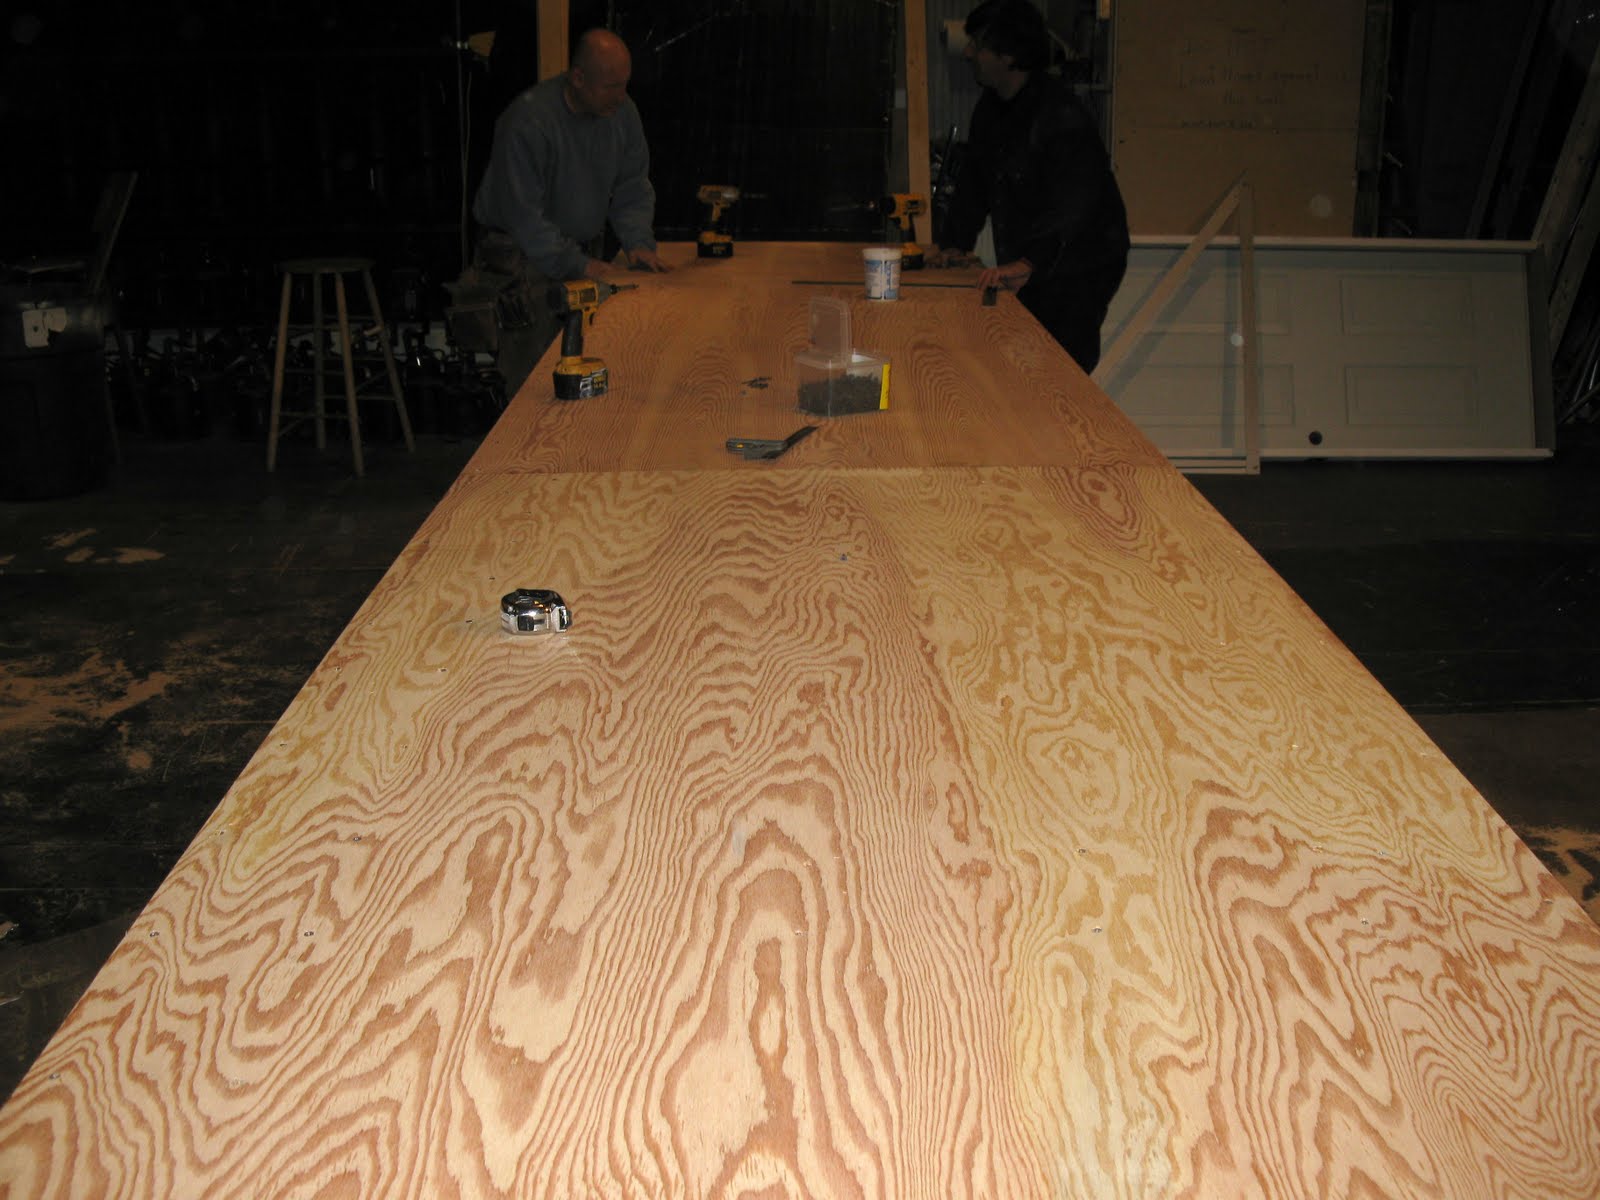
Seams were reinforced. the old door was tongue and groove boards and was rickety. This new door will be super solid and stiff.

New door on saw horses.
Cut out for the personnel door.
We bought a pre-hung steel insulated door and cut down the jamb and aluminum sill so that it would fit in this new narrow door opening.
The old rollers were cleaned, oiled and reinstalled. These beauties were in awesome shape and once cleaned and oiled worked beautifully!
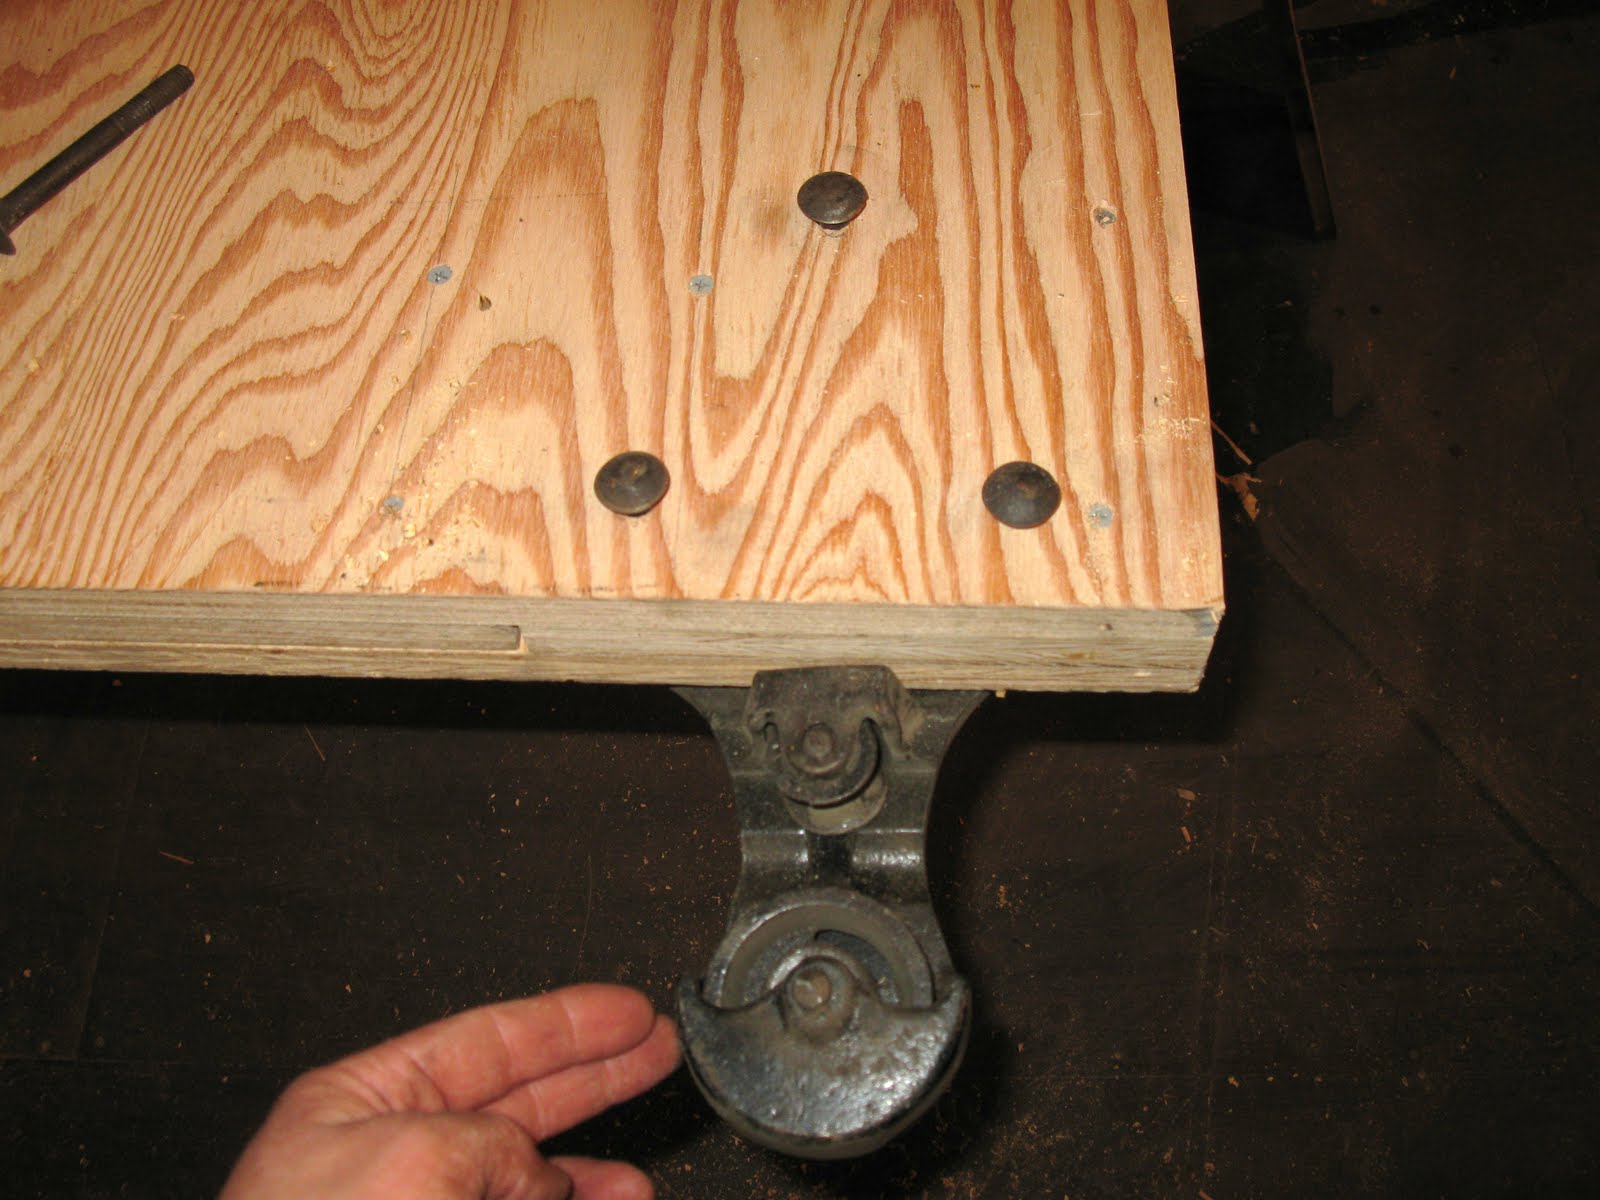
Close up of rollers and bracket.
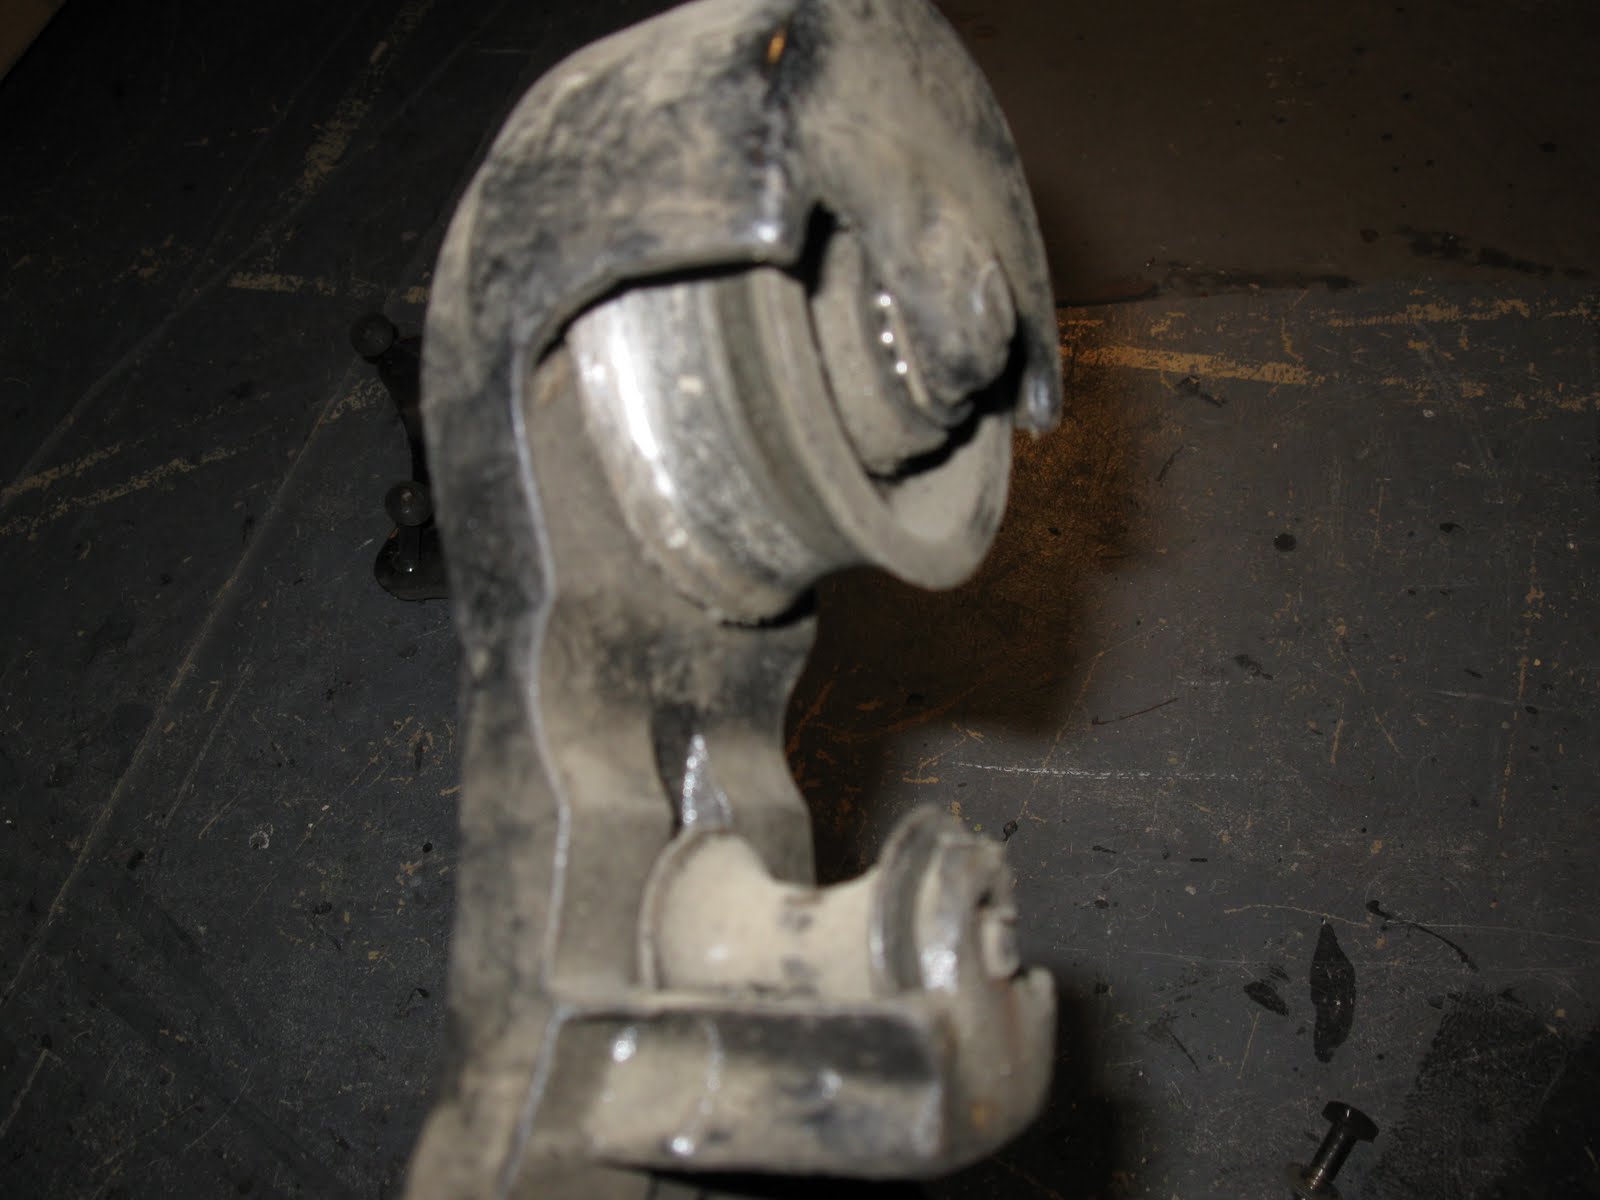
Bracket.
After installing the brackets we had to lift this door up and in place to get it back on the roller bar. Man was it heavy!!!
Picture below is the new door on bar hanger.
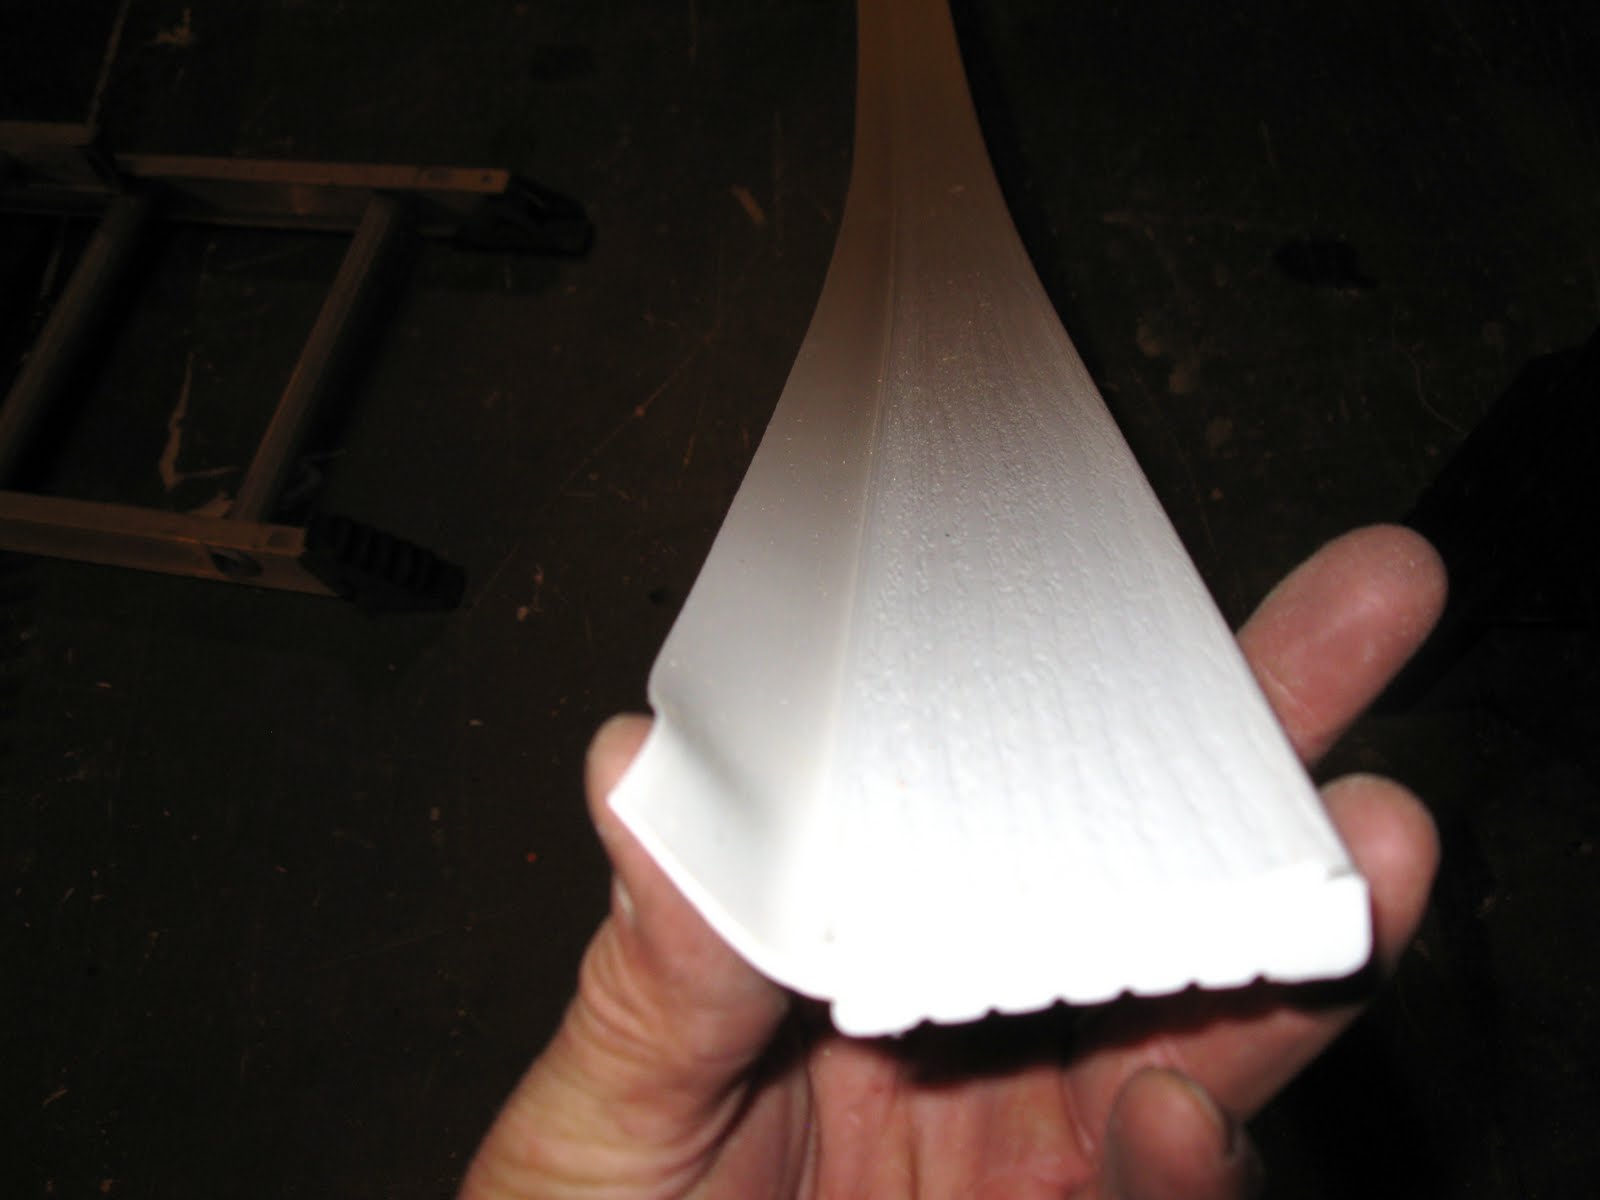
We used garage door weather stripping and installed it on the out side [cold side] portion of the door and frame.

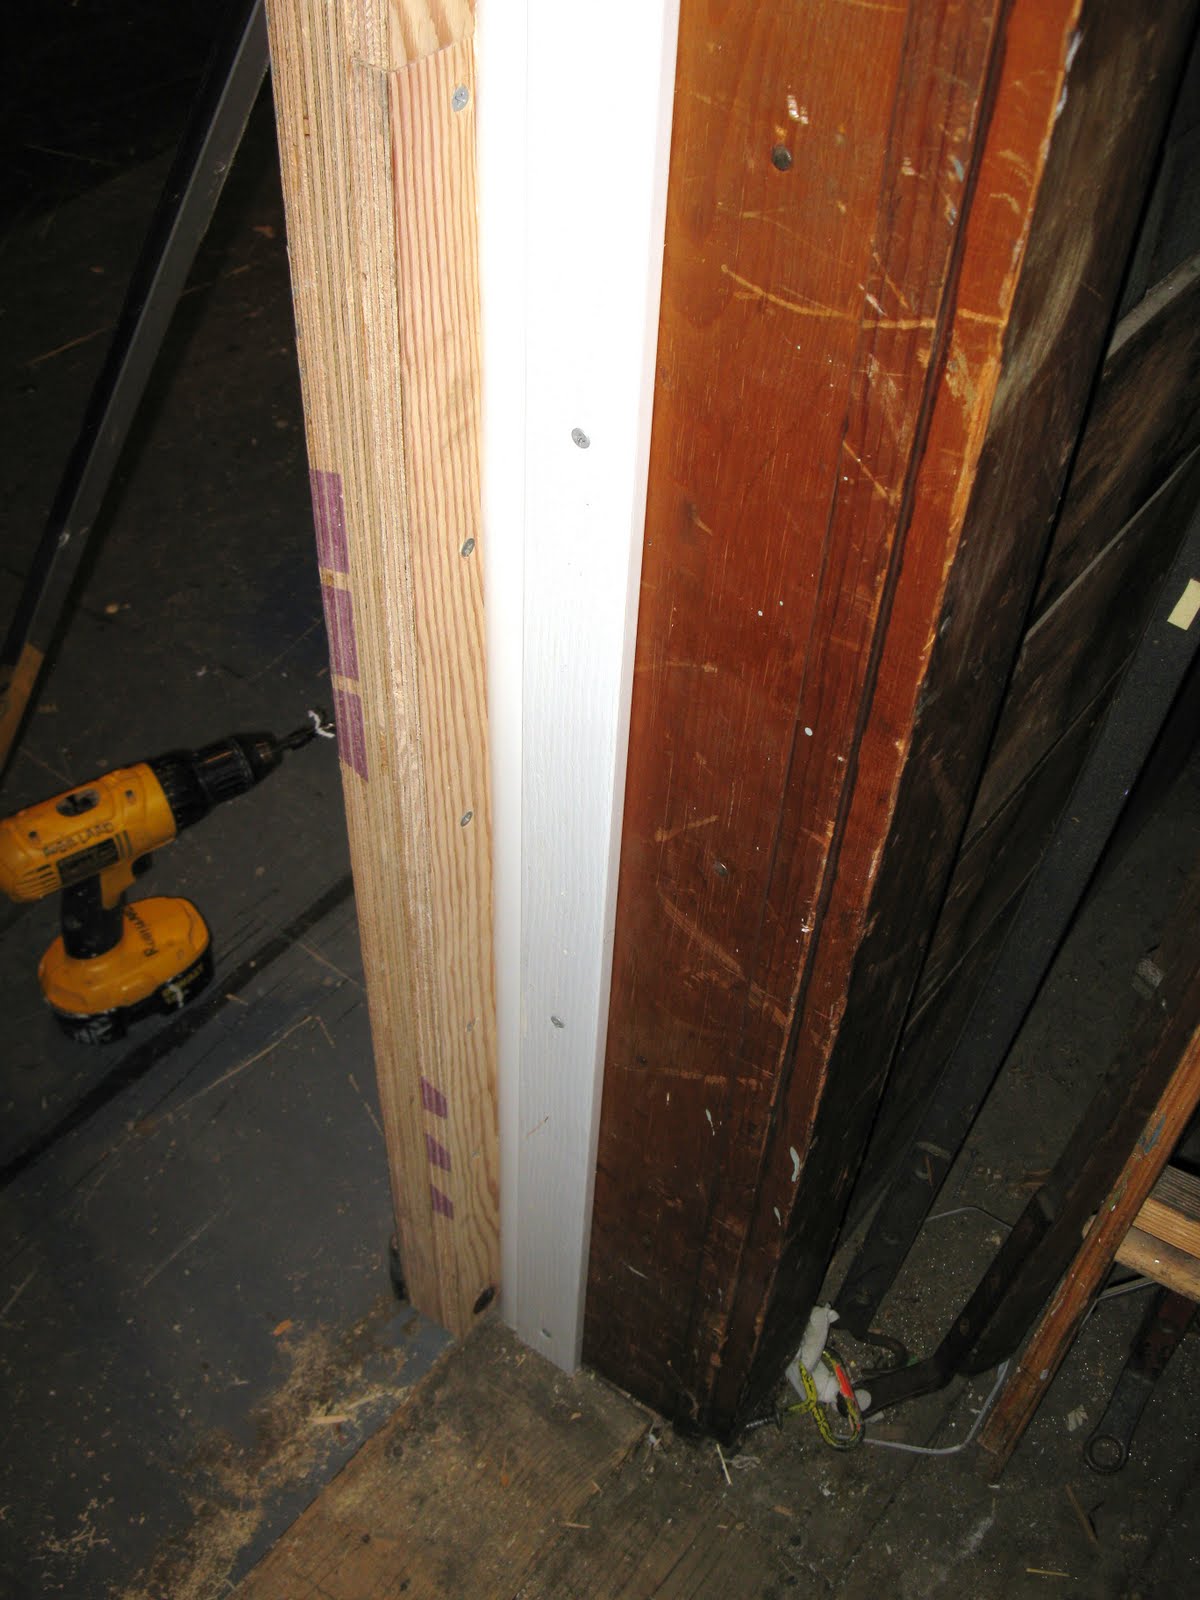
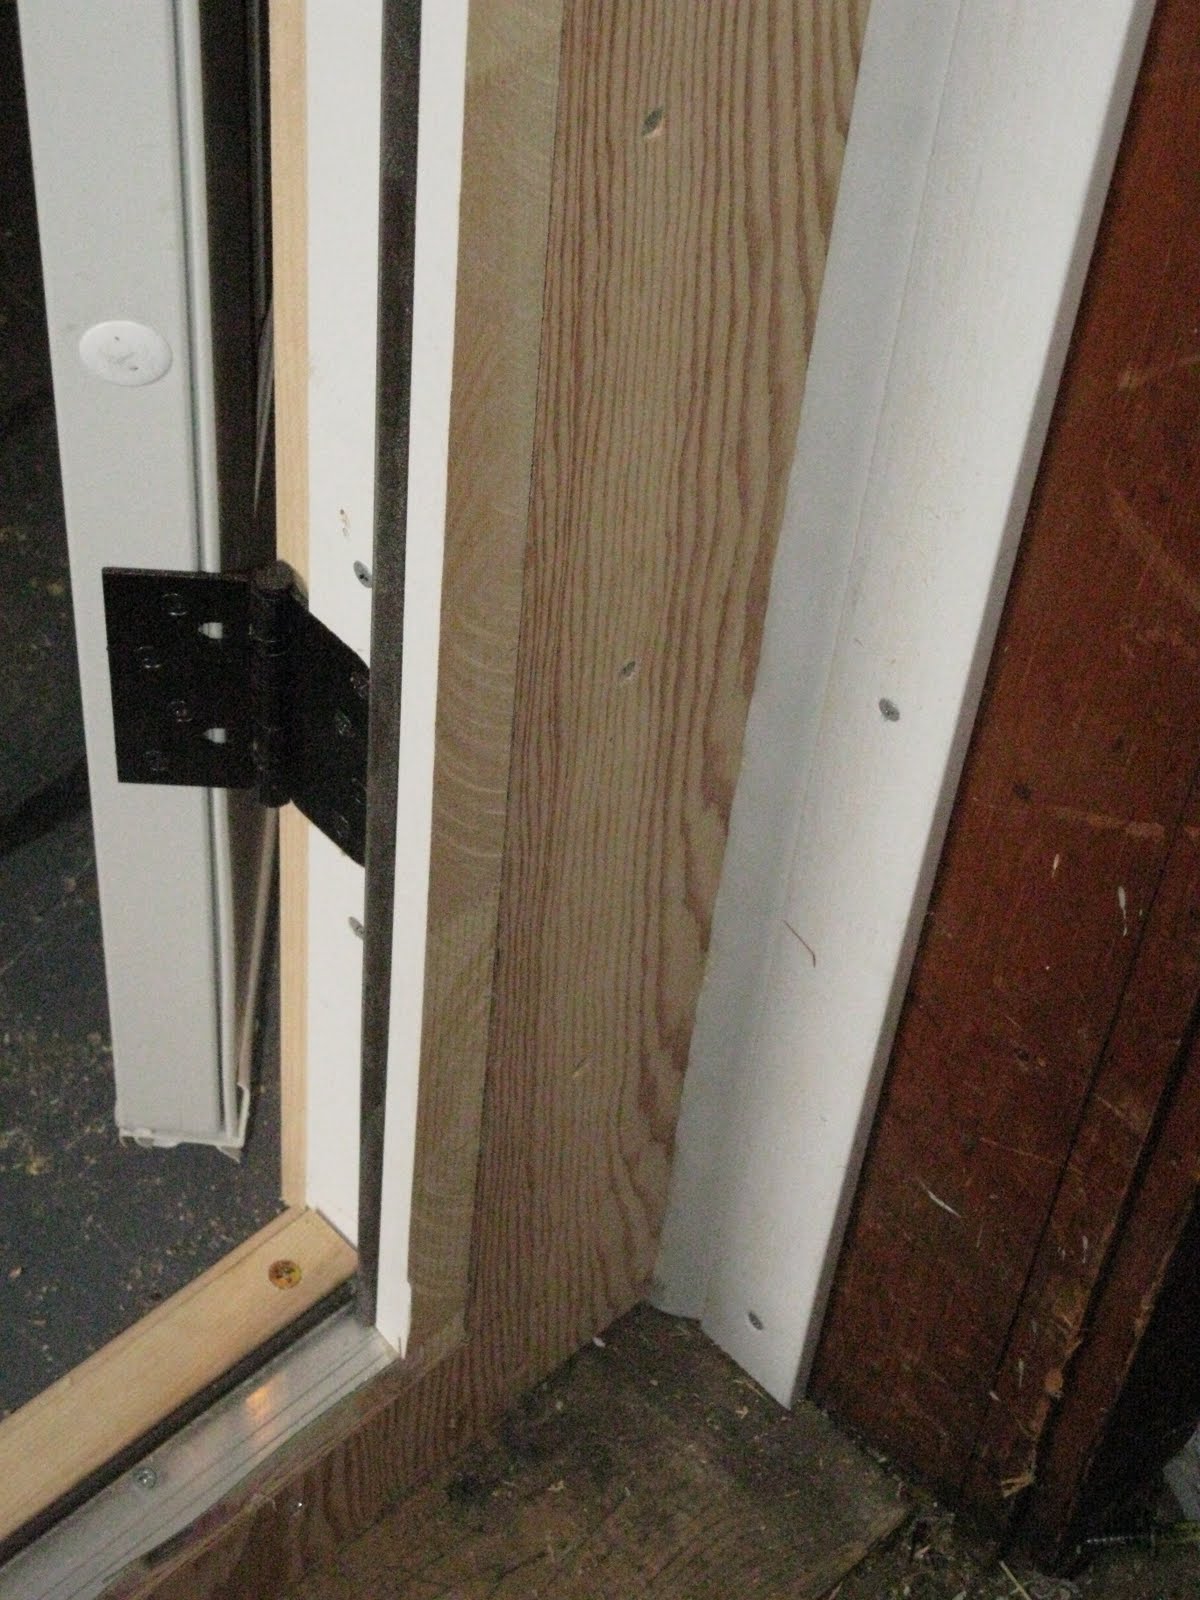
This photo shows the the portion of the jamb where the door closes and the overlap pocket is. As the door closes into the overlap the weather stripping engages the door.

The photo below shows the door in the open position. The weather stripping folds back as the door slides open and folds the other way when closed. Drafts sealed out!
Weather stripping used.
Door in closed position. We re-used the metal bar at the bottom and the hardwood floor guide.
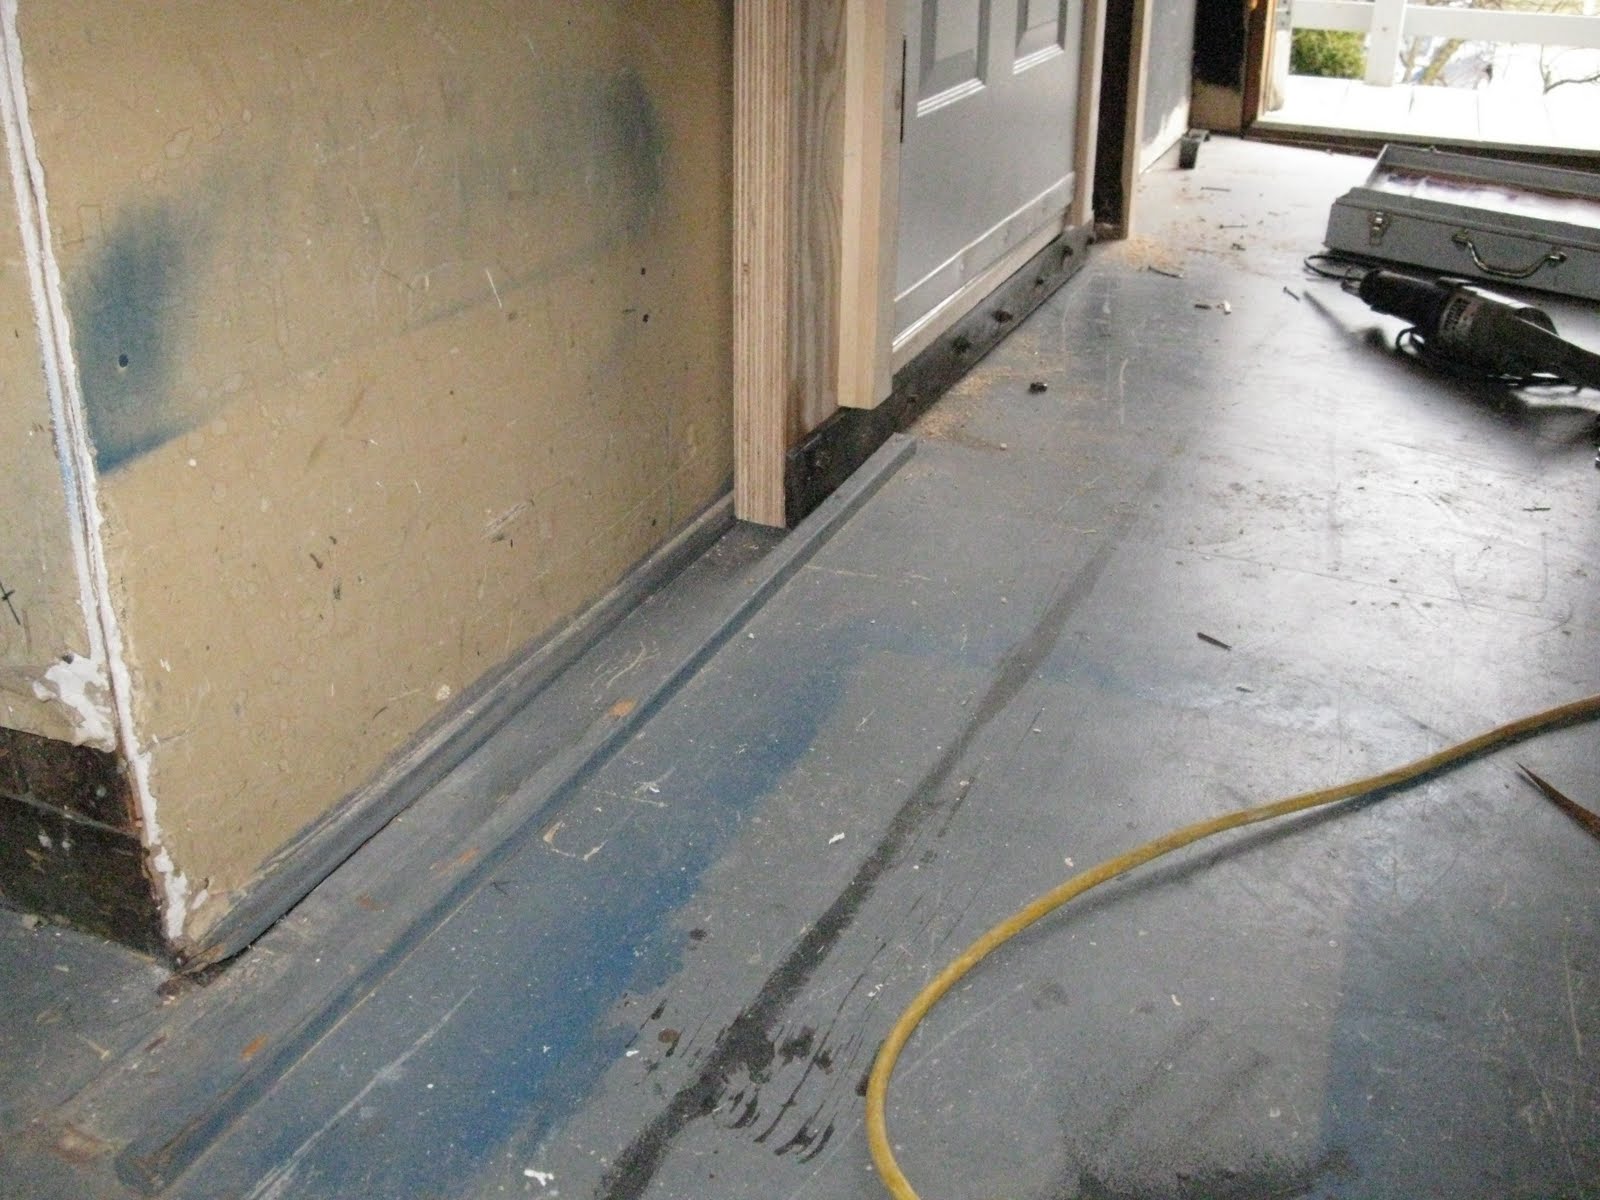
Personnel door installed and trimmed out with 1×2 flat pine.

Another photo of the door just prior to it’s closed position. The weather stripping on the left engages and touches the door as it slides into the overlapping pocket.
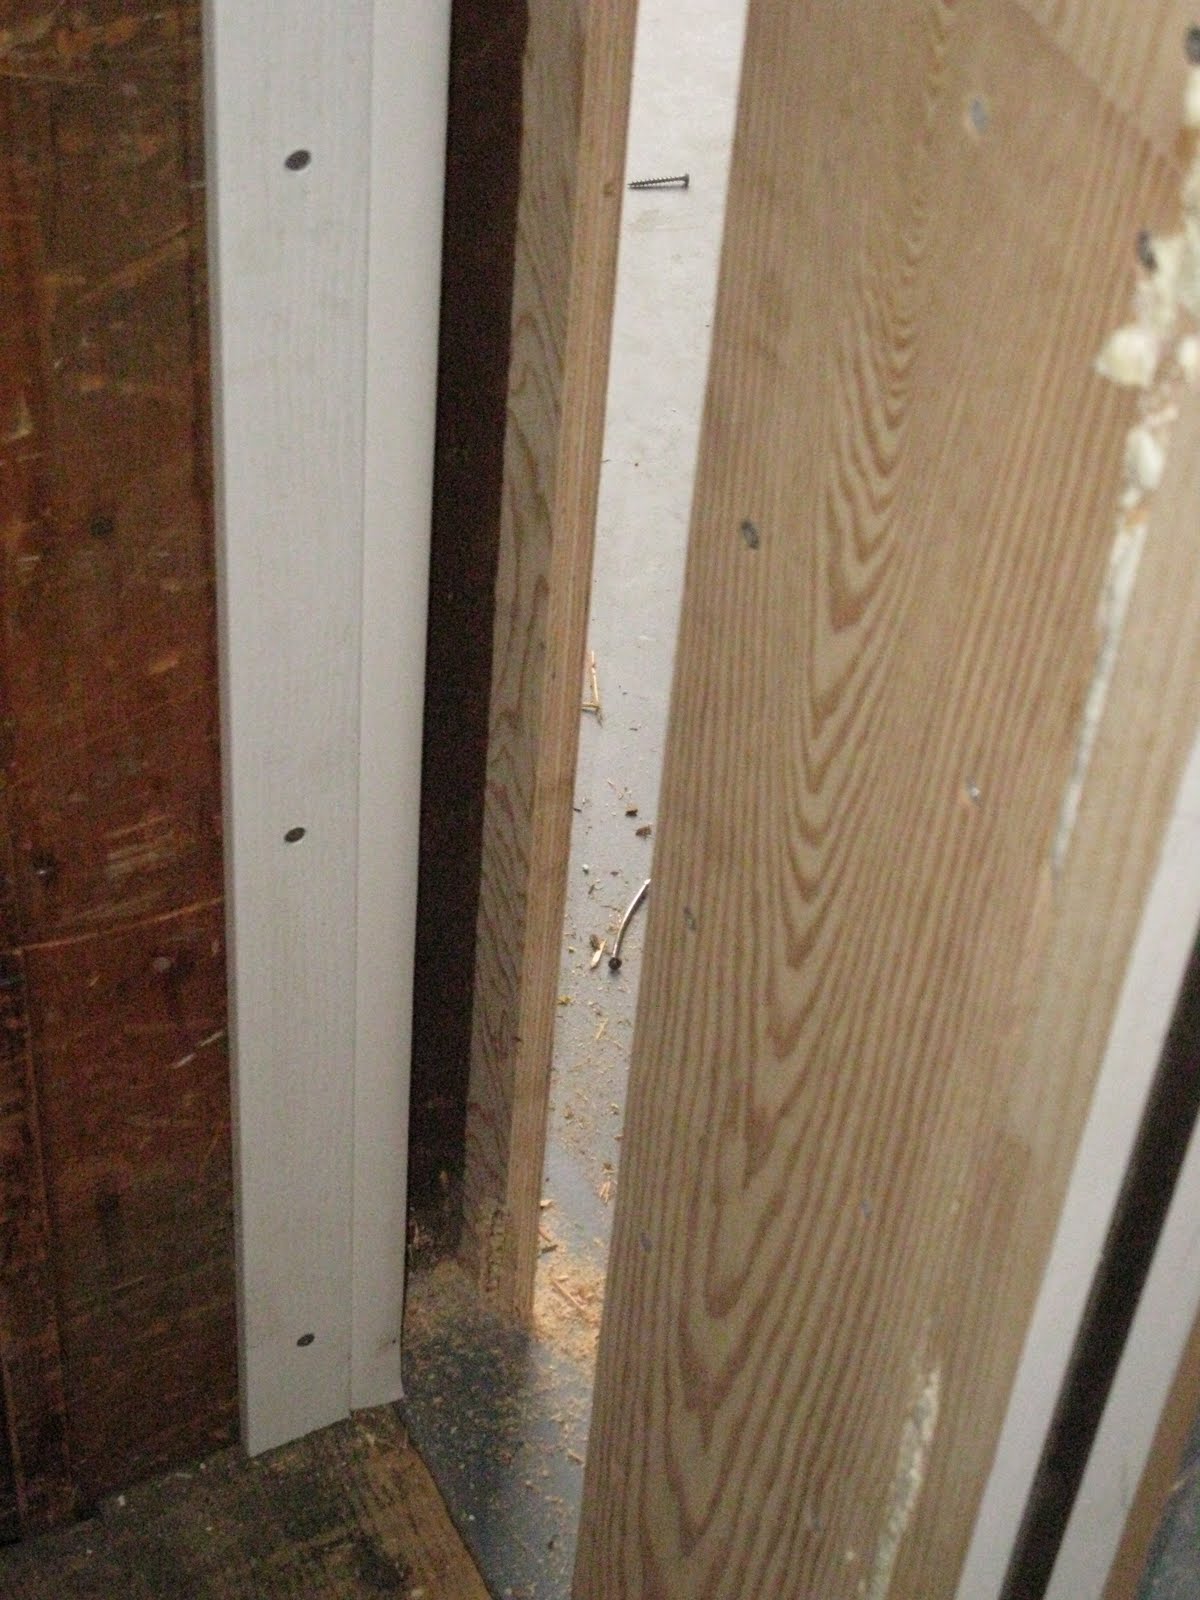
sliding door completely closed and the weather stripping engaged. Notice the thin door jamb in the sliding door. We added a dead bolt to keep the door secured and a pull handle to assist in pulling the door open.
Putting the final touches on the personnel door.