Blue Stone Patio

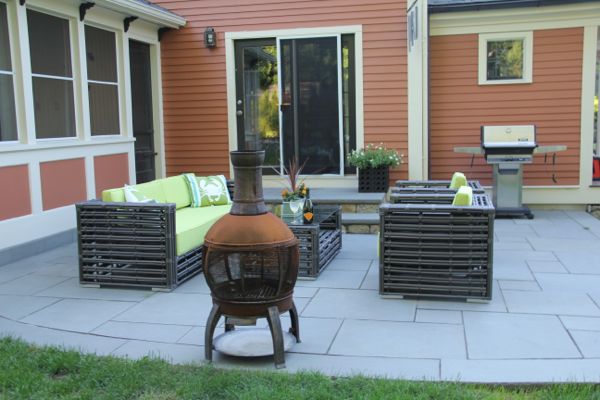
Replacing A Wood Deck With A Blue Stone Patio
This 18 year old wood deck has gone through many changes over the years. It started off twice its se and then I built the screen porch. It had railings and granite steps and they eventually were taken off, now its time to remove the entire deck and replaced with a blue stone stone patio.
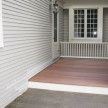
A blue stone patio requires less maintenance than a wood deck, will not rot and will “flow” into the slope of the lawn and adjacent pool area better.

Demo Deck
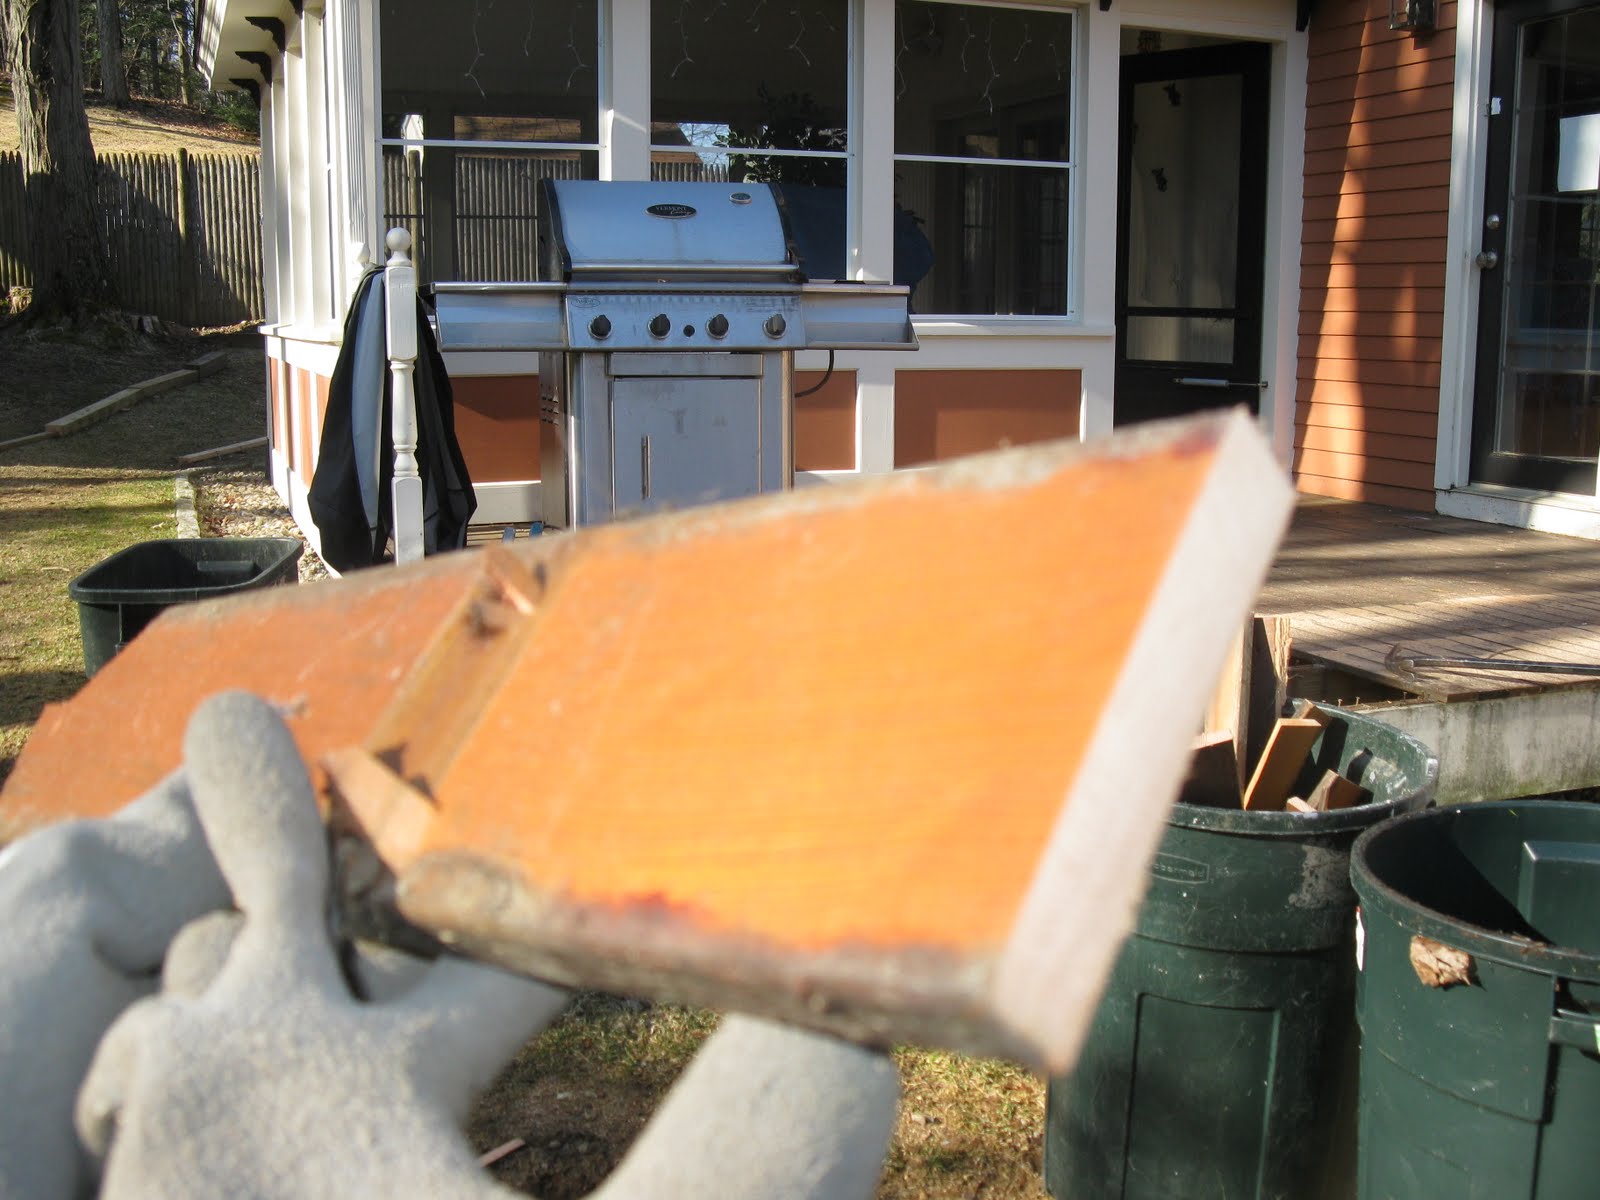
The first step is to remove the old deck.
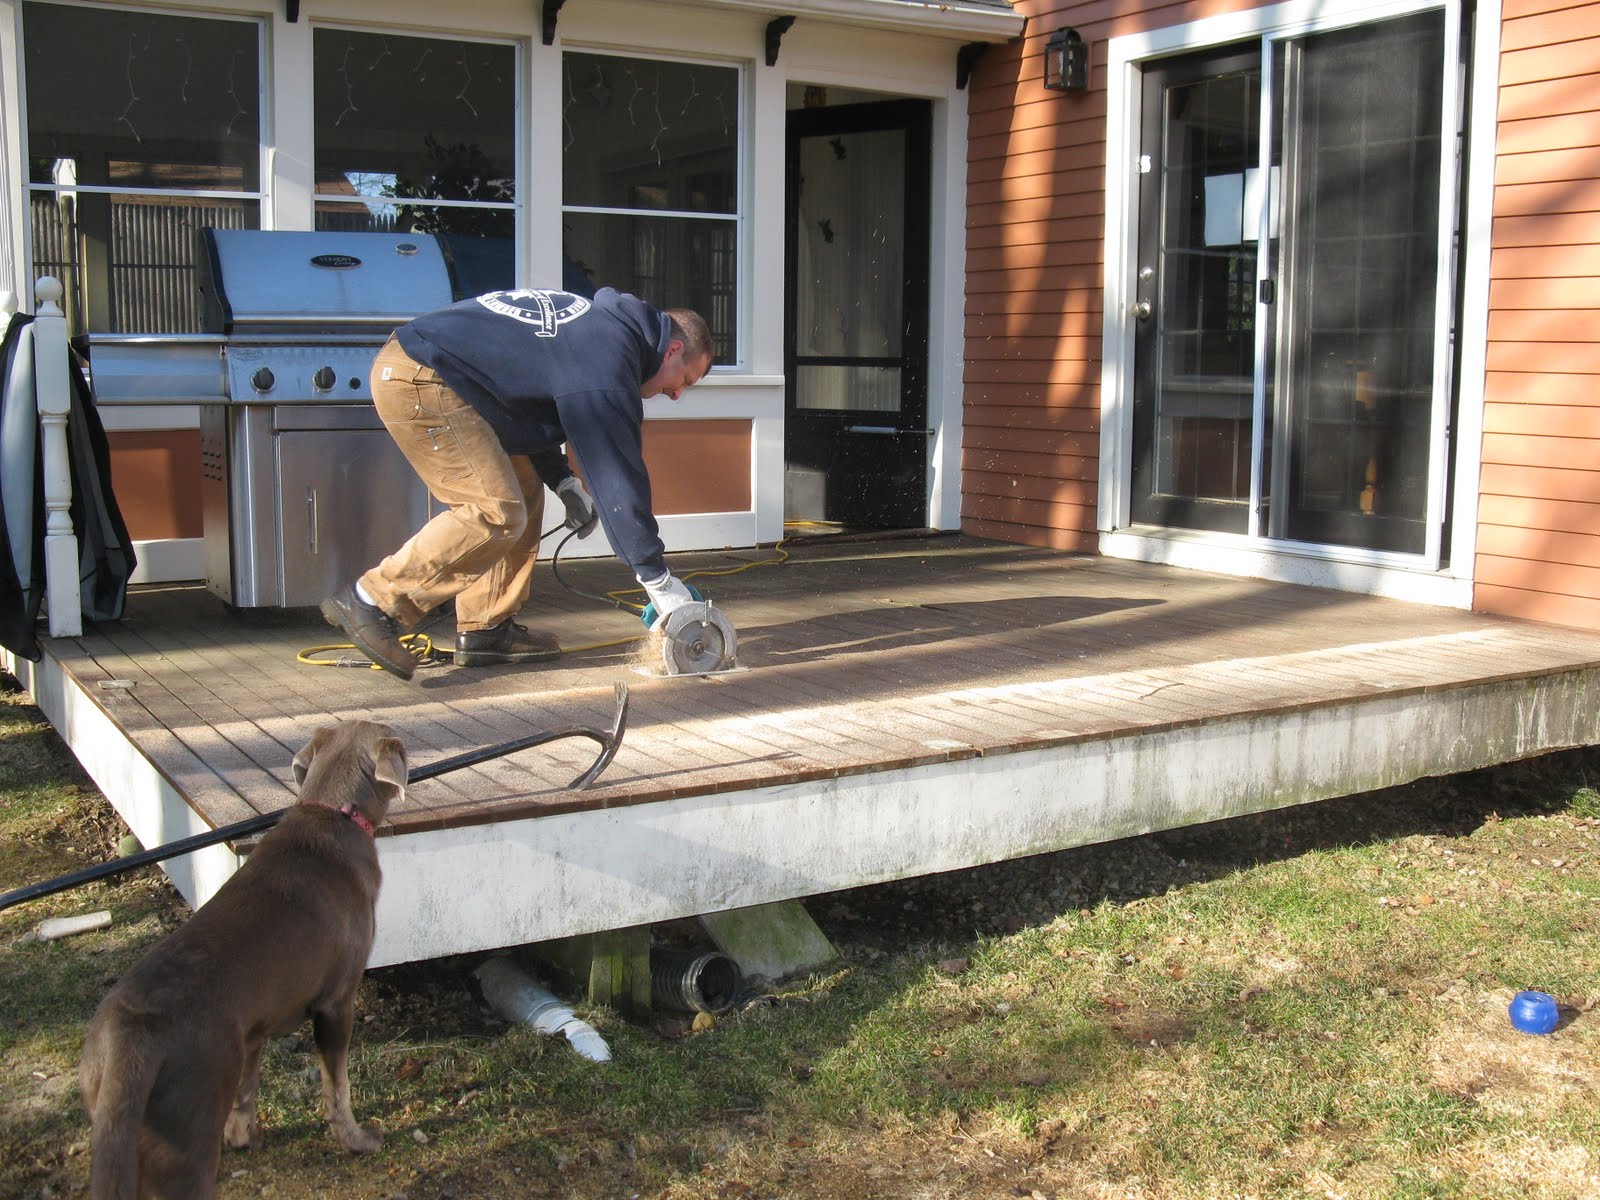
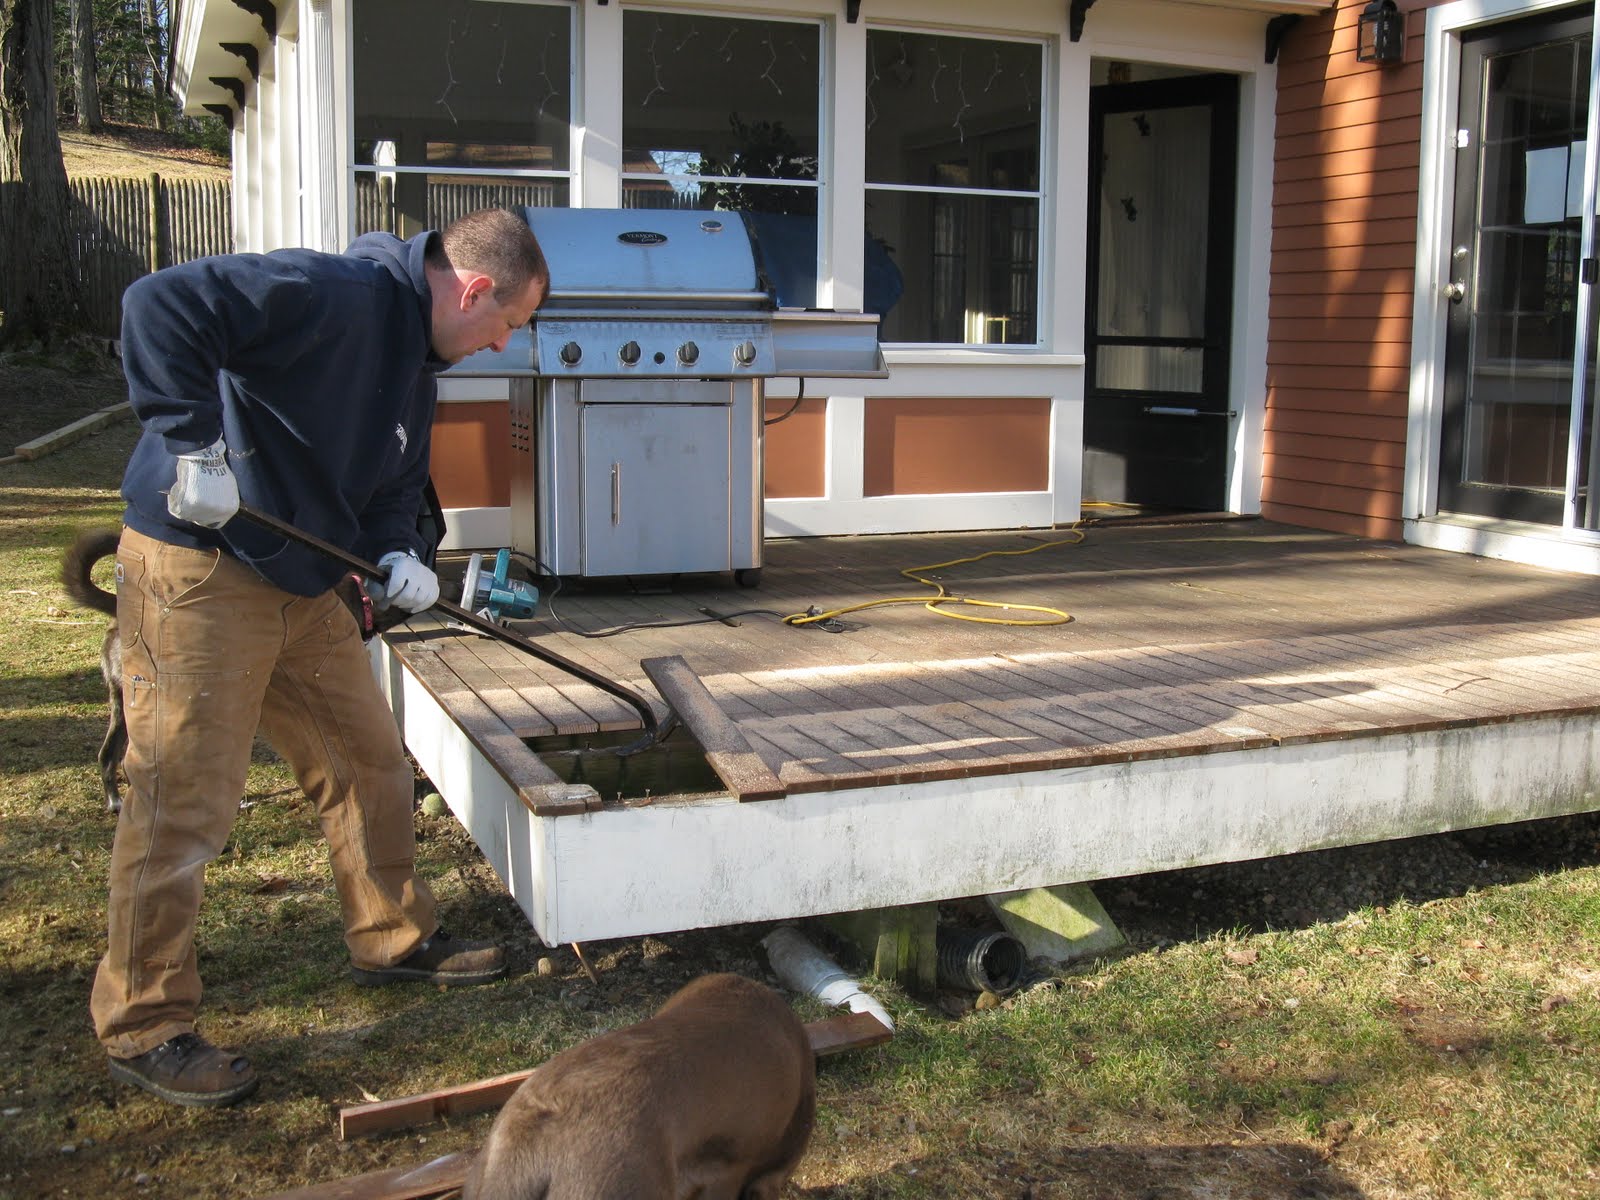
I used a circular saw to cut the decking between the deck joists. Then pried off the decking. Notice the Silver Lab “OSHA safety officer” on the left.
When I built this deck I used Maze brand ring shank nails… boy do they hold the decking down!

I did this process until I reached the screen porch.

This deck was built over a beam and cantilevered 24″ past the beam, which is still carrying some of the screen porch floor boards. I will cut the beam back to the porch.
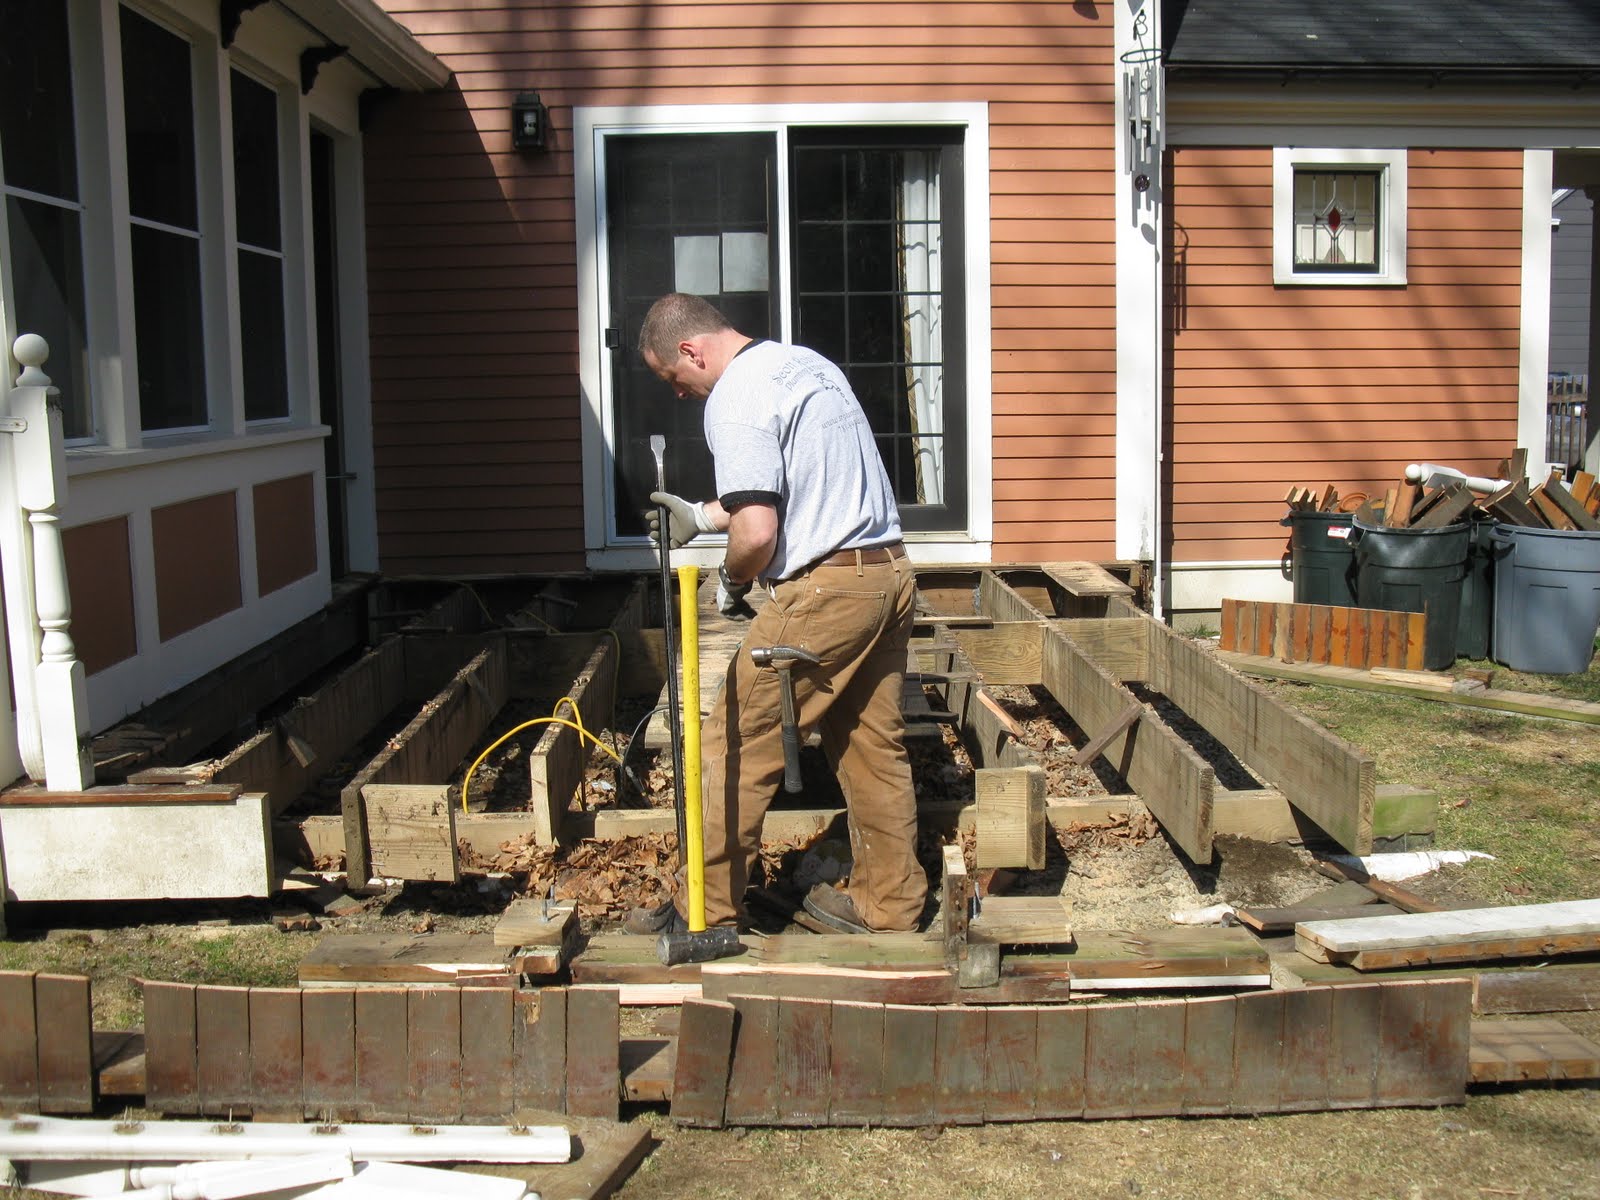
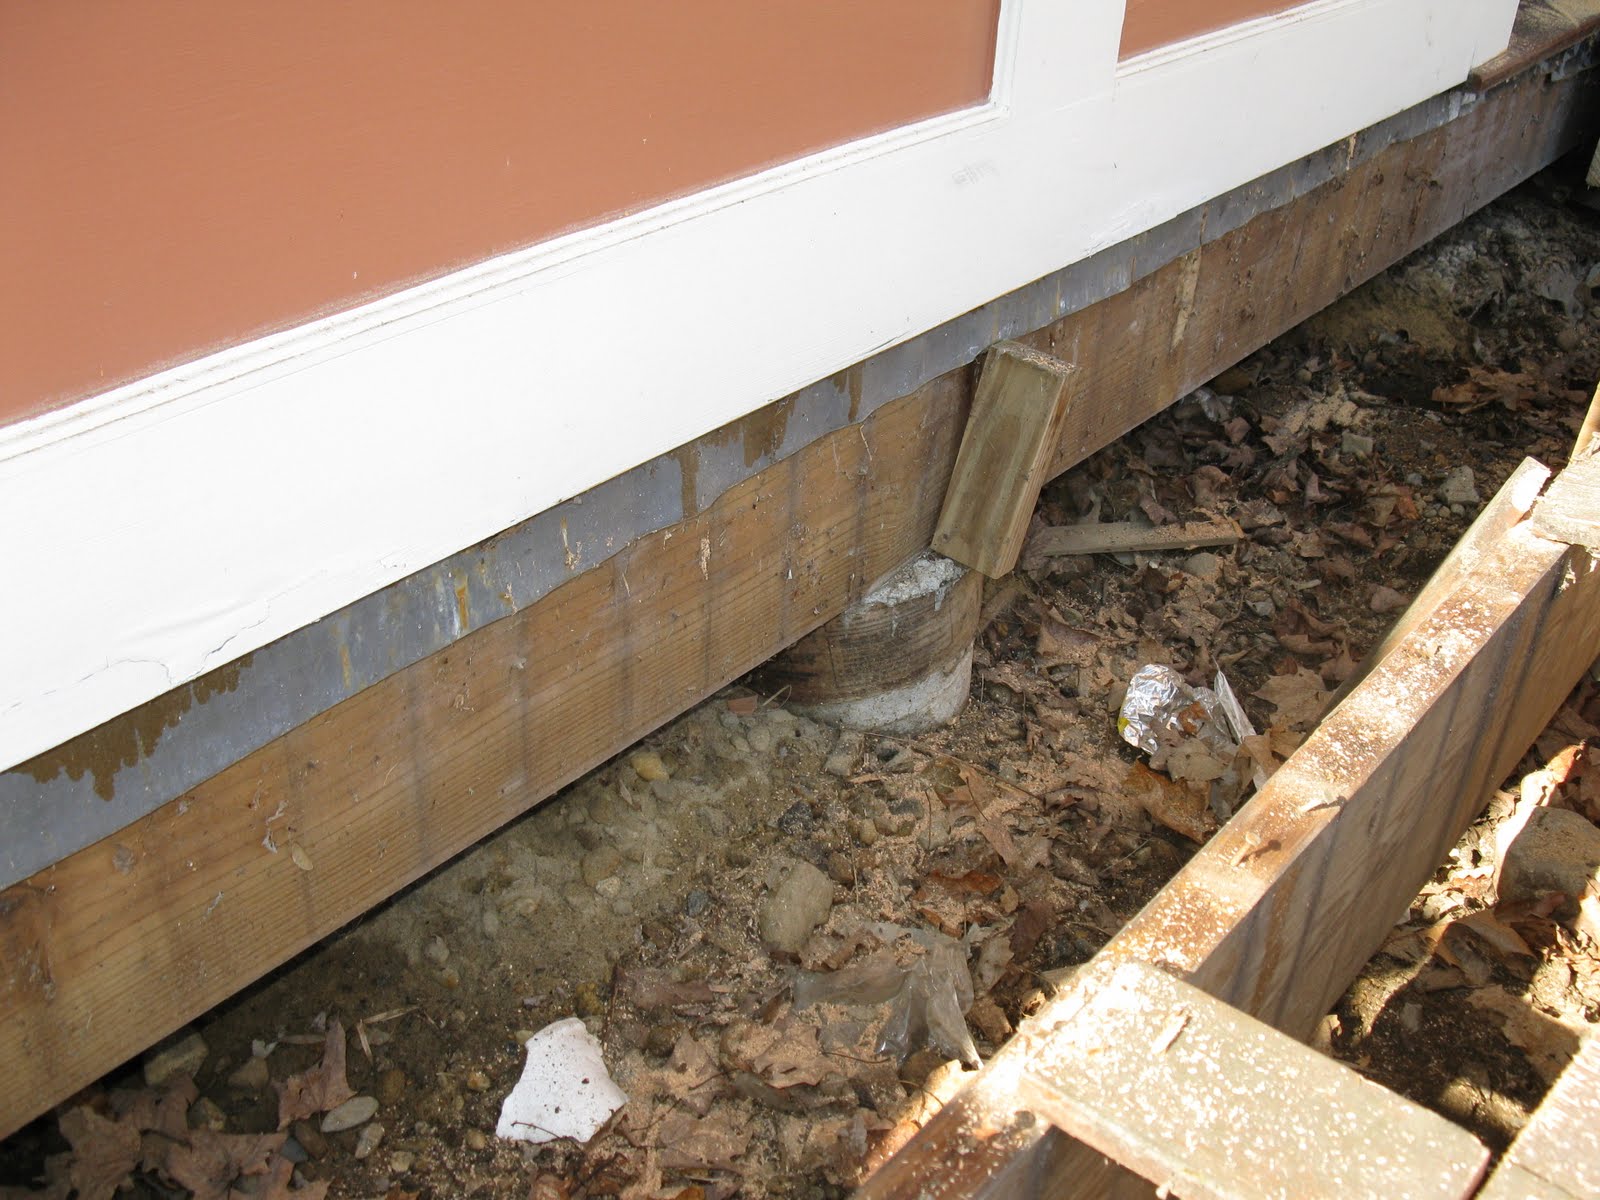
When I built the deck I back primed the fir decking prior to installing it considering how low to the ground this deck was, look at how well the decking held up with the back priming.
When I built the screen porch in 2001 I made sure to add concrete footings to carry the porch roof load…. boy am I glad I did that now. This will allow me to remove the deck beam.
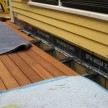
Flashing Along House
The next step is to install rubber flashing along the screen porch rim joist and along the house where the old deck ledger was. After installing the rubber I will counter flash both these areas with copper flashing.
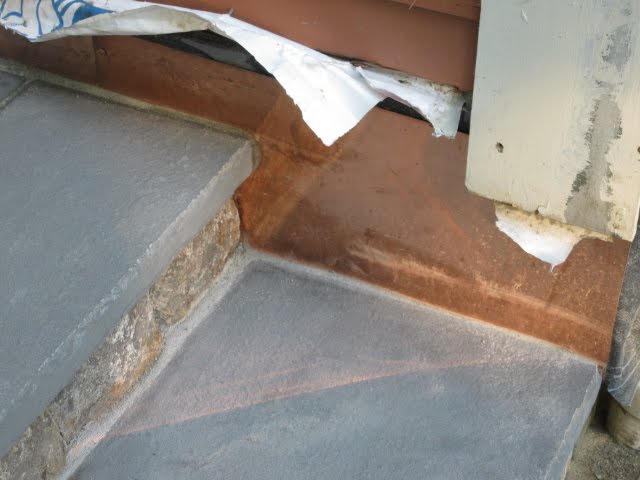
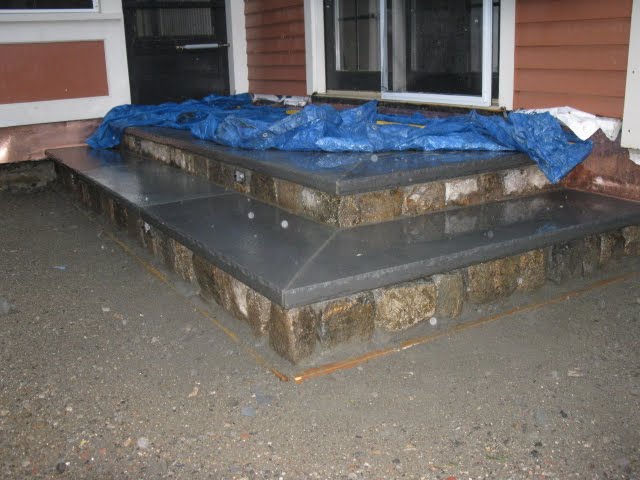
Above: Copper flashing was installed at the house behind the landing.
Blue-stone Design
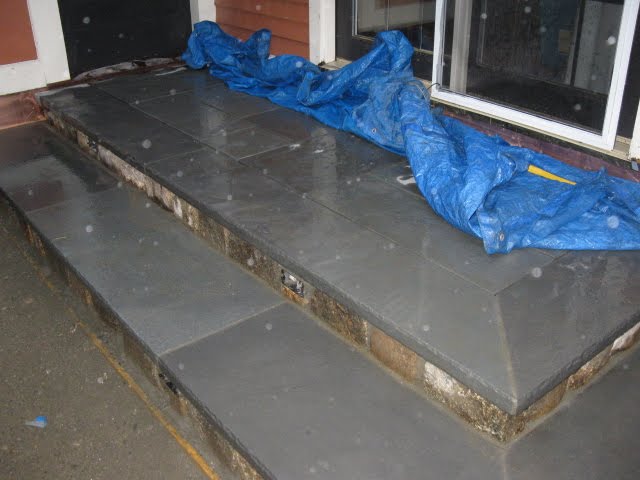
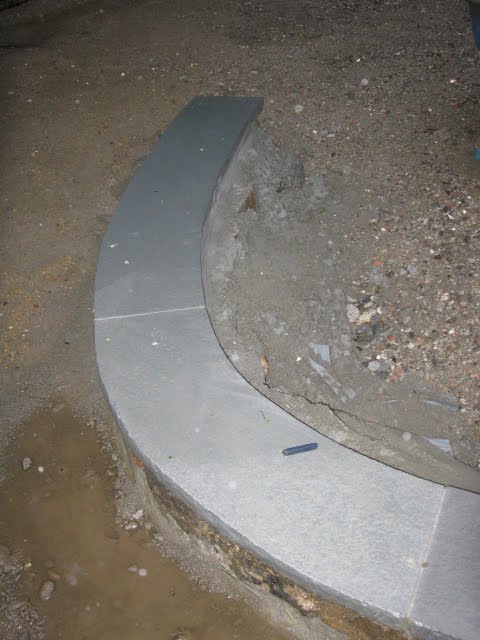
Below: The perimeter of the patio has 2″ thick stair treads to define the outer edge and curve of the patio.
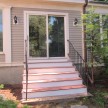
“Cake-Stack” Steps
The landing below allows us to get out and down to the patio. Stone risers and blue stone tread stock was used.
I installed 4 – low voltage, step lights on the long end for safety and accent lighting. I picked up these lights at Lowe’s.
The inside area of the landing has random blue stone wet set in mortar.