How to Fasten Furring Strips to Concrete

Workshop Tip: Applying Plywood To Concrete, Brick or Block Wall
Adding a wall finish to a concrete wall can be more that applying paint. There are many situations where one would want to cover over a brick, concrete, or block walls. This article will discuss how to fasten furring strips to concrete, brick or block walls.
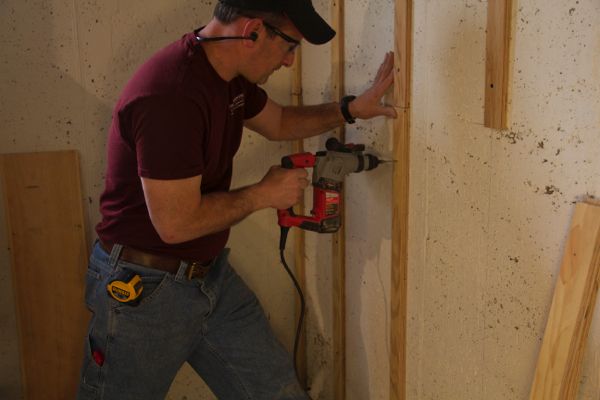
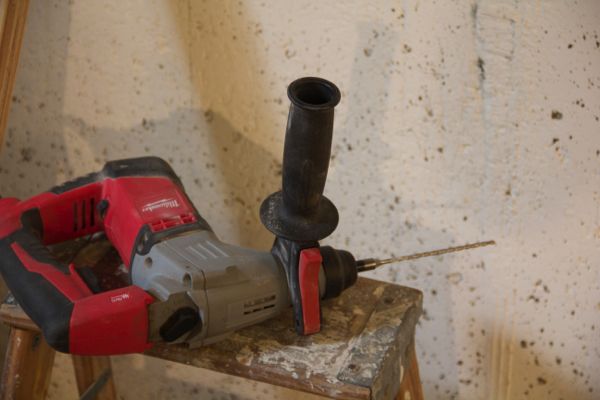
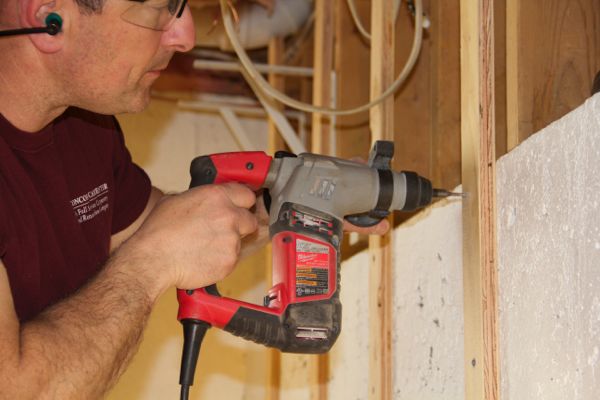
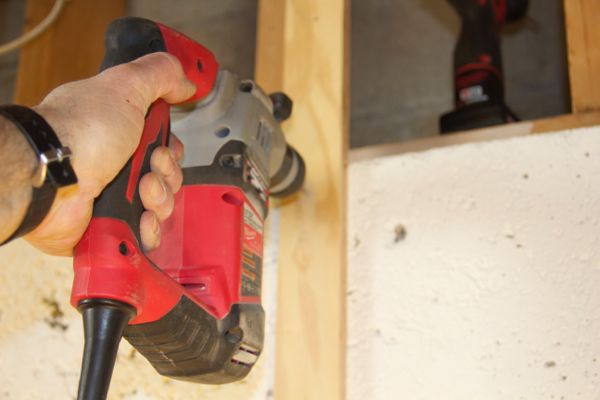
Using the Milwaukee Compact, 5/8 SDS Plus Hammer Drill # 5263-21
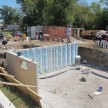
Basements and workshops are a common place to renovate and add improvements. Most basements that are below grade have masonry walls of solid concrete, cinder block or brick, and, thus, require a fastener designed specifically for attaching to these materials.
Improving My Workshop Walls:
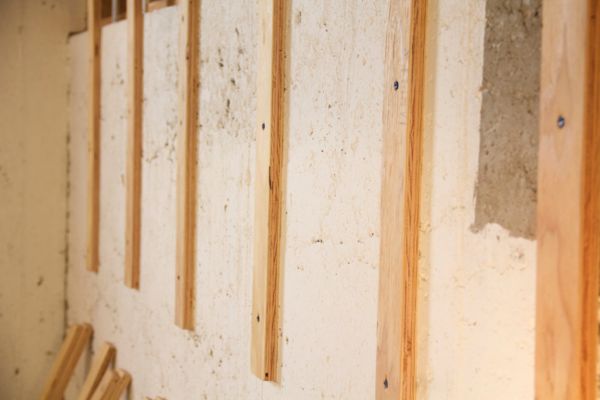
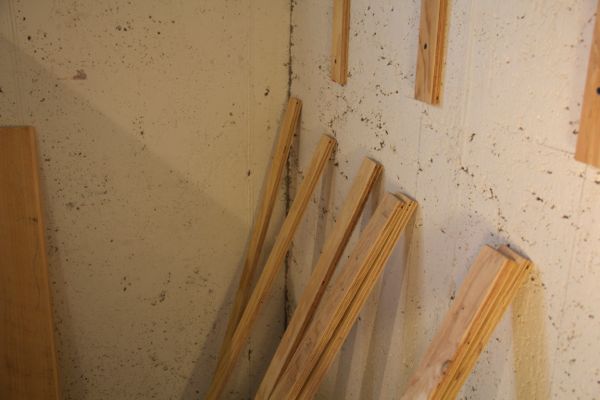
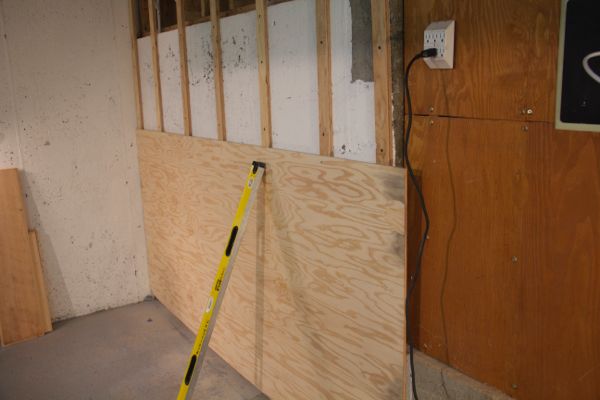
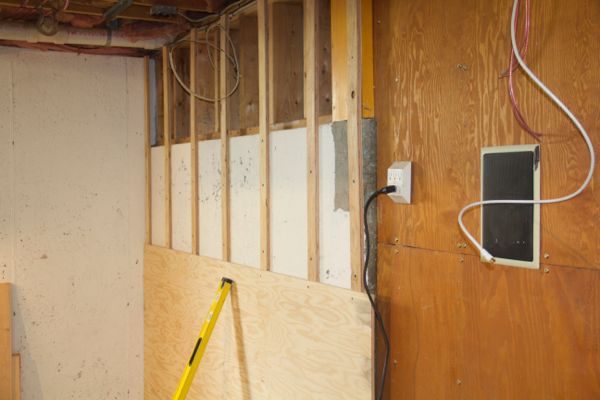
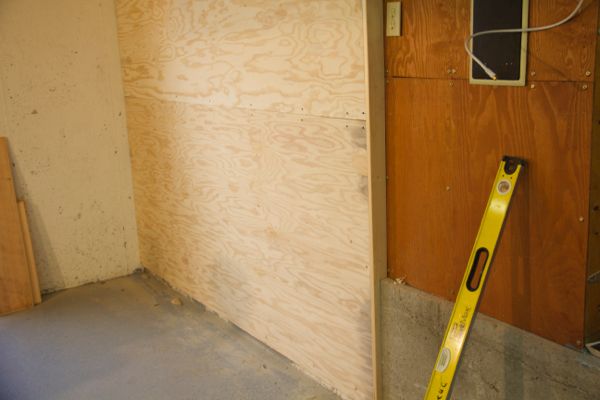
In my work shop, in order to maximize space and efficiency, I need to mount items to the wall. this means installing 3/4 thick furring strips and 1/2 inch AC plywood.
The AC plywood has a nice finish to it and accepts stain well. The furring strips and plywood give me 1-1/4 material to mount heavy objects like cabinets and pipe clamps to.
Fastening to Masonry:
In order to fasten anything to a masonry wall you need to use a concrete anchor. Most carpenters I know will fasten furring strips to the wall first then apply a wall finish over the strips.

What is a Furring Strip?
Furring strips are strips of metal or wood that create a support system for a finished wall material to be fastened to. They are typically 1″ x 2″ or 1″ x 3and can be installed either horizontally or vertically.
I typically make my furring strips out of plywood because it holds up better to the concrete fasteners. Thin solid wood furring strips tend to break apart at the fastener locations.
The spacing between the strips depends on the type of finishing material but I typically use 16 inches on center because it works well with 4×8 sheet stock.
Rip Furring Strips on Table Saw:
The safest way to make furring strips is on a table saw. In most applications, vertical anchoring is easier ad can often add strength if they are allowed to rest on the ground.
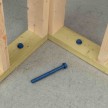
The furring strip is placed vertically against an existing wall surface to which the new, finishing material will be attached. to keep the strips and our wall surface dry we kept them both off the floor 2-inches. This area is near a bulkhead door and has seen water intrusion in the past.
Tools Needed:
- Plywood
- Tape measure
- Pencil
- Level
- Safety glasses
- Ear protection
- Drill
- Pilot-hole bit
- Hammer drill : Milwaukee 5/8” SDS Plus Hammer Drill Model 5263-21
- Masonry drill bit, 3/16-inch
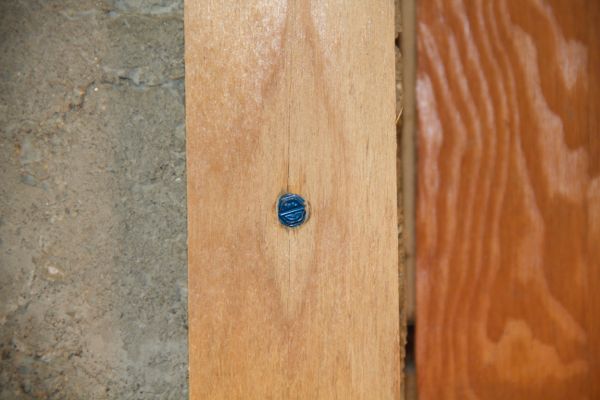
- Concrete screws, 1 3/4 inches long, 1/4-inch diameter
Concrete Fastener:
The type of concrete fastener to use for the application depends on the size, weight and strength you desire. In our situation we chose to use concrete screws.

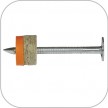
Tapcon Concrete Screw
Tapcons are commonly used as a masonry fastener for furring strips. they come with a flat, countersunk head or a hex head. I prefer the hex head and use a nut driver to install.
Tapcons are best suited for light to medium duty fastening purposes, are available in standard 3/16” and 1/4” diameters, as well as large diameter sizes of 3/8”, 1/2″, 5/8” and 3/4” and are offered in a wide variety of materials, including stainless steel.
Determine Length of Fastener:
A good rule of thumb when determining fastener length is the following:
“Thickness of material + 1” minimum to 1-3/4 inch maximum fastener embedment.“
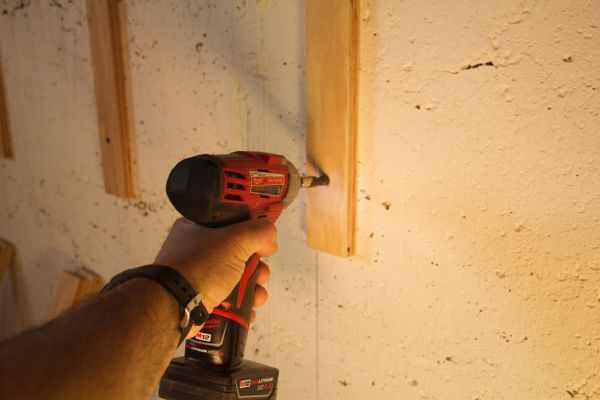
Tapcon Concrete Screw Installation:
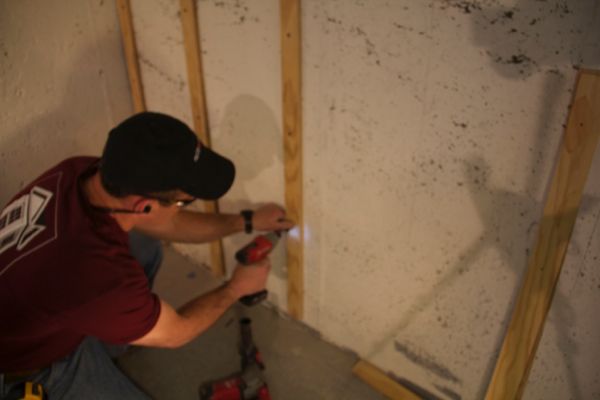
- Determine spacing and location of furring strips.
- Mark the wall for vertical furring strips installed 16-inch on-center. wall.
- Using the level, plumb down the wall and draw a line for reference.
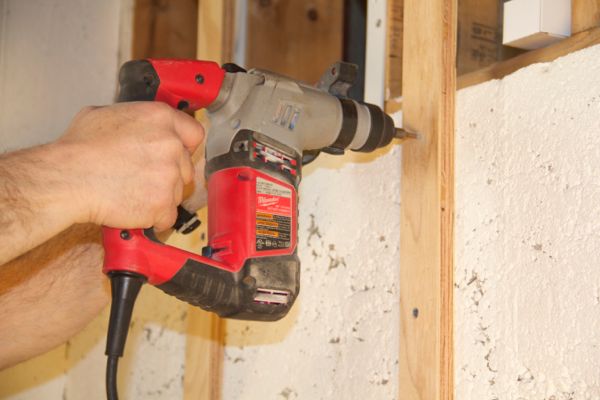
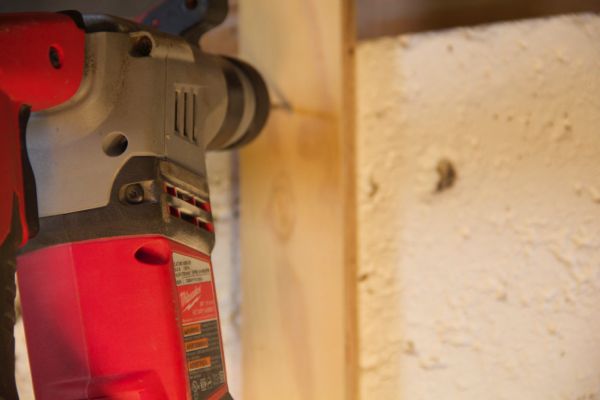
- Pre-drill the holes in the furring strips so they do not crack when you screw them to the masonry.
- Use a hammer drill, drill holes using the correct diameter carbide-tipped masonry bit for the concrete screw diameter in use.
- Drill the masonry hole 1/2 deeper than the fastener embedment.
- Vacuum holes of masonry dust.
- Drive the Tapcon screws into the holes of furring strips with an impact driver and nut driver. Avoid over torquing to prevent stripping.
- To prevent the wood material from splitting, stagger the anchors.
- Attach wall finish with fasteners that will not penetrate thru the furring strips. After you have the furring strips attached to the masonry wall you can then attach the drywall or plywood as you would with a normal stud wall.
- With plywood: use regular 1-inch drywall screws spaced out every 10 to 12 inches.