Wood Shaper Table UPGRADE

Custom Wood Shaper Table| Using Rockler Components
In my workshop, I use my wood shaper primarily to mill frame and panel doors and sometimes wainscotting panels. To do this precisely, and work safer, I use sliding sleds that are indexed into the miter slot.
Old Coping sled
I’ve encountered some quality issues when milling long stock, for example when I’m doing an end panel on a tall bookcase, or a long horizontal panel on a bench set. There are two situational problems that I needed to improve on:
1st Problem: 36″ Sliding sled tool long for shaper table
The problem with my 36″ long sled is there is not enough table surface to support it and inevitably the sled tilts up [at the start of cut] or tilts down [at the end of cut] due to its overhanging weight off of the shaper table. The tilting always results in a damaged [gouged] door or panel style.

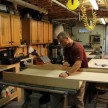
Old Sliding Shaper Sled | Long Parts
2nd Problem: Longer fixed fence was too short due to the small shaper table work surface
The issue with the fixed fence it was too short, and there was no way to support it where it overhung the shaper table. It’s in these situations that I clamp my sliding sled to the table and feed the wood piece, not the sled, through the shaper.
When routing longer boards the sled would tilt out of the miter slot and gouged. Additionally, I had to physically hold the wood down to the tabletop and push it through the shaper, which was not as safe as using hold-down clamps.
A Longer, Better Support Table Was Needed
I quickly decided that I needed three things to improve quality and safety:
- A better-sliding sled
- A longer table
- A longer fixed sled
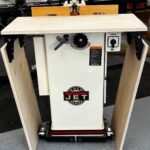
I started thinking about the tabletop first and did some research on wood shaper extension wings, but couldn’t find anything that worked with my JET Shaper.
Additionally, because I use a fixed fence screwed to the sled base, I have to use a driver to remove and re-install screws every time I need to move the fence. I wanted to improve set-up time, accuracy, and efficiency here as well.

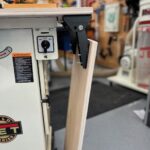
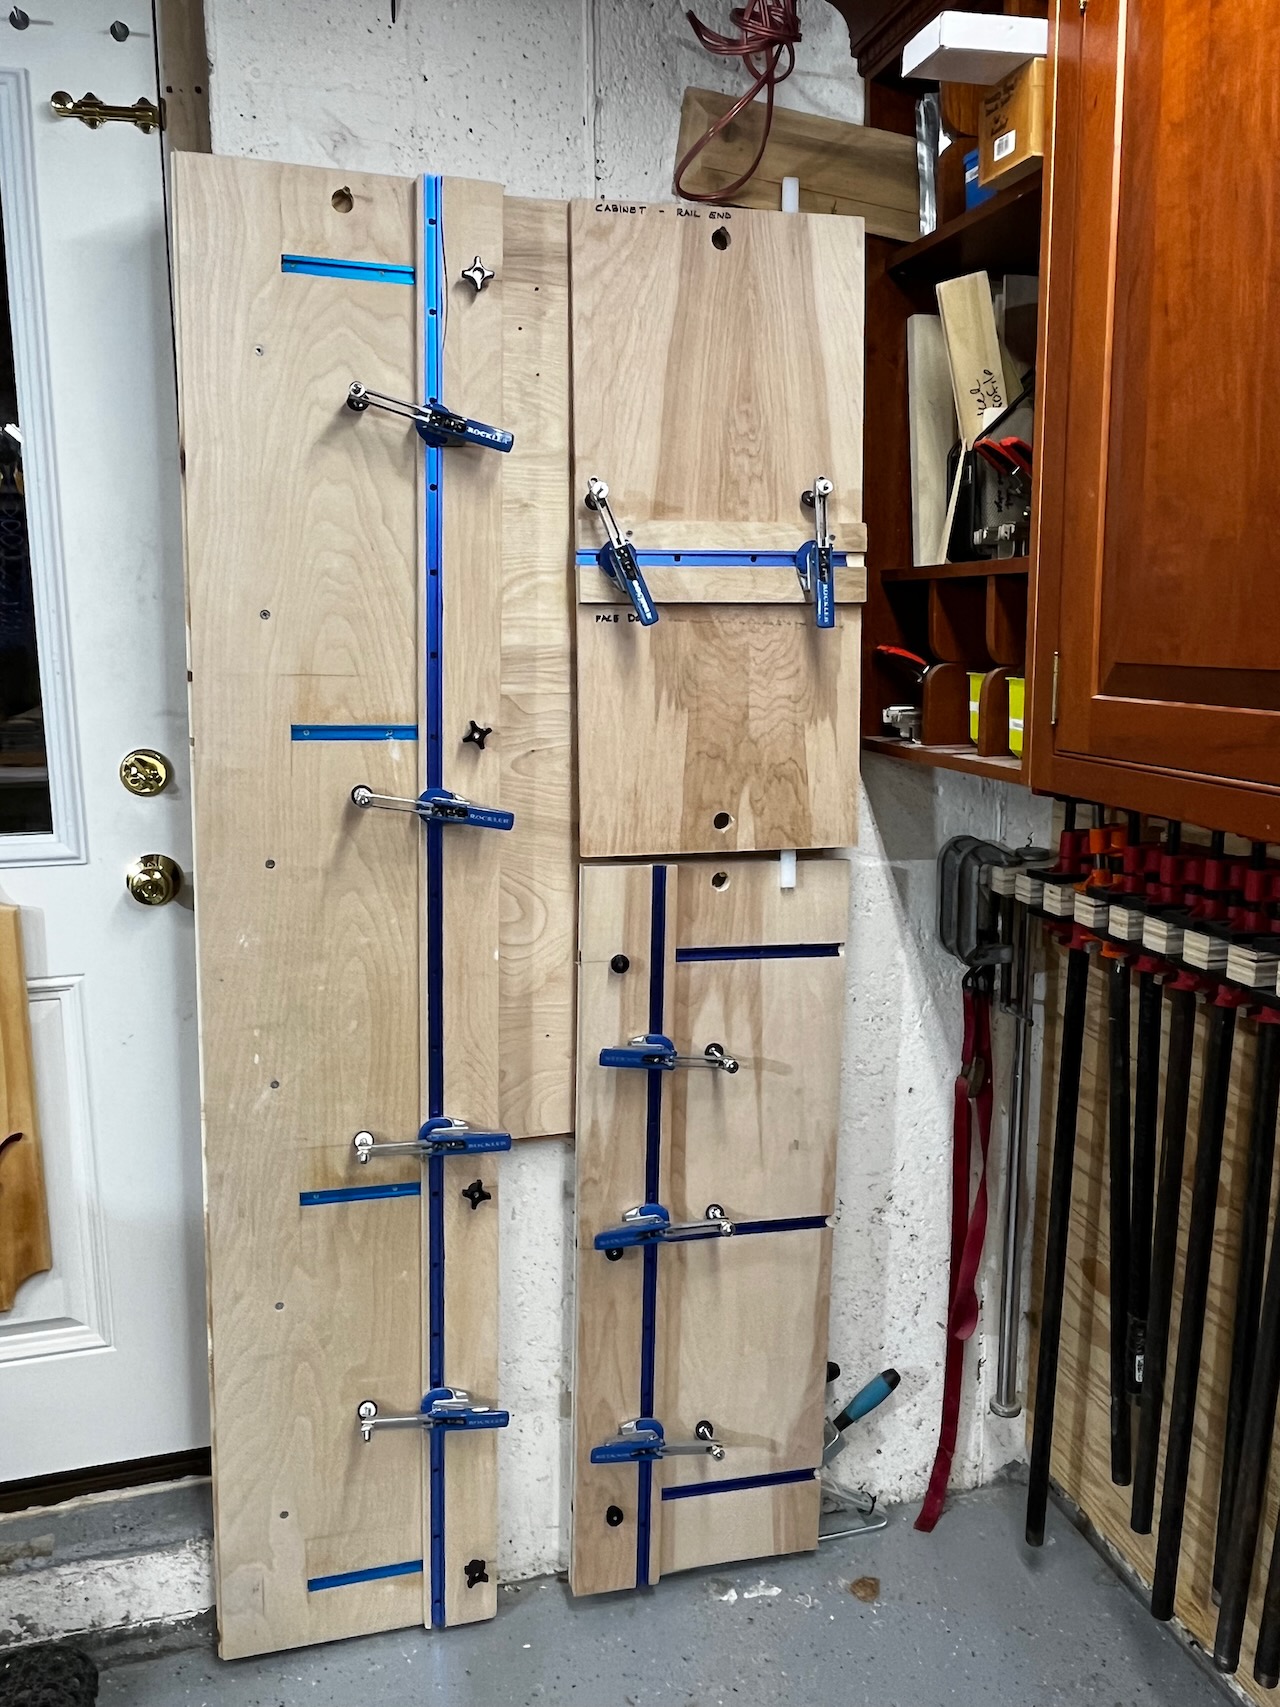
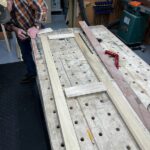
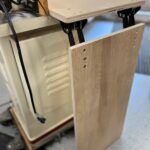
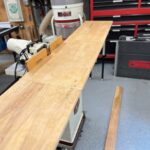
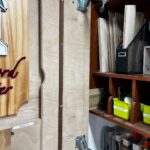
Long Vertical Rails | End Panel
Wood Shaper Extension Wings | Improving My Wood Shaper
When I need to make a workshop jig in my shop or address an efficiency pain point, I always look to Rockler for a solution. I’ve learned that there is no need to reinvent the wheel because Rockler does such a nice job with jigs, accessories, jigs, and fixtures.
My first thought was wood shaper extension wings that would extend the left and right sides of my wood shaper table. While looking on Rockler’s website for ideas I came across the Rockler Rock Steady Folding Top Extension Kit. It reminded me of a folding extension table I once had on my table saw, but with an improved design.
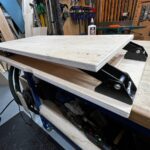
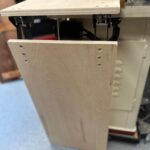
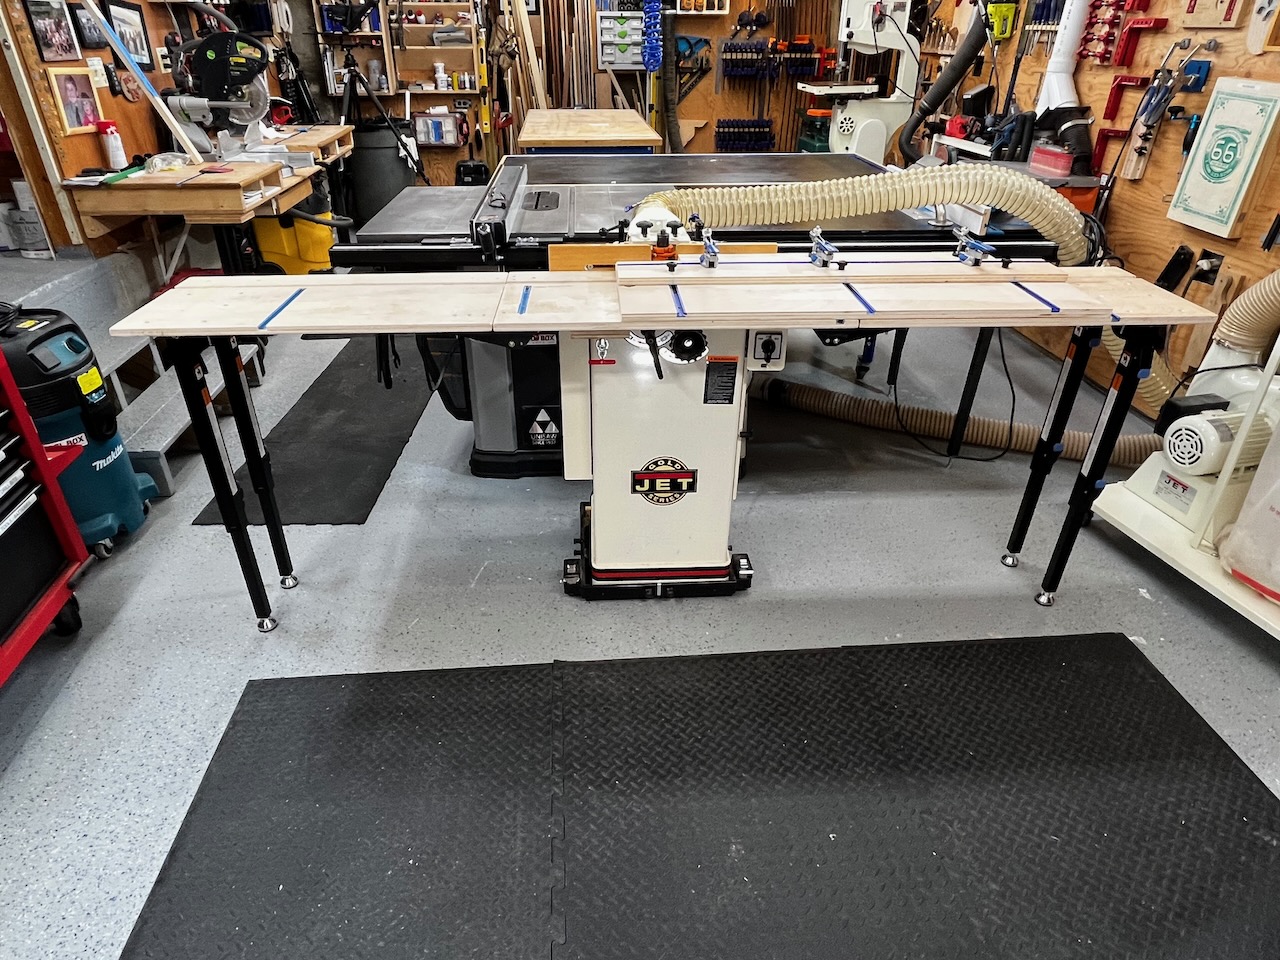
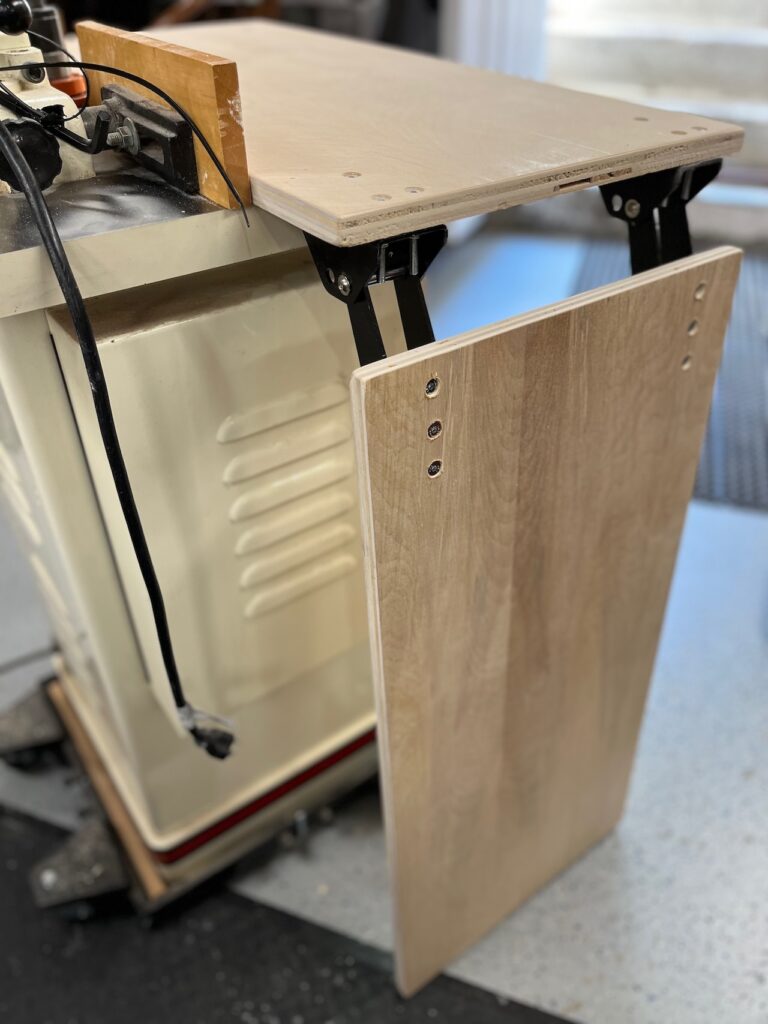
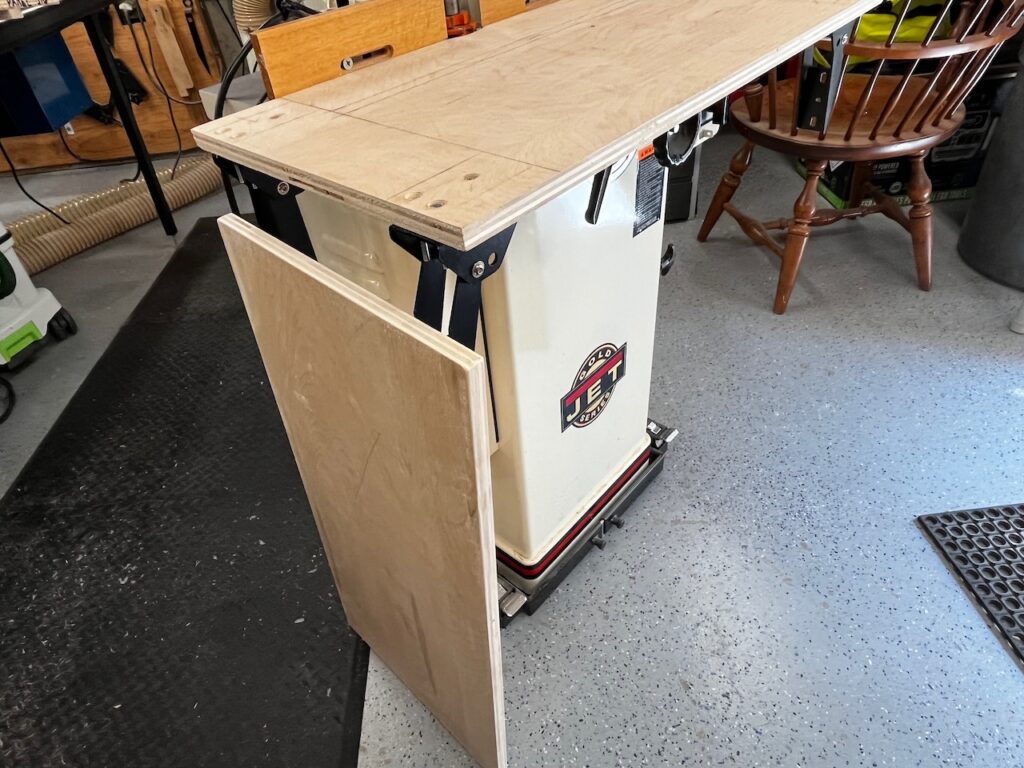
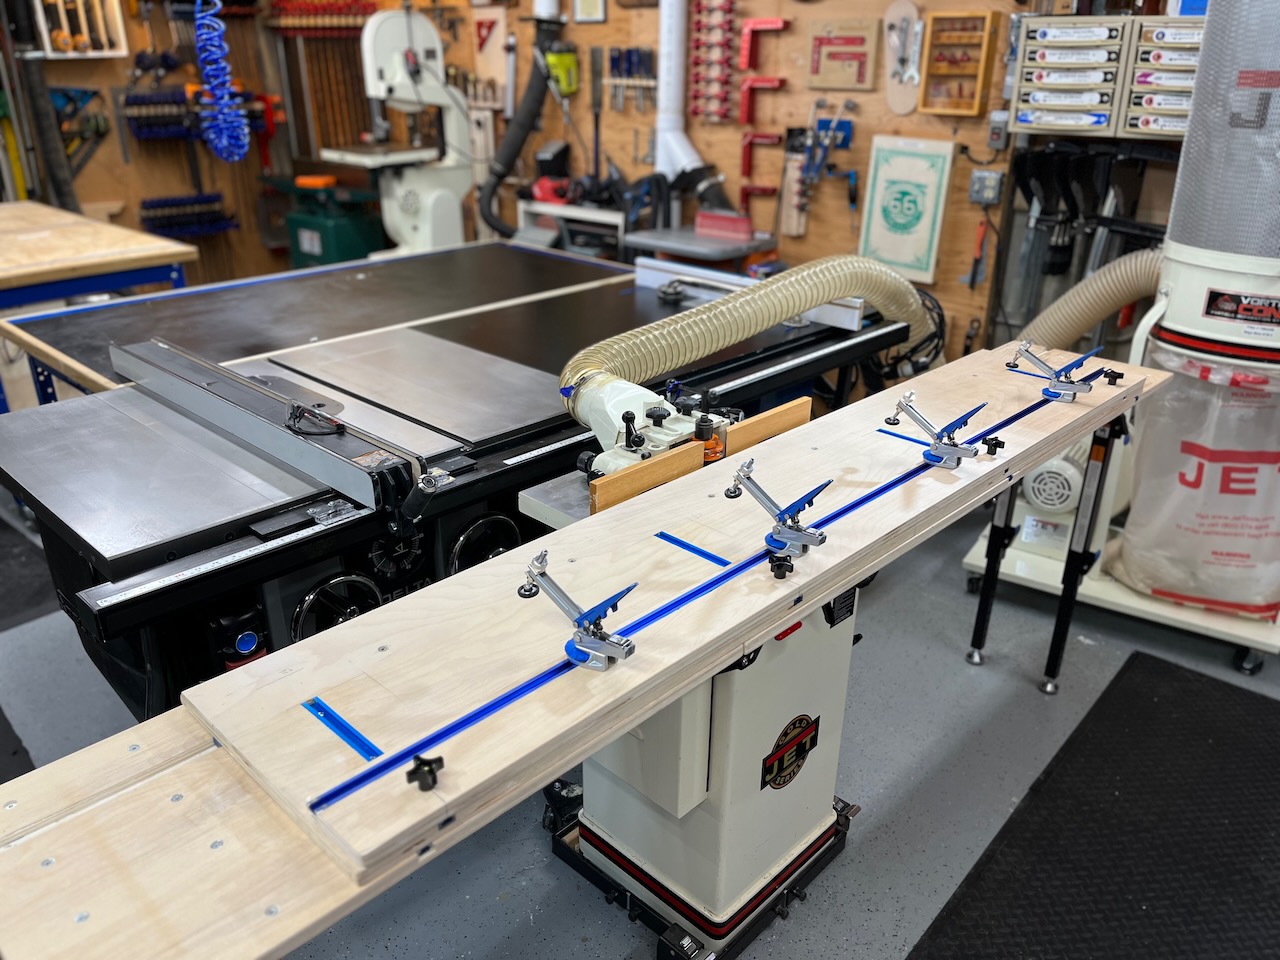
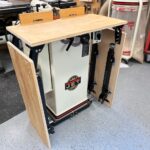
I started envisioning my shaper improvements, but by the time I was done online researching, I decided NOT to make removable left and right extension wings. Instead, I’d build a pair of 3/4″ wood shaper extension wings that would lower and store in a downward position.

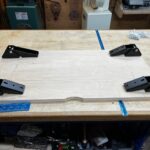
The 93″ long table top would be secured to the wood shaper table with cleats and toggle clamps. I’d then mount the folding wings to that top. This jig would also incorporate a polymer miter slot keyway and a T-track system with clamp hold-downs for my fence system.
I would also add a dado slot parallel to the shaper fence to allow me to use a sliding sled. Additionally, I would add perpendicular t-tracks allowing me to use a fixed fence as well, more on this below.
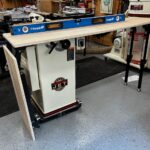
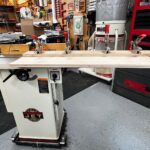
Remodeling My Shaper TableTop
The next step was sourcing the parts and building the extension wing jig. This new addition is going to be a huge time and aggravation saver for me.
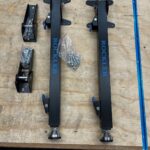
Rock Steady Folding Top Extension Kit
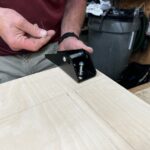
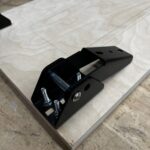
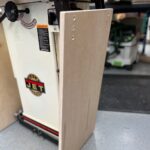
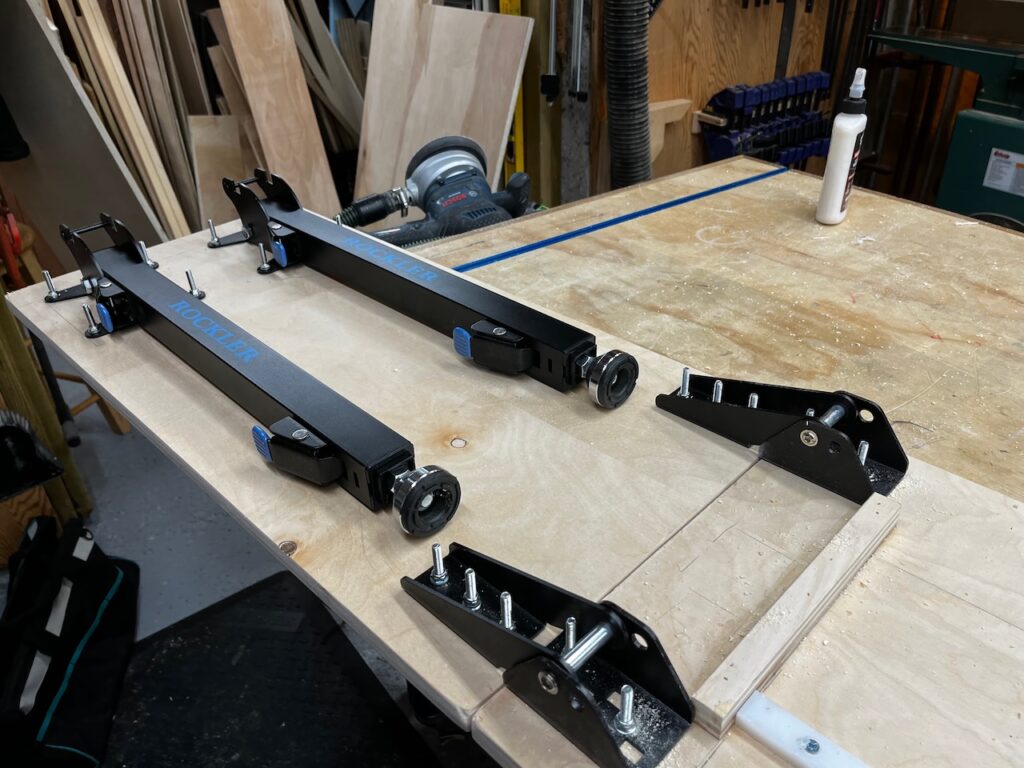
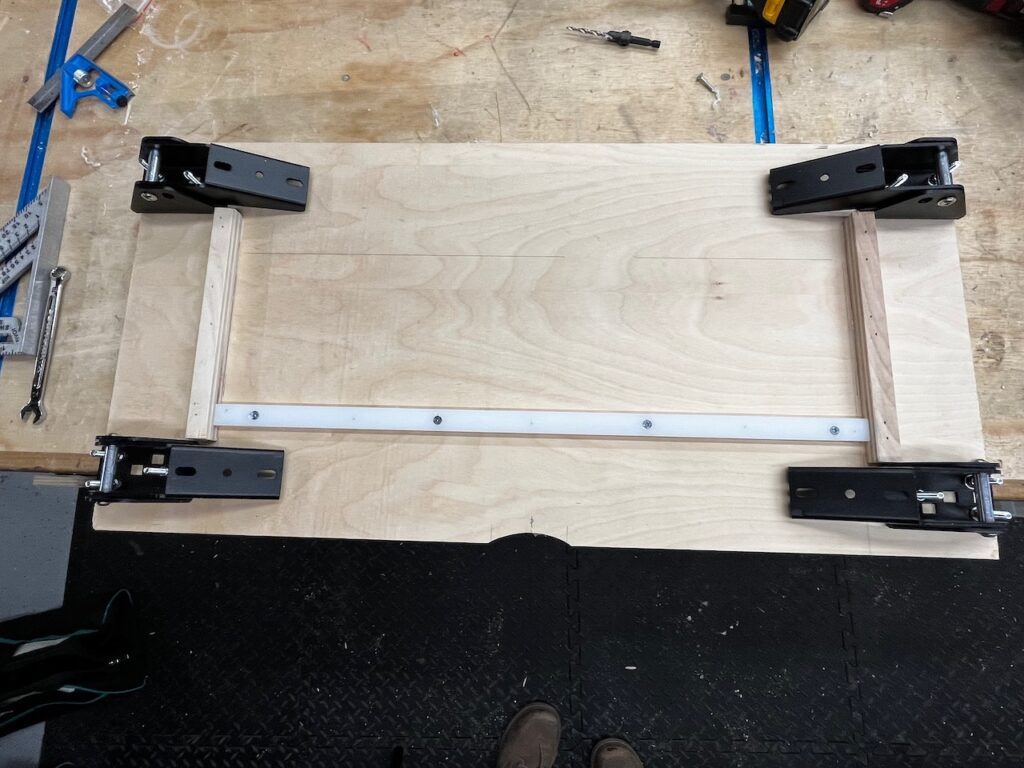
For my two folding extension wings, I settled on the Rock Steady folding top extension kit, which is comprised of a pair of steel folding hinge brackets and folding legs.
Here’s what I like about this kit:
- The legs open by depressing a large paddle lever, and lock, both in the open and in the closed [stored] position.
- The legs also allow adjustment in height from 22-5/8” to 7-5/8” in 1” increments
- The legs have swivel, leveling feet that screw adjust to 1/2” which allows additional height fine-tuning.
The cost per pair is $120.

Improving Miter Slot Connection
In the past, when building my sliding jigs, I would use Oak or Mahogany to make a miter slot runner. About a year ago I came across Rockler’s plastic jig stock and aluminum miter slot stock.
Let’s talk about them for a minute:
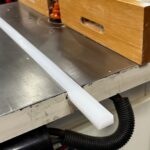
Rockler UHMW Plastic Jig Stock
UHMW Plastic Jig Stock, measuring 4” X 24” X 3/4” thick. UHMW stands for Ultra High Molecular Weight (UHMW) polyethylene polymer and is a great material choice for making jigs and fixtures.
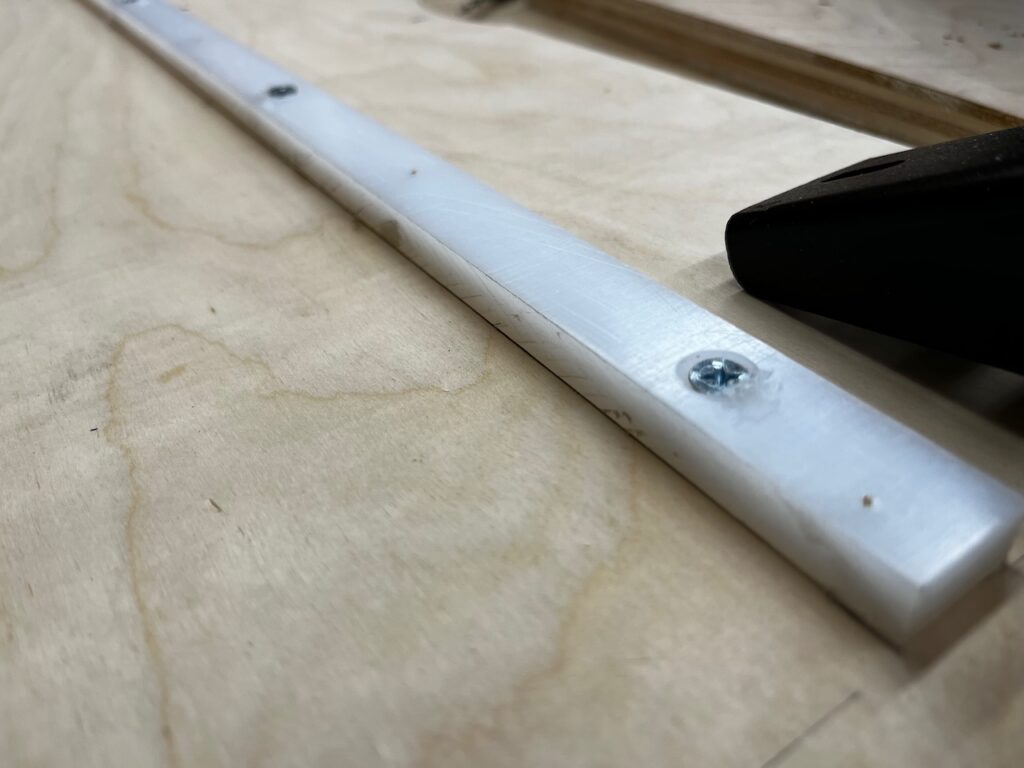
It has a low coefficient of friction and is self-lubricating, which makes it a great choice as a miter slot glide. To be clear, my table will not slide, I plan on using it for other sliding jigs, and I thought it would be good to use it as a fixed miter slot indexing point. The UHMW costs $50 and I can make a half dozen or more runners from it.
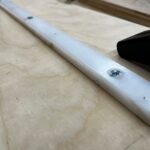
Rockler 24″ Aluminum Bar
Rockler also has 24” Aluminum bar stock [model 26232] designed specifically to fit in miter slots. I was torn between using this or the UHMW. The aluminum stock sells for approx. $26 each and won’t warp, swell, or shrink like my wood. It also has 1/4-20 threaded holes for attaching to your jig. The threaded hole is a definite plus!
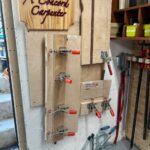
T-Track and Clamp Fence Hold Down System |Components
I wanted to improve my fence clamp system and eliminate my having to use a bunch of screws and a driver every time i adjusted my fence. Adding a sliding clamp system would eliminate the screws and allow me to quickly adjust the fence and make micro-adjustments. To achieve this, I added Rockler T-tracks and clamps.
If you haven’t used Rockler T-tracks yet, you are missing out!
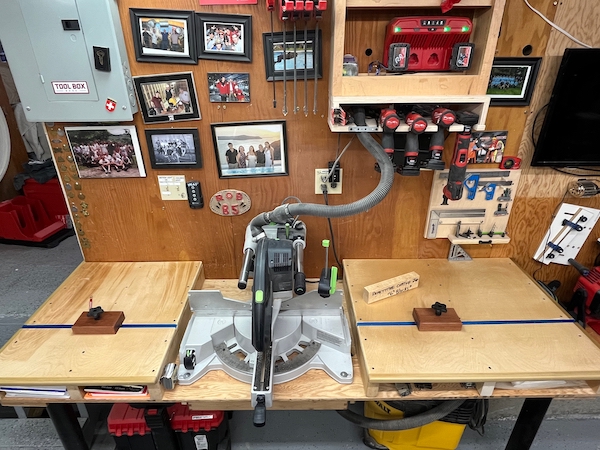
Miter Table T-Track Repetitive Cut Stops
I used extruded aluminum T-tracks all over my shop for several projects, such as:
- Shop jigs
- Miter saw stops
- Router fence adjusting
- Tabletop hold-downs
Rockler’s Universal T-track
I like using T-tracks in my shop. If you’re not familiar with them the Rockler’s Universal T-track accepts both 5/16″ and 1/4″ T-bolts, as well as 1/4″ Hex-bolts, and comes in 2 ft, 3 ft, or 4 ft lengths. The T-Track have pre-drilled holes in the base, that are 4” on center and 2” in from the ends. The track is 3/4″ Wide x 3/8″ Deep and I use a 3/4″ Dado bit and router to install them. To fasten them to a table, I use #6 flat-head screws

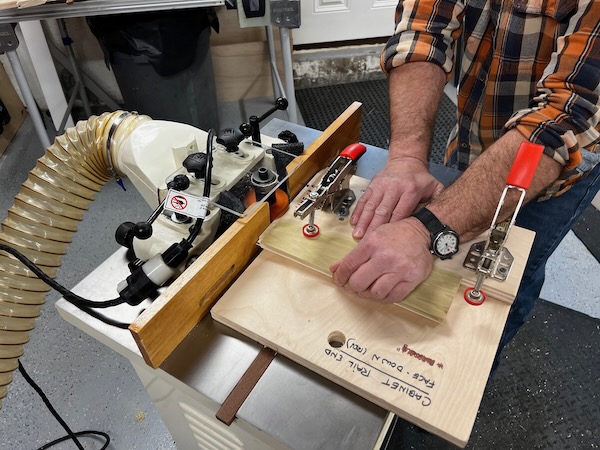
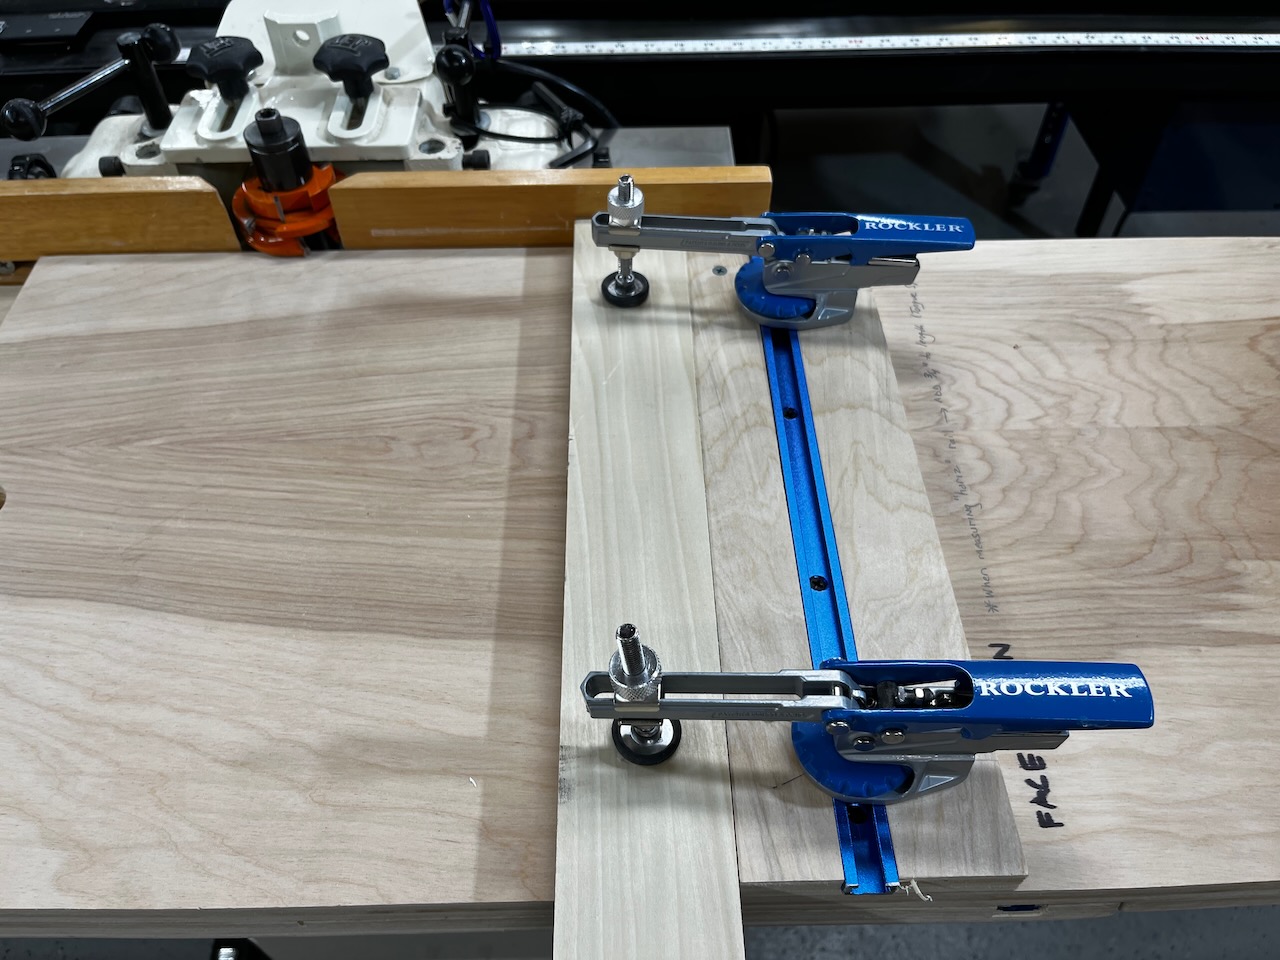
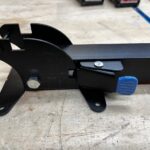
Rockler Auto-Lock T-Track Hold-Down Clamps
For my clamps, I chose Rockler’s Auto-Lock T-Track Hold Down Clamp which can clamp anything from veneer sheets to materials up to 2-3/4”. A set screw adjusts the clamp, and once set, the clamping pressure can be adjusted from 5 to 250 lbs. of pressure, which stays consistent regardless of workpiece size. The clamp head has a rubber material for better gripping and non-marring. The clamp has a knurled wheel that locks the clamp into the T-track, no wrench is required. The clamp reach adjusts from 1-1/2” to 3-1/2” from the center of the track and its height maxes out at 2-3/4” high.
I use these same clamps on my assembly table and appreciate that, they can rotate 360°.
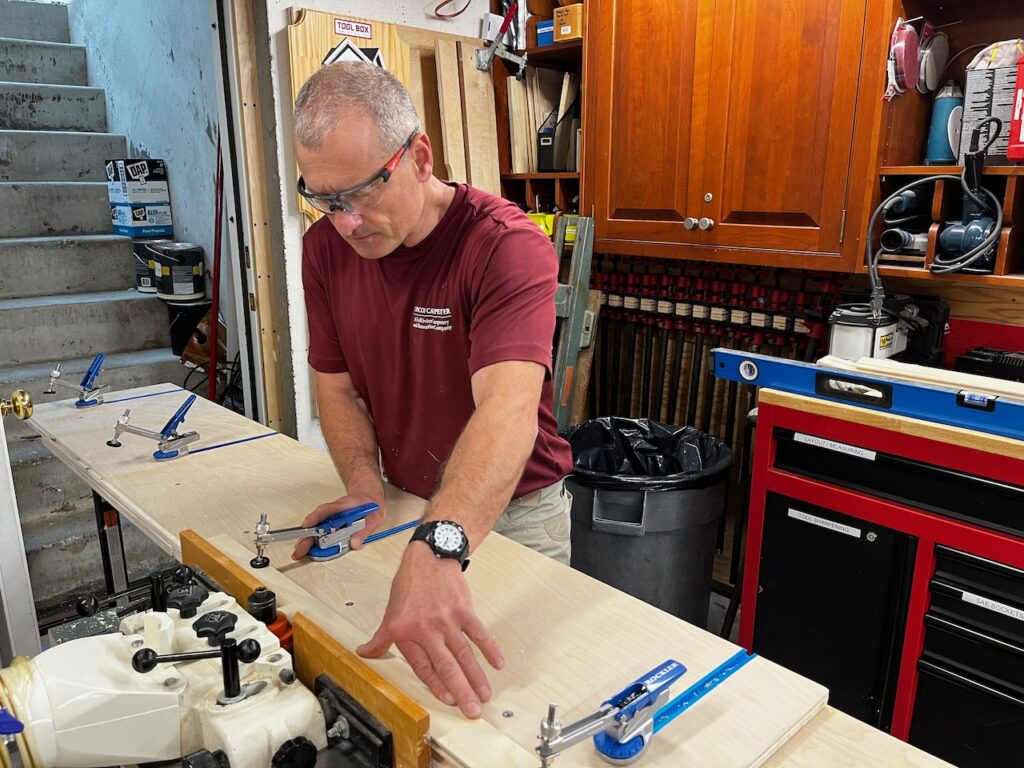
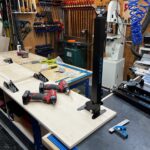
New Sliding ” Hold-Down” Jig
While assembling this extension table I decided mid-project that I would also include and rebuild my sliding “hold-down “table. It made sense since I now have extension wings which will eliminate the sled from hanging past and tilting off the shaper table when milling longer stock.

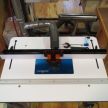
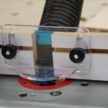
Shaper table hold-down clamp
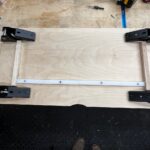
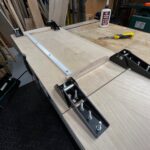
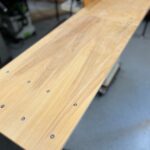
I routed a dado the entire length of the new extension table, parallel to the shaper tables bit/fence. This slot will guide the sliding hold-down sled jig past the shaper bit.
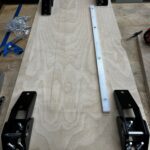
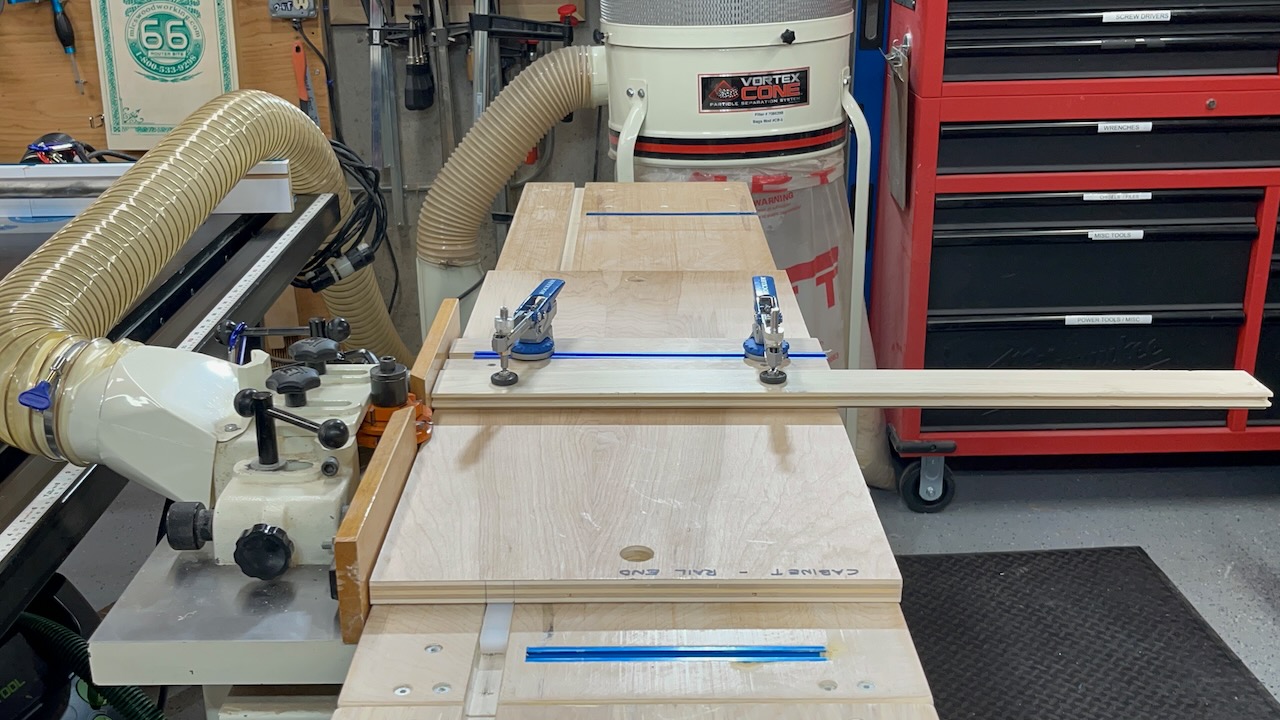
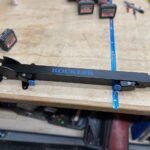
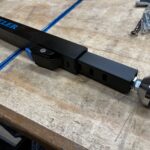
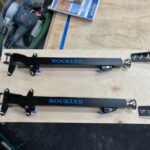
The new sled is 76″ long, twice as long as my older sliding sled, and I used the two 48″ aluminum bars, as miter slot guides. The top of the sled has 4 perpendicular t-tracks installed similar to the shaper extension table t-tracks. This sled was designed to clamp to and hold the material as it passed through the shaper bit. But not for long, I changed that mid-process!!
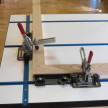
New Sliding Coping Jig
I also made a new coping sled, at first I wasn’t going to, but I decided that once I had the extension table wings installed, I did not want to have to remove it to run operate the coping sled. The old sled indexed the shaper’s metal miter slot and would not fit the new extension table slot.
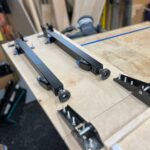
Location of the T-Track and Clamps
While designing the sliding fence clamping system I went back and forth on where and how to mount the T-track to give me the most flexibility and functionality. At first, I thought about running the T-track parallel with the shaper fence, allowing me to add as many clamps as I wanted along the entire length of the track. This approach was appealing to me but had a major flaw as it only allows me a 3-1/2” of clamp reach.

I settled on a series of perpendicular t-tracks and to determine where to place the tracks I worked backward from the shaper bit. Knowing I’d like the clamp to hit the plywood fence at the center, or slightly past, I started my track at 4-1/2” from the shaper bit to be safe.
Figuring T-Track Spacing
- The smallest style rail I typically use is 2-1/4” so I decided on 2”
- I added for a 3” wide fixed Birch plywood fence. I like using a 3” fixed plywood fence for its rigidity, but wanted some flexibility to use a smaller fence if I have a wider board and needed more tabletop real-estate down the road.
- I figured 2” was for the size of min. style + 1-1/2” which is the center [half] of 3” fence + 1-3/4 which is half distance of clamp reach = 5-1/4.
- Settling on approximately 4” gave me a bit more flexibility for clamping.
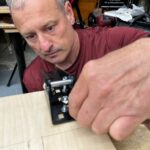
Once I decided on the 4-1/2″ spacing I laid out the equal spacing for 4 dados to hold the t-track. Using a router and a guide I plowed out the T-track slots, finishing them with a chisel. I cut the T-track with a non-ferrous miter saw blade and fastened it with #6 screws.
To finish off the jig I applied a liberal coating of wax to the bottom of the sled, and also the top of the shaper table extension wing.
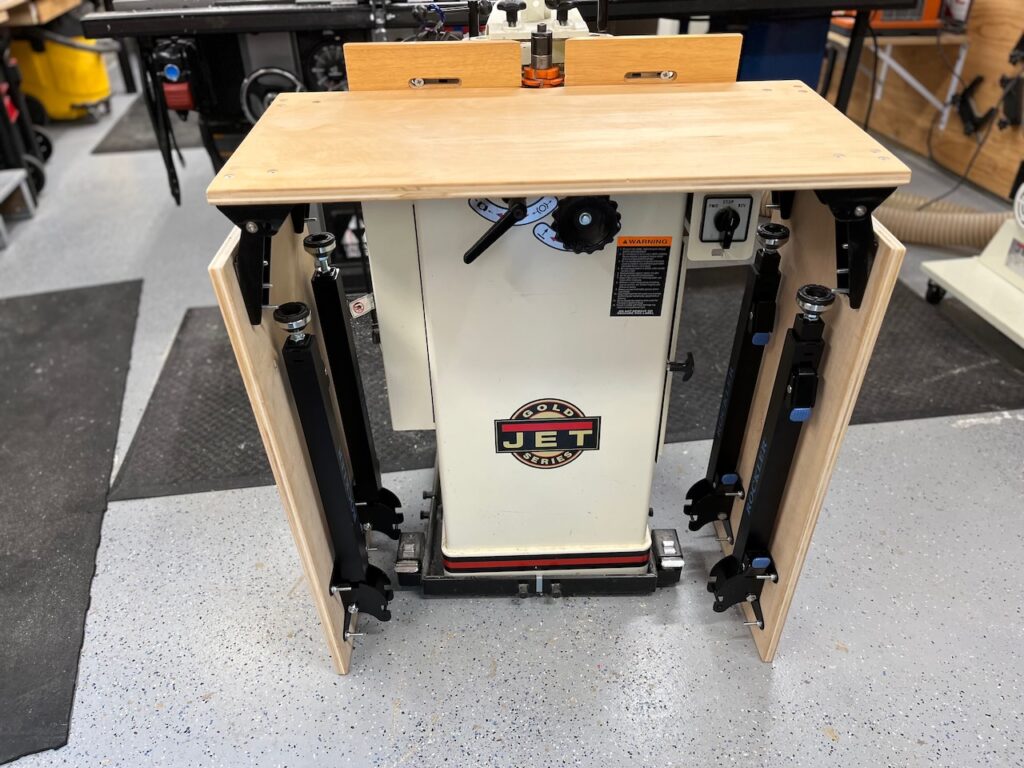
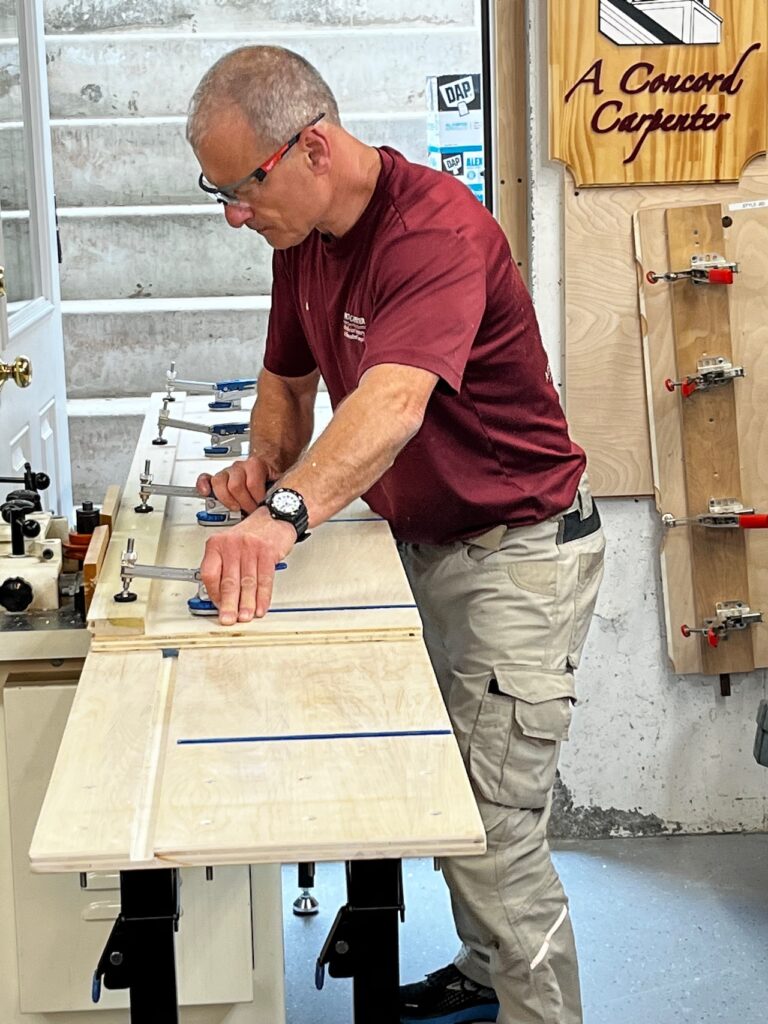
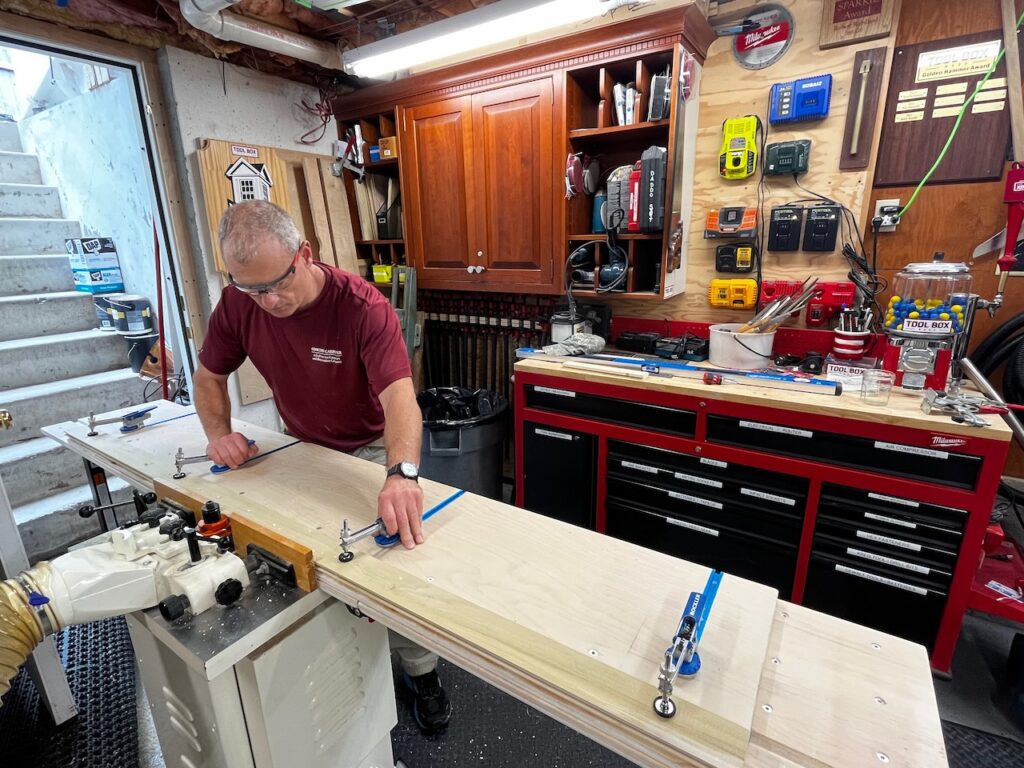
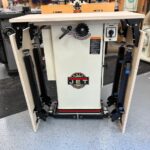
Using the New Shaper Fence Systems | How’s it Work?
The new shaper extension wing works great. Doing this project gave me three immediate wins:
- The longer extension fence gives me better material support
- The longer sliding sled with Rockler clamps allows me to securely clamp, re-adjust quickly, and make micro-adjustments on the fly without having to remove and reinstall a bunch of screws.
- I’m achieving better quality milling results.
It’s turned into a REAL timesaver, and time is money, right?
Updated Improvements
For me, the fun or funny thing about woodworking is that I’m always trying to maximize my efficiency and improve workflow and quality. When using my new set up I quickly realized that having the ability to slide my clamps left or right, or more importantly add additional clamps would be useful. I decided to modify my design further by adding a plywood fence and a T-track running the entire fence length. The benefit of this improvement will be a continuous contact fence supporting the wood Im milling.
To do this, I plan on securing this plywood fence to the T-track with t-nuts and knobs. I’ll relocate the Rockler clamps to the top fence T-track. I just ordered an additional t-track to do this.
Shaper Table Upgrade Video


-
- Old Sliding Shaper Sled | Long Parts