How to Check Your Table Saw Accuracy

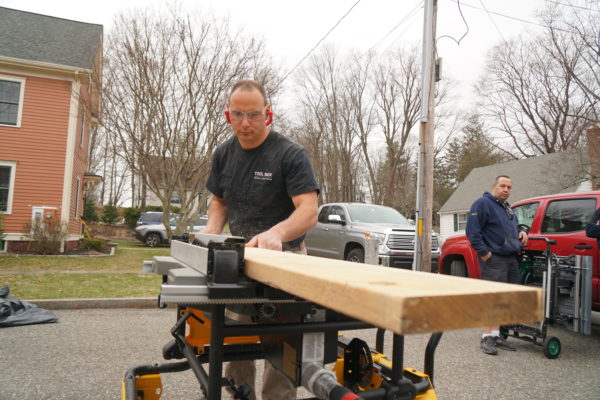
Table Saw Accuracy – Does It Need A Tune Up?
Why take the time to measure the as-built accuracy of a table saw? Is table saw accuracy important to you?
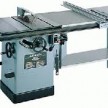
Many of these saws will be opened up in the field, assembled, plugged in and start to be used for construction work. If this is the case for a saw, the quality of the cuts and more importantly, the potential safety of the operator is going to be a function of the as-shipped accuracy of the saw from the manufacturer. So, TBB wanted to see how the various saws compared right out of the box.
Blade Parallel
For a saw to accurately and safely crosscut and rip, its blade must precisely parallel the miter slot(s). In addition, its fence must also be precisely parallel to the blade.
An important part of table saw alignment and set up, is whether the miter slot is the reference point for both blade and fence. The operator adjusts the blade to the miter slot and then adjusts the fence to the miter slot. When each adjustment is completed accurately, the blade and the fence are parallel to one another.
Blade and Fence Alignment
A misalignment between the blade and fence will force work into or away from the blade. At the best, this may create poor cut quality when the blade and the fence are tapered apart the farther into the cut you proceed.
When the alignment closes the distance between the fence and the blade at the end of the cut, gouging material, burning of the materials and even kickbacks may be a result of such misalignments.
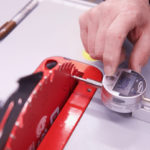
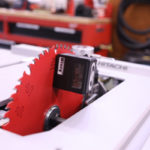
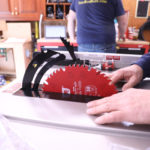
Checking the Blade Alignment
To check your blade’s alignment, remove the guard and splitter, and install a good blade or a calibration plate. Raise the blade or calibration plate to the top of its travel, then lower it slightly. This move downward can prevent any slight blade movements at the top of the vertical travel stop.
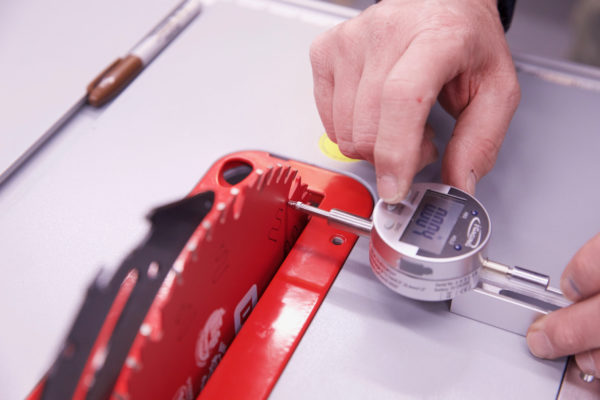
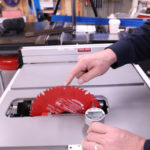
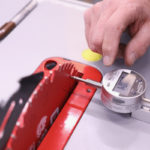
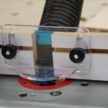
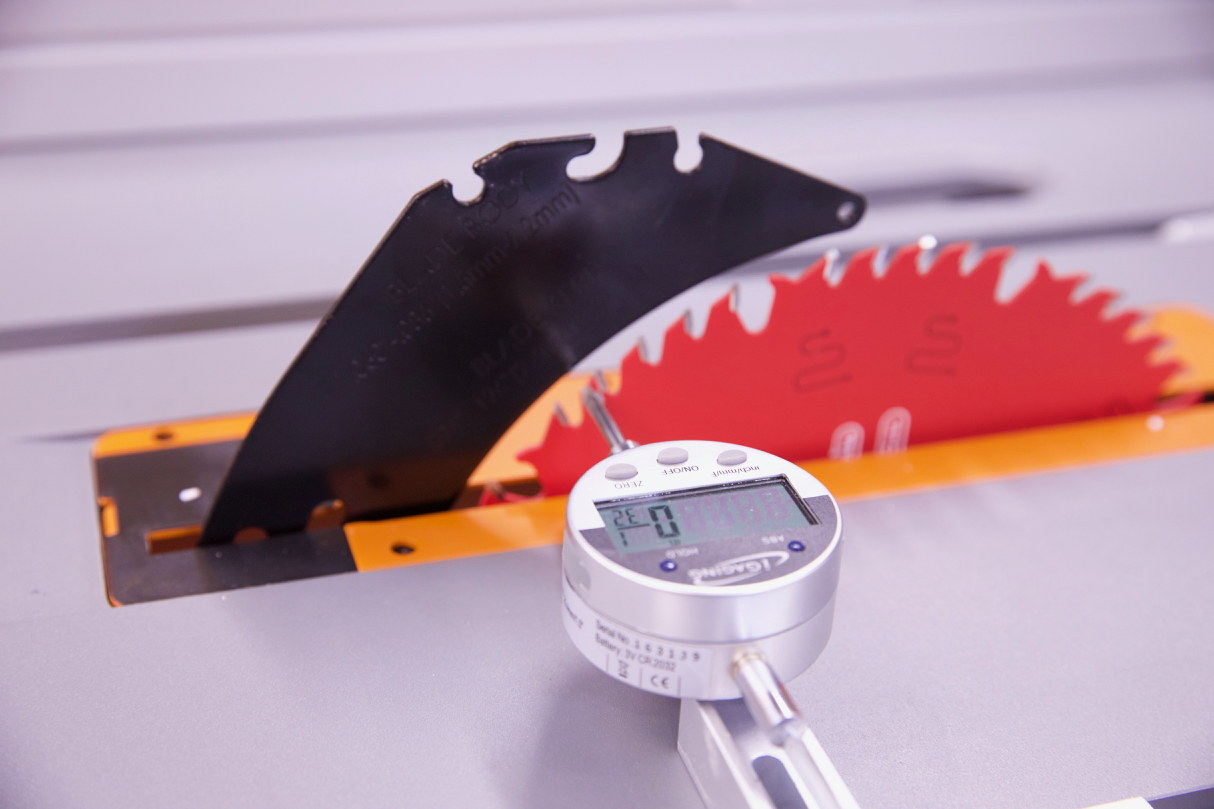
Use a Dial Indicator
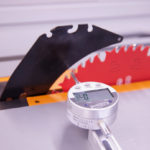
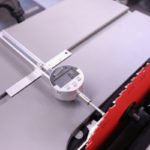
Mark a reference point on the blade on a reference tooth and rotate the mark to the front of the table. TBB used a dial indicator for the following measurement. You may read about and build a homemade jig or fixture to perform the following procedure, But for the H2H test, TBB wanted as accurate a measurement as possible. We used an gauging Dial Indicator that was good to .0005”.
Rotate the reference tooth to the front of the saw where the dial indicator probe can rest on the tooth. Zero out the dial indicator at this point. Now that the dial indicator is at the zero reading, any blade misalignment that has the back end of the blade closer to the miter slot will read a negative value. Similarly, any blade alignment that has the back of the saw blade farther away from the miter slot will read a positive value.

Rotate the reference tooth to the rear of the saw. Move the dial indicator to the rear of the saw and have the head of the dial indicator rest on the same point on the reference tooth. If the miter slot and the blade are in alignment, the reading will be zero. If the blade and miter saw are misaligned, the dial indicator will show the difference and which direction the misalignment occurs.
Reference literature on the Internet suggests that a misalignment in excess of .007” should be the threshold at which an alignment is warranted.
The illustration, below, shows the TBB method of checking blade alignment with a dial indicator.
Align the Blade Parallel with the Miter Slots
Exactly how you get the blade into alignment varies with the type of saw you have. Consult the Owner’s Manual for the correct way to align the blade and miter slots on your saw. Often, these adjustments are made by moving the table surface in relation to the saw trunnion, or moving the trunnion in relation to the table. This varies by manufacturer and the operator needs to follow the instructions carefully.
Once the blade is parallel to the miter slots, the next step is to ensure that the rip fence is parallel with the miter slots and therefore parallel with the blade.

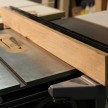
Align the Fence Parallel with the Miter Slots
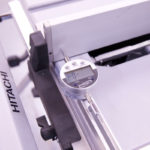
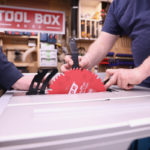
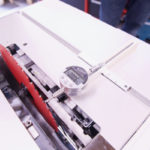
TBB used much the same technique to measure the saws to see if the fence were in alignment with the miter slots. TBB took readings between the miter slot and the fence at two locations to determine the parallel condition.
The first reading was taken at the front of the saw and the gauging dial indicator was then zeroed out. TBB moved the test jig to the rear of the saw and measured the distance. The second reading should be zero if the fence were parallel with the miter slot.
A positive reading meant that the second dimension was larger, or the rear of the fence was positioned away from the miter slot. Similarly, a negative value meant that the rear of the fence was closer to the miter slot. A negative reading is more critical as this means that a rip cut will be pinching the material at the end of the cut between the blade and the fence – creating a possible kickback situation.
Adjusting the Fence
To adjust the fence, the operator should consult the owner’s manual for the particular saw. In general, the adjustments that TBB made to fences was simple and quick to perform.
Hope this helped work on your table saw accuracy, now go build something great!