Stair Makeover – Curb Appeal Alert
Replacing Exterior Masonry Stone Stairs With Wood
Is it time to change the look of your old outdated stairs?
Recently a long-time client asked us our thoughts on changing out their old brick and mortar stairways for newer modern-looking entryways. They have two sets that are close to each other so they were not sure how it would look with newer style stairs. A couple of topics that come up when talking about a remodel of this kind were functionality, safety, added value to the home/curb appeal, and of course cost.

This article is the step-by-step process we took in making over both of these sets of stairs.
Masonry Stair Demolition
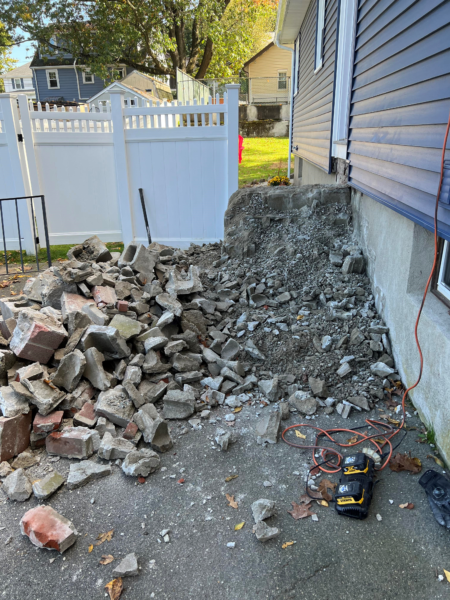
We decided that we were going to demo these stairs by hand. What a mistake! This was probably the only mistake looking back that we made. We could have subcontracted the demo to another company which would have made our life a lot easier and pain-free but we decided to bust out the SDS Drills and the Hilti Breaker TE 1000-AVR

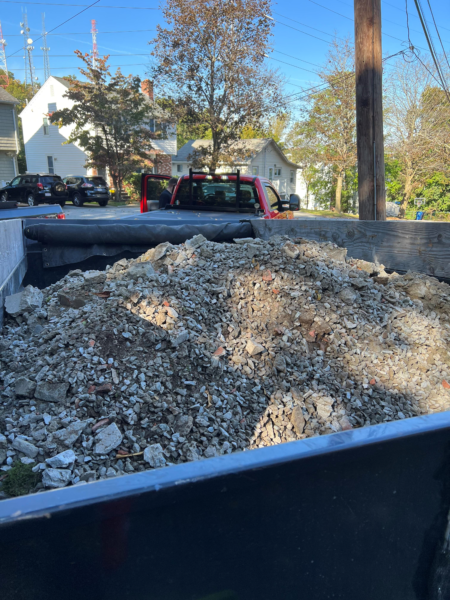
We did not think this one through and it still pains me to think about it, even months after completion! What happens to all this concrete? That’s right we had to hand load it into the dump trailer. Having a bobcat would have been our best option. We will not make this mistake again!
Digging Footings
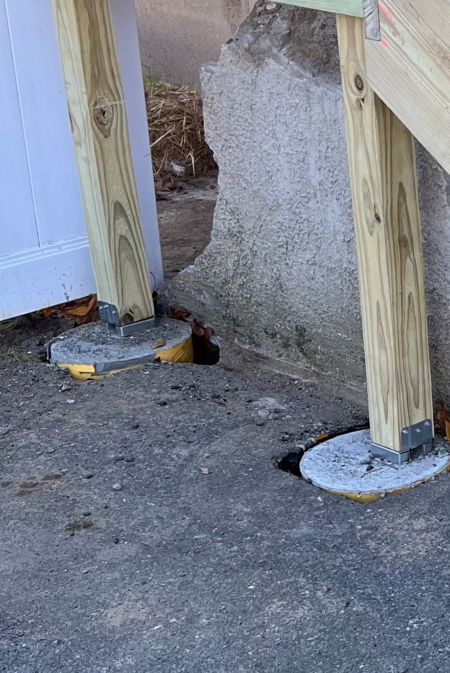
This is another step that can be subcontracted out. We have in the past used Techno Metal Post but since we were only digging three posts we decided what’s a little more pain! Once again I failed to capture pictures of this process. Massachusetts code is 48″ footings to get below the frost line. These footings were a beast to dig, but we got to our 48″ mark. Poured with ready-to-mix Quikrete and dried for a couple of days. Inserted were J-bolts to attach our 4×4 post bracket
I sometimes SUCK at taking pictures, I need to hire a photography. Resumes will be accepted
Framing New Landings and Stairs
We decided to only demo the concrete that was going to be in our way. We decided that since it will be hidden, we would leave some of the concrete vs paying to get rid of it. Both landings that were framed were 4’x4′. We framed the landing also using joist hangers. The 4×4 posts sit on the 4×4 post brackets and are secured with 2-1/2″ Simpson strong ties metal connecting screws.

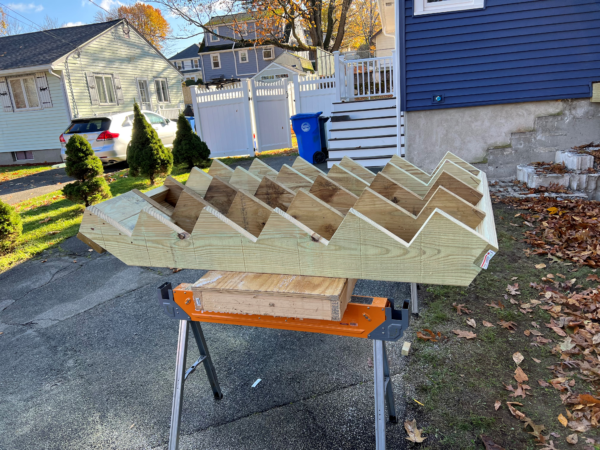
The stair stringers were cut individually and secured together then moved into place. They fit perfectly over the concrete that we left and were all equally the same.
PVC Installation
Everyone has seen the white lattice with a PVC border. We wanted to change it up and make modern-looking entryways. We added 3/4″x 3-1/2″ pieces of PVC around the entire stairs. This keeps large unwanted animals out, covered the concrete we left, and just added a much nicer overall look in our eyes. The customer loved it.
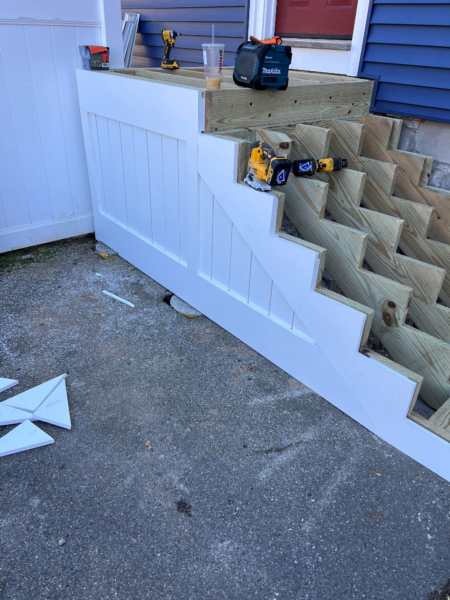
Other Set
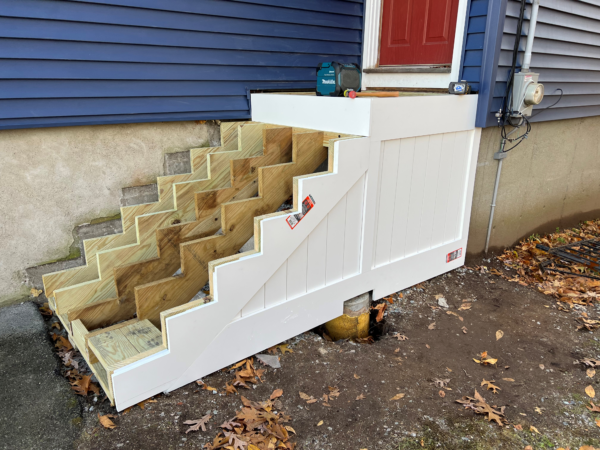
We wrapped the entire landing like this, including the back of the landing that is seen from the backyard.

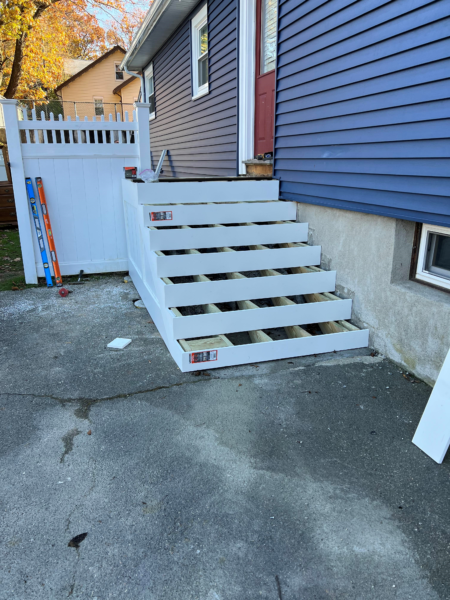
Once the side skirting details were completed, the next step was the PVC risers for each stair. These were cut to size and stilled with cortex screws and white plugs just like the skirting details.
Decking Install
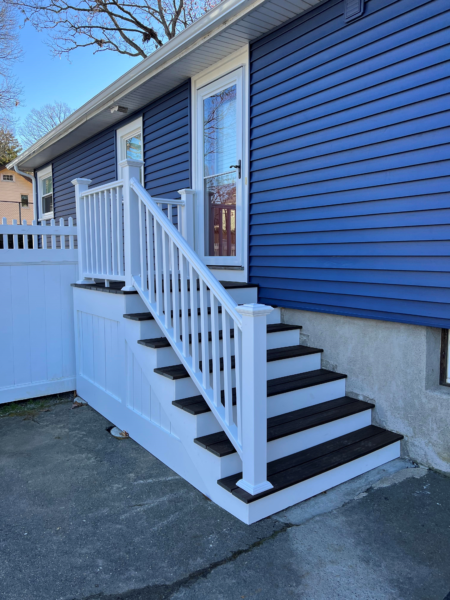
The client chose Trex brand decking. Their color choice was Spiced Rum. This color with the white PVC trim, and their blue siding really “popped”. The decking was secured with Cortex hidden fasteners and color-matched plugs.

Installing Posts and Railings
All the posts were installed into blocking underneath the decking. The blocking was secured before we laid the decking. There was a total of seven posts for the two sets of stairs.
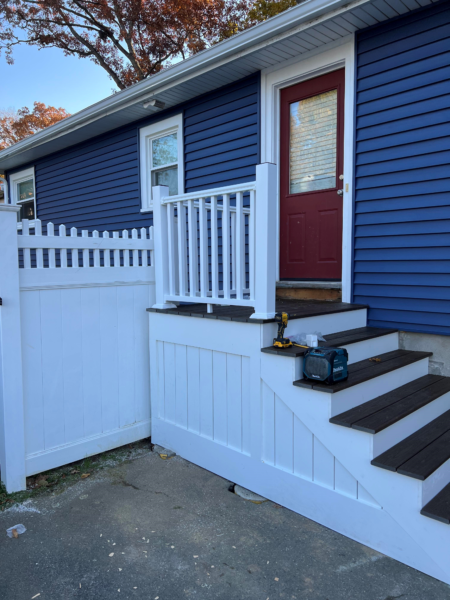
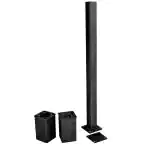
The posts used were Veranda Post Kits for our railings. The secure right to the blocking with 2-7/8″ Fastenmaster HeadLok fasteners. These post kits are available at Home Depot for just under $50 each.
Stair Railing Install
The last part of the project was installing the stair railings. The stair railings were also purchased from Home Depot. We purchased the 8′ railing kits which were just about $145.00 apiece. They are typically in stock at my local store.
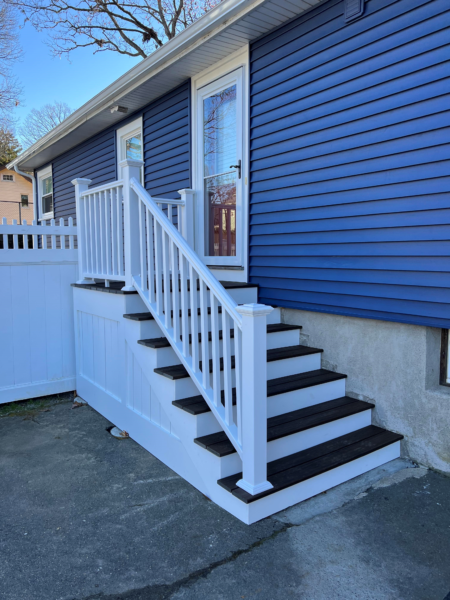
Final Product
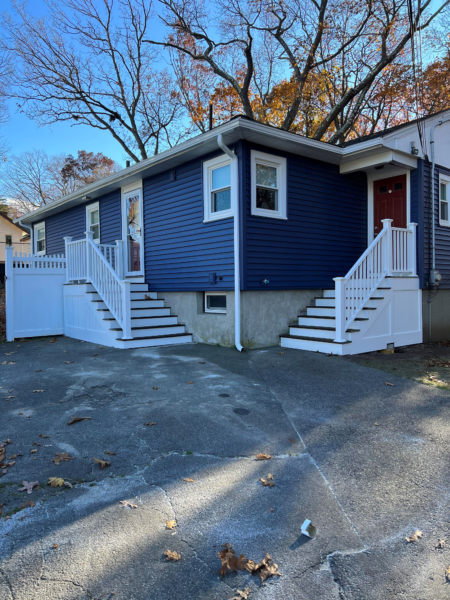
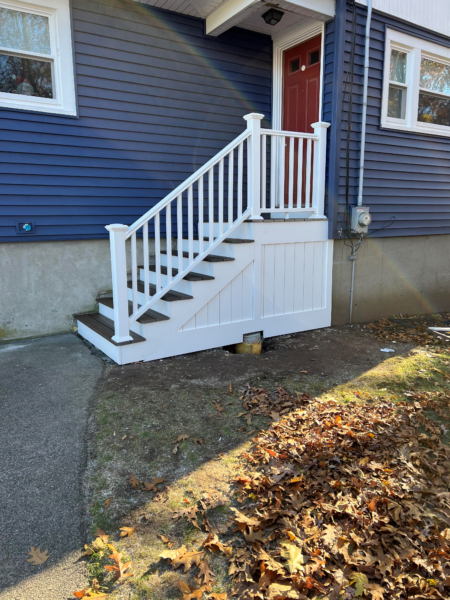
Here are the final product pictures. We believe we took these unsafe brick stairs and turned them into modern-looking entryways. Thank you for following along!
