Porch Column Replacement

Replacing A Wood Column With A Fiberglass Column
These 8″ round, wood, porch columns are approximately 15 years old and severely rotted. The lack of a gutter above didn’t help matters either. this article will explain the steps necessary for a porch column replacement.
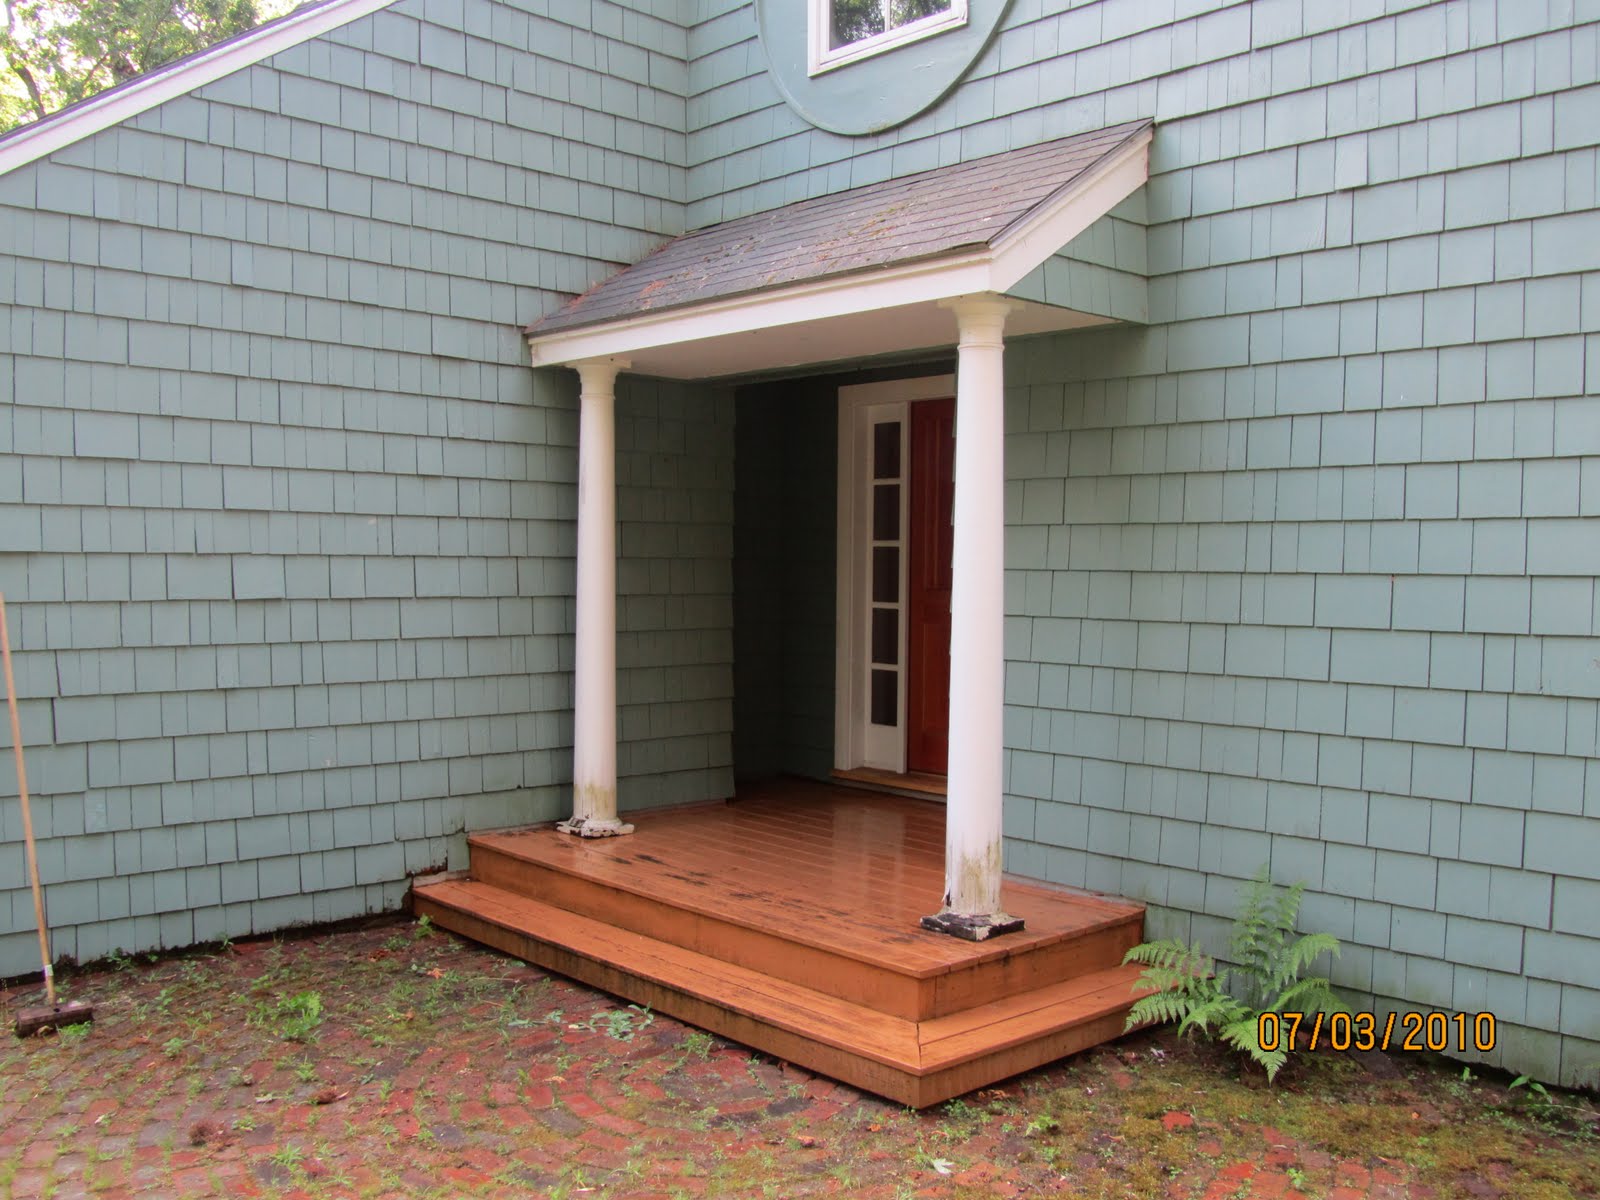
Both porch column bases are completely rotted and a colony of bees lives inside this one.

I convinced my client to allow me to replace the 8″ round porch columns with HB&G brand PermaCast® columns with ornamental capitals and base / plinth.
Fiberglass-Reinforced Polymer Columns
These columns are cast from a proprietary fiber-reinforced polymer composite with exceptional strength-to-weight characteristics and requiring minimum maintenance. They are weatherproof, insect proof, highly durable and easy to install.
TIP For Load Bearing Columns:
Make sure that you ensure you have concentric loading of the column. 100 percent of the bottom must come in contact with the deck or floor, and 75 percent of the top of the column must contact the beam or sofit.

Support The Roof
Normally performing a porch column replacement I release pressure on the porch columns with a hydraulic jack, raise the roof slightly and then provide structural temporary supports to hold the porch roof weight while I remove the porch column.

Because this was a small porch roof with very little roof weight so I used my third hand poles to raise and support this roof to facilitate my porch column replacement. Each pole supports approx. 75 lbs.
I was able to use these poles to lift this porch slightly to get my new porch columns in. Below I am tracing the old porch column capital as a guide for replacement.
Note Old Column Location
Using a plumb line can be helpful to determine locations from the center of a beam or ceiling position to the floor

The wood porch column capital and base were secured to the porch ceiling and deck with 4 screws each.

Remove Old Column
The wood porch column base crumbles on removal. I’m pointing to the bee’s nest. thankfully I was no stung.

The porch column bottom was not primed. Water wicked up through the end grain and eventually created rot.

Measure for New Column:

Cutting The Fiberglass Column:


Installing The New Column
Prior to placing the new porch column in place you need to slip on the top capital and bottom base cap.

 Column Brackets:
Two brackets secure this porch column to the deck. The reason the brackets are not on opposite sides of the porch column is because I installed them so they could be screwed through the decking and into a deck joist.

Plumb the Column:
Double checking for plumb as well as how the new column relates to where the old one was positioned.

Securing The Base Plate:


 Painting Tips: