Laundry Room Makeover

Laundry Room Remodel
Just recently I wrote an article on a remodel I did with my wife in our 1970s home. The article, Designing and Building A Mudroom Built-In, was our step-by-step process on how to make the most out of our mudroom storage area. My wife has an eye for design. She knows all the latest trends and fashion and I am the one who tries to take her visions and make them a reality. We took to the next project in our basement renovations which was the Laundry Room remodel.
We are remodeling our house which is pretty old. The previous owners were the ones who originally built the house in the early 1970s and did not make any changes! We knew at the time of purchasing this house that we had a long remodeling road ahead of us. Since 2017 we have been remodeling and we are down to our last area, the basement! Every room in the house has been remodeled including the kitchen, created a master bathroom, new second bathroom, converted three-season porch to a kid playroom, new deck, pool and pool deck, and new hardscape, The basement was our last project and we started in late December.
Now as a remodeling contractor, your house always gets done last. The saying is “the cobbler’s kids always go barefoot”. Well, my wife has been a saint since the being of our journey. She knows that when I have the time is when I try to work on these at-home projects.
Like our other article, we are going to try and show you the process step by step and explain what we’re doing. Follow along and if there are any questions, leave a comment or reach out to us!
The Original Look
The original look wasn’t pretty. The floor was asbestos and the walls were pink. There was a nasty white linen curtain that was all sorts of dusty. The walls were textured plaster and the water connections for the washer were completely rusted over.

Once we removed the curtain the room definitely was brightened up but we weren’t sure we wanted a window. This was under the deck and out of place in our opinion. It wasn’t like we were going to be able to use it so we decided to close it in and do a skim coat of plaster on all the walls to get rid of the texture.
Flooring Design and Layout
Worth mentioning that this basement suffered a water leak in 2018 and the asbestos tile was mitigated. Also, the walls were cut roughly 2′ up to remove the moisture from the board and plaster.
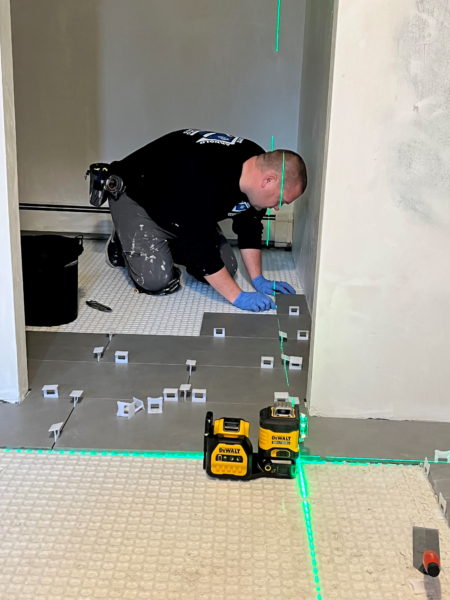
We wanted to go with tile flooring so after the Stratamat, uncoupling membrane, was installed we laid out our floor design using the Lev-Tech leveling system. Using the Dewalt 360° 20v laser level and having the tile laid out with all the cuts made really expedited the installing process and allowed me to put them in no time.
Full Disclosure: I am by no means a clean tile installer!

The Vision Makes Sense
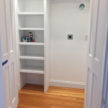
Laundry room storage was going to be an issue for this project. There is not much room in the area and we again wanted to make the most out of it. The vision was to have two cabinets, one upper and one lower on the left side with a countertop. The cabinets would give us a place to store the laundry detergents and the like.There would also be a countertop over the washer and dryer for a surface to sort and fold clothes.
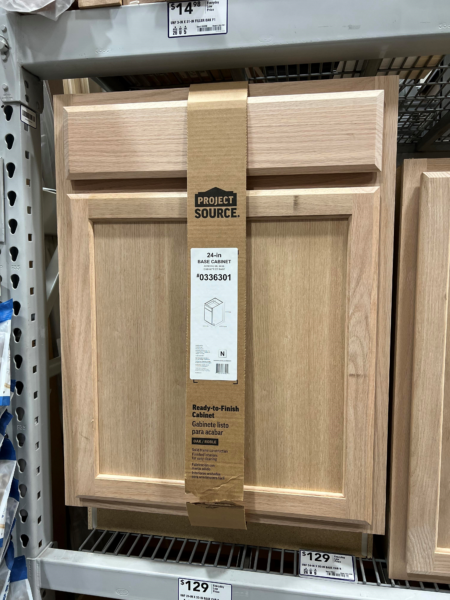
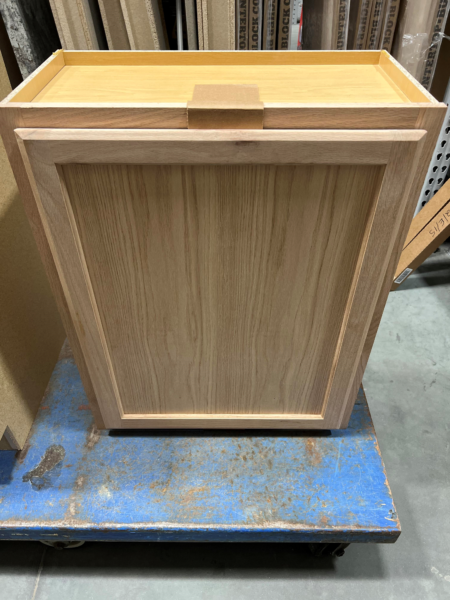
Once we knew what size cabinets we needed, it was off to find the cheapest, in-stock cabinet we could get. This was achieved at Lowes. They had the sizes we needed in stock but knew that they were bare cabinets that needed to be primed and painted.
Prime and Paint
So not only is my wife my designer, but she is also my painter. We work well together so I hired her as my painter too. The two cabinets we purchased needed to be primed and painted. In our basement remodel she liked navy blue for the color scheme. In our mudroom remodel we also did a board and batten theme and that was the same Benjamin Moore Hale Blue.
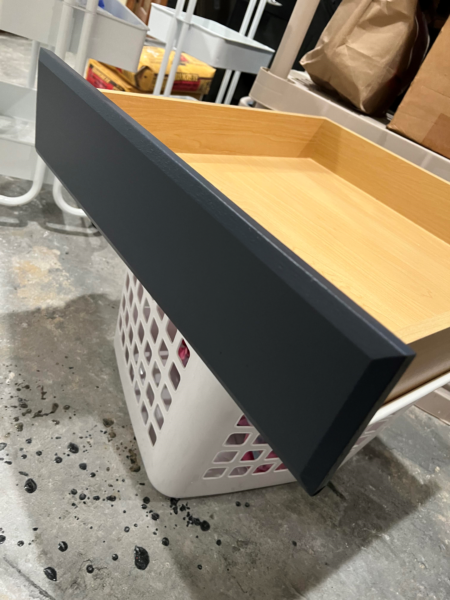
Primed
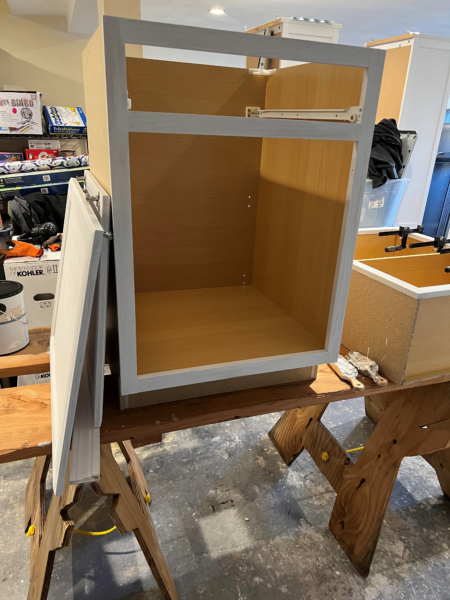
Painted
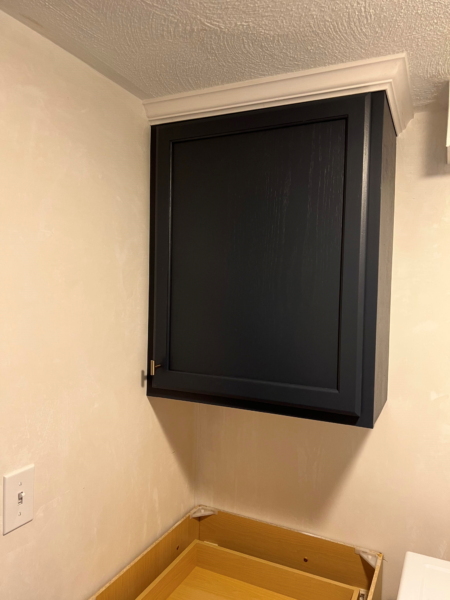
Cabinet Installation
Once the cabinets were primed and painted, we installed them on the left side of the laundry room. We installed small crown molding on the top of the upper cabinet to add that finishing touch.

The Countertops
We used 5/4 pine as our countertops. We used biscuits, gluing them together, and clamped them down to dry. Once dried the material was cut down to fit both the cabinet and then the larger section to fit over the washer and dryer. We installed a side panel on the side of the cabinet that was 1″ higher than the washer and dryer. On the far end, we installed a block to hold the counter up. The counters were scribed to the walls to ensure a nice tight fit.
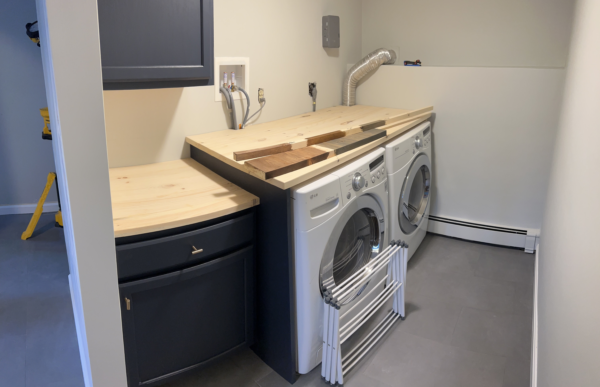
Staining and Polyurethane
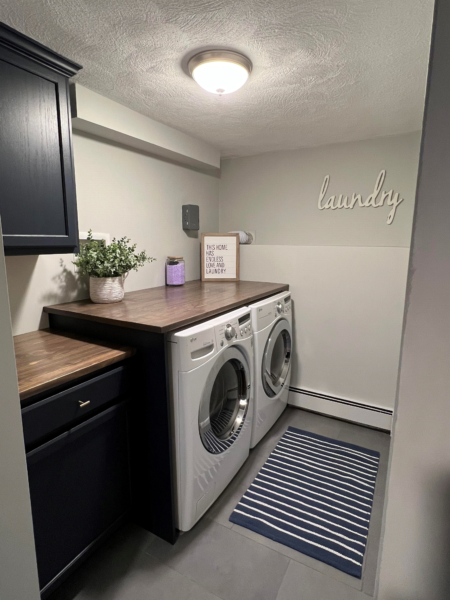
We decided to stain the countertops and polyurethane them with a satin finish. Each section was then installed and we were in the home stretch of this Laundry Room remodel!

Adding The Finishing Touches
This is where you can make or break the renovations. Too many finishing touches can be too much on project, and not enough leaves the remodel plain. Her vision had just enough finishing touches to make this Laundry Room remodel pop!
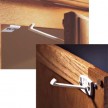
Somethings we wanted to keep out of sight. There were the water shut-offs, the washer cord, the dryer cord, and the dryer vent hose. We wanted to make sure all of these could quickly be accessible but covered enough they weren’t the first things your eye navigated toward.
Conclusion
Preparation and design are two key steps in any renovation or remodel. We talk about the vision. Being able to produce the vision is achieved with preparation, teamwork, and being smart. Working together with a significant other is sometimes a challenge. Teamwork and communications are what made this Laundry Room remodel project a success!