Installing Molding For Under Cabinet Lighting

Installing Molding for Under Cabinet Lighting
My family and I spent the weekend with some good friends at their ski house in Woodstock NH.
Since I’m still technically recovering from rotator cuff surgery I did not want to risk falling and damaging the repair, while the wife and kids were skiing, I stayed back and did a little finish carpentry for my friends.
This was my view as I was setting up my tools. Tough huh?

Cabinet Molding for Under mount lights
Today’s plan was to take some left over kitchen cabinet trim my friends had and make a light rail molding to finish off the cabinets’ bottom edge.
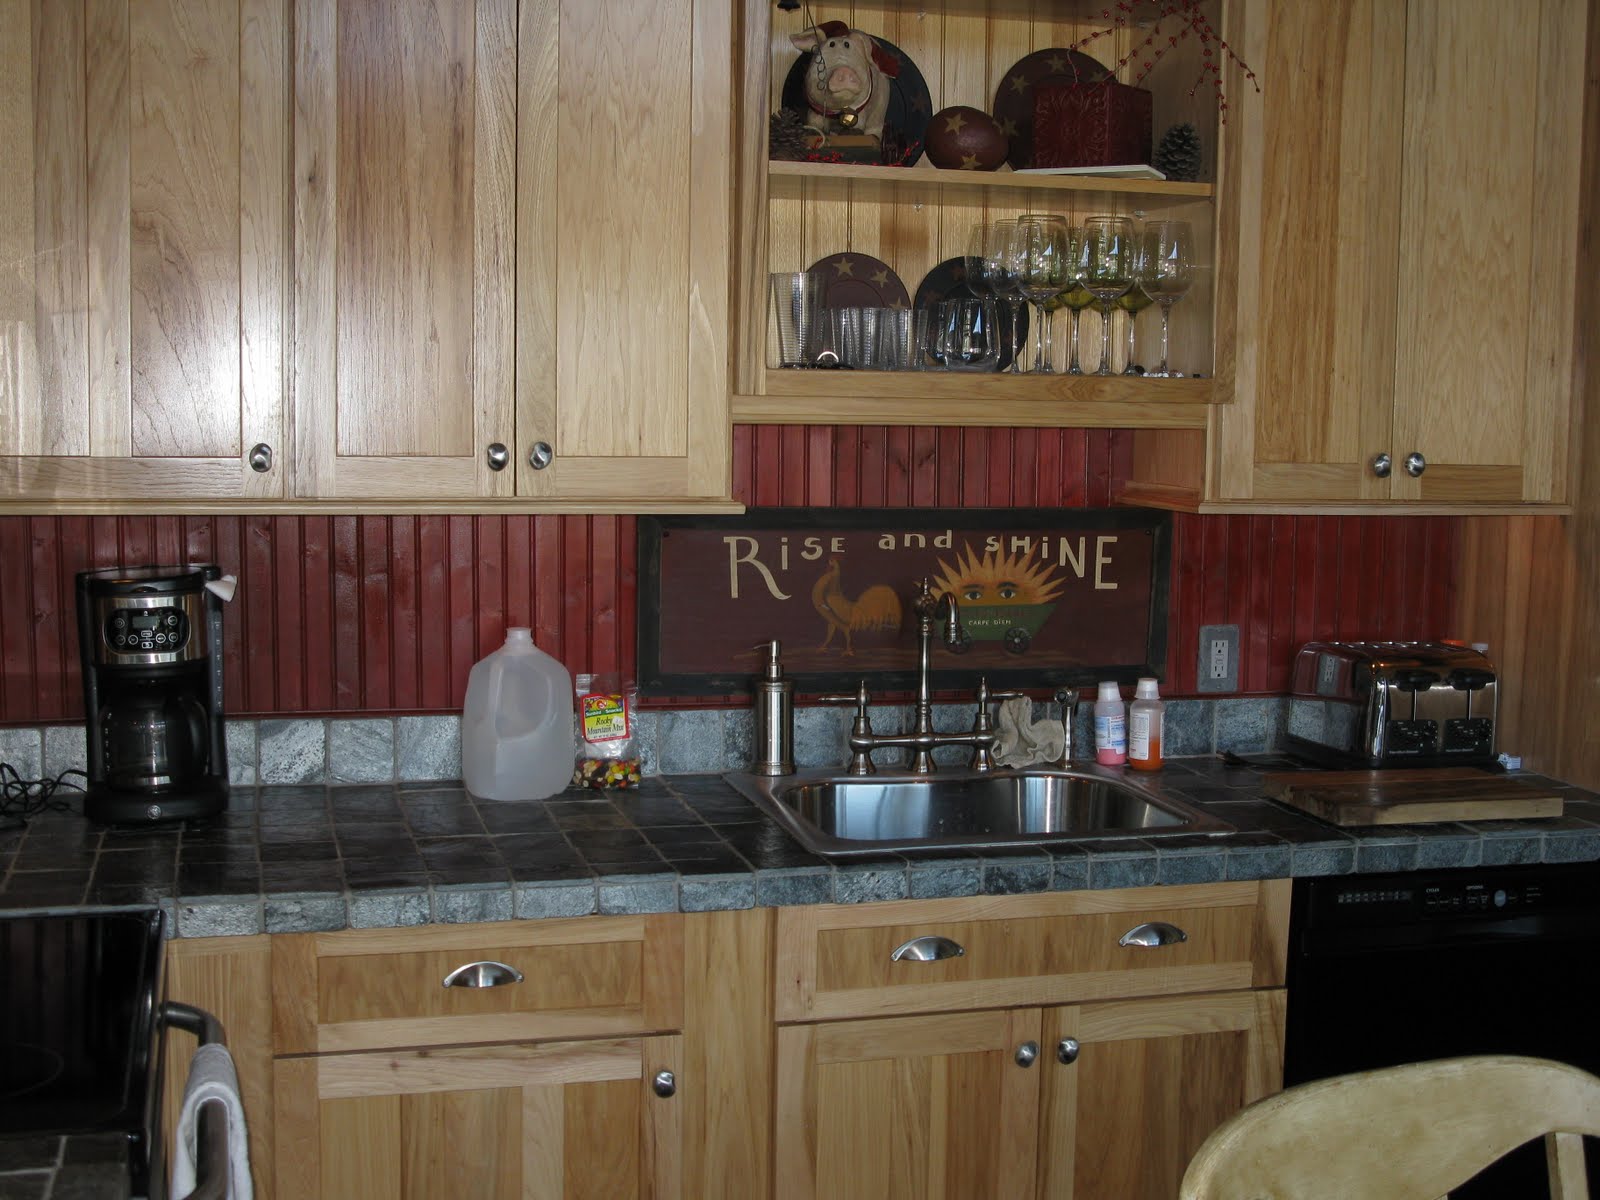
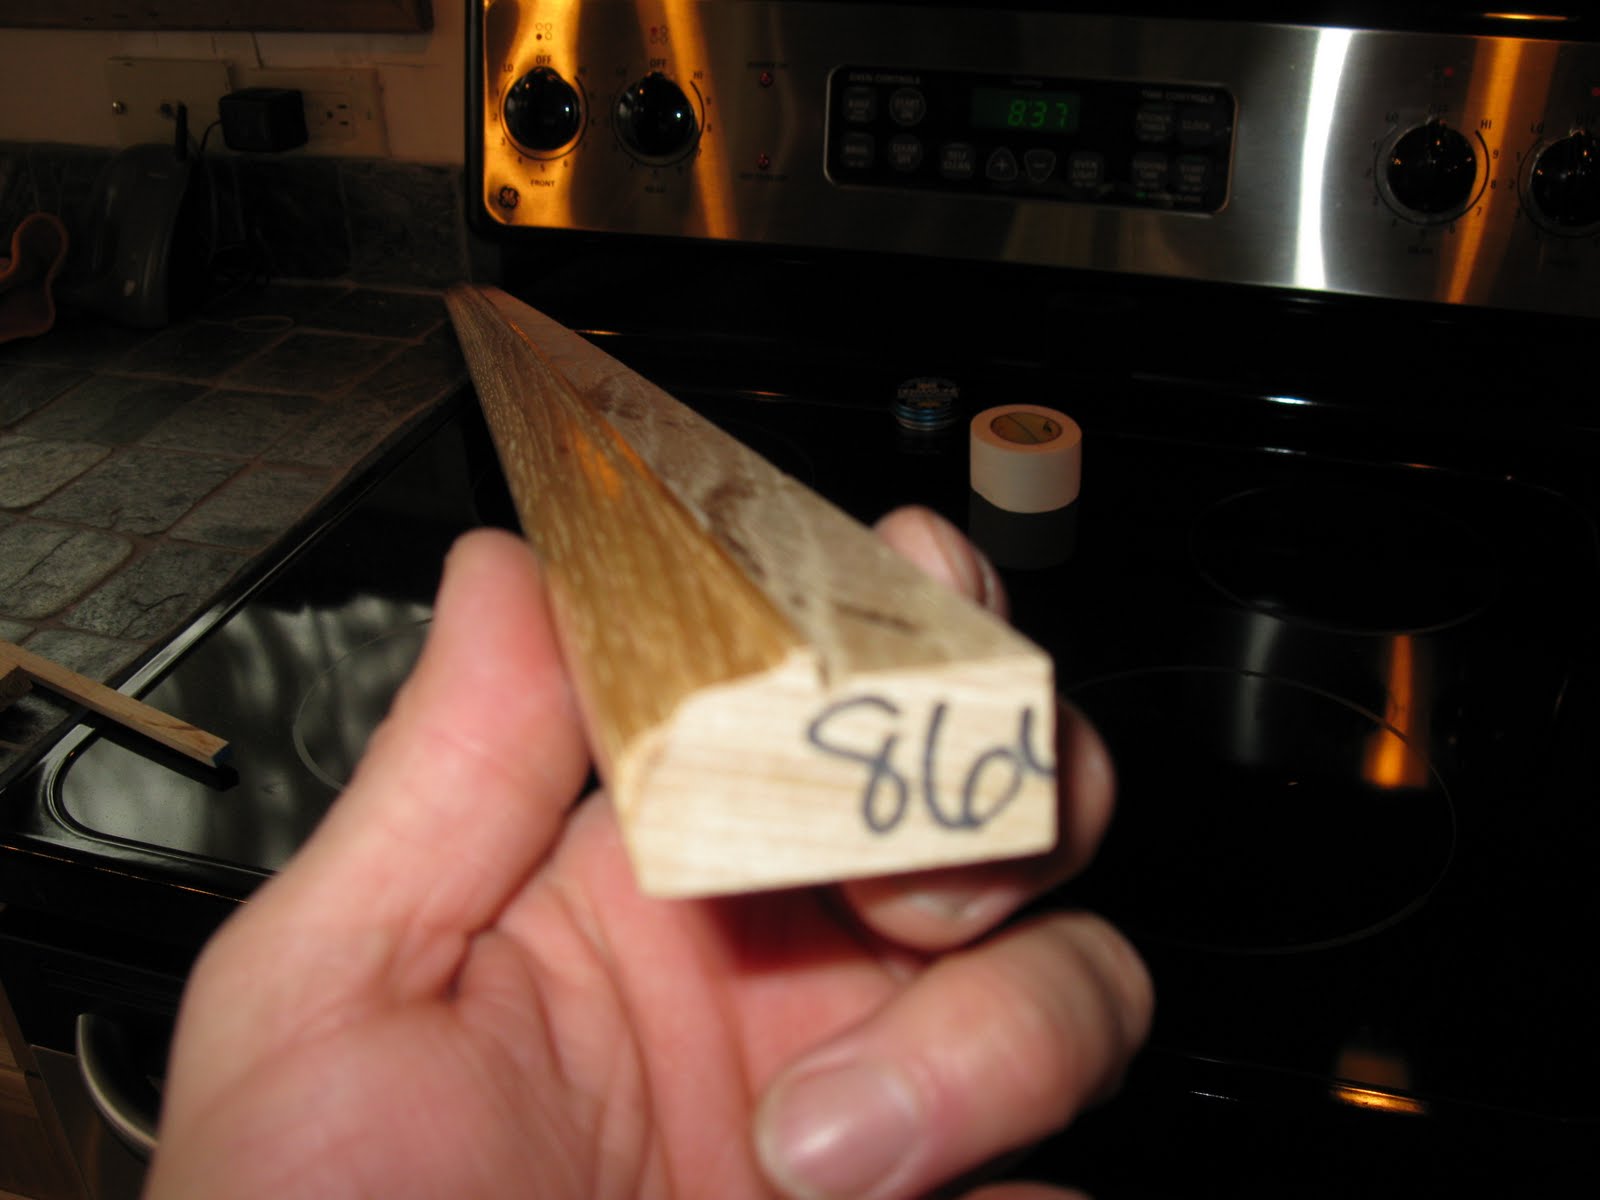
The picture below is an example of the extra material they had. This trim is installed over the sink and is an example of the left over material that we had.
Using this material as the light rail is perfect since it matches the trim elsewhere exactly!
Having traveled with my hand tools only, I set up a work site with their tools.
“Putting it all on the table,” took on a new meaning!
A little unorthodox I admit, but I set up their saw and saw dust vacuum on the kitchen table. I turned the vacuum on every time I cut to reduce saw dust.
Not a thing I normally do and something that most customers would kill me for if I did, but this is what we had to work with and they suggested it.

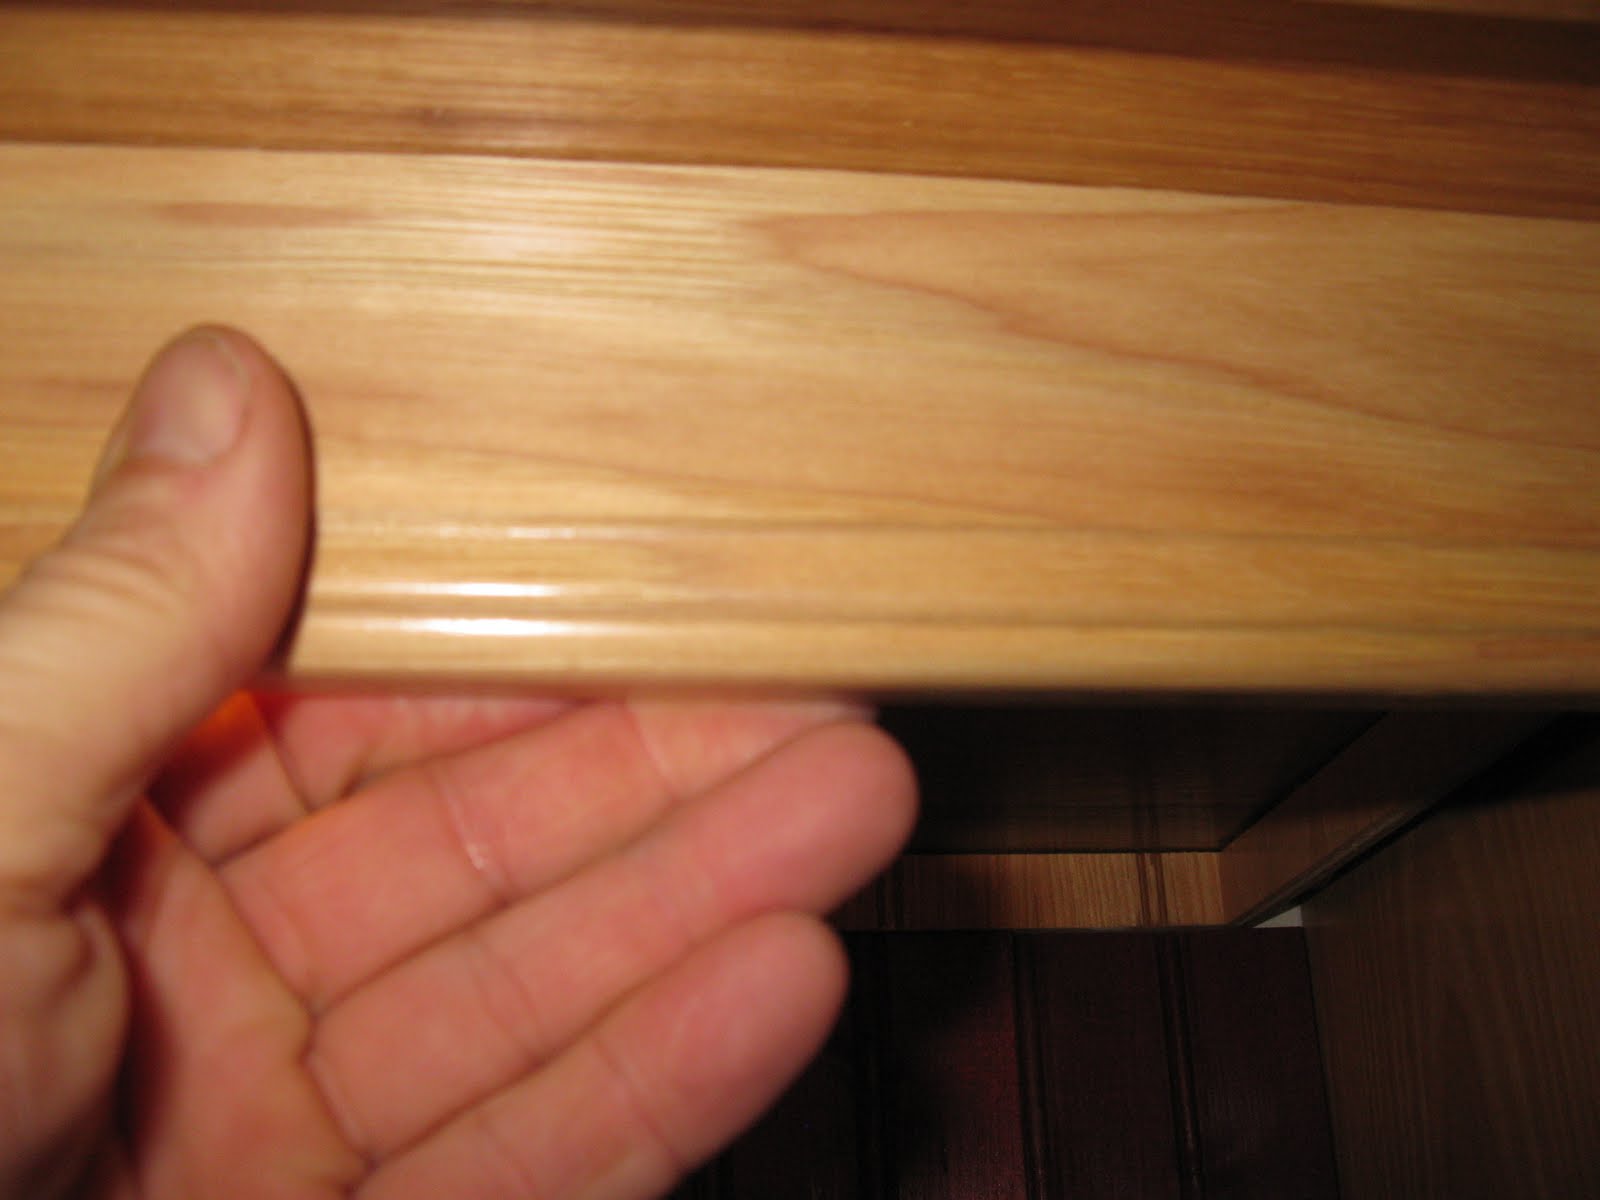
Before leaving my house in Concord I ripped the extra cabinet trim on my table saw to the profile below. This profile will allow the trim to fit under the cabinet and overlap the outside edge leaving no seam.
It will also finish off the bottom of the cabinet and help hide the under cabinet lighting.
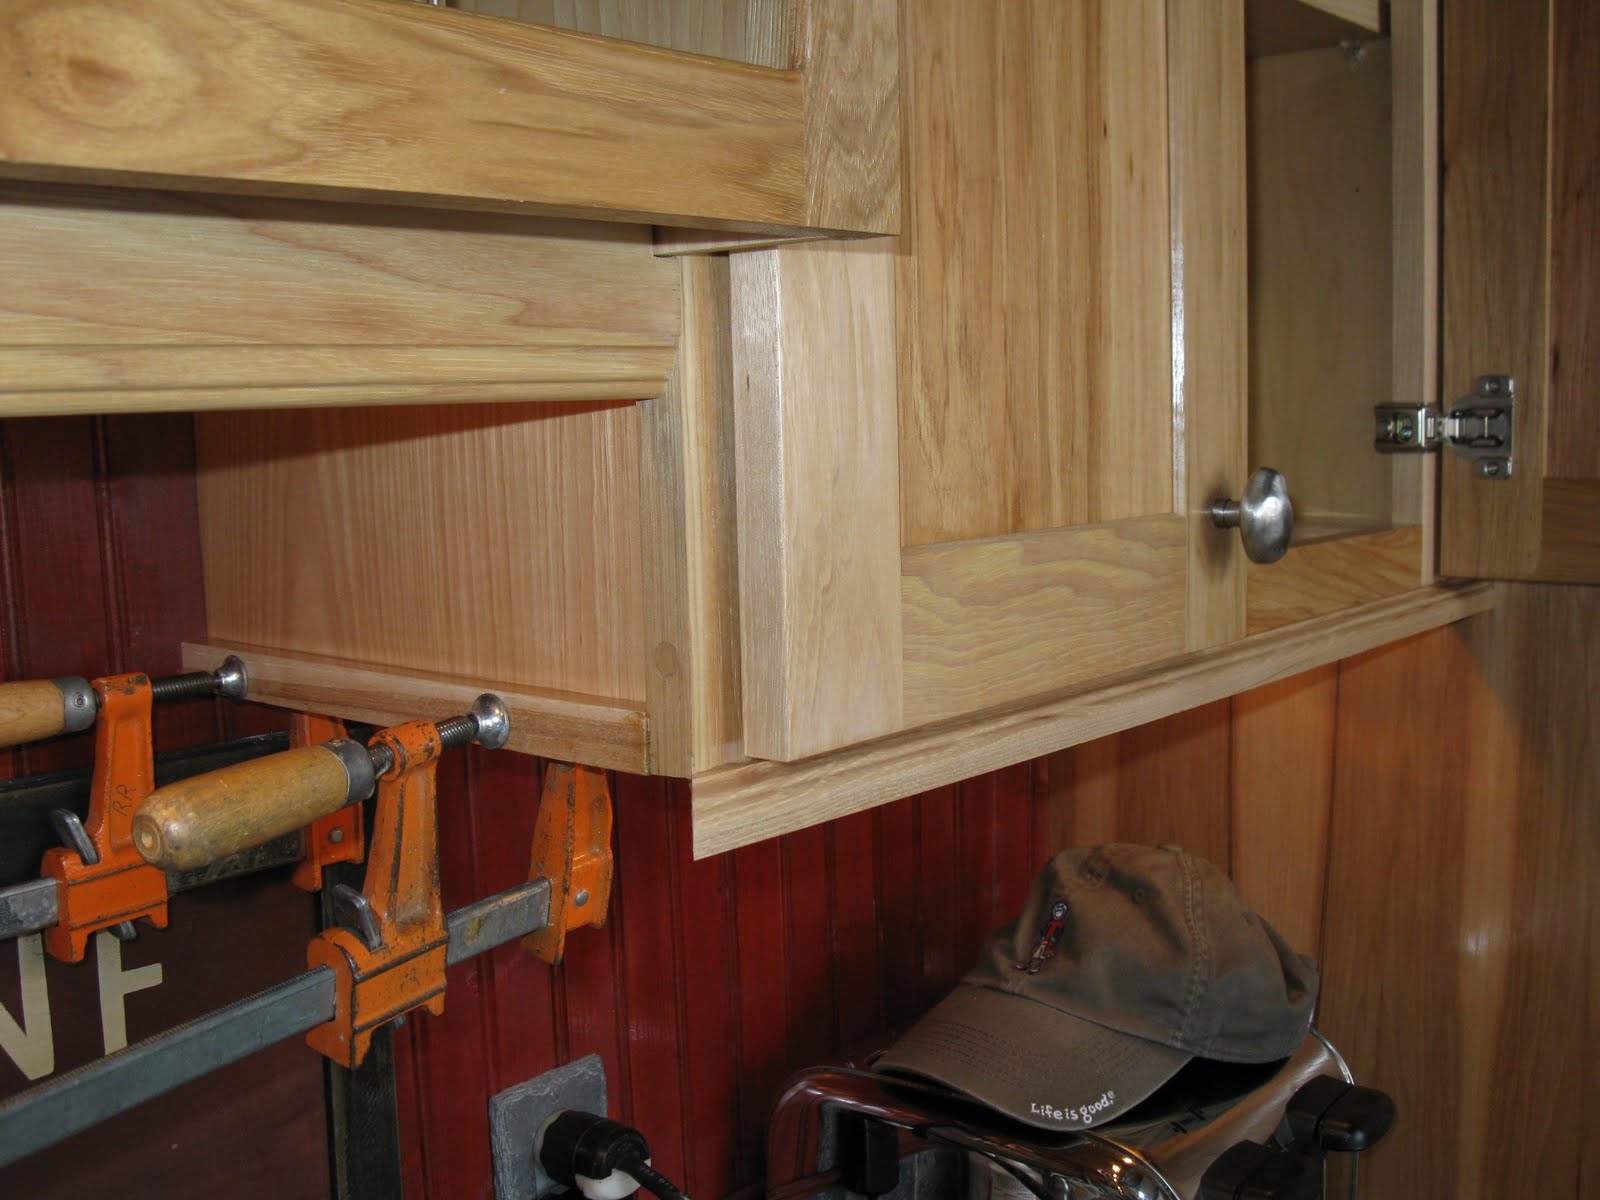
Below the light rail molding is applied to the front face of the cabinets bottom.
Filler strips glued and clamped. To help hold the strips while the glue dried and to help me keep the project process moving I applied small brad nails, hidden from behind.
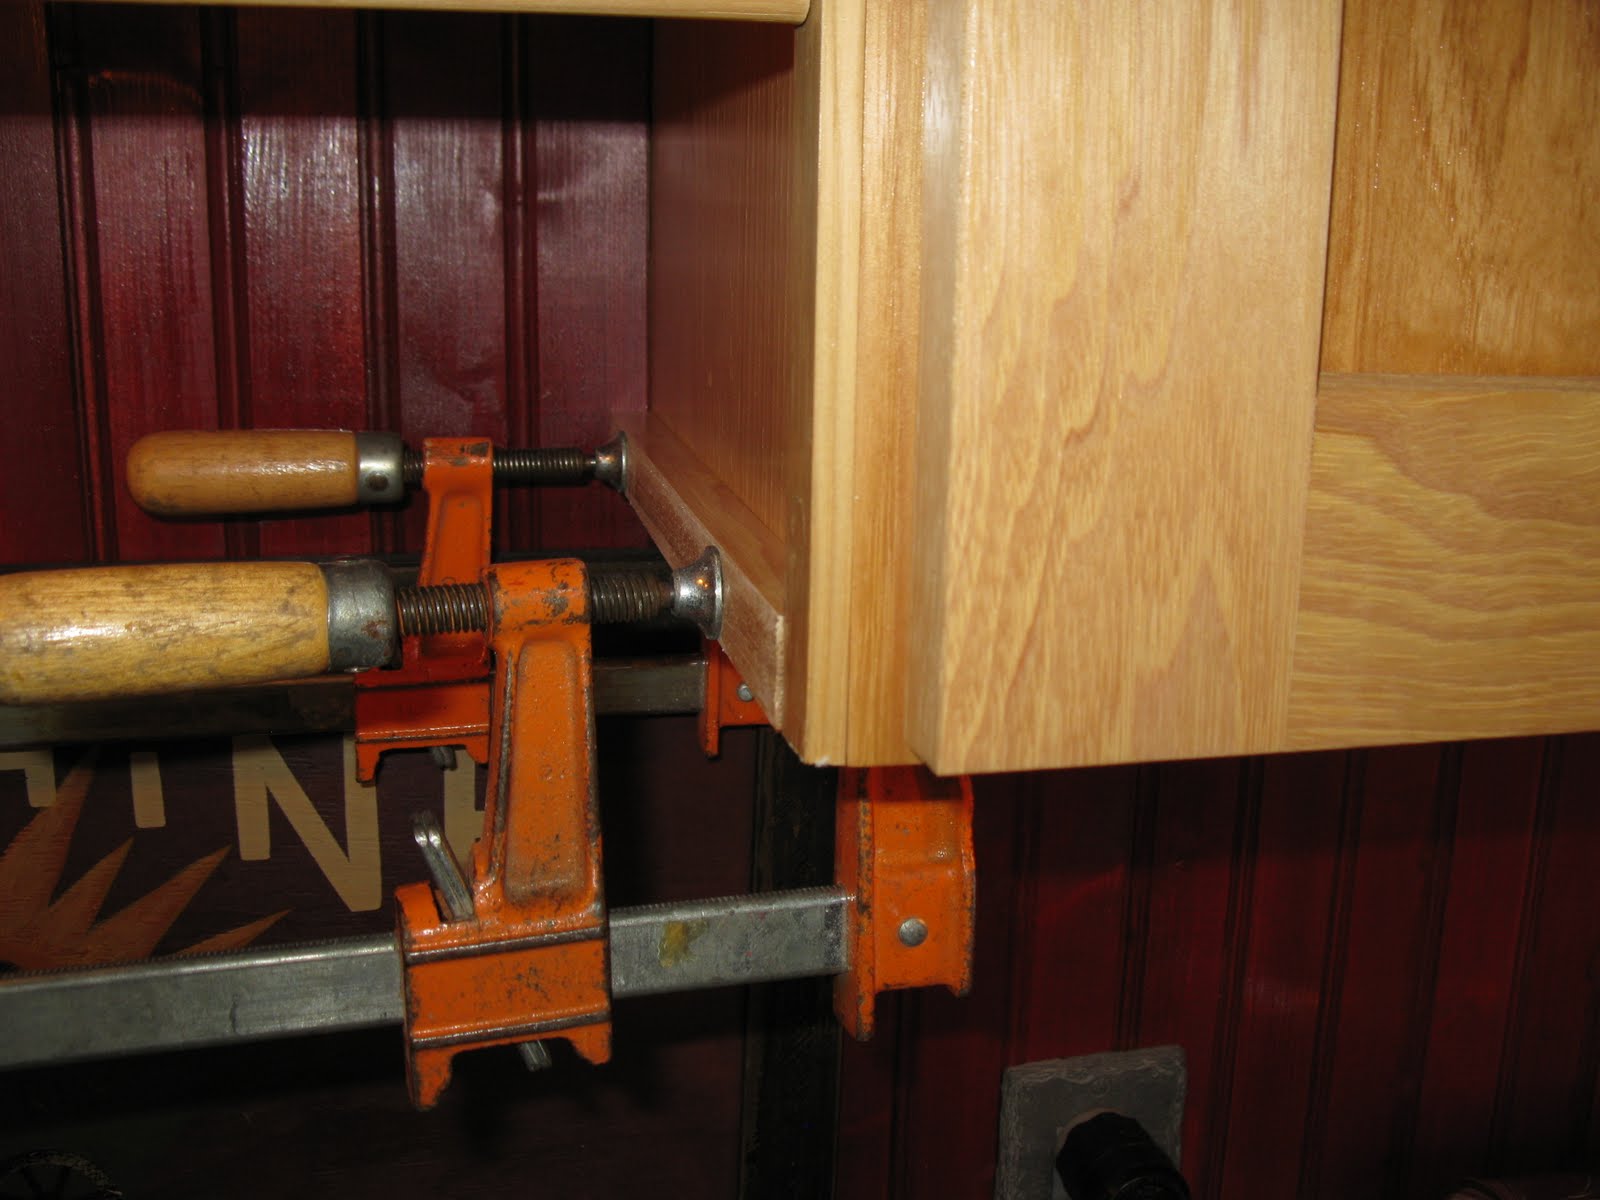
Front molding applied. Next is to install the return light rail molding.
Clamping miters can be tough. I wanted to avoid nailing this miter since it’s very visible and at eye level. Kitchen cabinets and moldings always look better without nail holes.
I was fortunate to be able to grab this miter and clamp it, allowing the construction adhesive to do it’s job.

It worked.
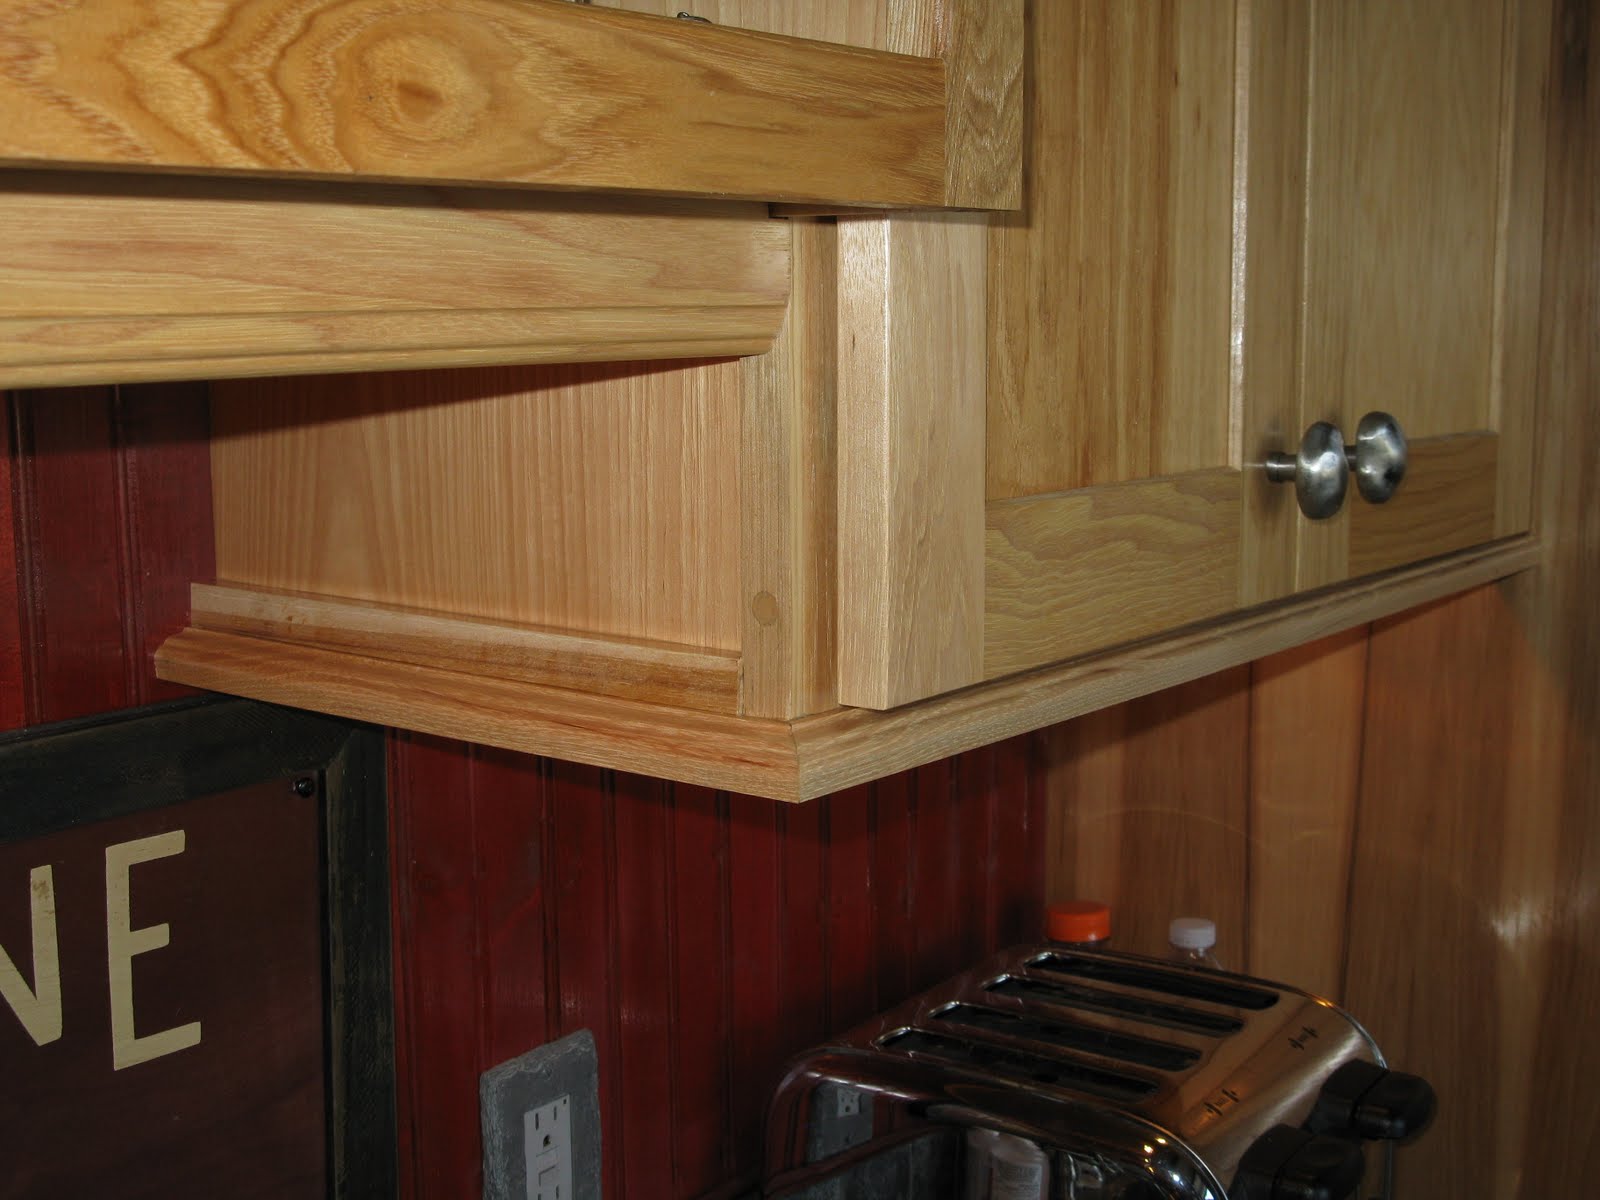
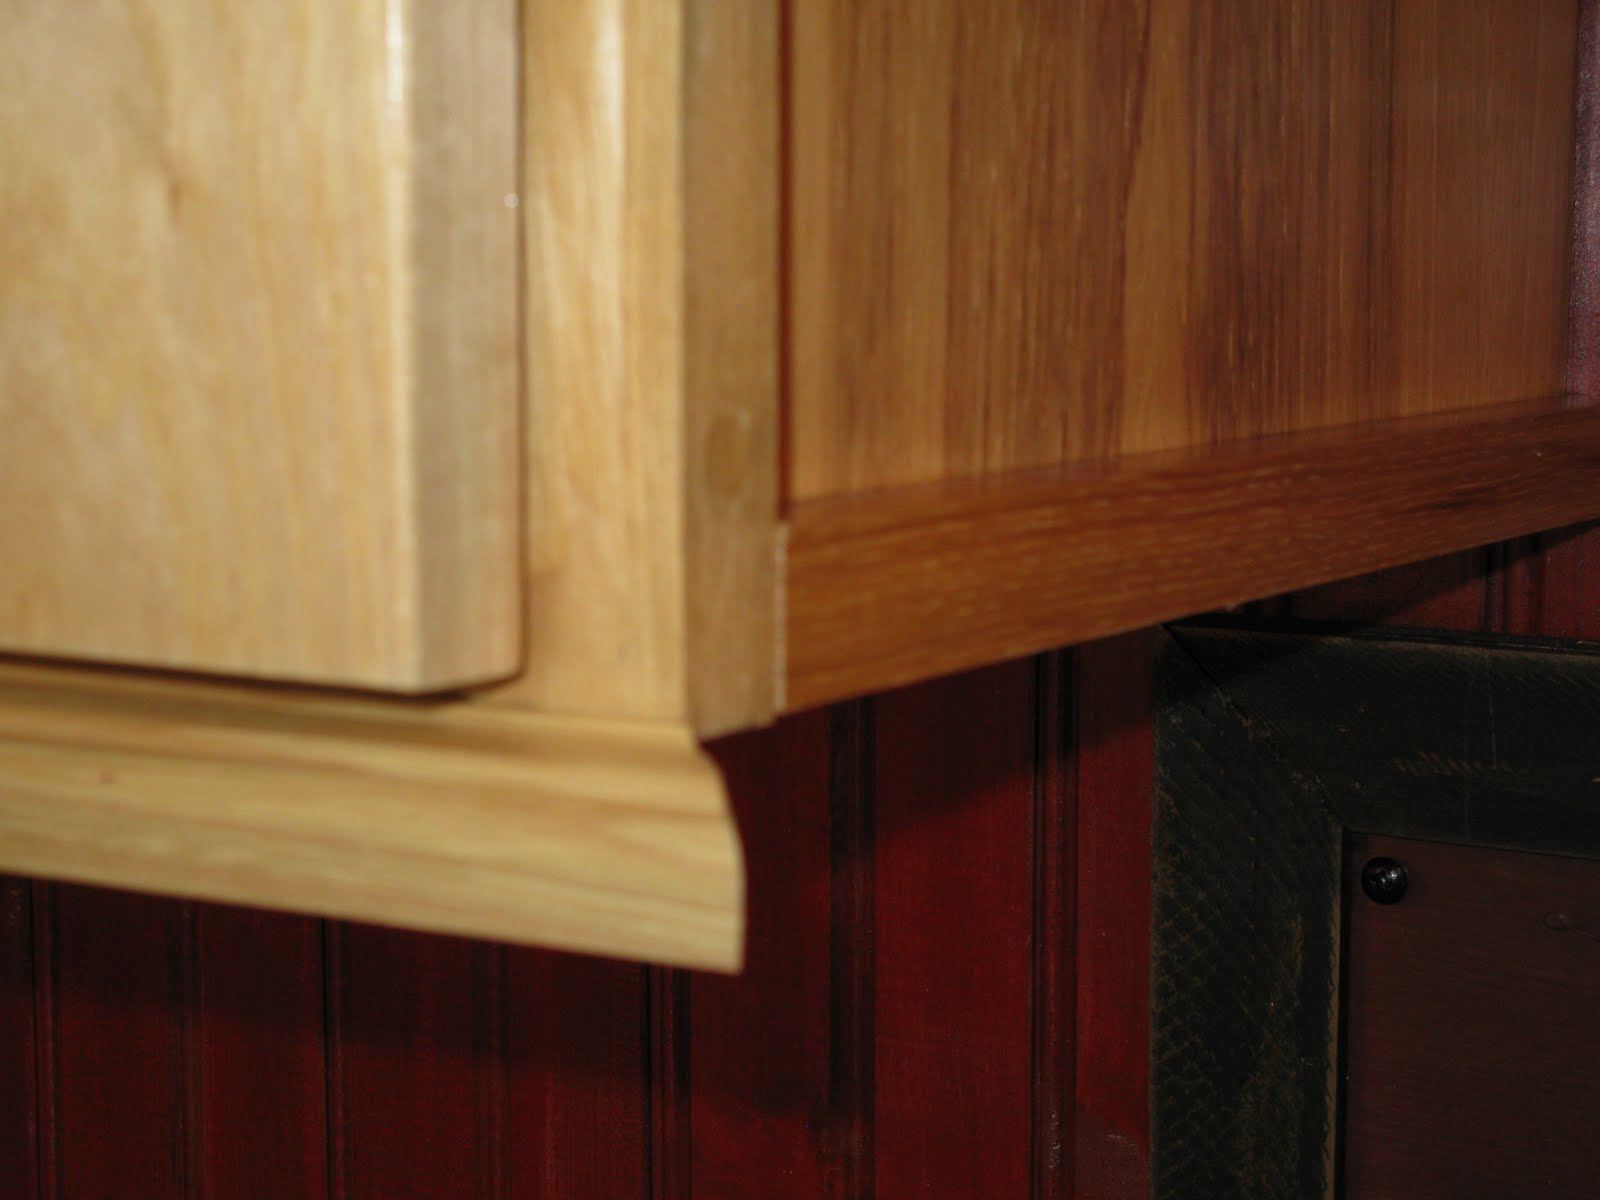
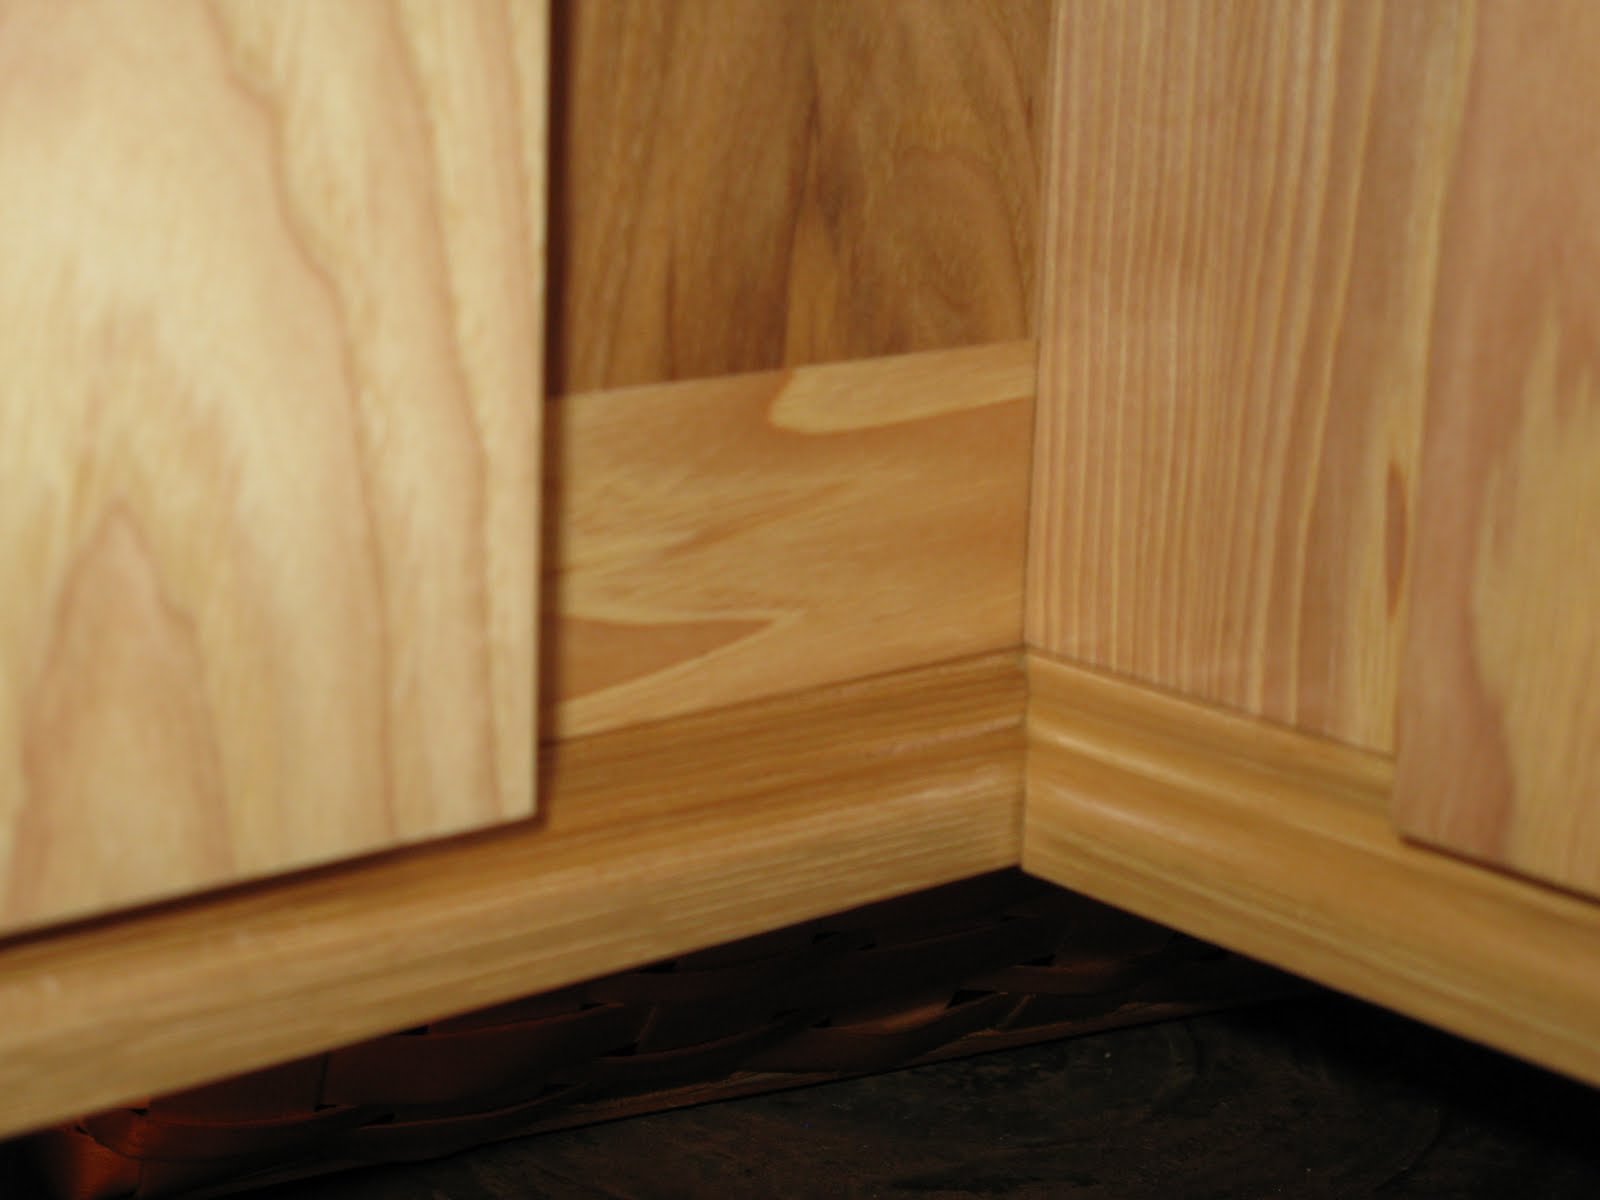
Return molding applied, filler strip is directly above it. The light molding gives these cabinets a nice termination point. Similar to a porch columns base.
Inside miter fits nice and snug. I use a small amount of construction adhesive along the molding where it meets the cabinet bottom as well as at all miters. Brad nails and finish nails hold the light rail [molding] in place.
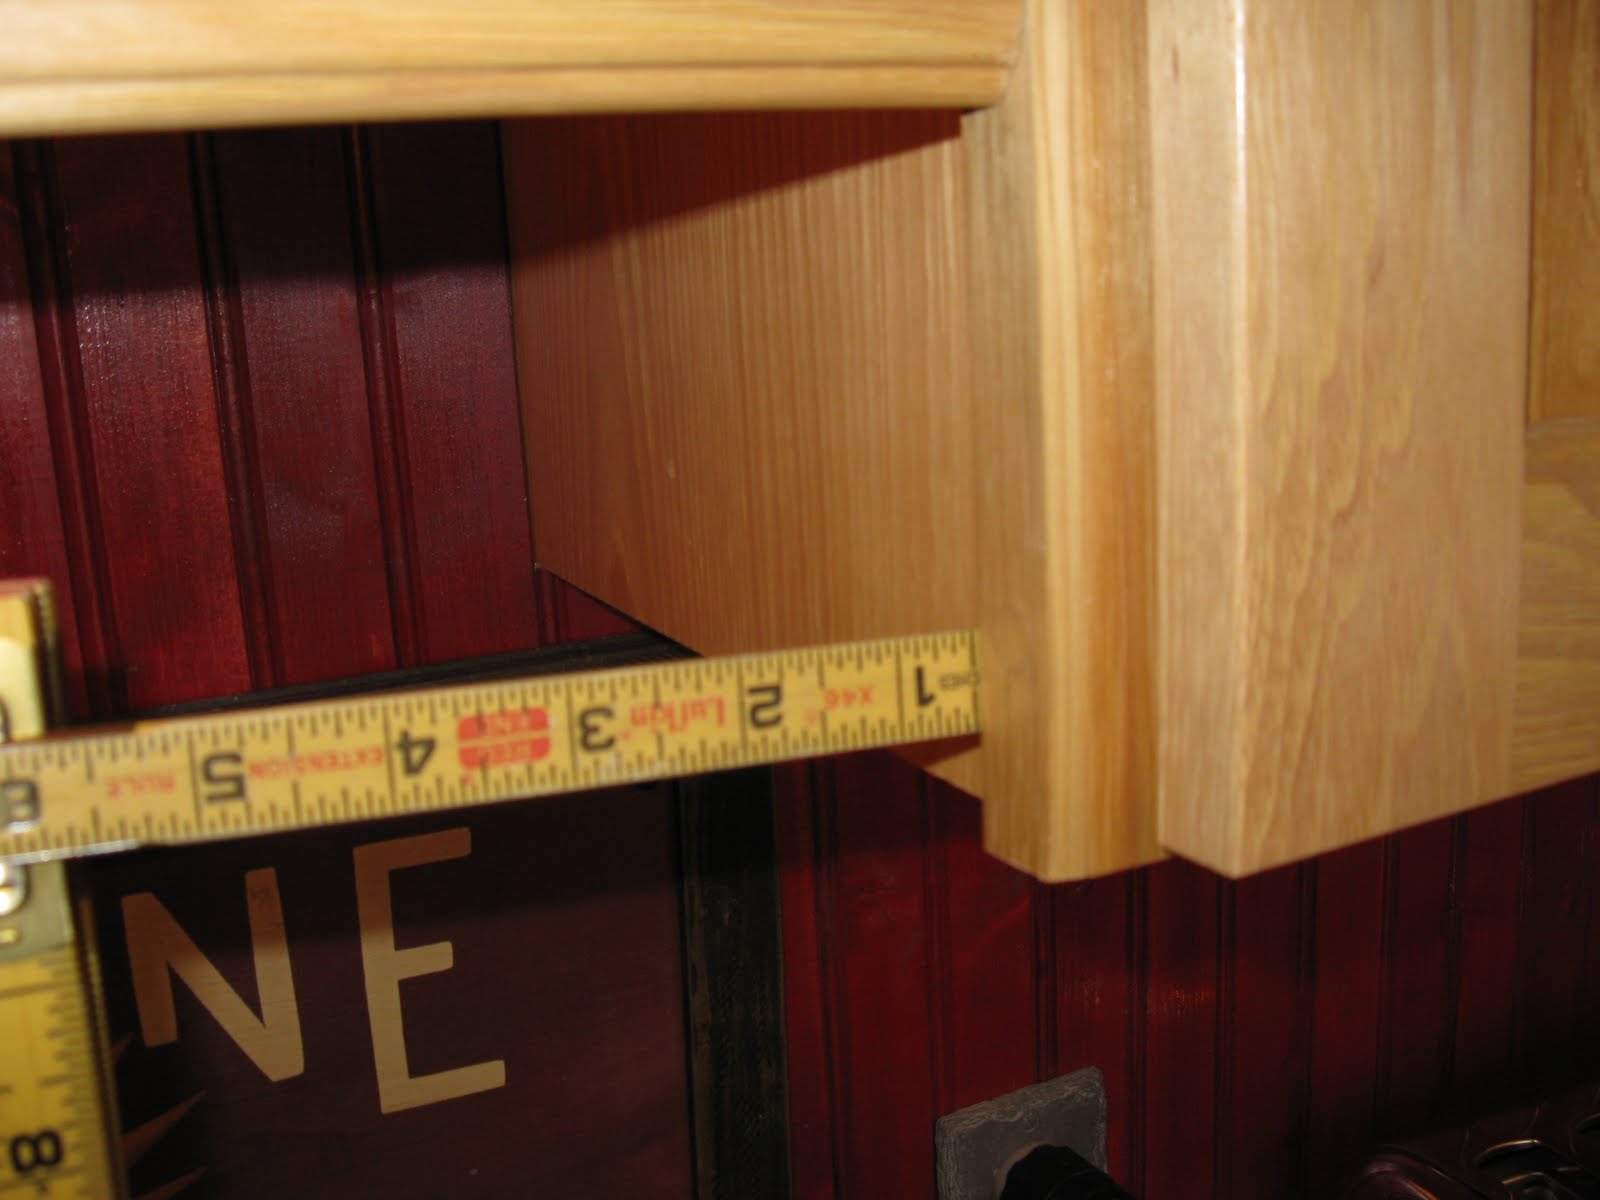
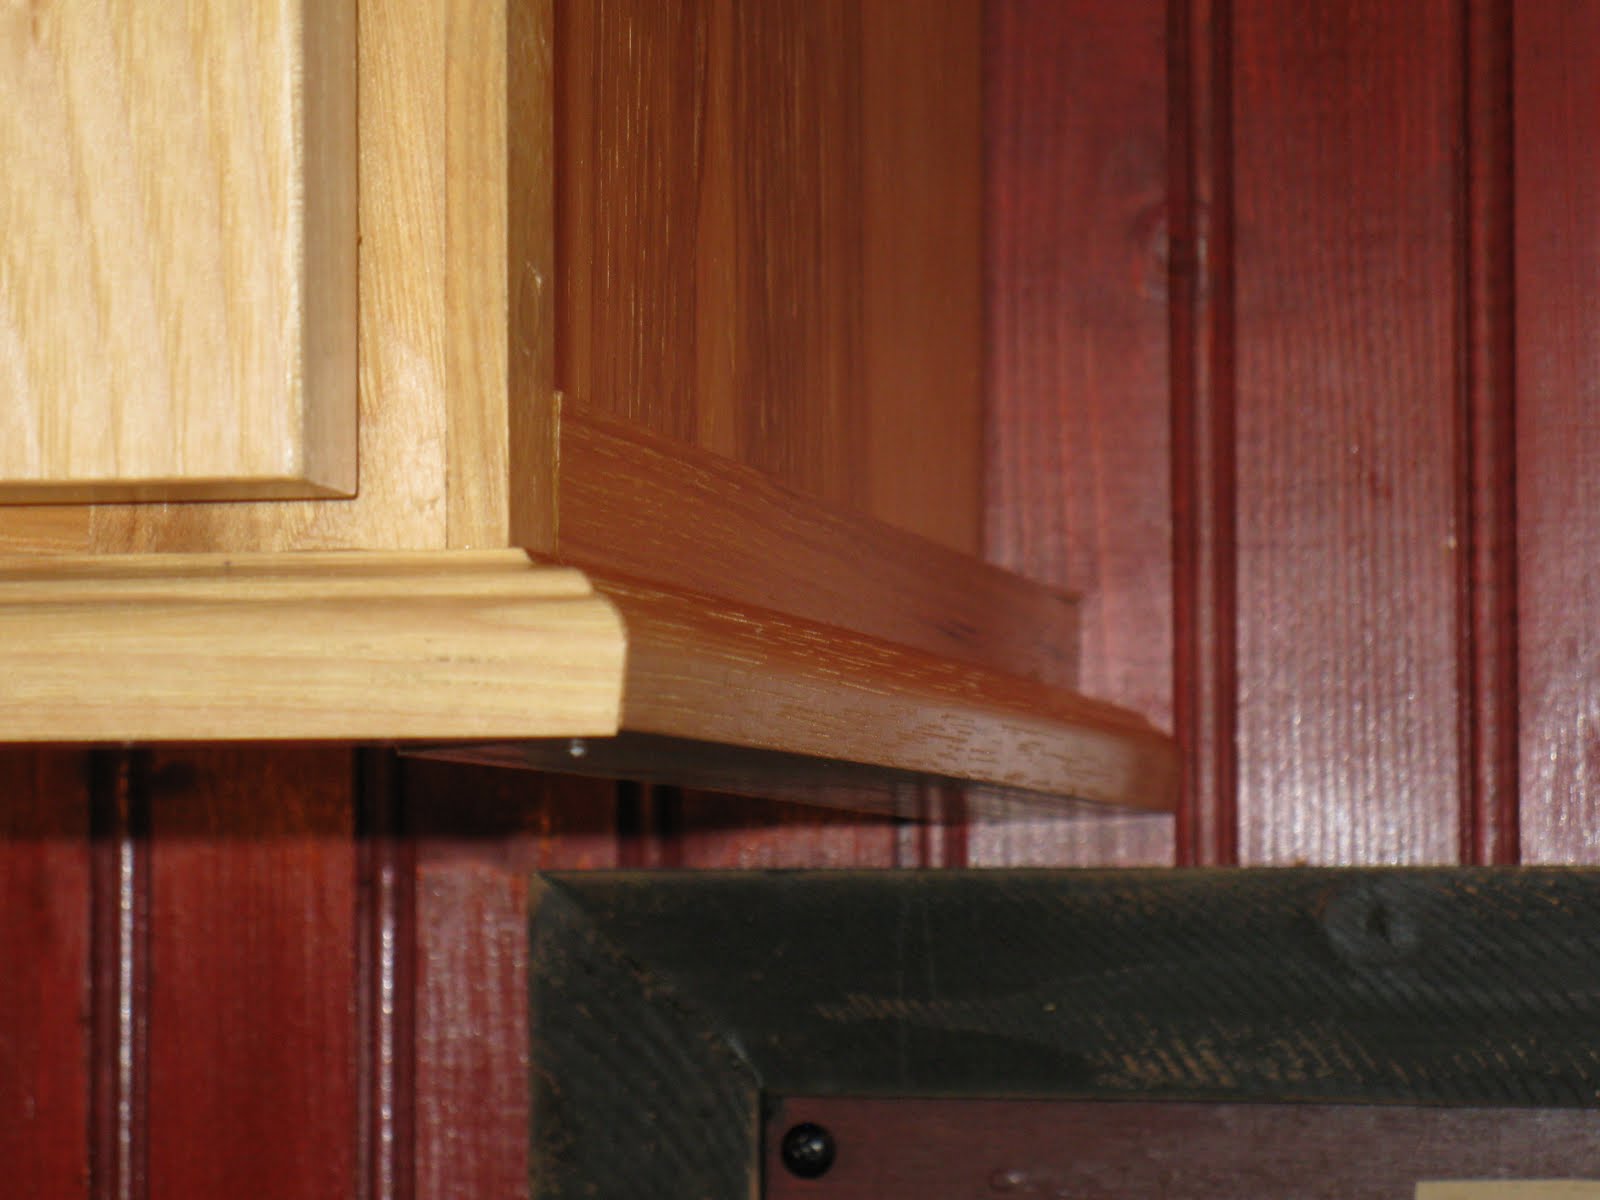
The cabinets terminate at a window. Here I needed to return the molding back into itself to finish the molding properly. This is a tough spot since there is very little area to glue, fasten or clamp.
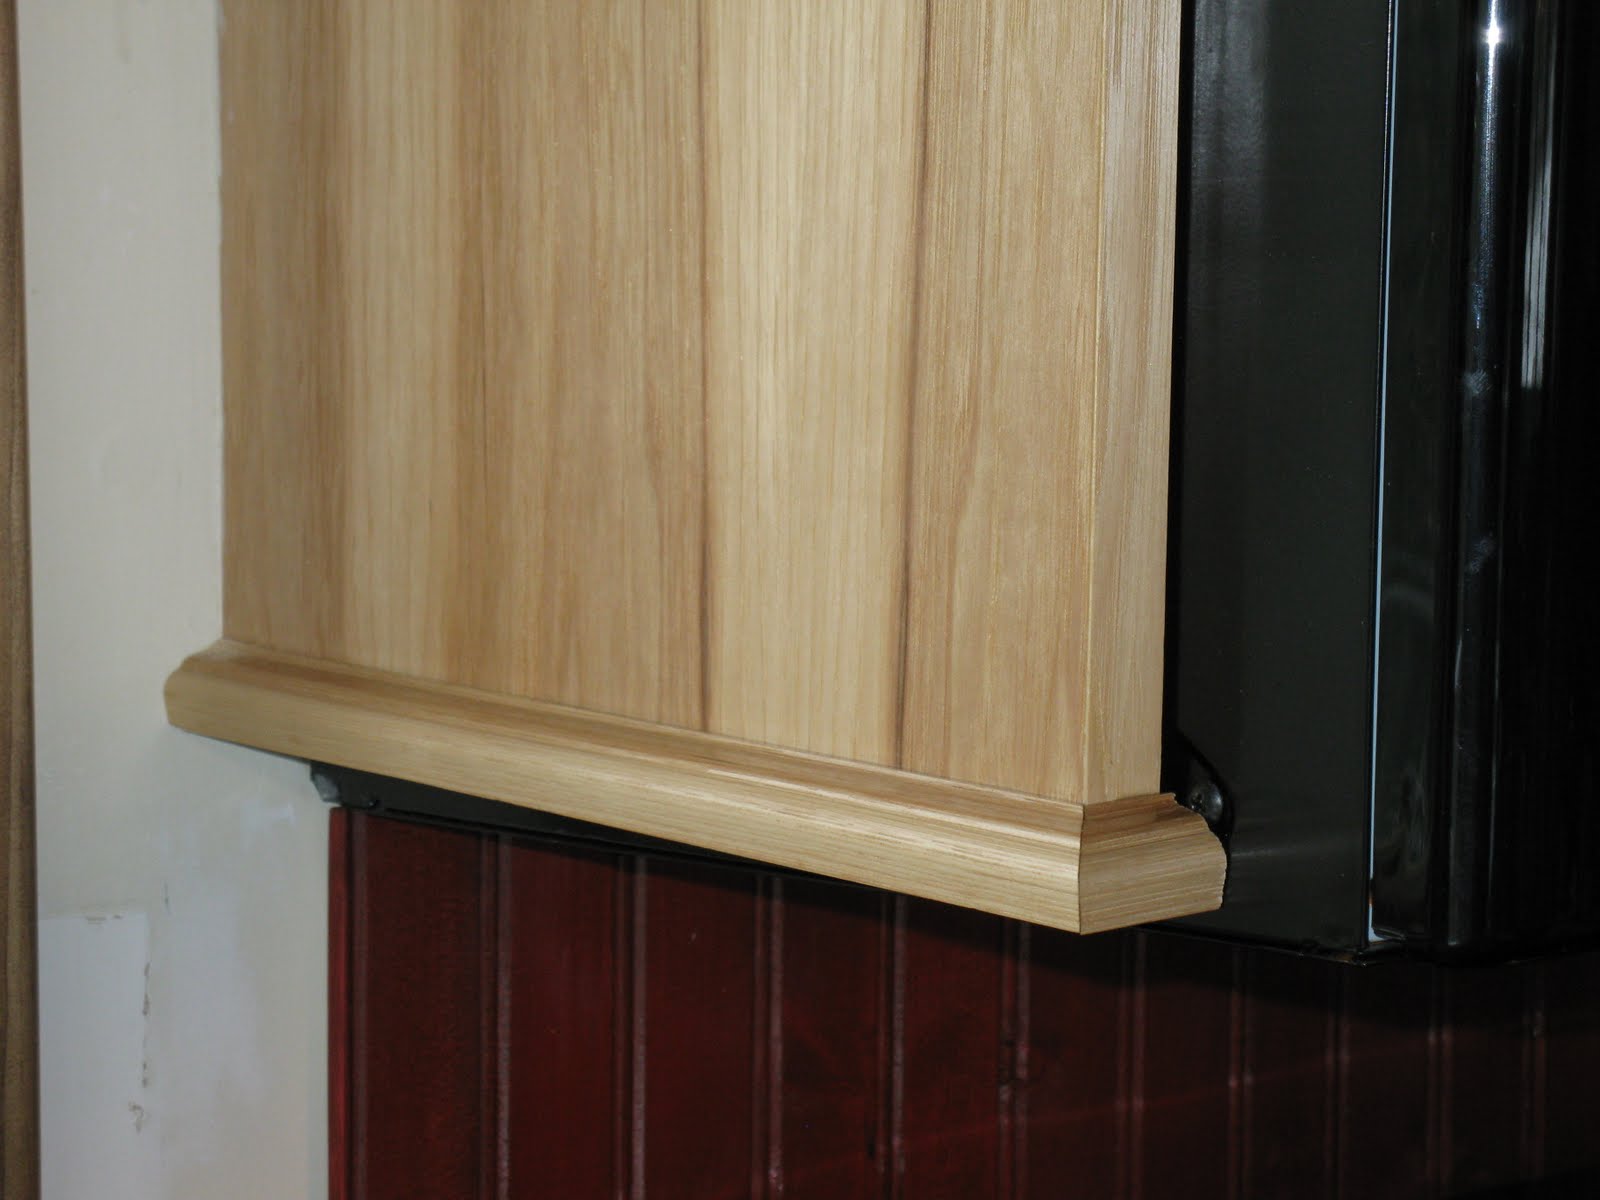
Finished look. I forgot to take a before picture, but you get the idea!