How to Make Hidden Dado Cuts On Router Table

Drop-Cut Procedure To Make A Hidden Dado
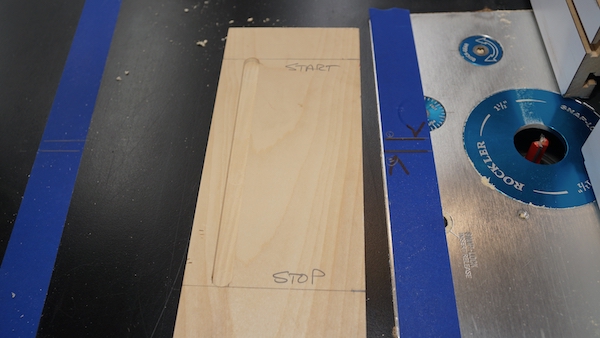
A stopped or hidden dado does not run all the way through your board. You use stopped dados in bookcase construction, sliding drawers and shelves, and where ever you want a hidden dado joint.
The process of making a hidden dado on a router table is often called a “drop cut,” and it involves starting and stopping your dado without running the bit out the end. The difficulty of this application is you can’t see what you’re doing.
Router Table Drop-Cut Procedure – Hidden Daddo
The trick to a hidden dado is to use a drop cut procedure. This involves making marks on the workpiece, fence, or router table to guide your cut. When your piece is short or narrow, you can mark and use your router fence as a reference.
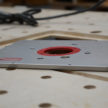
When your routing is taller or larger parts and the fence is hidden from view, you’ll need to mark the router table. The reference marks on the router table, show you where the router bit is located, so you know where to start and end your cut in relation to the router bit. Your marks need to be visible throughout the entire routing procedure.
Drop Cutting A Hidden Daddo – 10 Steps
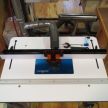
- Line up and position the router fence were needed to make this cut.
- Set the router bit to the proper depth
- Mark the dado location on your workpiece [edge or face] and line up with router bit –this is a good way to double-check that your fence is adjusted properly.
- Ensure that you mark a spot that is visible during your entire routing process. For larger projects: apply a blue table to your router table if you need to mark the table.
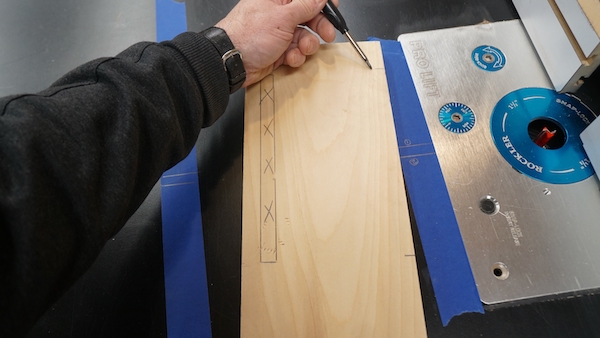
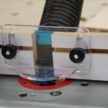
- Use a woodblock or square and draw reference marks – at the front and rear edges of the router wing cutters. The farthest mark is your starting mark and the closer mark is your stopping mark.
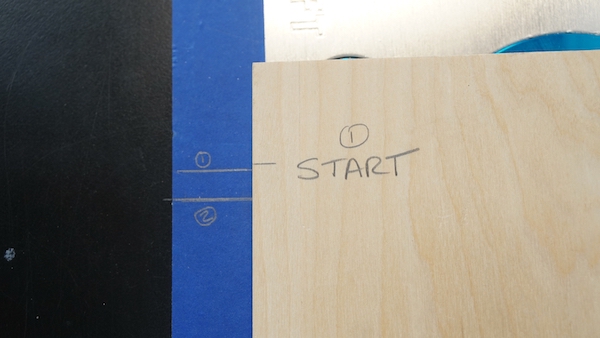
- Line up your reference lines on the workpiece to the router bit reference lines on the table. These reference marks allow you to see exactly where the bit is in relation to your workpiece.
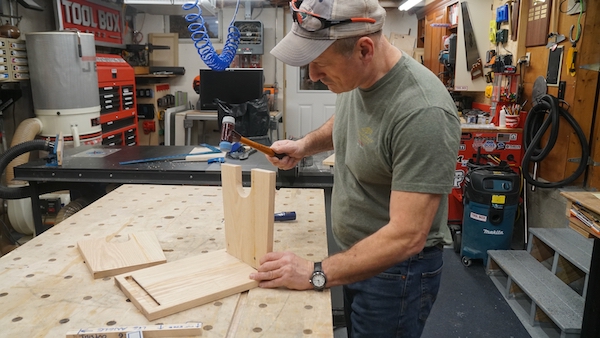
- Start your router. With the workpiece against the fence, line up the starting line on your board to the starting router bit reference line on the table.
- Lower the wood down onto the spinning bit. Keeping the workpiece anchored down against the router table and against the fence
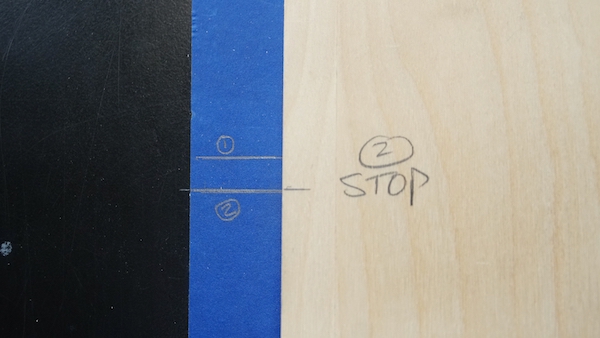
- Push the workpiece along the fence, stopping your cut at your stop reference line.
- Tilt-up the workpiece off the router bit to finish the cut.