1890 Fireplace Mantle

Recycled Mantle
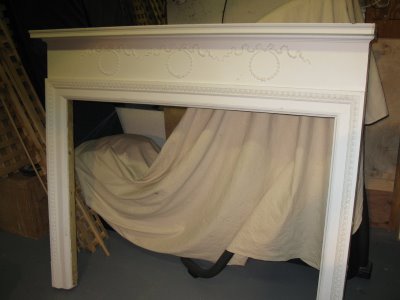
Some of you may remember an earlier post where I had rescued an 1890 Fireplace Mantle from the dumpster.
The mantle is circa 1890 [click on photo below] and was built by the famous mantel maker Irvine & Casson, 150 Boylston Street Boston, Ma. [click on photo to enlarge]
I recently found a home for the mantle and the new owner asked me to repair and install it.

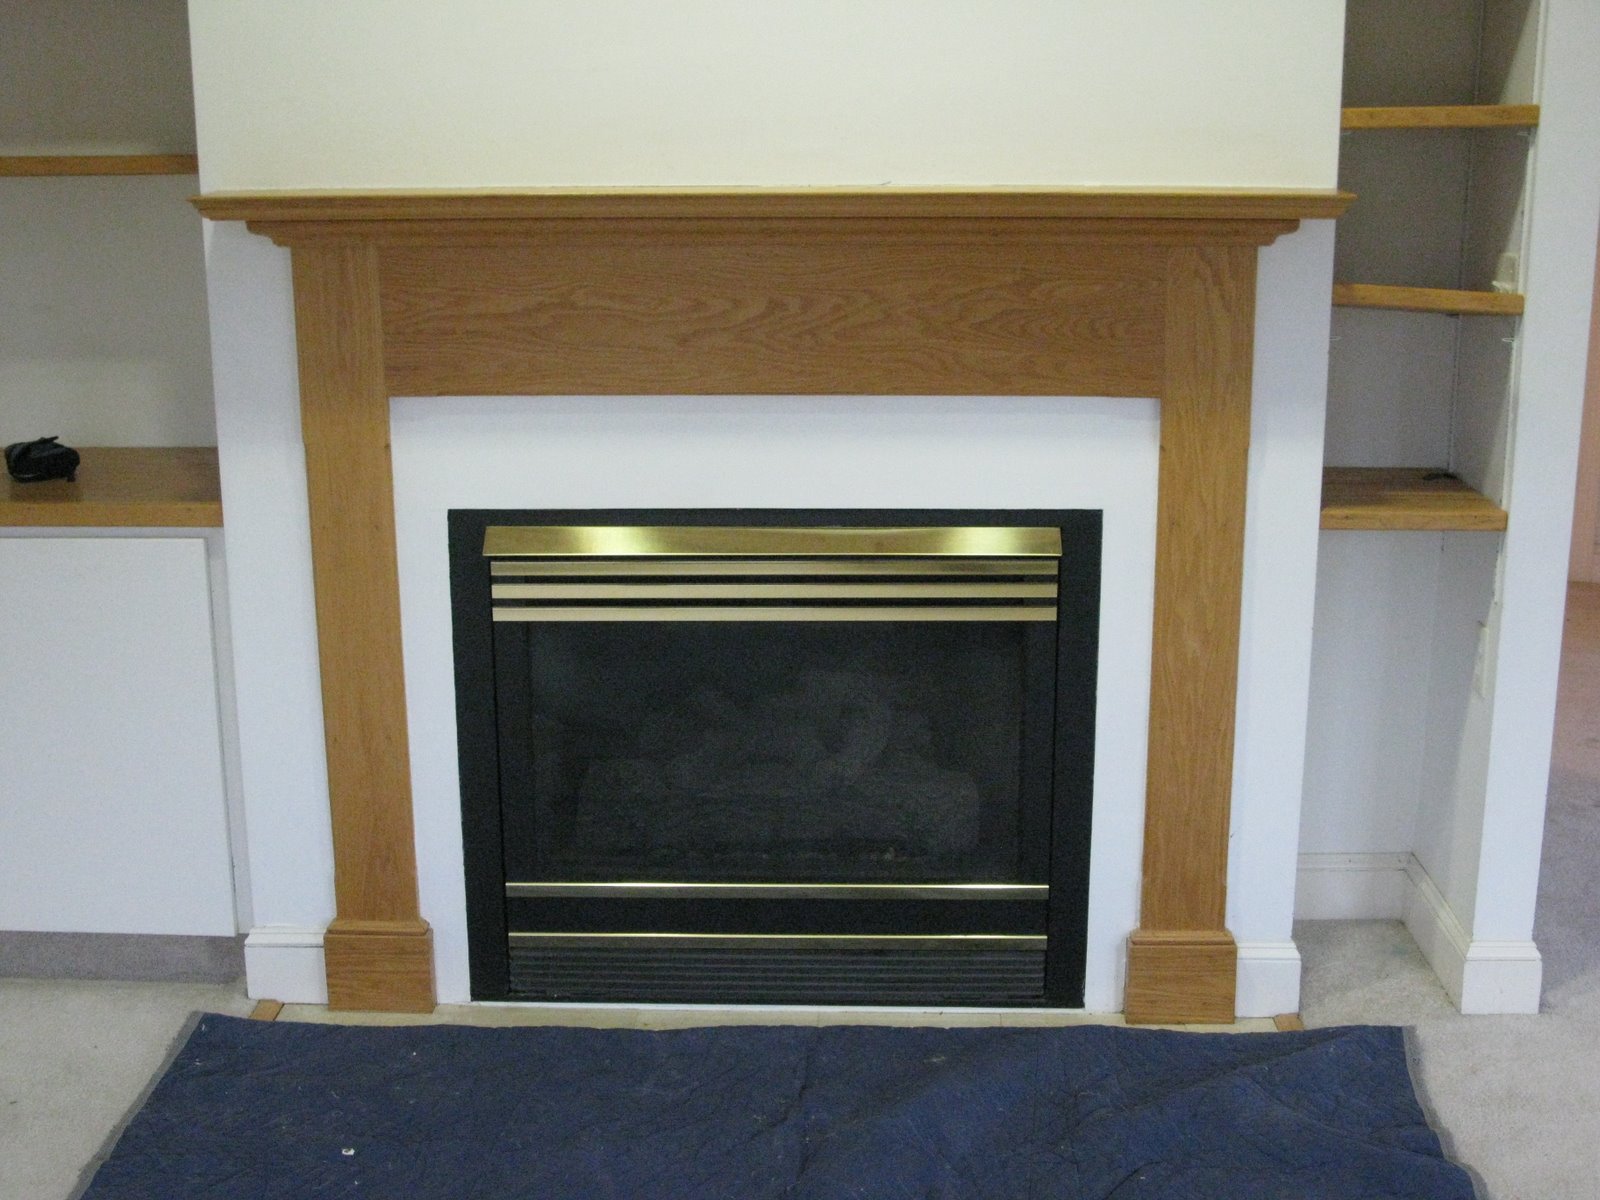
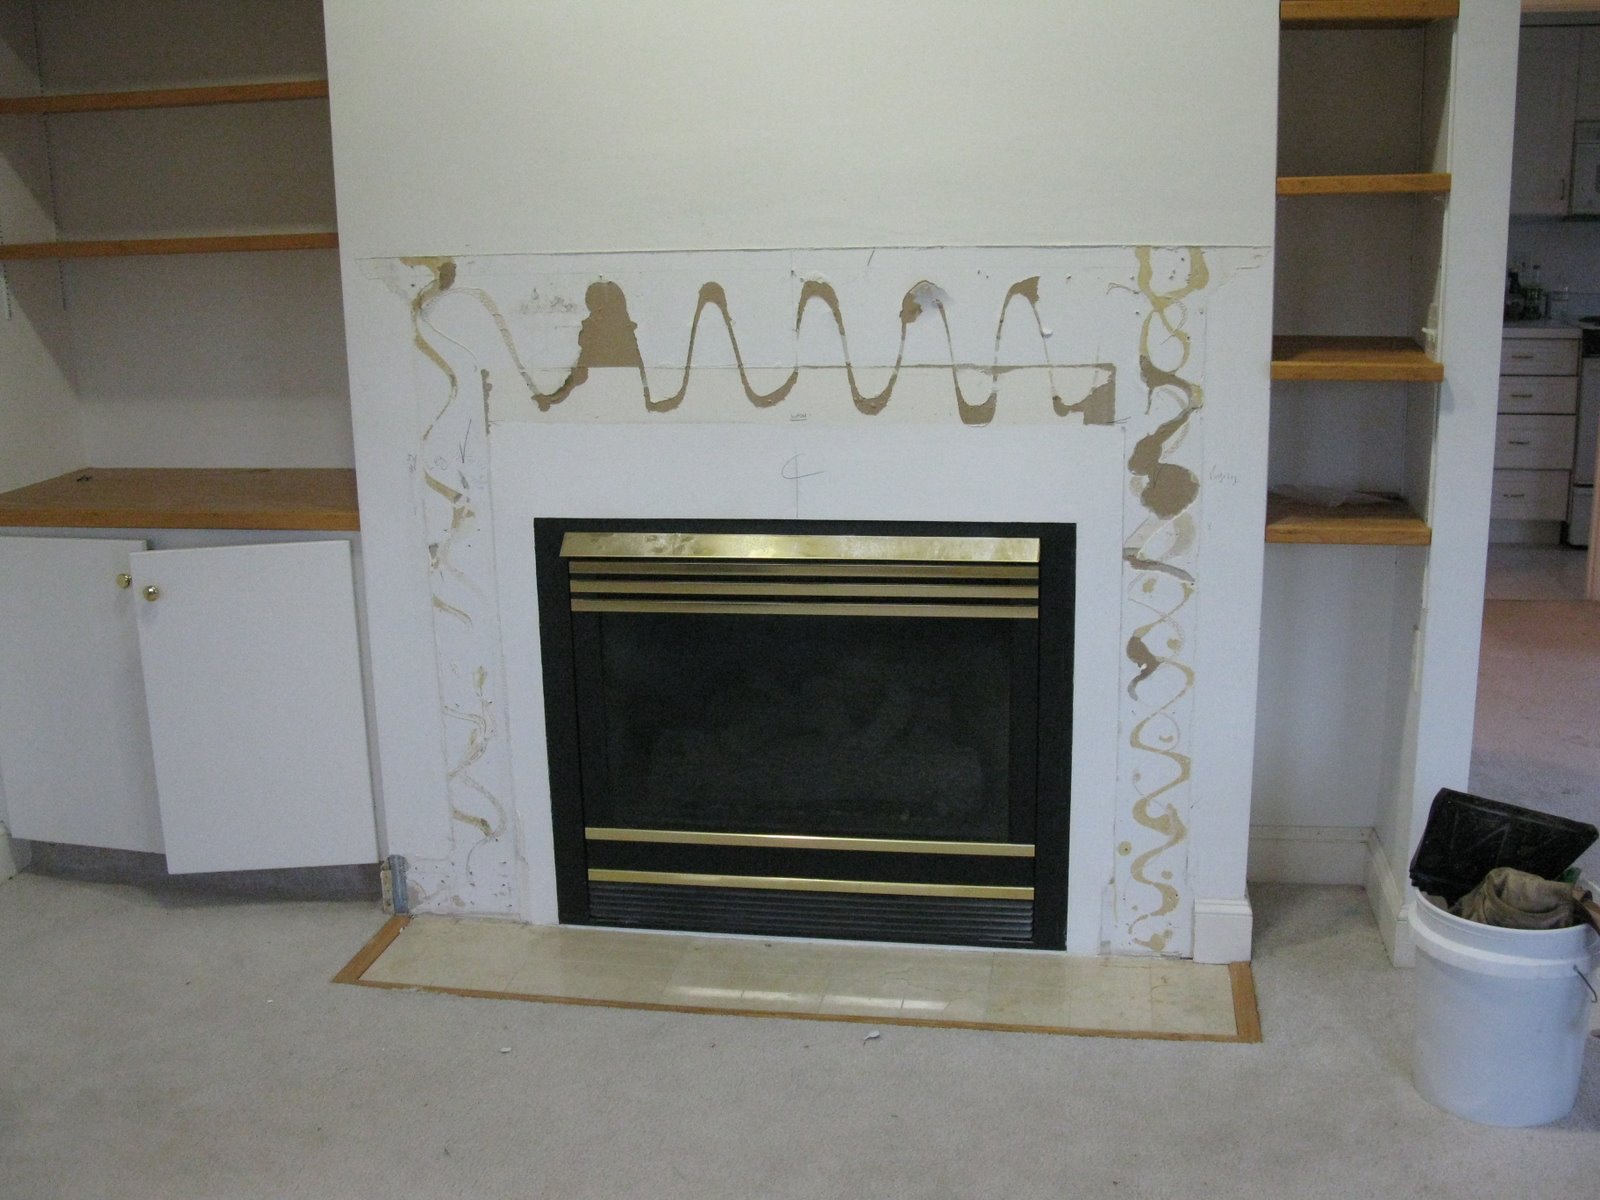
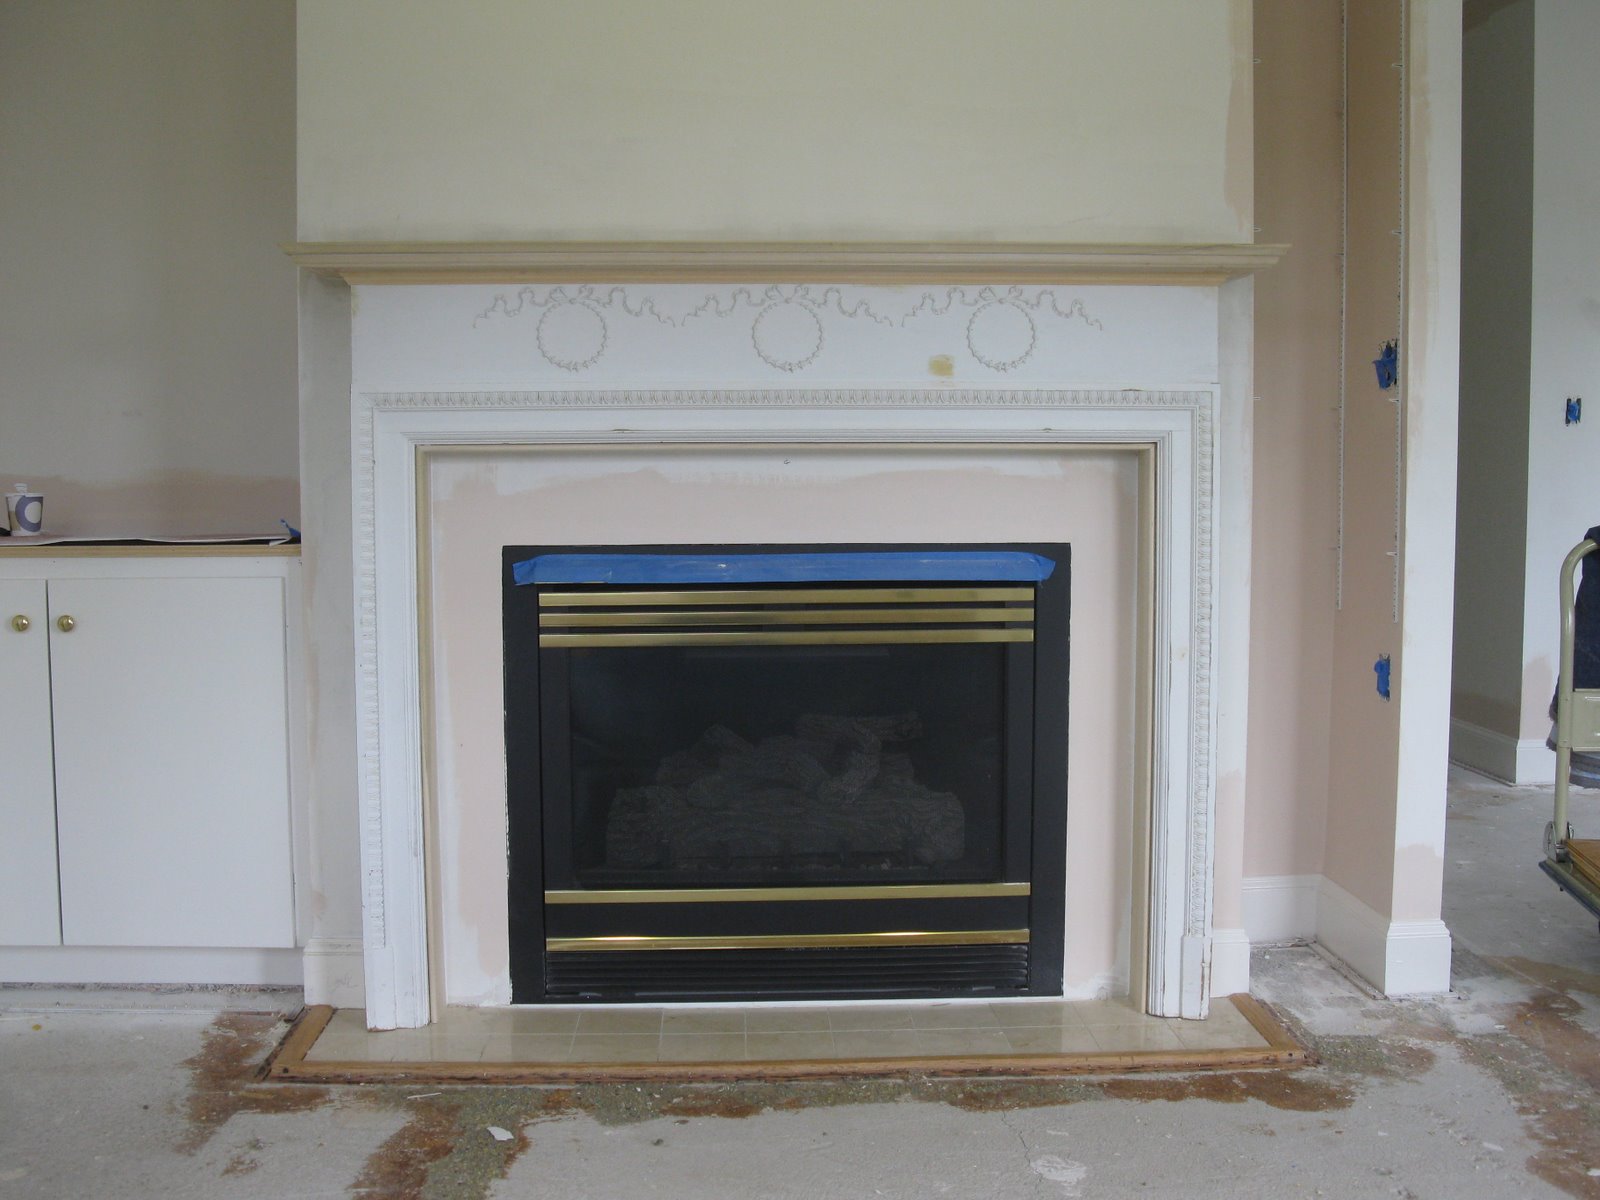
The mantle is going into an apartment at Newbury Court in Concord and replaced this flat style,modern looking, oak mantle. See below.
Repairing The Mantle
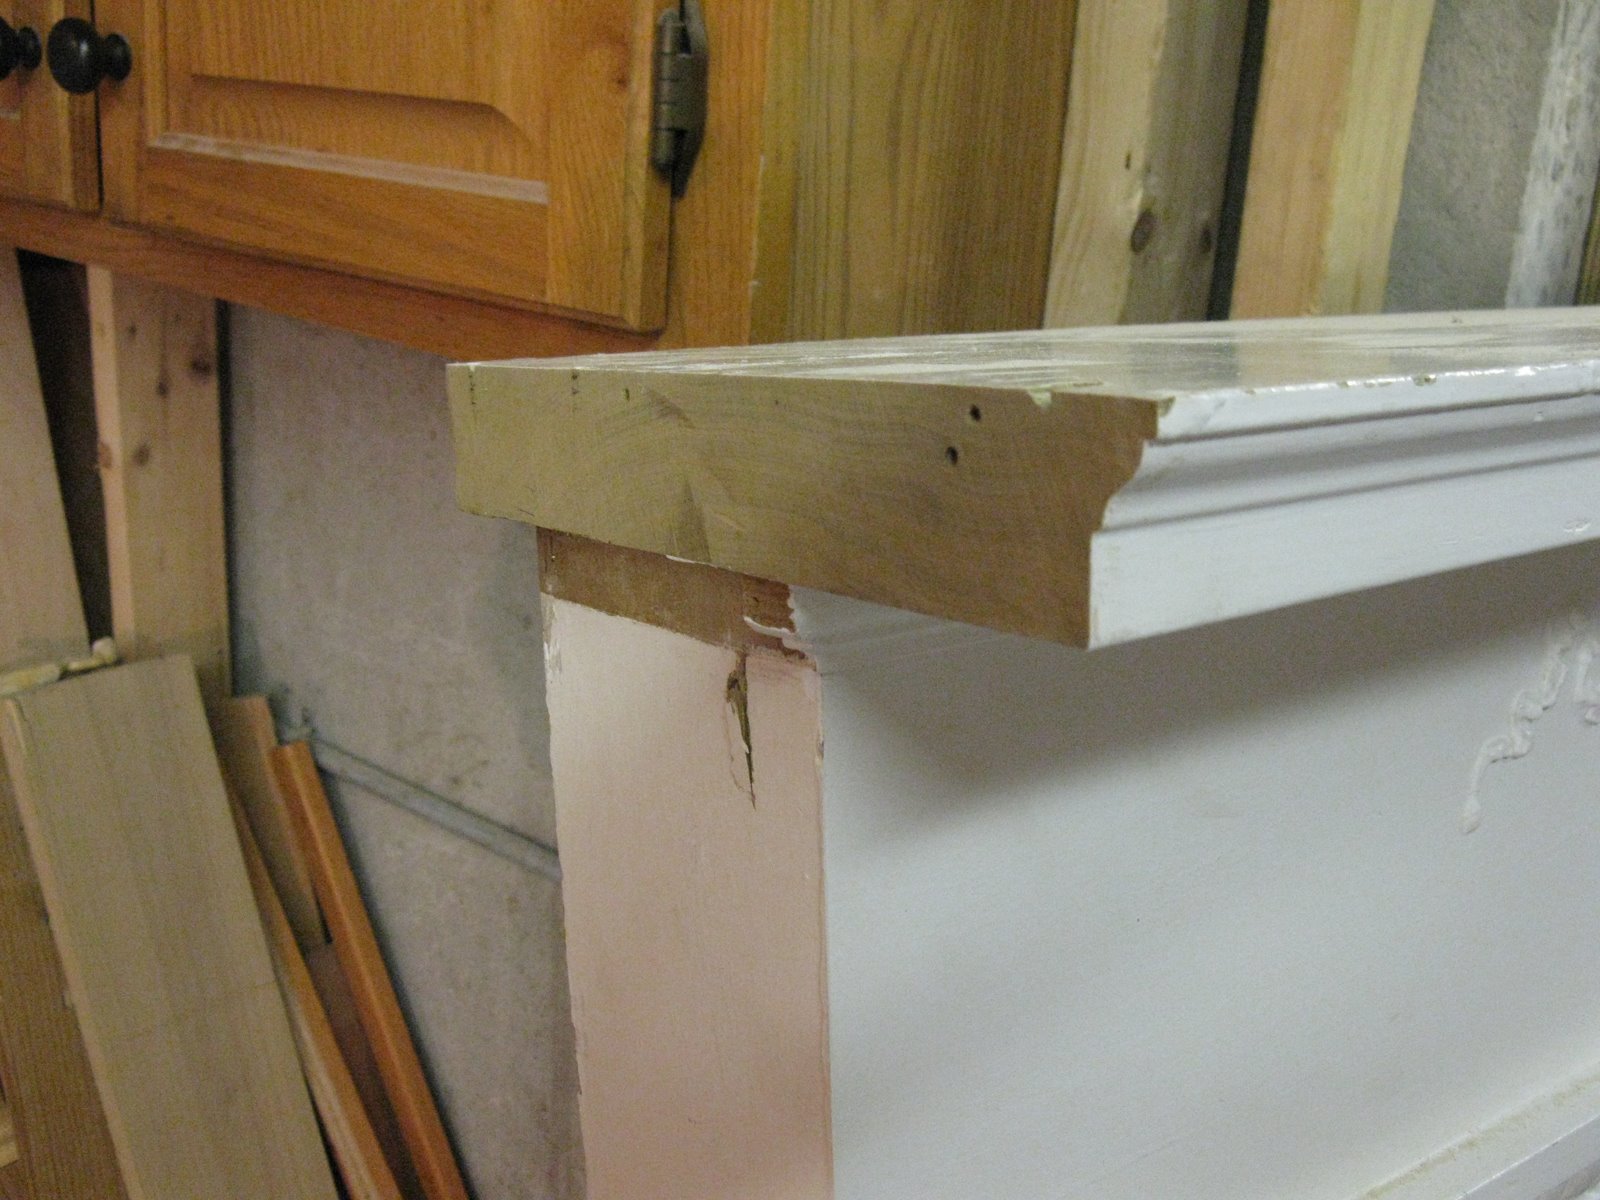
The only real issue with the 1980 mantle is that it was modified. The top shelf overhang / return and bottom plinth blocks were previously cut off in order for the mantle to fit between two adjacent bookcases.
With a tight budget my job was to install a new top, add molding and repair the mantle’s damaged side legs.
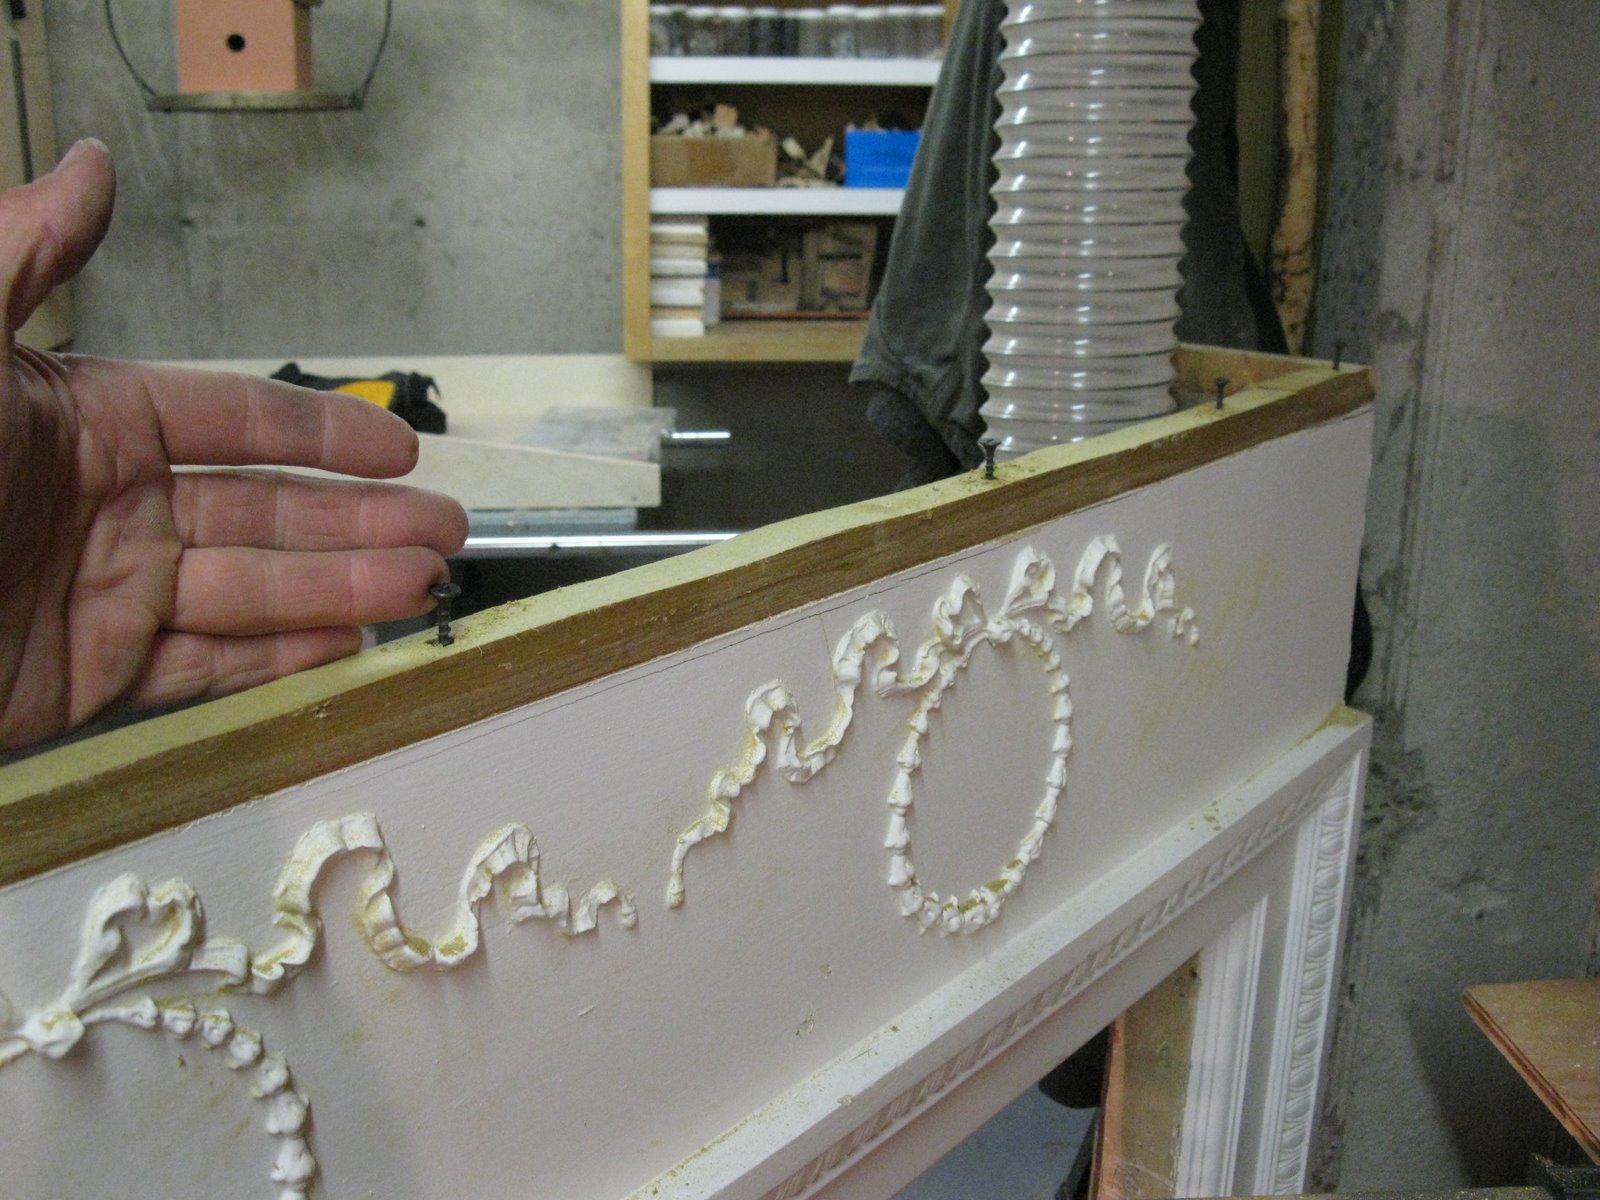
Below you can see where someone cut off the molded top shelf return. The lower molding return was also removed.
Removing the old shelf: The mantle top was secured tot he frame with glue blocks, glue and 2 1/2″ dowels.

I first cut all the caulk, paint and glue seams with a utility knife.
Then I removed all the glue blocks with a sharp chisel.
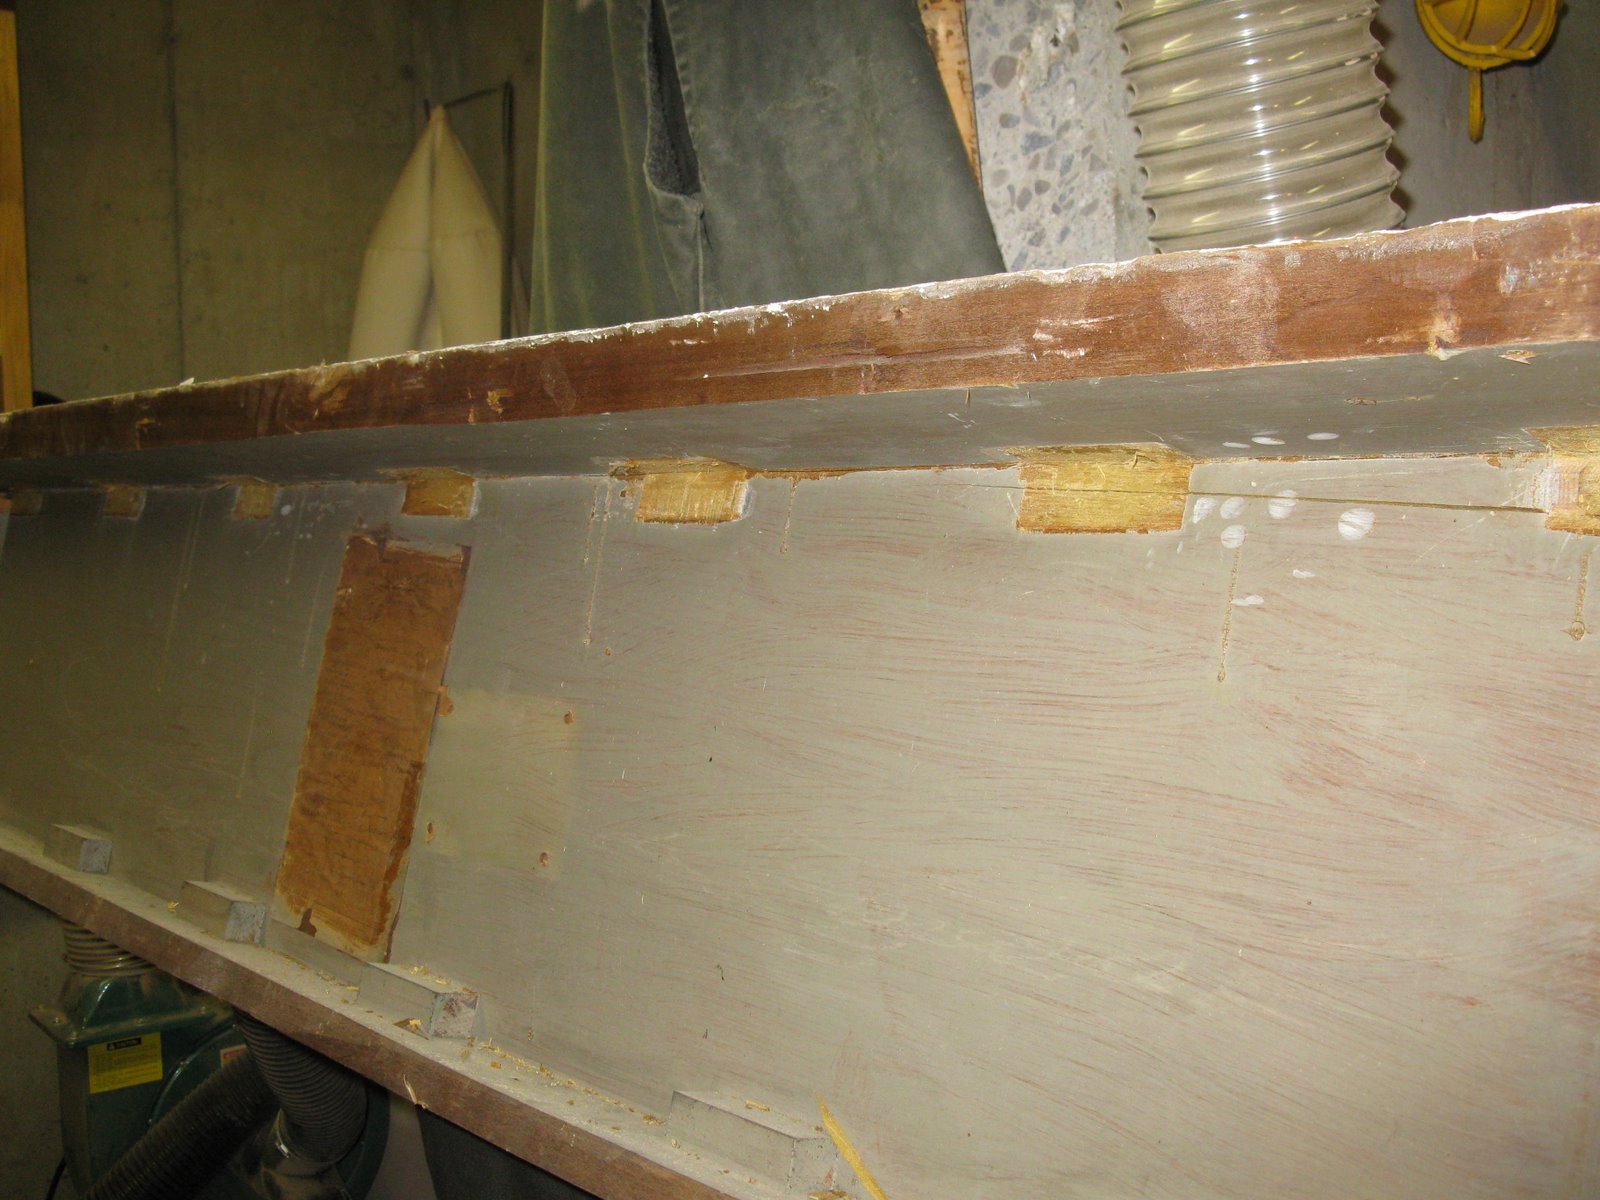
After trying to gently pry the top from the frame I decided that the only way it was coming off was to cut it off.
One of the many dowels holding the two together.
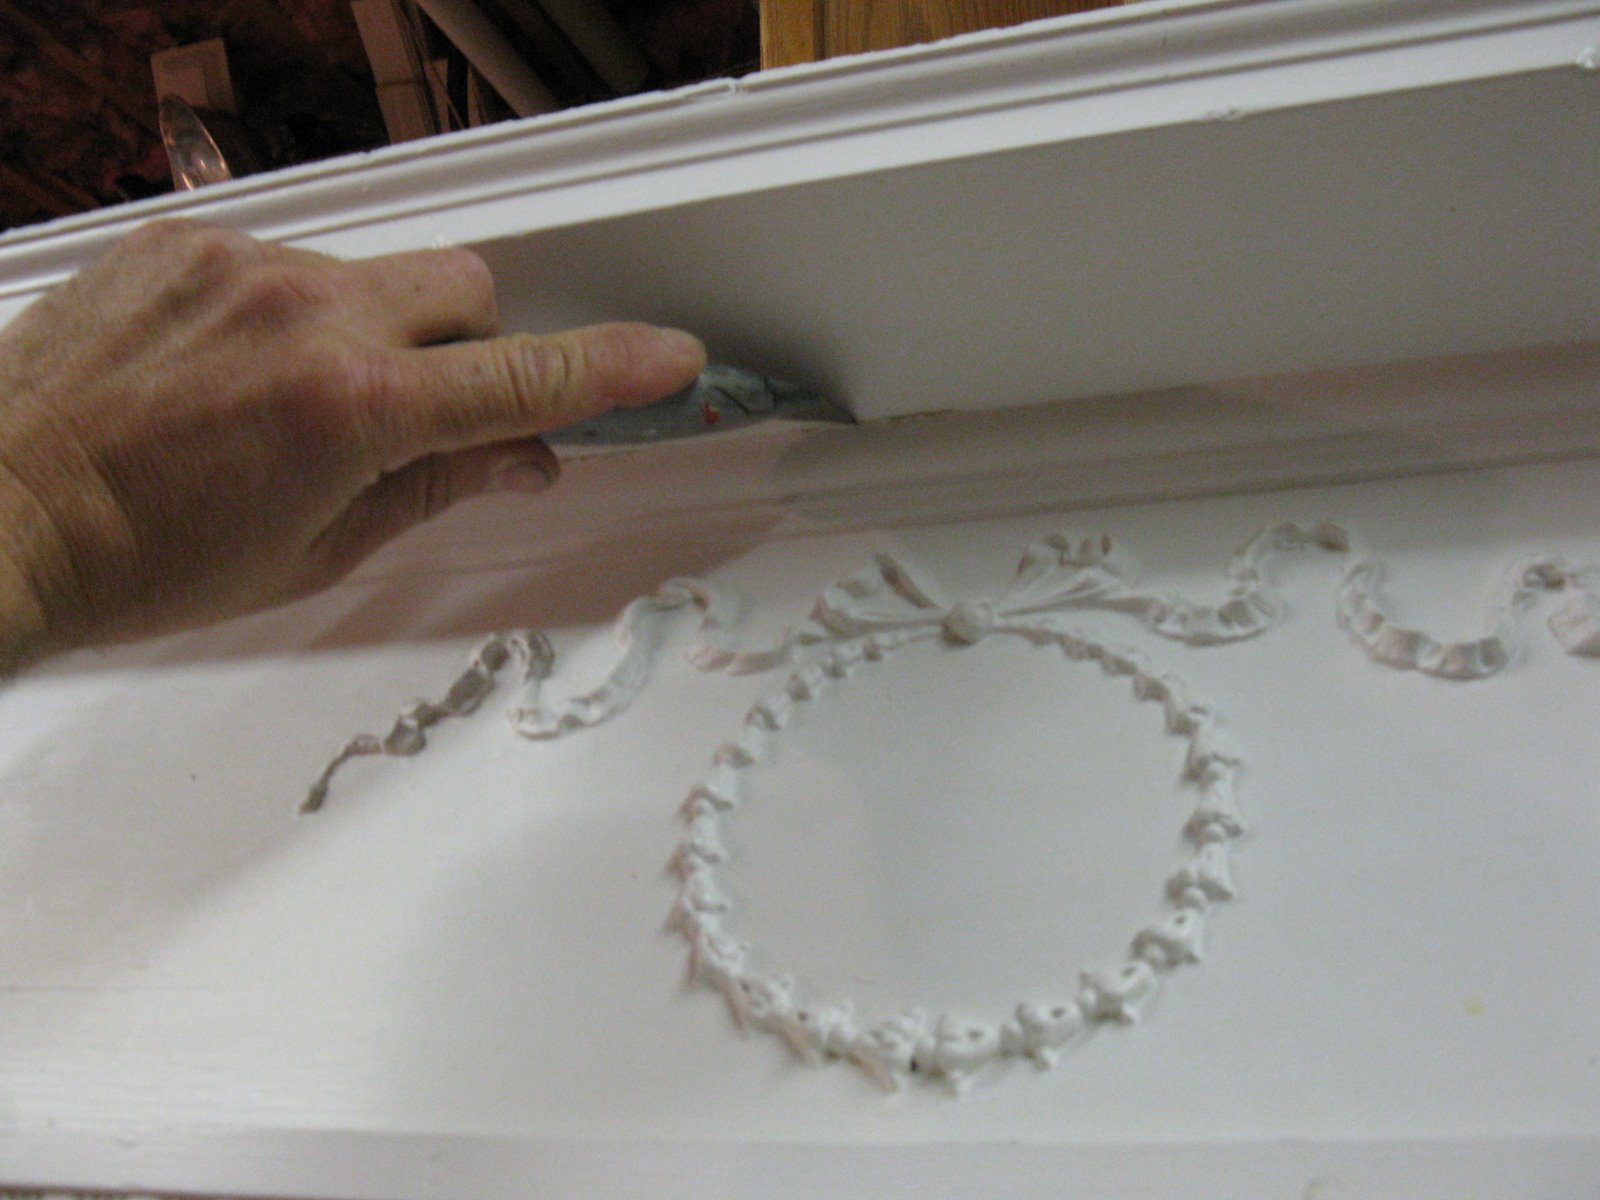
There was a stress fracture behind and just under the bottom molding. I glued and screwed the top down to close the crack.
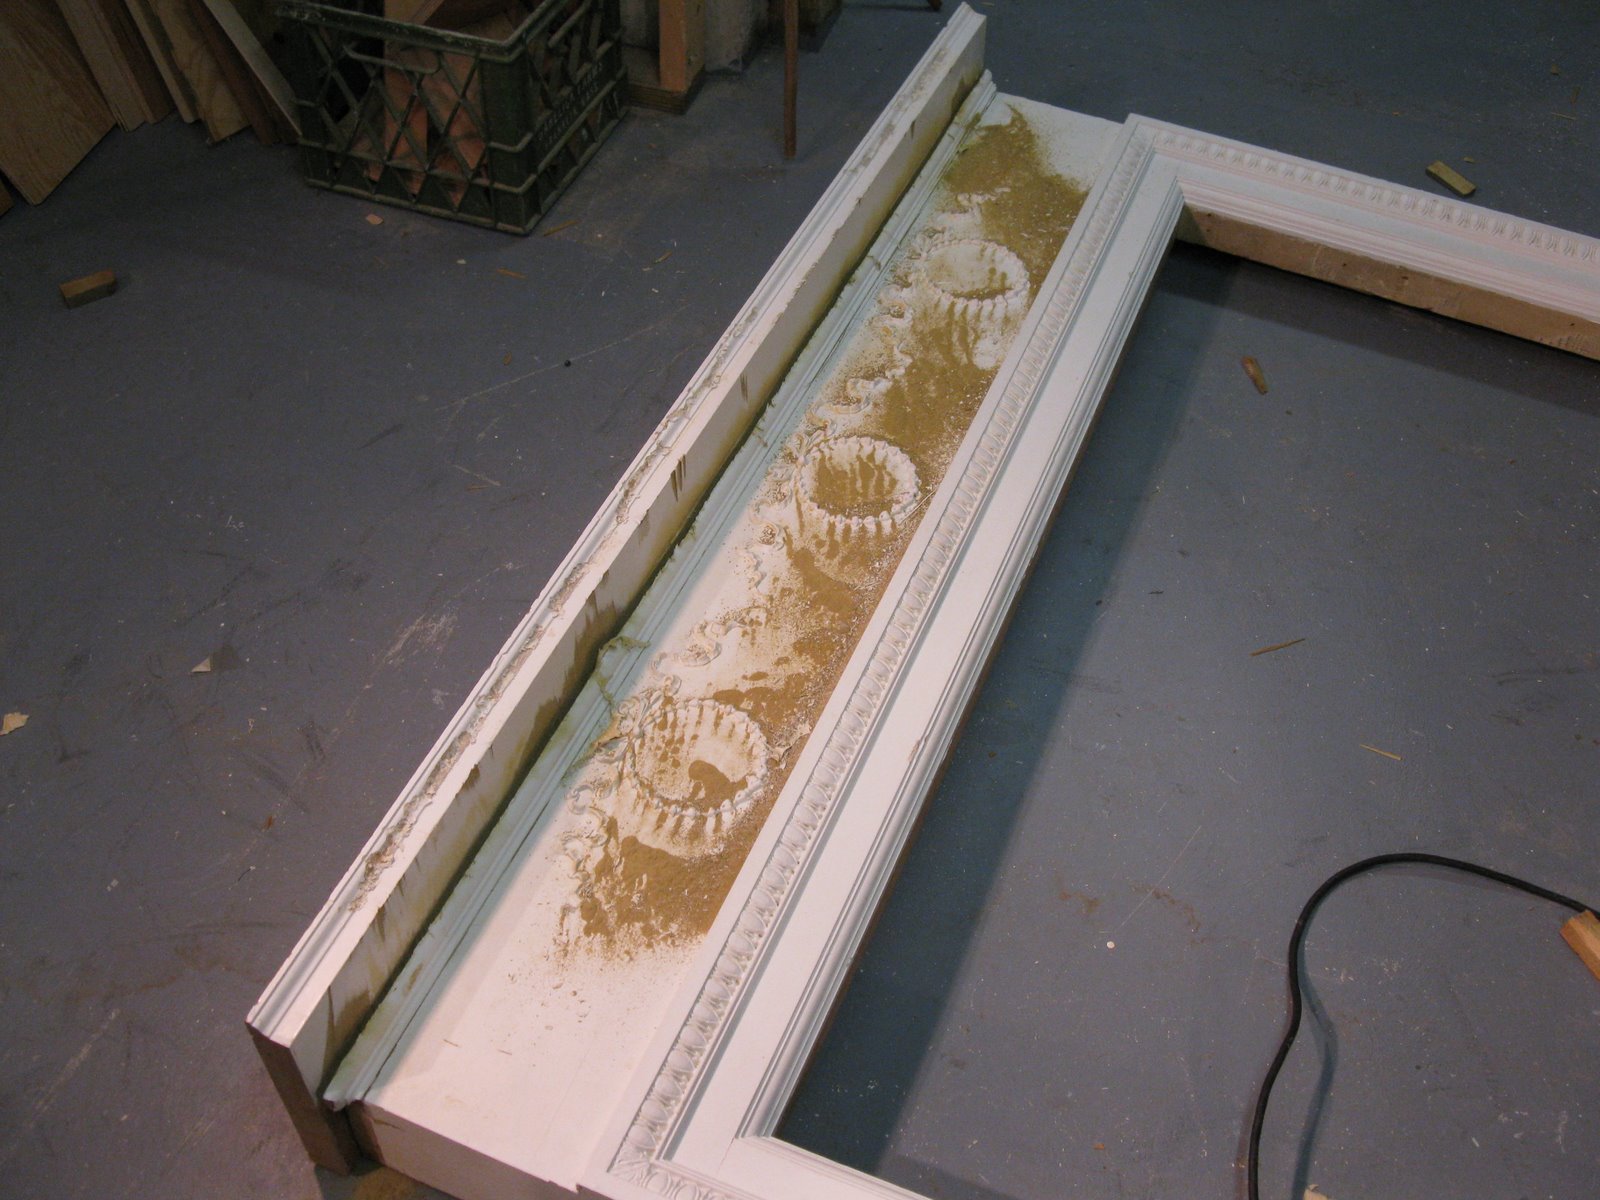
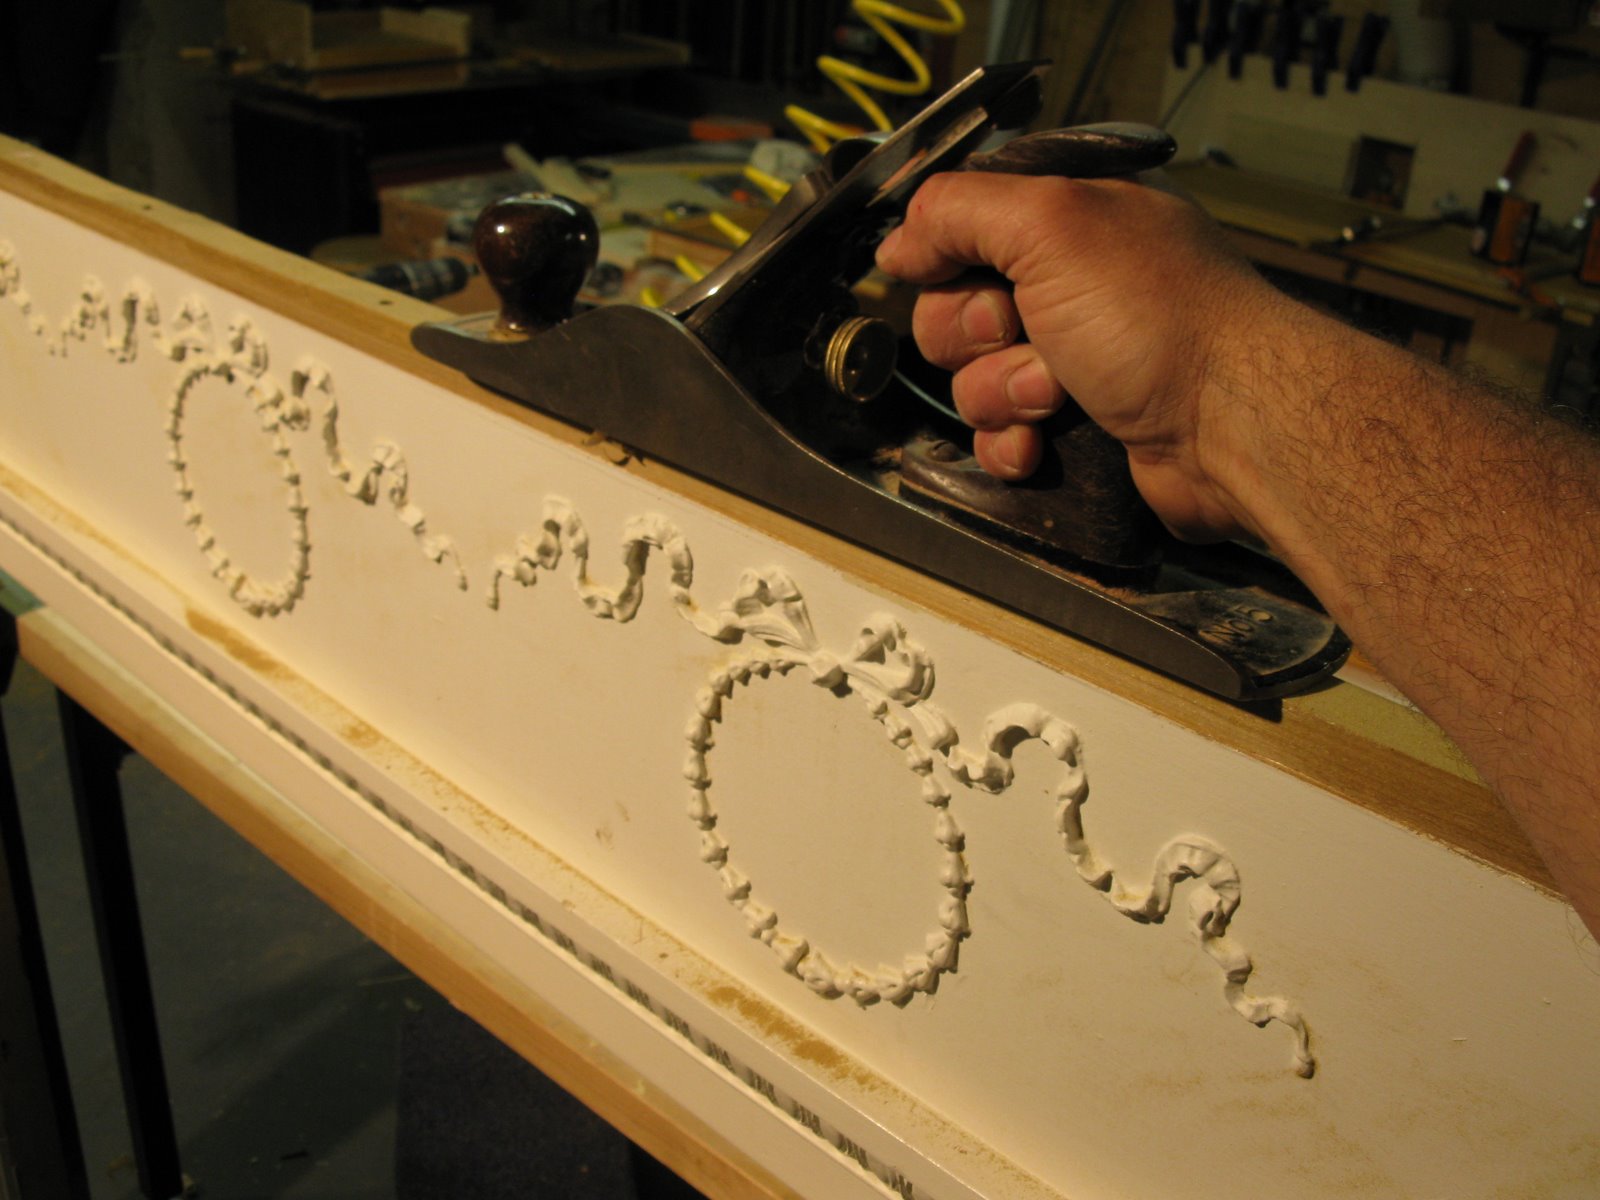
I used my old Stanley number 5 plane to clean up the top after I cut off the shelf.
Dutchman Patches
For some reason the top left of this mantle had a section cut out of it. In order to have this mantle fit snug to the wall I glued a “Dutchman” type patch to fill this in.
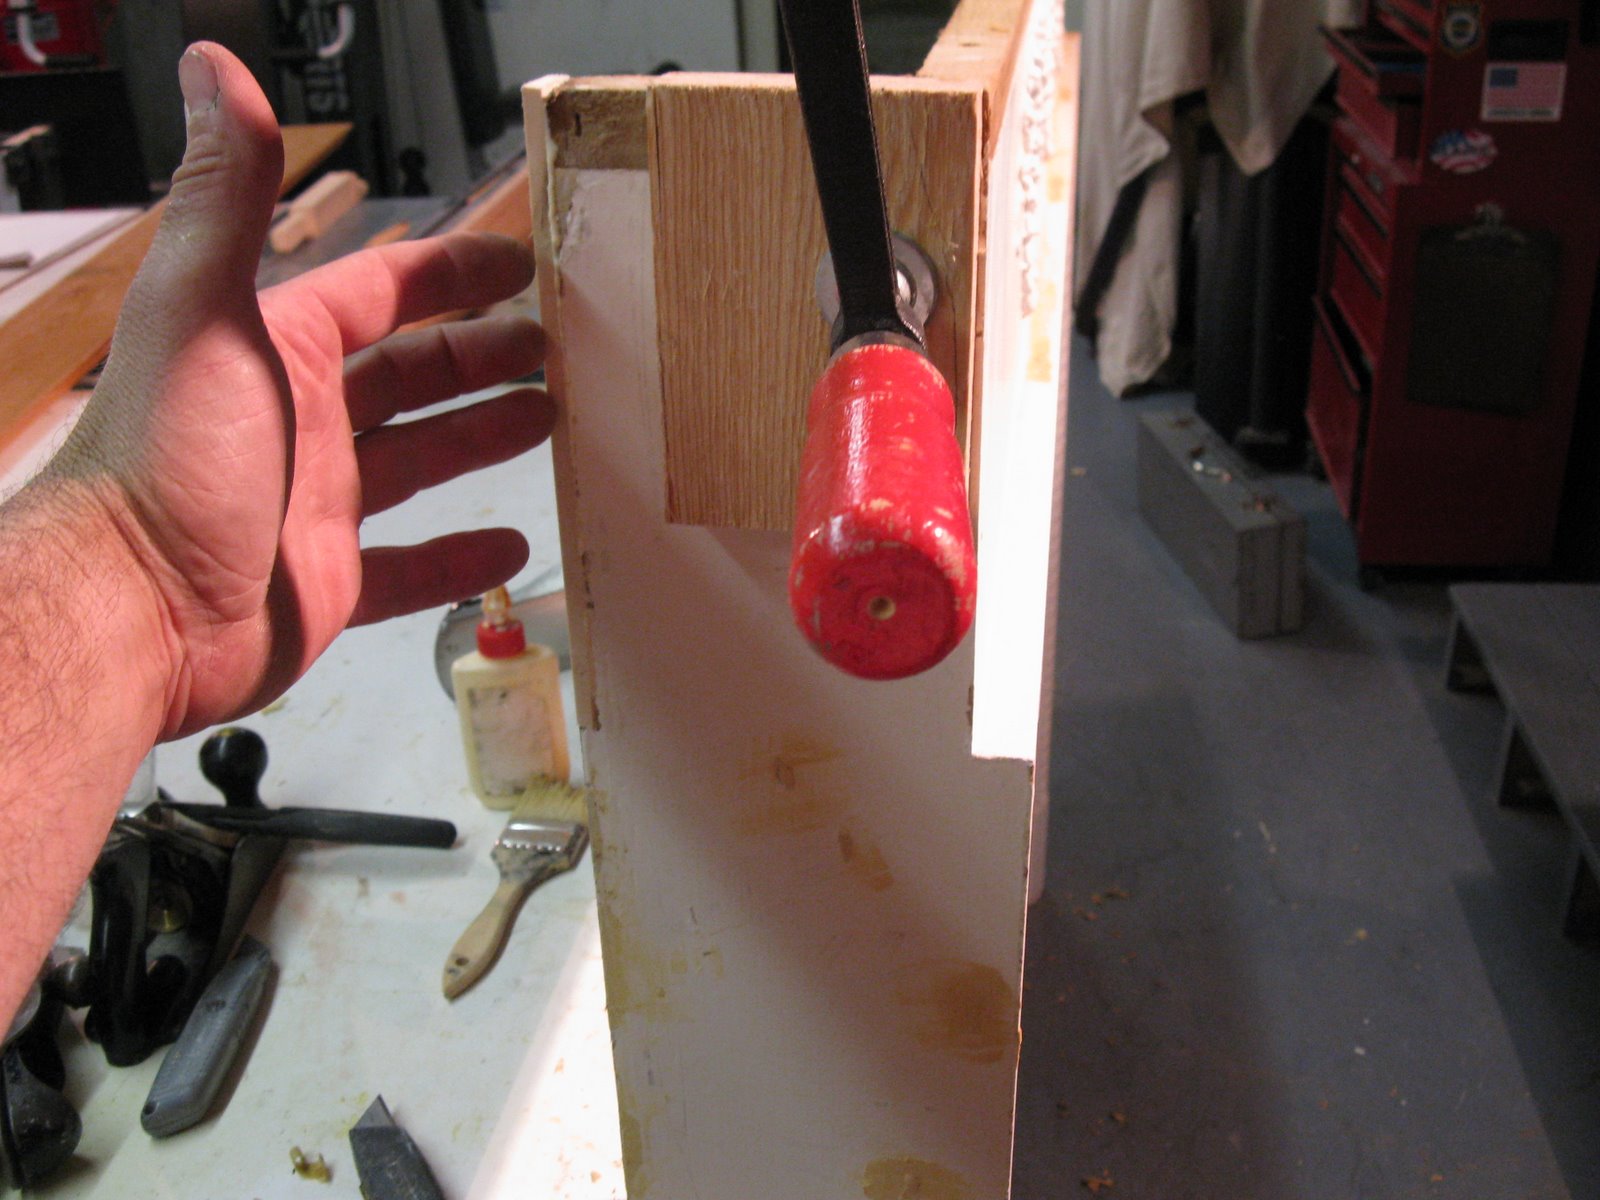
For frame stability and to assist in securing the future top shelf, I added a plywood sub shelf. The spans between the legs and front of the mantle frame and tightens up the frame.
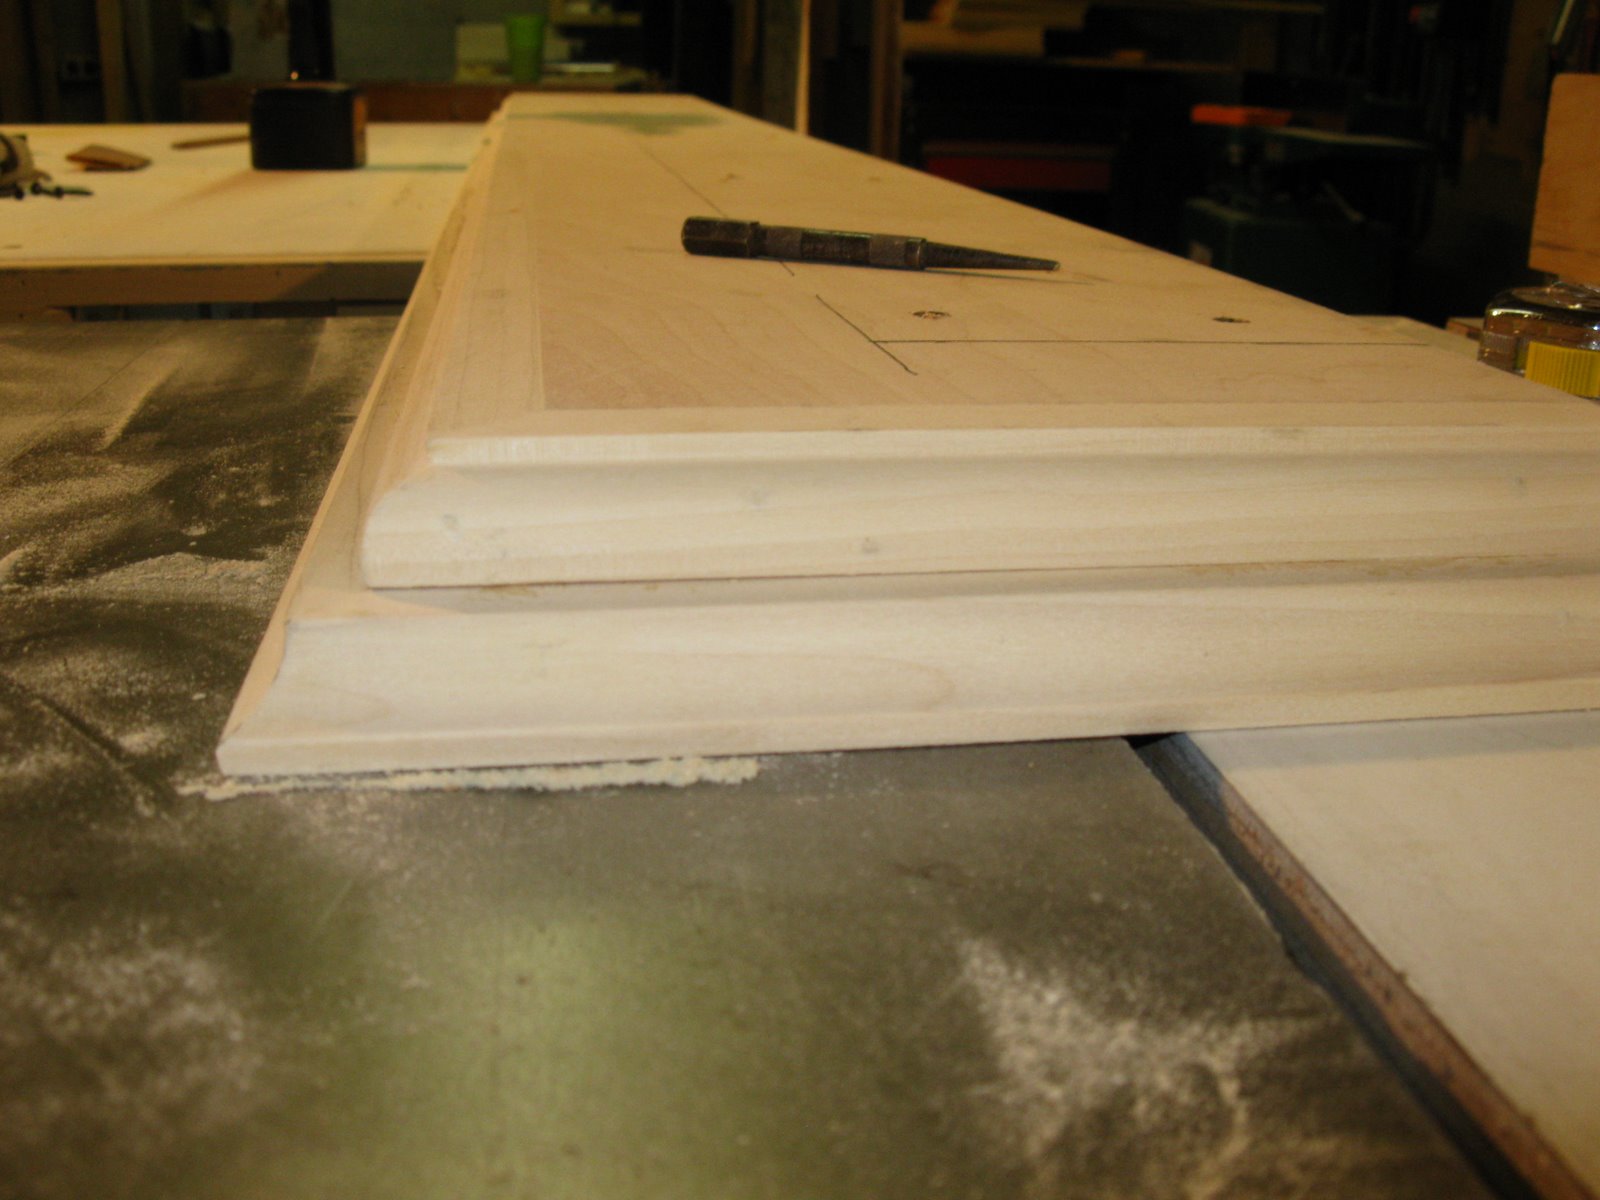
A New Top Shelf
I constructed the top shelf out of two layers of birch plywood. The edge material is poplar and the edging was routed with a simple cove and scotia bit.
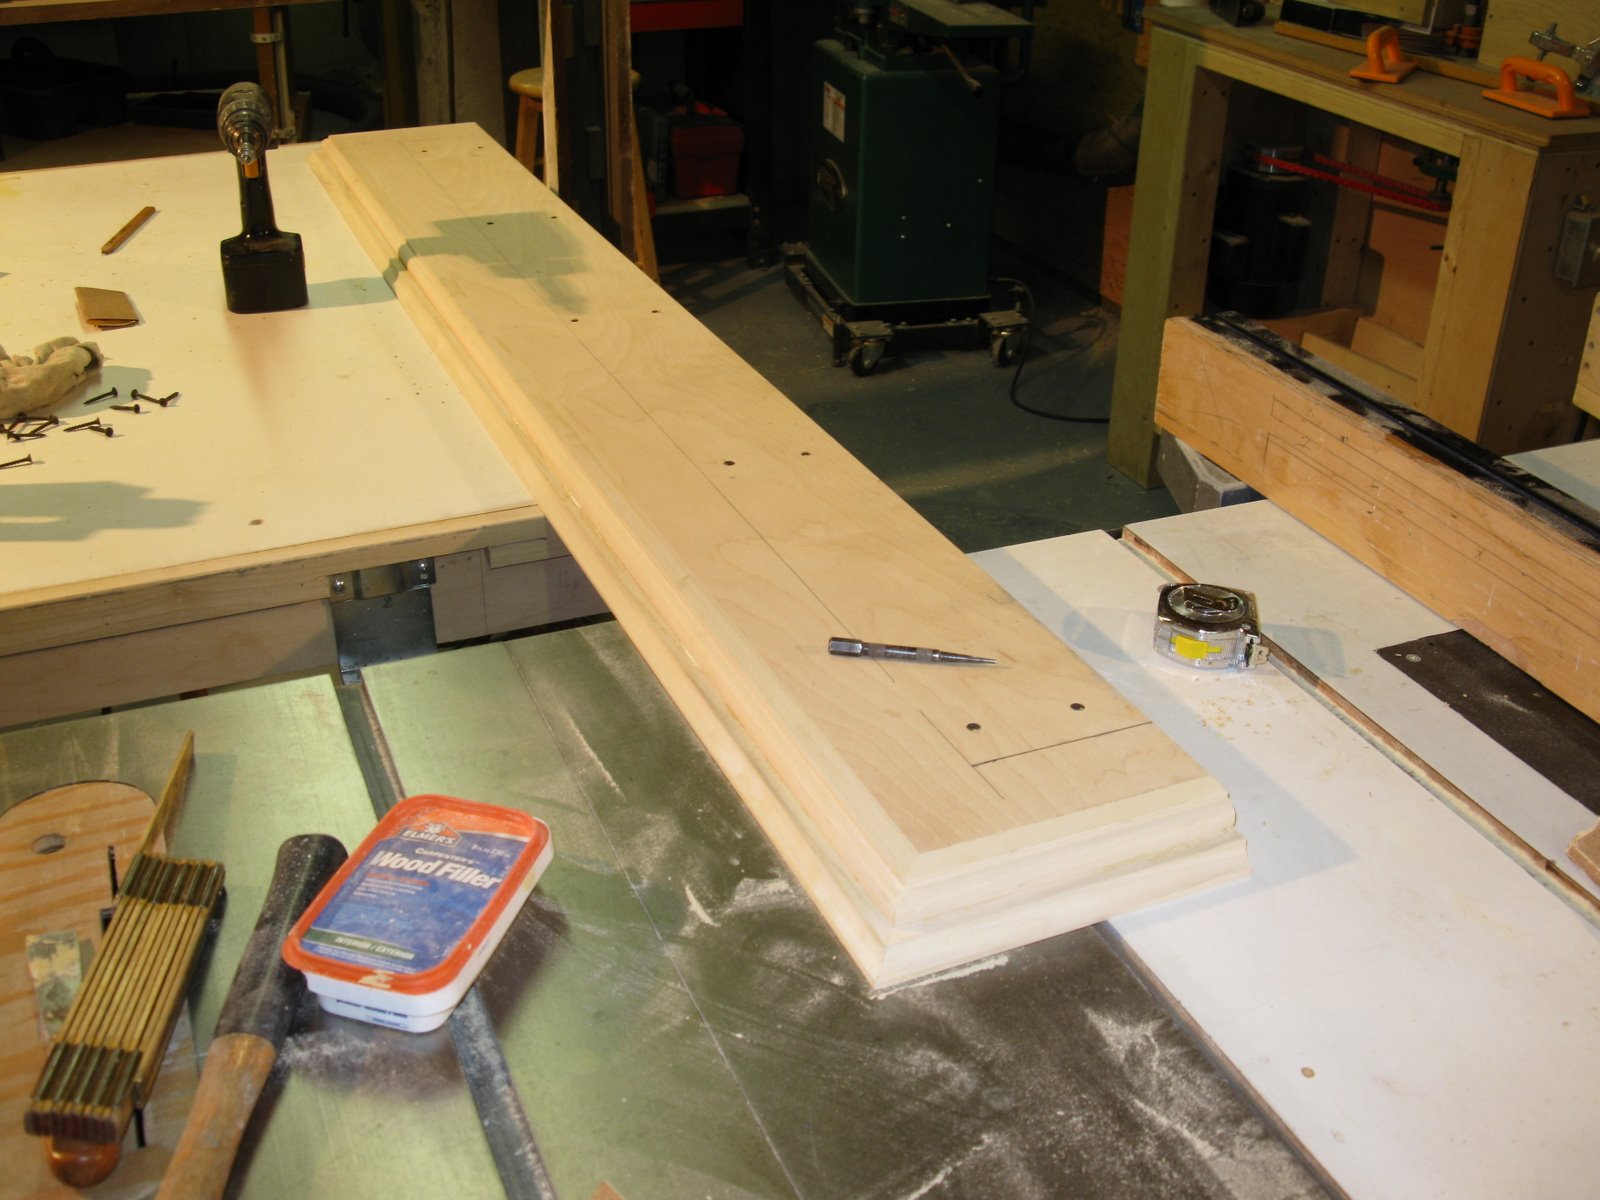
Stepping the bottom round over layer back gives the impression of a built up molding on a thick shelf.
Making The Mantle Longer
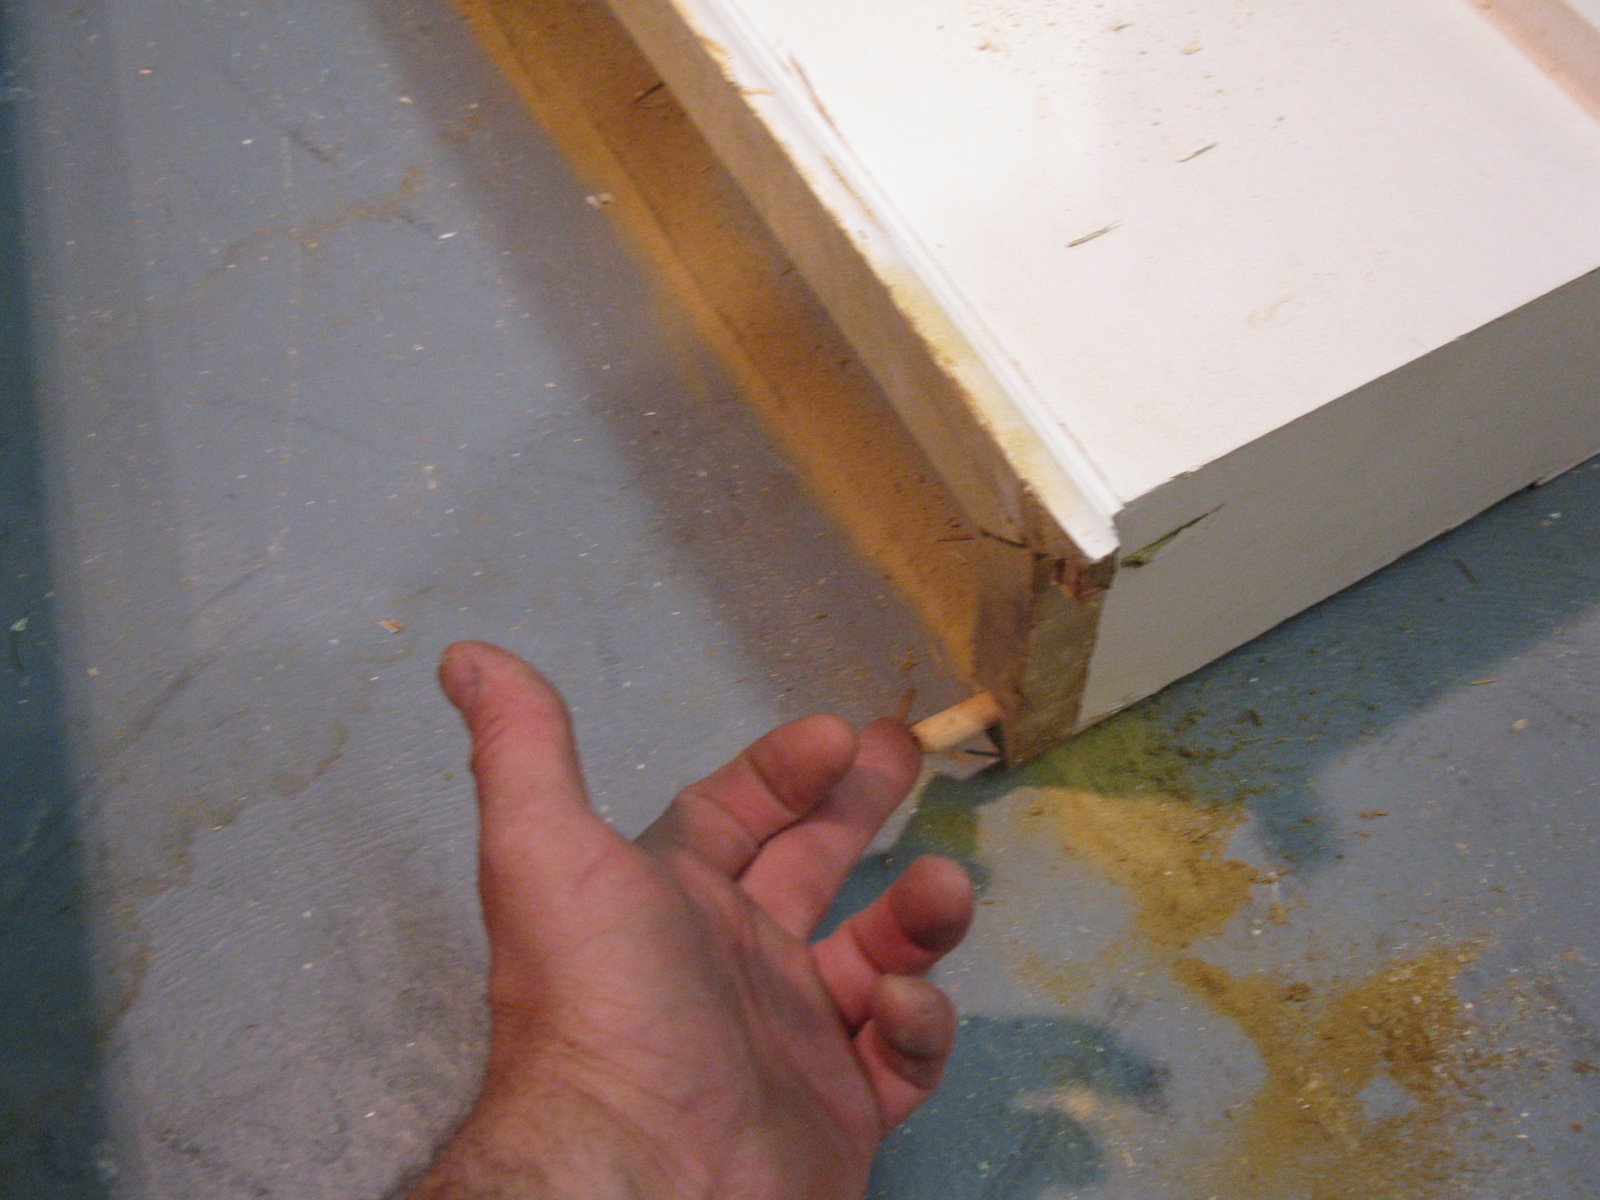
One of the legs was damaged and was found like this when I removed it from between the bookcases. It is my guess that this damage happened when the mantle was originally moved from its first location, where ever that might be?
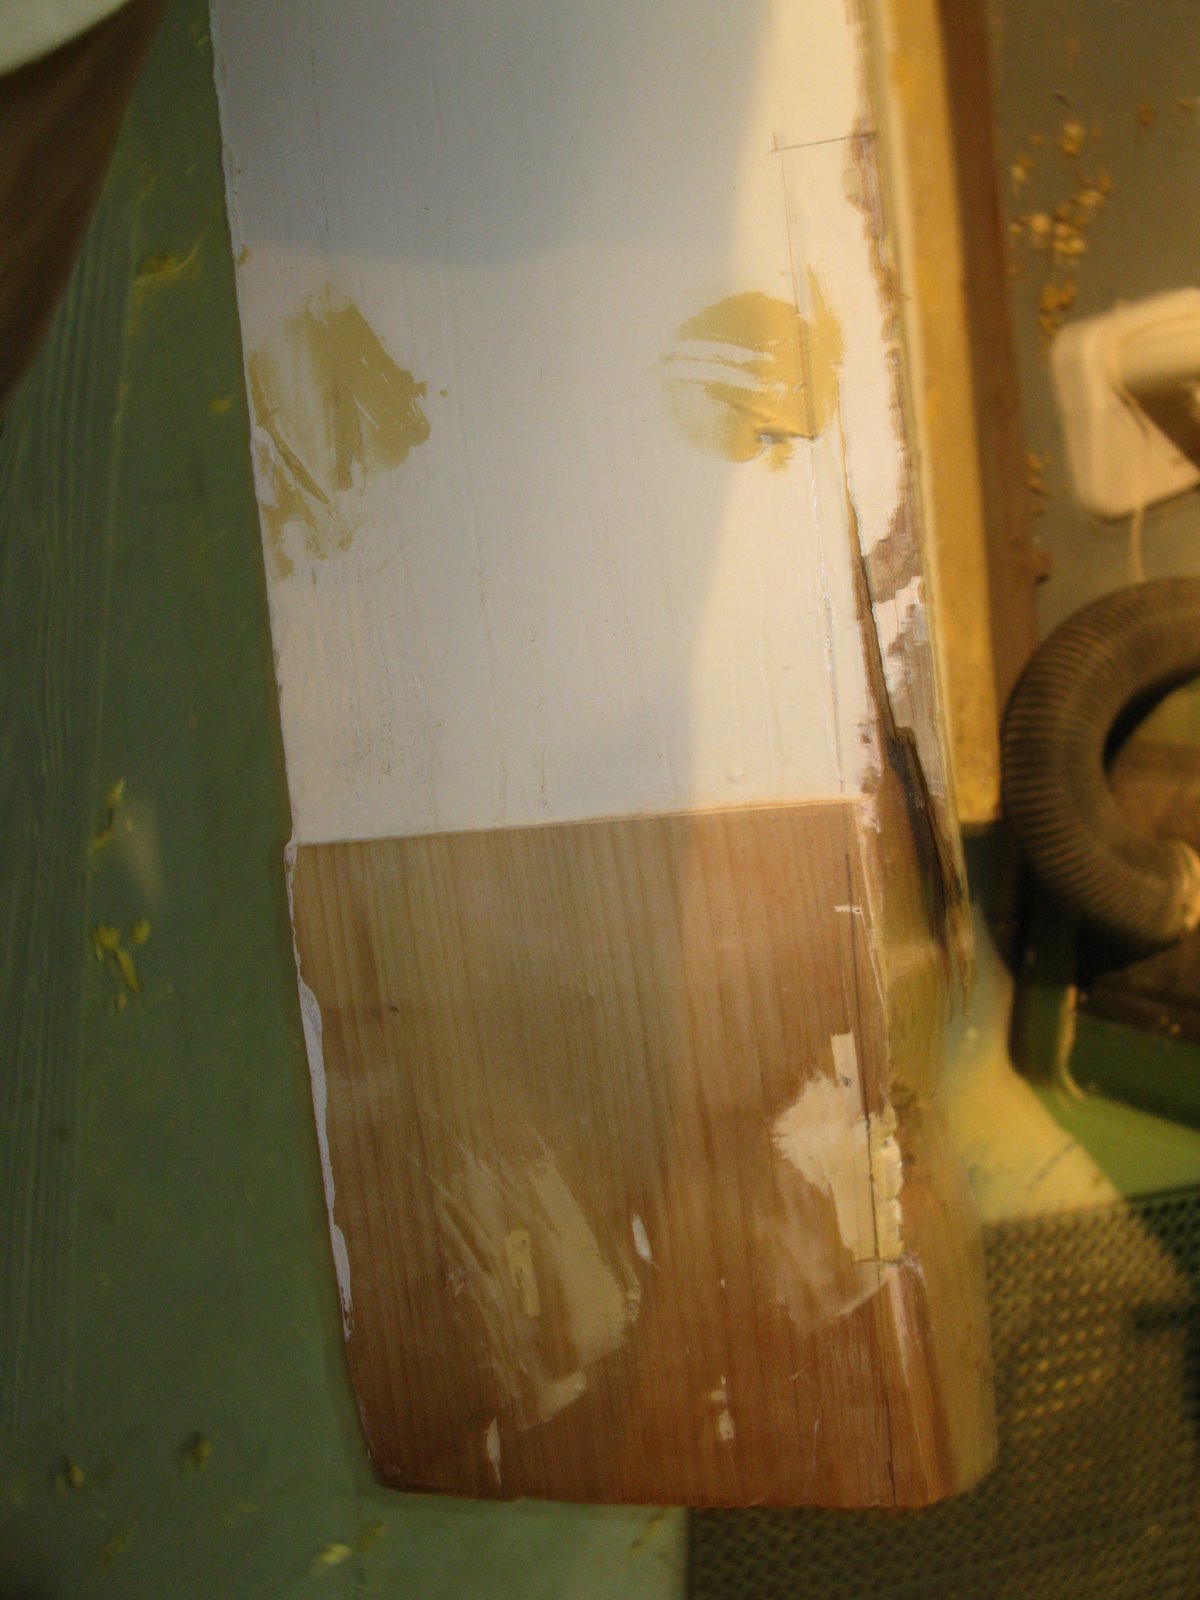
I cut out the damaged section and glued in a poplar Dutchman patch.
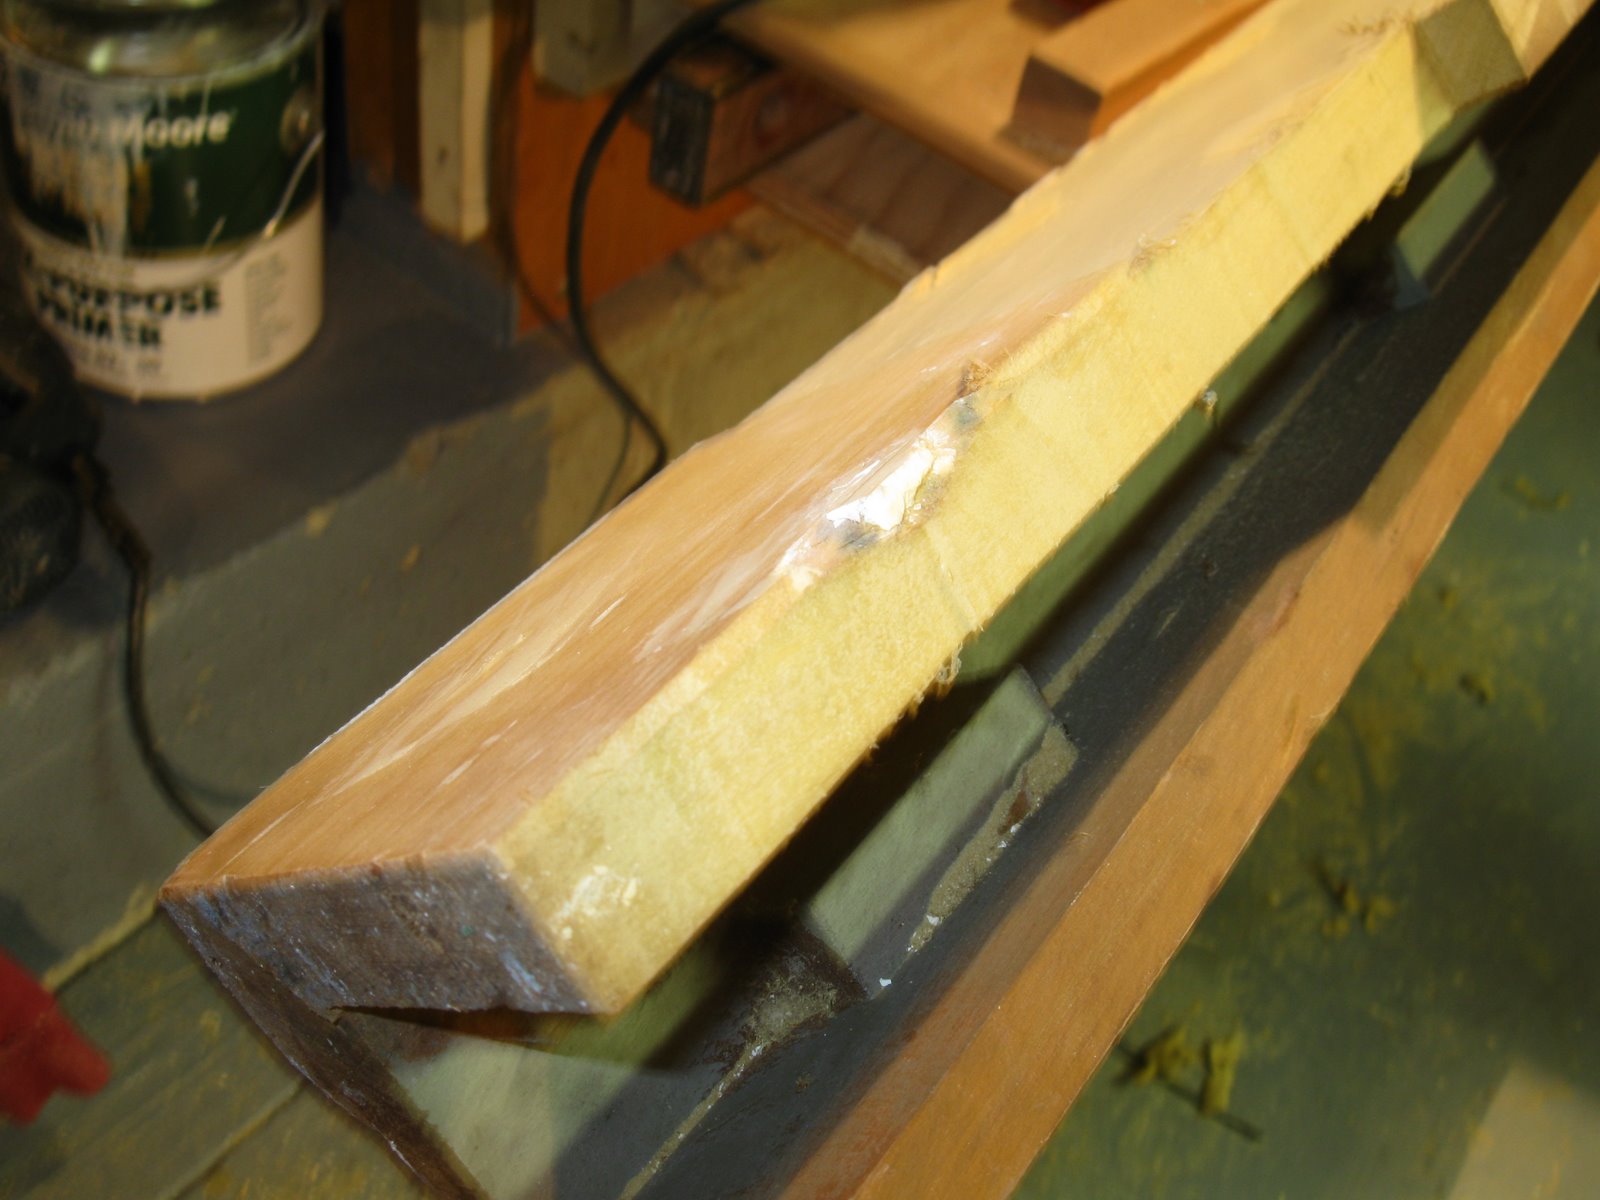
Once the glue dries I will plane and sand the patch.

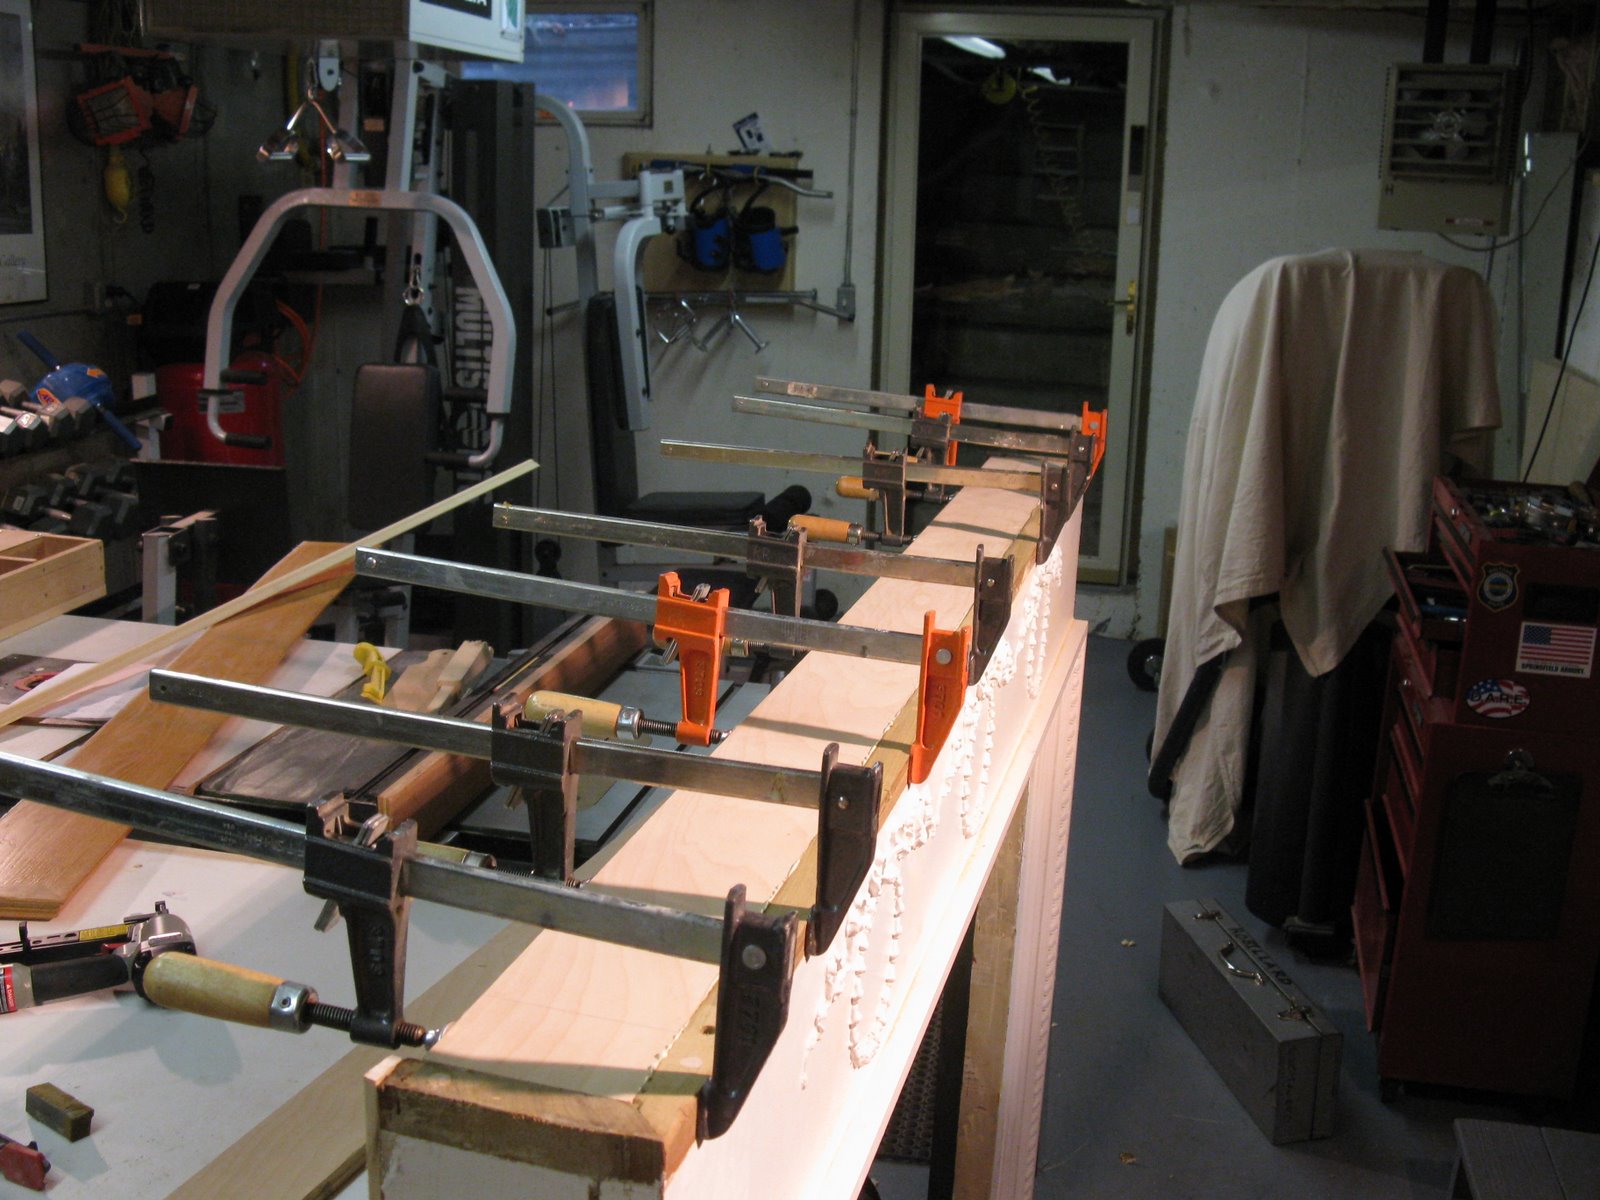
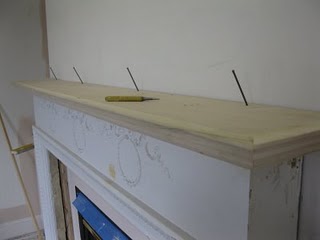
New top installed and clamped until the glue dries.

The Mantle’s New Home
Back at the condo the oak mantle was removed. The marking on the wall are from the construction adhesive. The previous carpenter basically glued the oak sill to the wall and secured with with a few pneumatic nails.
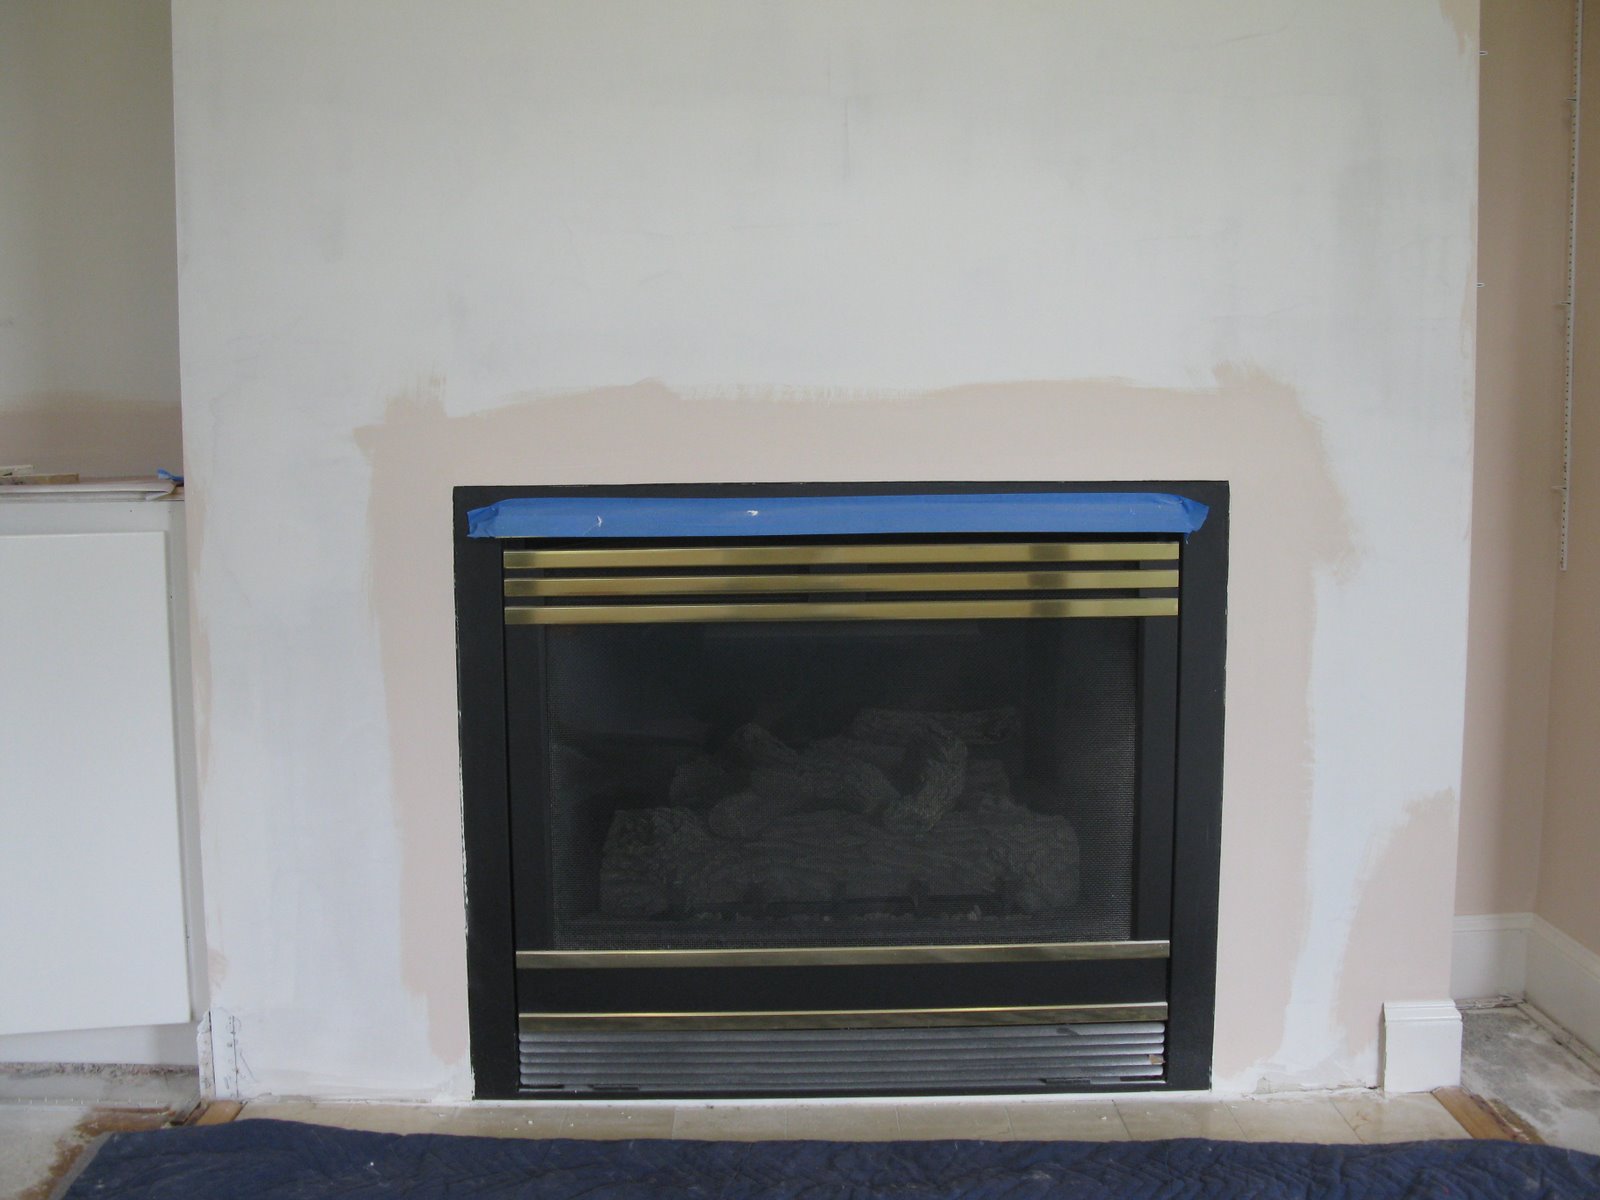
The wall was skim coated with drywall compound to repair the damage from the removal of the construction adhesive.
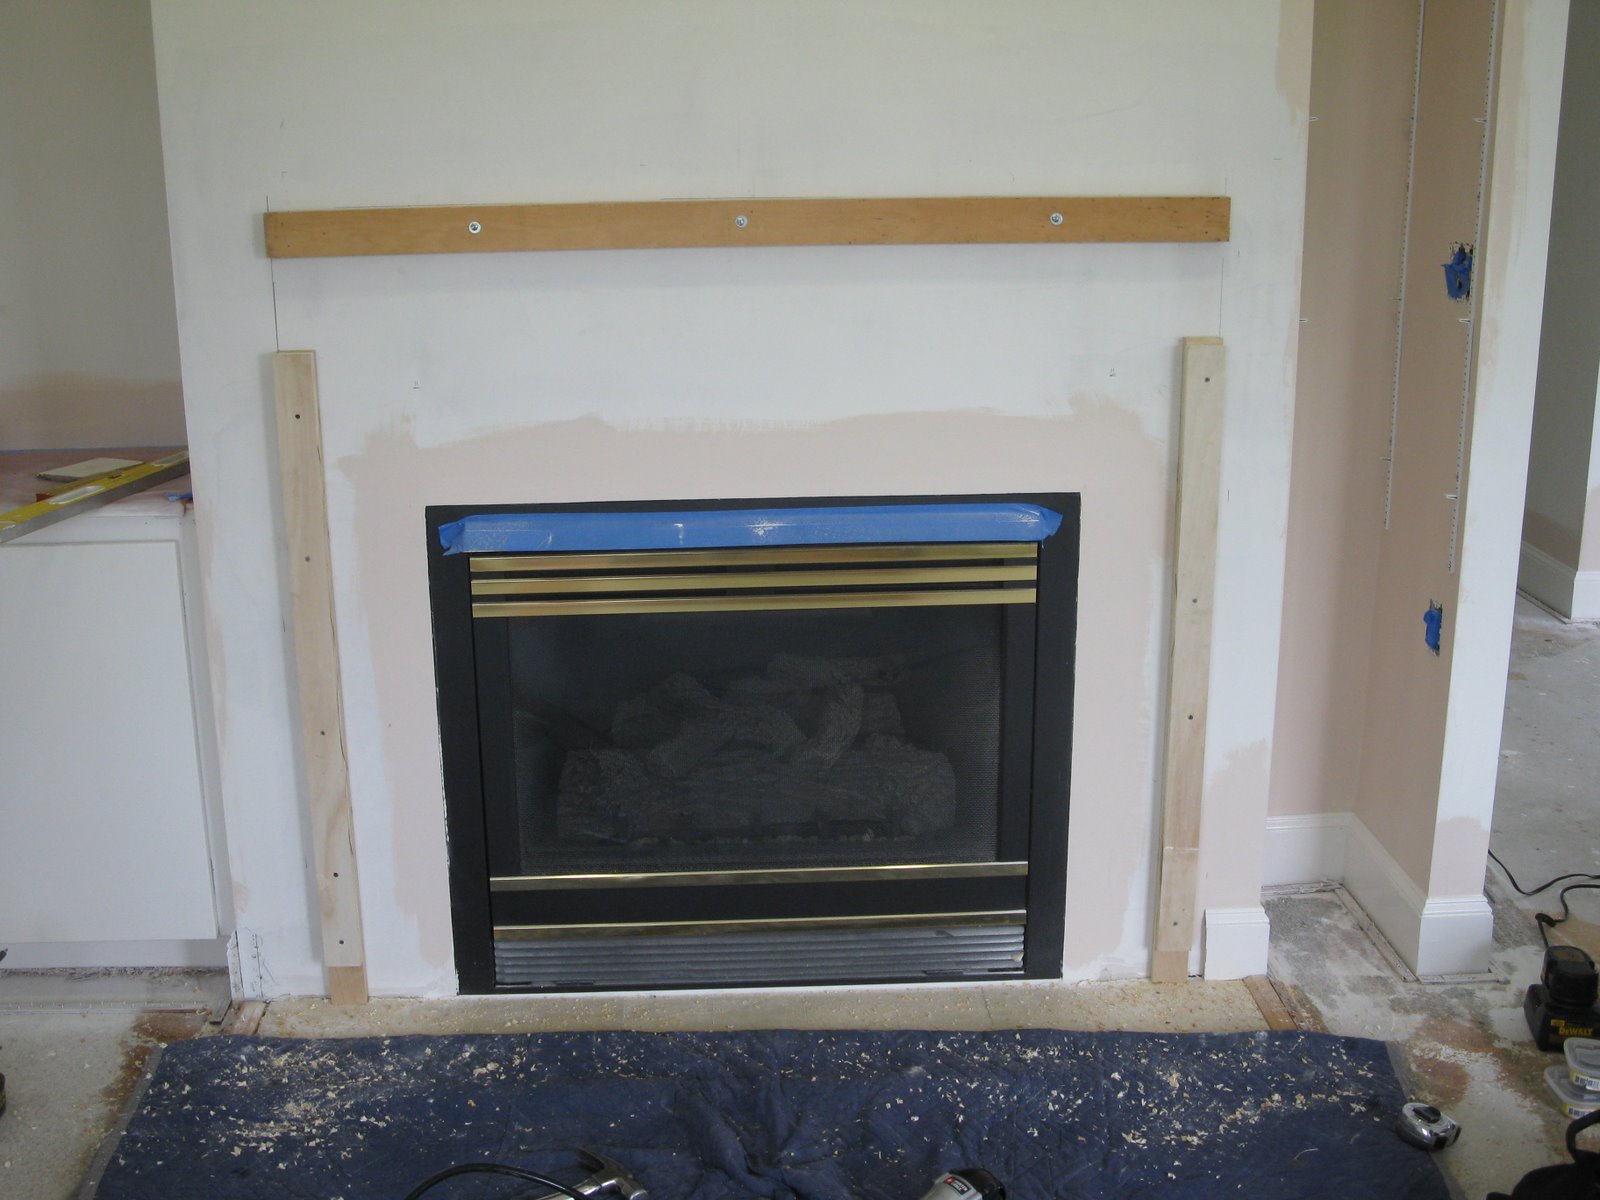
Cleats Help Hold Mantle To Wall
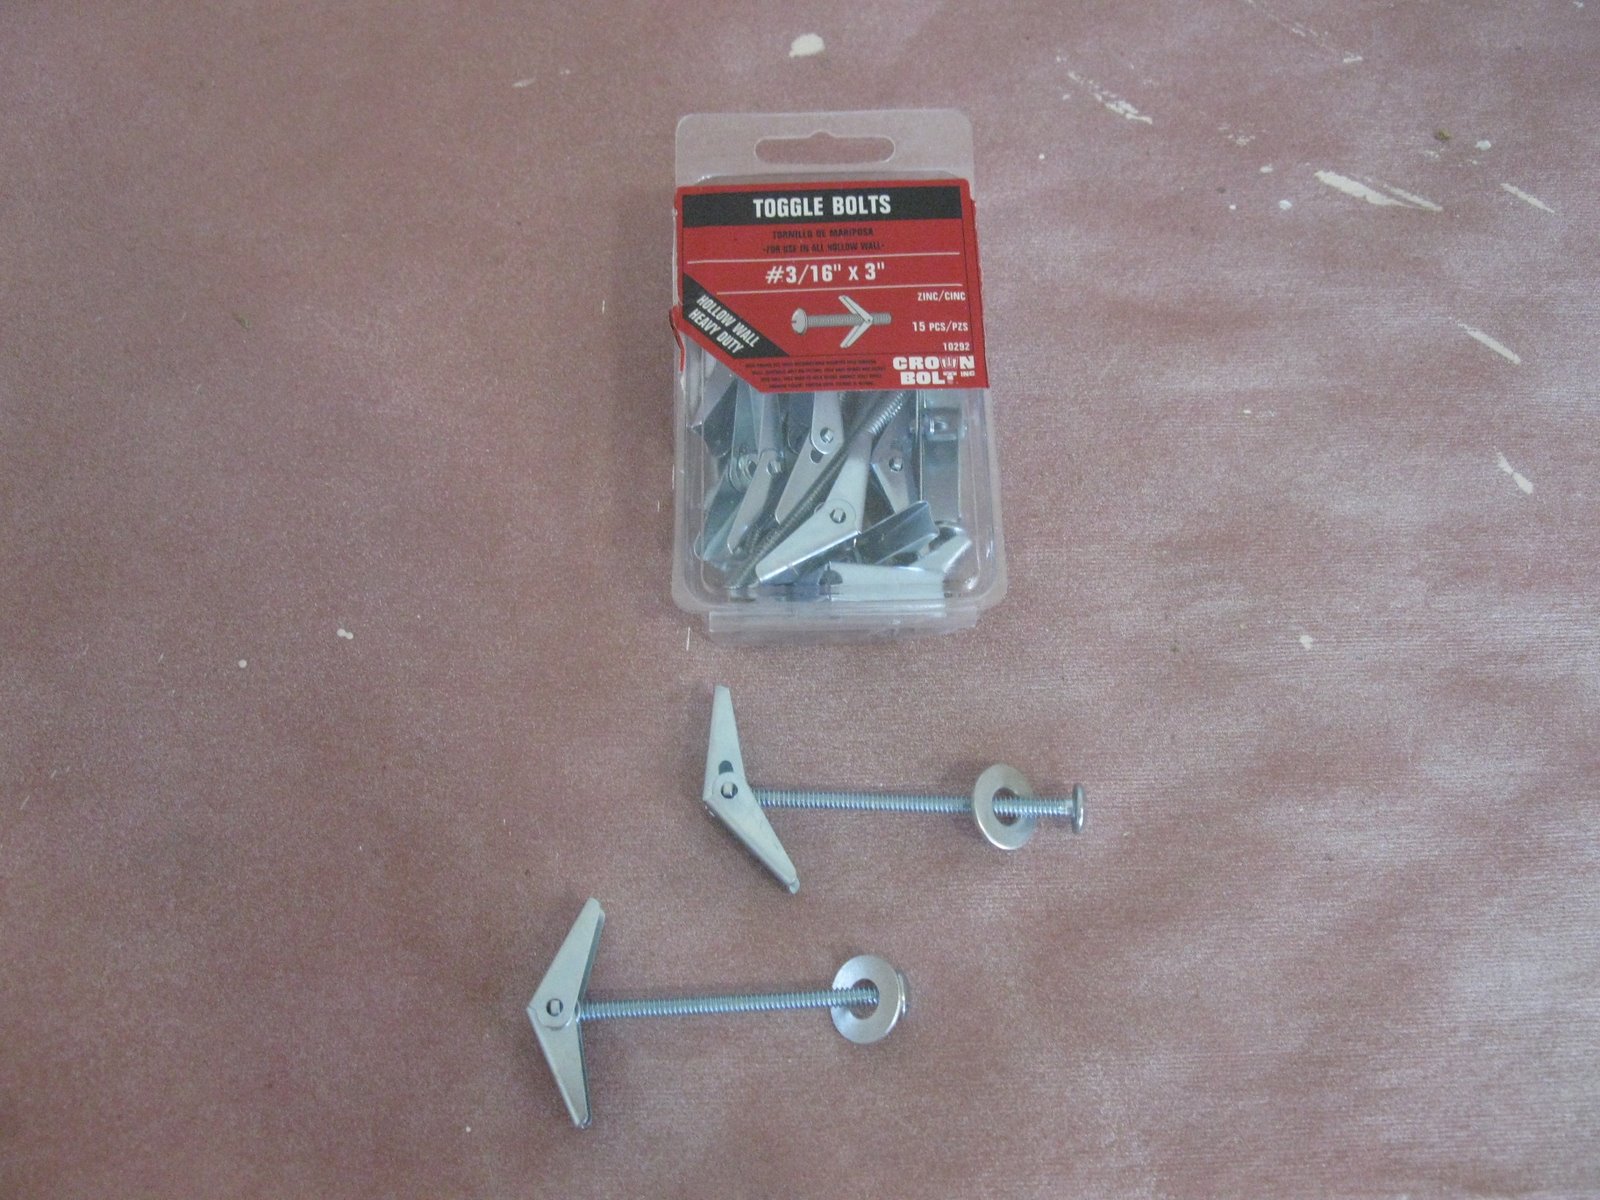
To secure my mantle, I installed cleats to the wall with toggle bolts. [the fireplace wall is framed with steel studs and is.]

A second layer was added to these cleats and secured with screws. Doing this doubled the cleats nailing surface from 3/4″ to 1 1/2″.
3″ toggles were needed and worked well. Remember you have to pass through 1 1/4″of wood, drywall and still allow the toggle to open,.
Securing the Shelf
16d penny finish nails secure the mantle’s top shelf to the top cleat. A few 16d finish nails were added to the side cleats and the rest was nailed off with a finish gun.
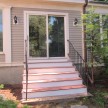
Mantle installed. On the inner opening I added 3 1/2″ trim molding to finish off the inside edge. READ how we recycled fireplace stone veneer and re used it as walking pavers.
~ concord carpenter