Rain Diverters

Installing Roof Rain Diverters
Nothing is more annoying than having to walk through a waterfall coming off your roof to reach the front door every time it rains. For many people gutters is not an option.
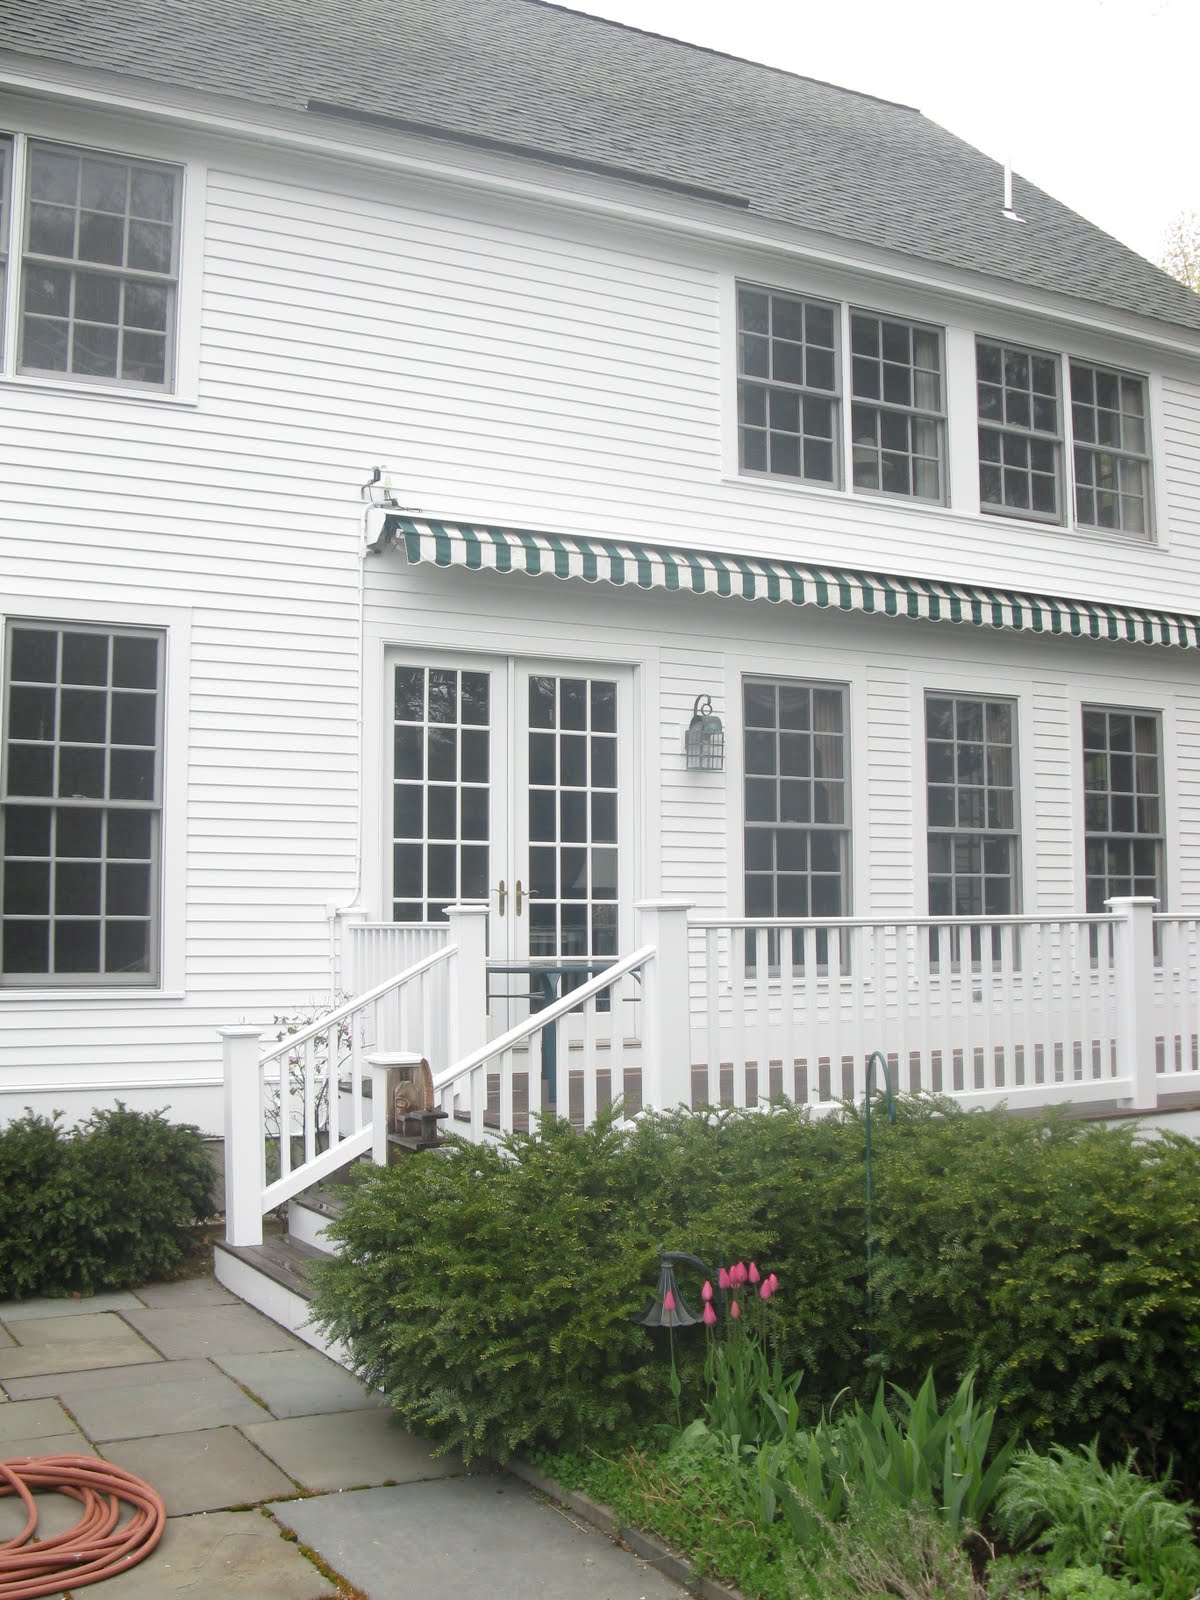
Photo: copper rain diverter installed on roof above porch entry

On the Concord, Massachusetts house pictured here the owner felt that gutters would take away from the aesthetics of the house moldings and as a result asked me to install a copper rain diverters, sometimes called a “Yankee Gutter” above this door.
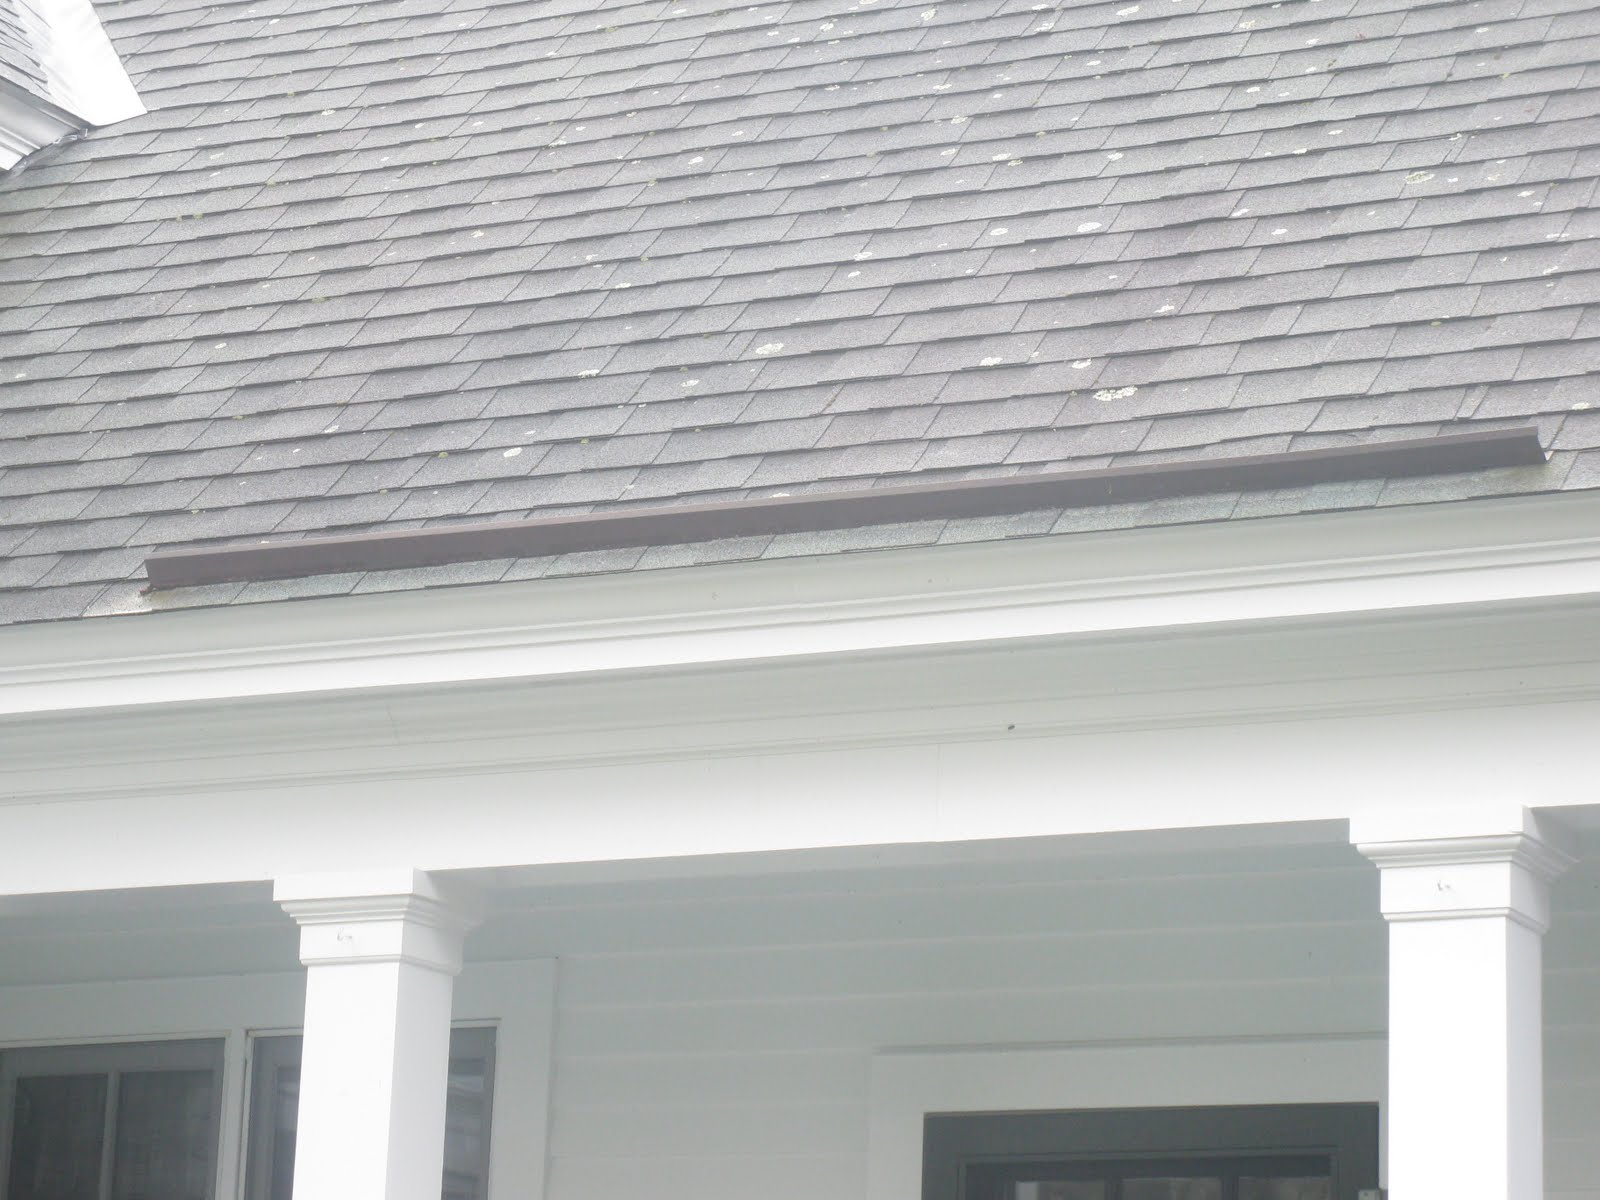
Copper rain diverters are the perfect solution when a gutter is not a practical solution, there are too many moldings or the fascia angle is not the way you would like it.
The diverter stops roof runoff from falling on the door and shoots it off to the side.
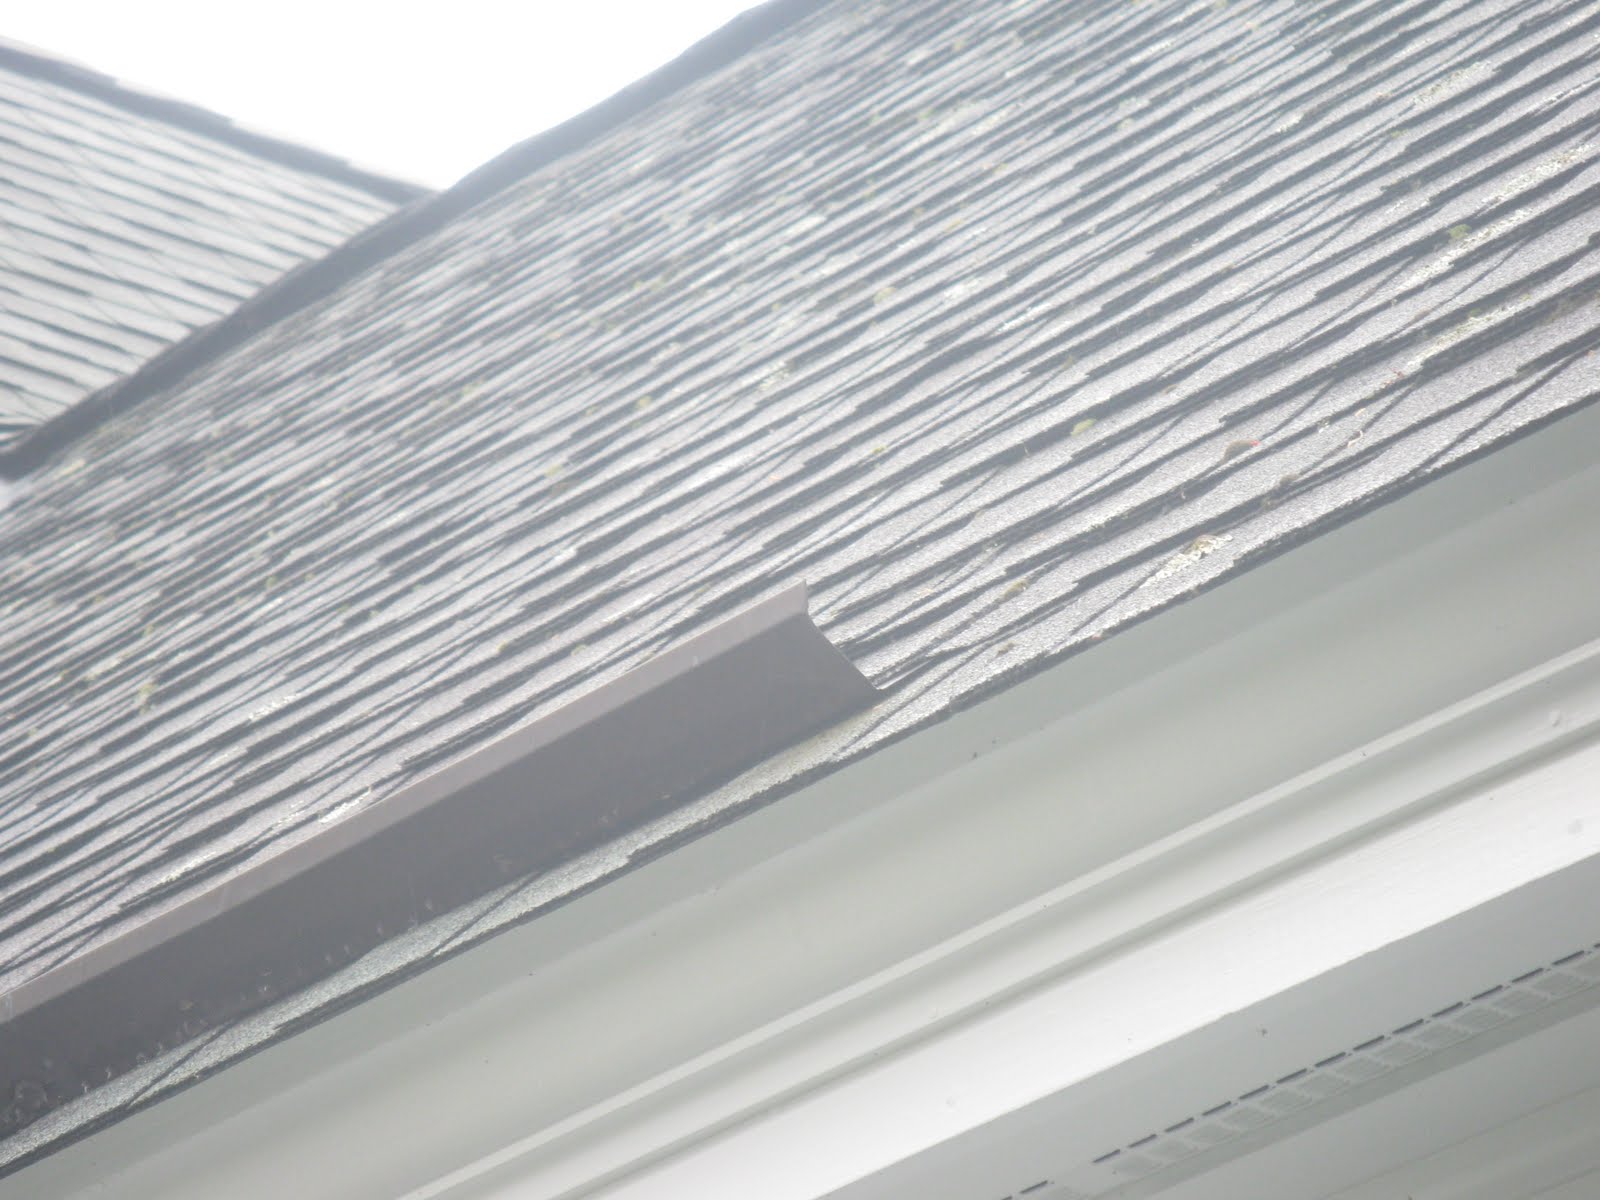
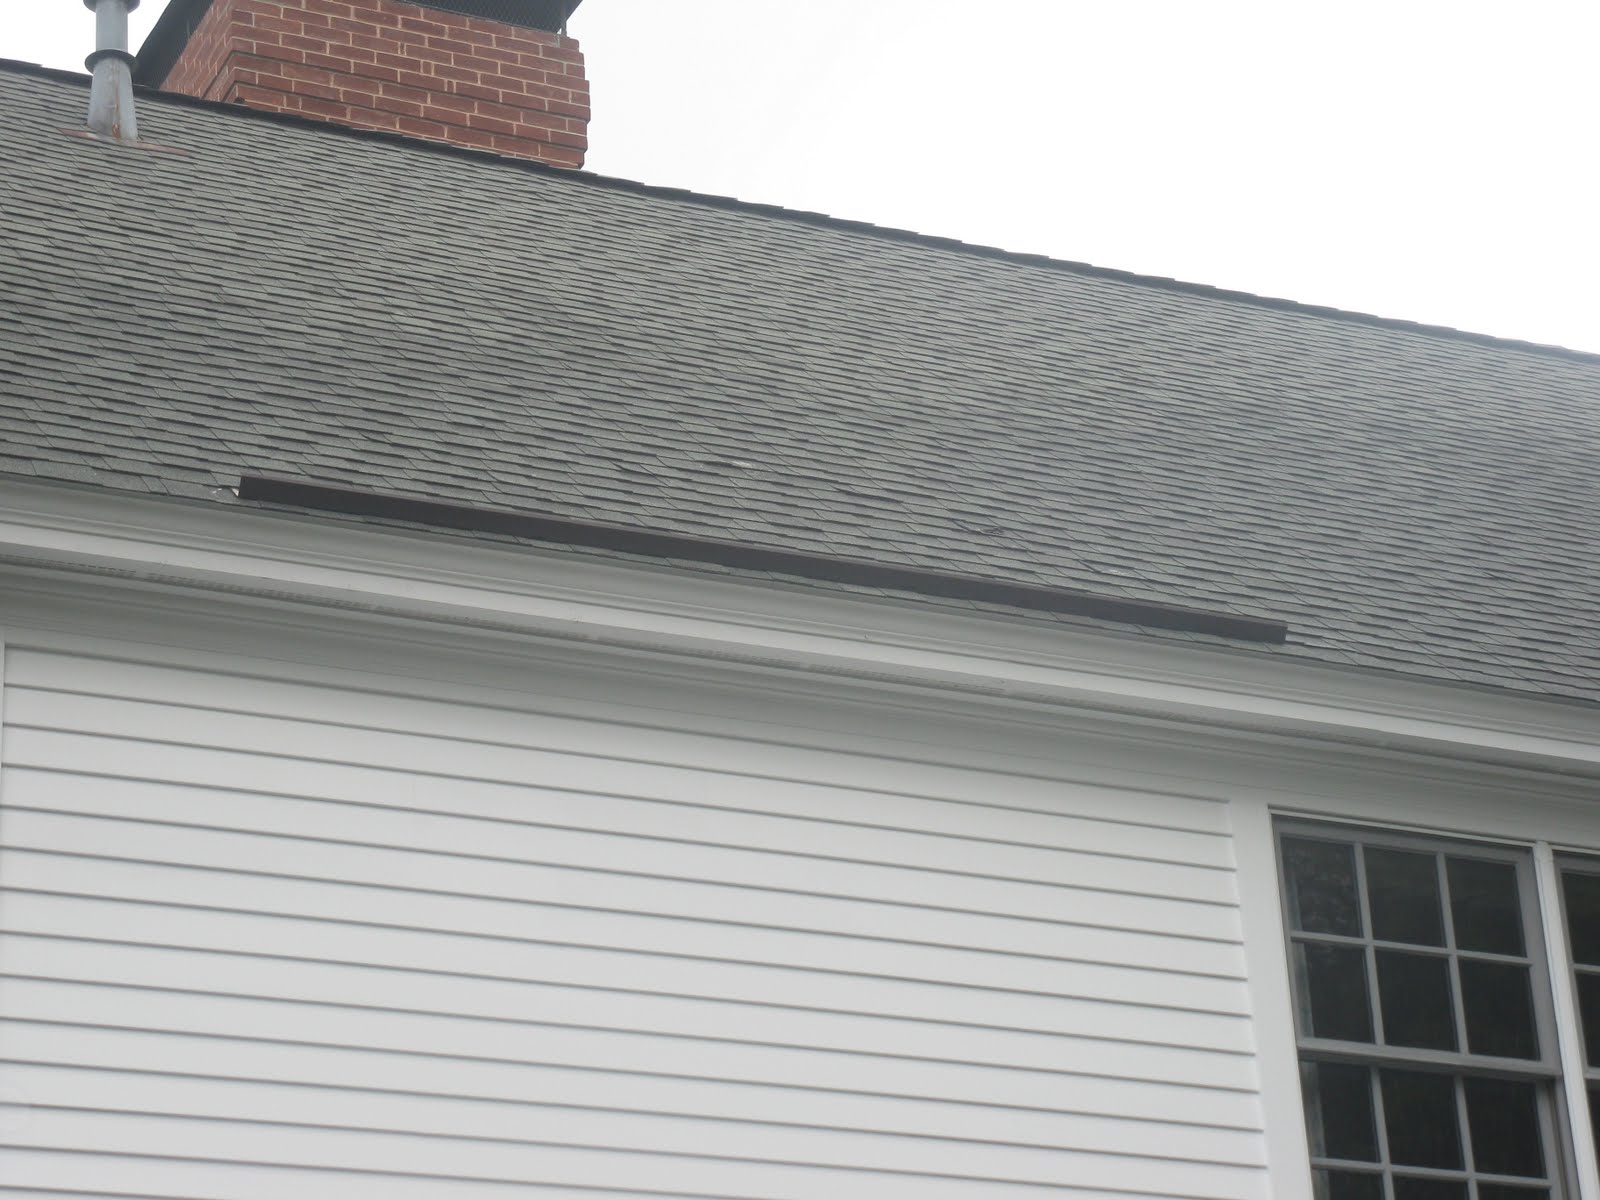
Photo: copper rain diverter on roof prevents door below from being soaked by roof runoff.
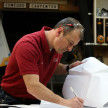
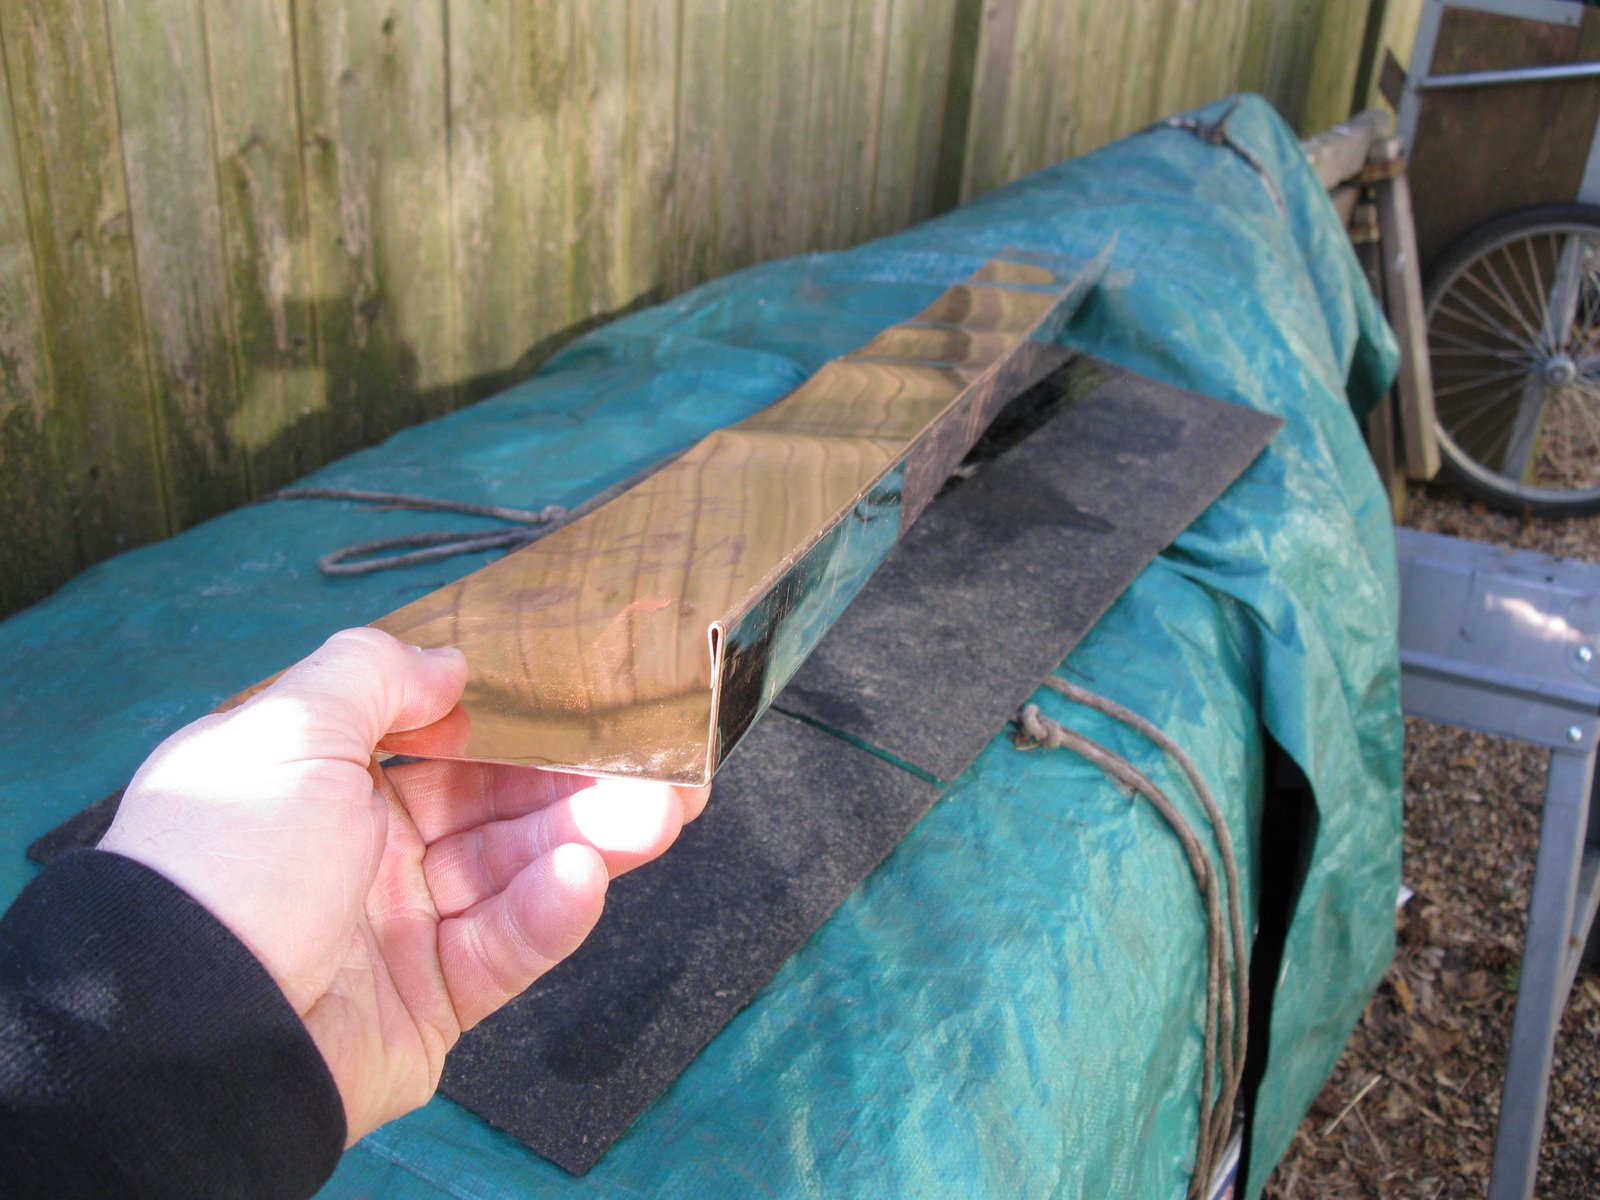
I used 16 oz. copper sheet stock and my metal brake to fabricate the rain diverters. You can also buy these pre-made at contractor building supply warehouses.
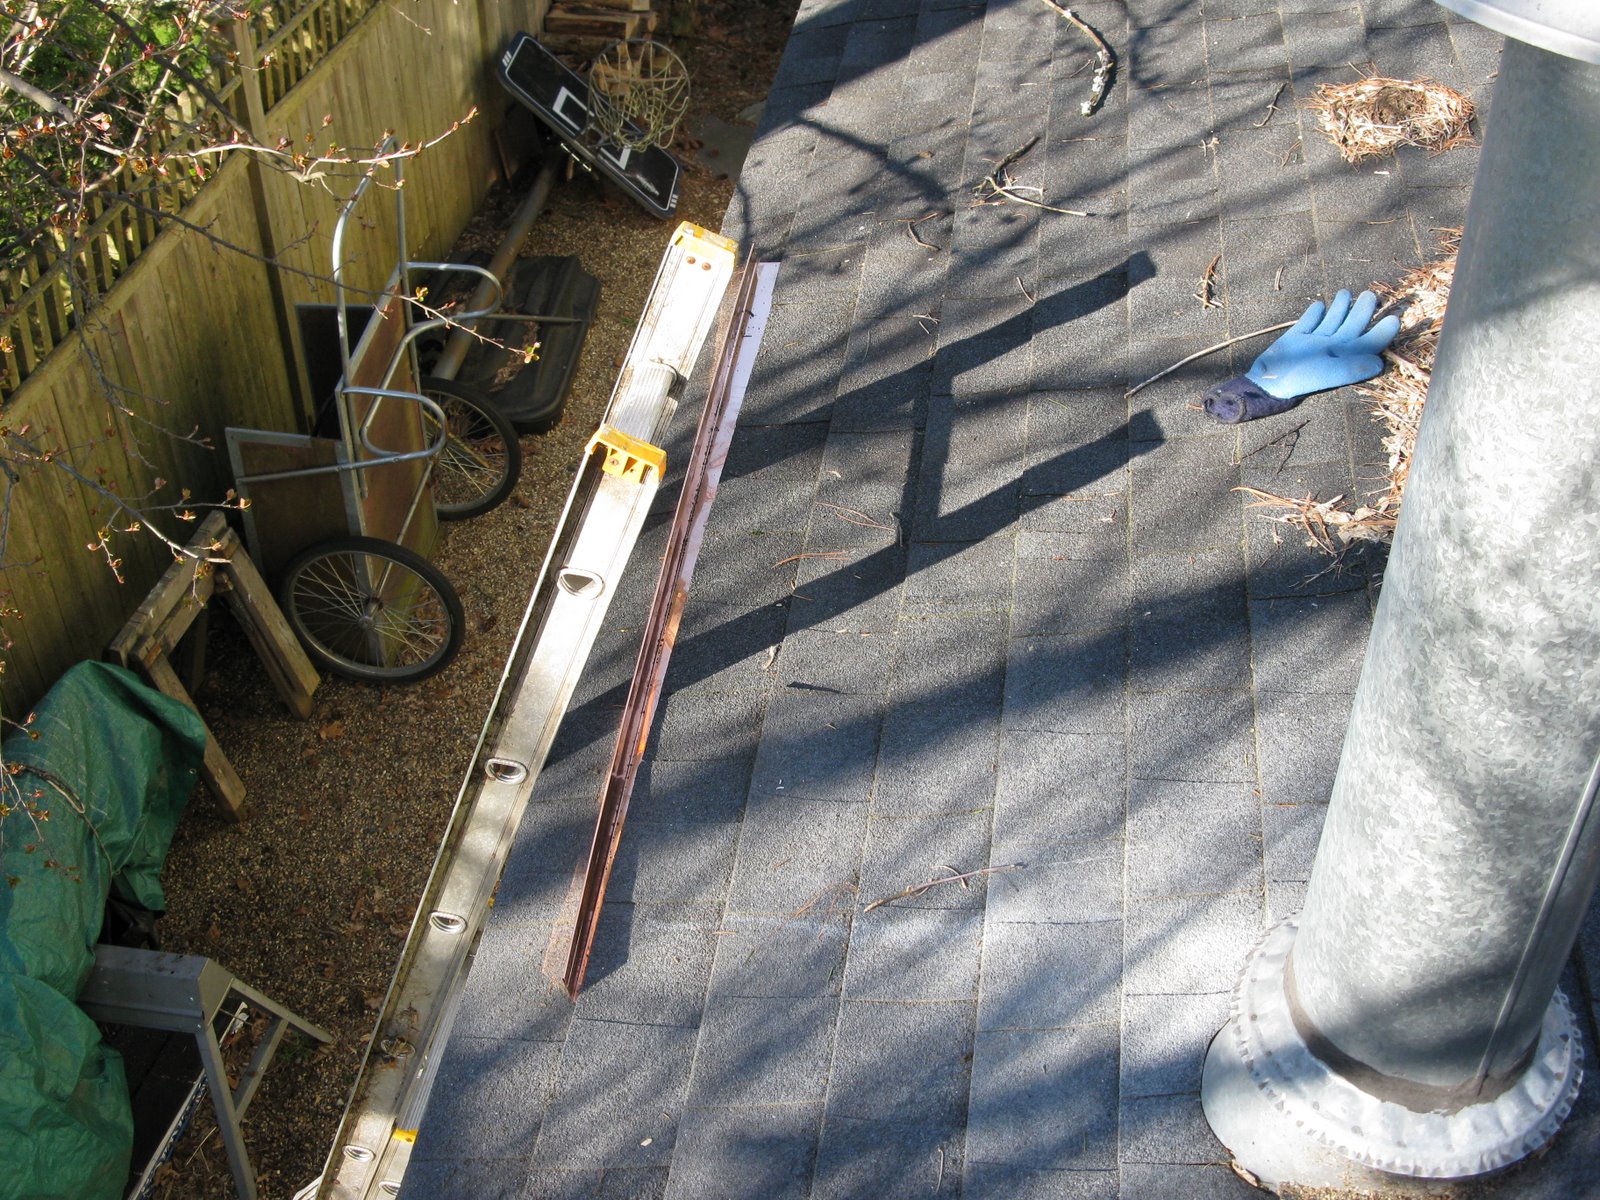
The diverter is installed under the second course of shingles and is tilted to the left or right to shed the roof water. [see photo]
Photo: 16 gauge copper rain diverters I made on a metal brake
How To Install A Rain Diverter:
1. Cut the diverter about a foot longer on each side than the area you want to keep dry. this ensures that the water will be diverted far enough away.
2. Center the diverter over the area to be covered using a plumb bob or a string with a weight attached.
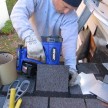
3. Using a flat pry bar or putty knife, loosen the second row of shingles up from the edge of the roof where the diverter will be located.
4. Slide the diverter under the shingles.
5. Slant the diverter so that one side is slightly lower than the other to allow for runoff. A slant of 3/4″ to 1” will suffice for a 6′ long diverter.
6. Carefully lift up the shingle tabs to keep from breaking them, and nail the diverter in place with roofing nails. Position the nails so they will be covered by the shingles and are a few inches up from the bottom edge of the overlapping shingles.
7. Install silicone, roofing cement or rubber flashing on the nail heads. Press the shingles down to seal them back in place.