Installing A Door With A Spring Loaded Hinge

Installing A Swinging Butler Door
On this project I was asked by to change out a 6-panel solid wood swinging “Butlers Door” with a 15-lite [15 panes of glass] door. Installing a swinging door with a spring loaded hinge. This installation is a bit different than other doors.

What is A Butler Door?
A “Butler Hinge” is also called a “Swinging Door Hinge,” and a “double action floor hinge.” It is a floor mounted hinge with spring tension that allows a door to swing in or out of a room and return to the closed position when let go.
Swinging Door Installation

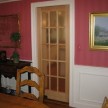
The door, shown above and below, separates the kitchen from the formal dining room.

Sandra Stout from Creative Design solutions [978-505-7447] worked with the homeowner on this project.

The desired goal was to install a clear glass door to allow more light to pass between rooms and create a “larger room effect.”

The doors existing hardware has a mortised, double acting spring pivot “Butlers” hinge and was in great condition and of good quality. We decided to reuse it – shown below with a brass decorative cover plate.

Butler Door Hinge
The Butler hinges that my lumber yard carry look a similar but had a different pivot point than this door had.
Below is a picture of newer hardware. In my opinion the older hinge feels way more beefy and looks of better quality than the newer sold models. The only exception to what I feel may be less quality was comparing the top pivot plate. The newer version top pivot plate seems beefier. [see below pictures]

Newer versions of the Butler door hardware use a metal top and receiving plate and nylon bushing. [shown below]

The older version used a plastic receiving plate. [shown below]

These doors have a tight clearance and the existing door had been rubbing at top jamb. See rub marks on right side, upper jamb. [Click to enlarge.]

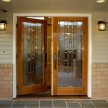
The new door slab shown below is a 2′-8″ x 6′-8″, clear pine, 15-lite door with tempered glass for safety.

Installing the Door and Hinge
Cutting the door to size and applying the hardware.

Laying out the Butler hinge hardware on the door to see how I will cut the door.
This hinge is designed for wood doors measuring between 1 1/4″ and 1 3/4″ thick and has a maximum load weight of 75 pounds.

It’s important to visualize how the hinge will apply to the door and to measure several times before cutting into the door.

Hinge pattern traced and redrawn on the door. “X’s” mark the spot too cut out.

Using a jigsaw and a saw guide, to ensure straight cuts, I cut out the “X” sections for the Butler door hinge.

Butler door hinge is applied to the door. flushing the door hinge to the bottom of the door accounts for floor and rug clearance.

The top part of this door has a pivot point pin. The door swings back and forth on this pin, controlled and tensioned by the lower Butler hinge spring.
The top pivot pin is applied to the top of the door jamb [my pin was previously applied] and a receiving sleeve guide is applied and recessed into the top of the door.
Below is the guide for the top door pin.

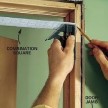
Using a 7/8″ Forstner drill bit I drilled the exact profile for the recessed guide.

Guide slide into the hole with slight pressure and was secured with screws. The hole on the right is approx. 1 1/2″” deep and receives the pivot pin mounted on the top of the door jamb.

This door opening was not plumb, I plumbed the new door and planed the edges to match the non-plumb sides, making the side “gap” reveals consistent all around the doors edge.
This is a common issue when installing new doors into old openings.

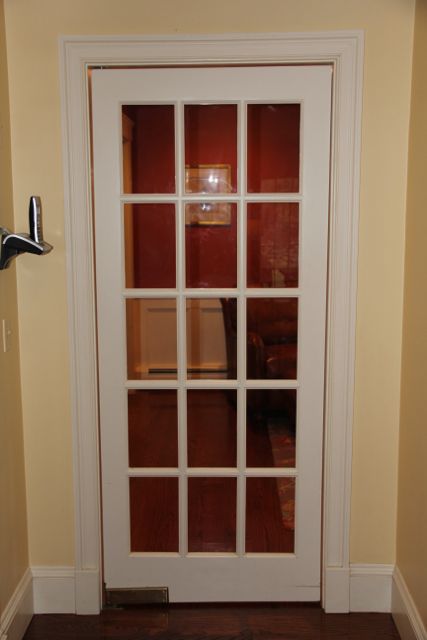
New door installed: View from the formal dining room. This door currently has a protective plastic film applied to both sides of the glass. This helps

New door: kitchen view.

New door: wider view.

~ concord carpenter