Installing Custom Shower Glass Enclosure
Installing A BASCO Custom Shower Glass Enclosure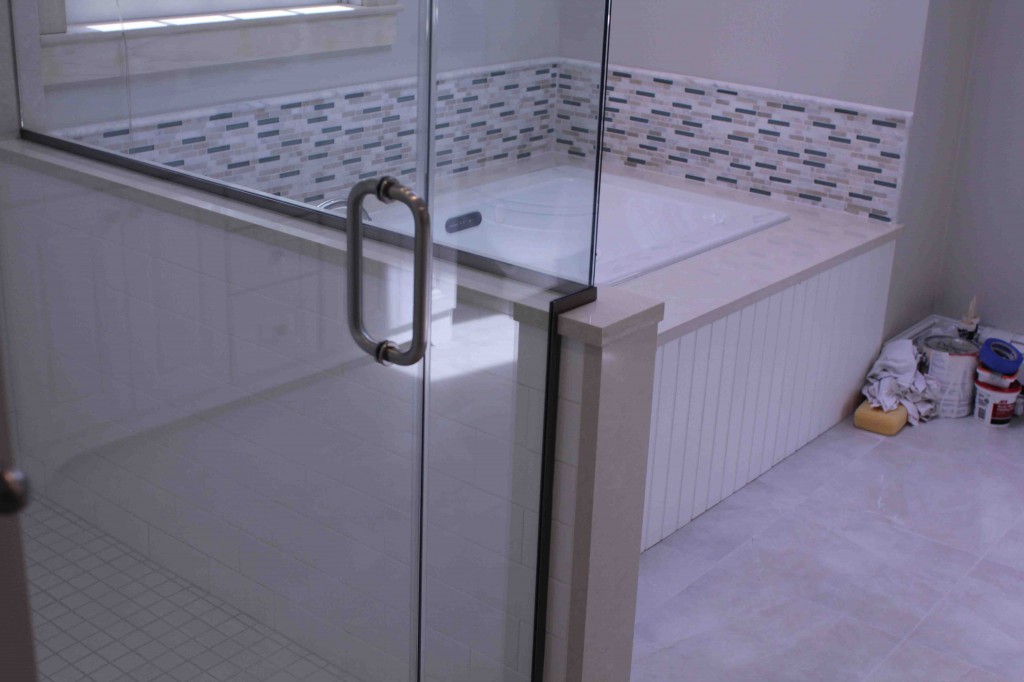
The 5 x 7 utilitarian master bathroom is history. Say hello to luxurious baths with heated floors, marble stonework, high end plumbing fixtures, vanity cabinets, look like furniture, custom shower enclosures that look like walls of glass! Today’s bathrooms have become private personal grottos where the homeowner can retreat and relax.
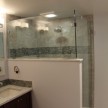
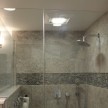
We recently remodeled a bathroom and changed out the old neo-angled shower base and glass enclosure to a larger, luxurious walk- in tiled shower with multiple spray options. This new shower has a half wall and was designed for a BASCO brand shower enclosure.
The process of planning, choosing and installing this BASCO custom glass enclosure was educational and it’s my hope that this post will help anyone interested in building a custom shower and glass enclosure.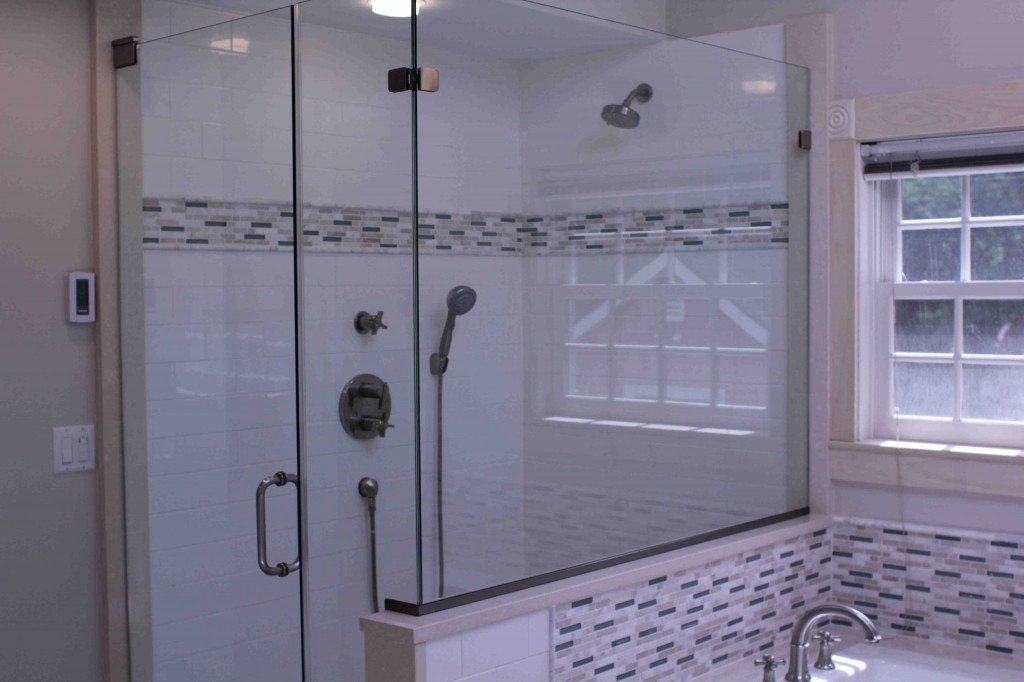
Why BASCO?
The reason we choose to use a BASCO enclosure on our project was that we were familiar with the high-end quality of the product and loved the whole frameless glass look. BASCO shower enclosures are consistently rated number one in quality and brand preference and have a broad selection of framed and semi-frameless glass enclosures, glass styles, glass doors and sliding glass doors that fit both shower and tub applications.
BASCO has a large display at F.W. WEBB in Bedford, Massachusetts and we often send our clients there for framed and semi-frameless glass enclosures ideas.
The second reason we chose BASCO was that we really like supporting a family owned, made in the USA, company. For the past fifty years, BASCO has been owned and operated by the Rohde family in Mason, Ohio. In fact, Mr. Rohde, now in his nineties, still goes in to work to make an appearance.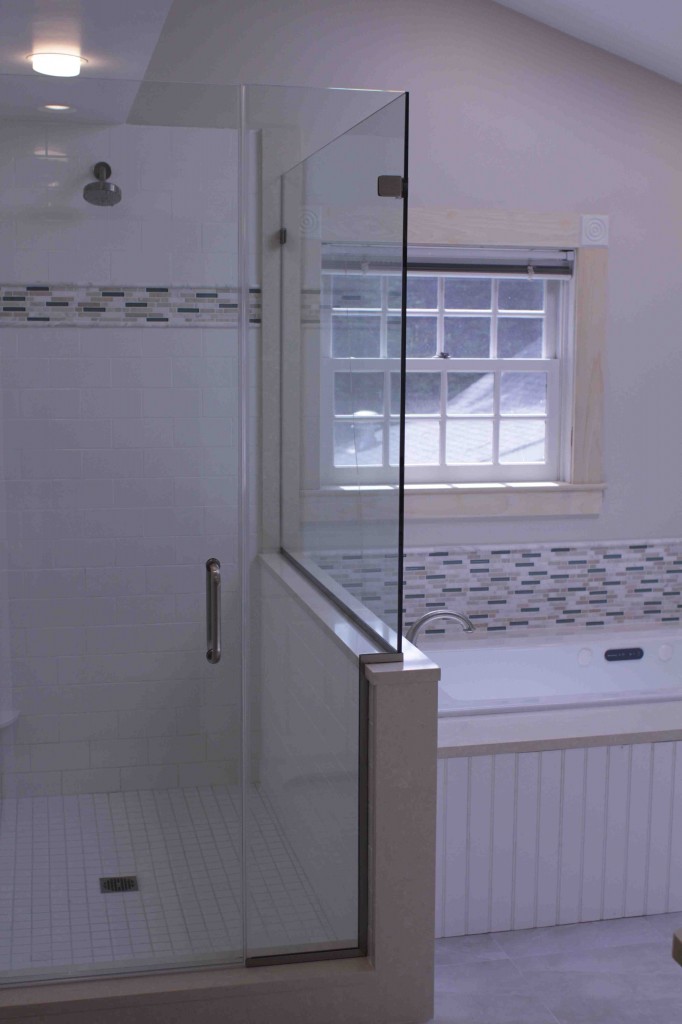
Many folks are not aware of the 50 years of history and outstanding reputation BASCO has. In 1963 they were the first to manufacture all-shower enclosures with safety-tempered glass, a shatter-safe glass five to ten times stronger than regular glass.
Later in 1970 they offered the first line of frameless shower enclosures and eighteen years later they developed the first curved glass bath enclosure, called Contours. It remains an excellent concept!
In the mid 90’s BASCO was the first shower enclosure manufacturer to offer a limited five-year warranty on parts and workmanship, which has now turned into a lifetime warranty.
In 1999 they opened the first and only sales and installation training center in the industry, BASCO University, since then more than 1,000 graduates have been through the state-of-the-art, hands-on training center. BASCO’s vision is as clear as their glass, they intend to remain the industry-leading innovator in glass shower enclosures.
BASCO Shower Enclosure Video:
Design the Shower First:
The best part of using a custom glass enclosure company like BASCO is that you can create any type, size or shape shower you want and then have the glass fit to it. BASCO can custom fit any style and size shower enclosure.
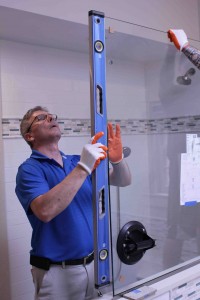
BASCO uses factory trained and certified installers who can install glass panels with tolerances of 1/16 of an inch. They measure your shower space and can make glass panels fit perfectly, including cutting glass tapered panels to accommodate walls and floors that are not level or plumb.
When designing your shower it is crucial that you communicate with your builder and plumber about your intention to use a custom glass enclosure.
There are several reasons for this and here is a list for you to consider:
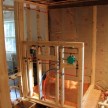
1. Install solid blocking in the walls for the glass door and wall panels to be securely anchored. Install this blocking from the floor to the ceiling.
2. Where will you enter the shower and where should the showerhead go?
3. Glass panels are installed to 1/16 of an inch tolerance and can be tapered panels to accommodate walls and floors that are not level or plumb.
4. Glass panels cannot be cut to a bow in the wall. Ensure that your walls are flat.
5. Design your shower so your showerhead and body sprays do not spray directly onto a door or glass seam. Placement of these items is important to prevent leaks. [Note: Often the showerhead can be moved but not the door location – share your plans with your tradesman.]
6. Pitch all thresholds into the shower for drainage.
7. Pitch all half walls into the shower.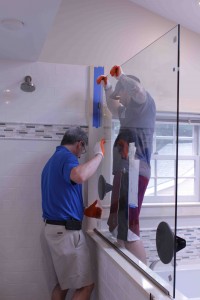
8. Use solid surface thresholds. [Never use split tile thresholds]
9. Do you need now or in the future will you want an accessible shower? Easy wheelchair access?
Shower Enclosure Selection Process:
I always suggest that my clients visit the company website and if possible look at the product in a showroom.
Choose the Door:
You need to decide on how you want to enter your shower. BASCO offers sliding doors, swing doors and door-and-panel enclosures.
If you plan on a sliding door or are building for accessibility you will want to look at the sliding door option. It easily glides out of the way and eliminates the clearance that a door swing
requires. In order to have a sliding glass door you need to provide for where it will slide– plan that into your design.
All of the BASCO sliding doors feature what’s known as a “Sta-Kleen” track. The Sta-Kleen track prevents dirt buildup while keeping water securely within the enclosure.
On the swing doors an innovative drip system [double fin gasket] provides a seal to keep water in the shower and off the bathroom floor.
Choose the Shower Enclosure Frame:
Semi-frameless and framed designs are available and are dependent on your design choice and décor. If you’re like me and prefer to see less aluminum and more glass you’ll want a semi-frameless enclosure.
Choosing Finish and Glass:
BASCO offers extensive metal finish options on their metal tracks, hinges and door handles. These finish colors options are designed to compliment today’s most popular faucet and bath hardware. I found the color palette diverse enough to meet and satisfy even the most discriminating customer.
All the metal frames are made from durable aluminum that’s heat treated with an exclusive polyester resin to protect from moisture and create a long lasting finish. The process prevents bending and also protects the surface against scratches.
I was impressed to see fifteen different metal finishes and ten glass style offerings:
Metal Finish: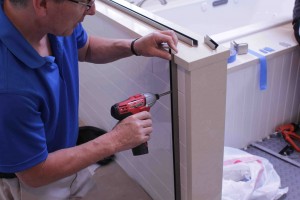
- Almond
- Antique Pewter
- Bronze
- Brushed Bronze
- Brushed Nickel
- Burnished Copper
- Gold
- Matte Bronze
- Nickel
- Oil Rubbed Bronze
- Satin Nickel
- Silver
- White
- Wrought Iron
Glass Options:
- Obscure
- Clear
- AquaGlideXP Clear
- Rain
- Clear Etched
- Fluted
- Reflections
- Clear Beveled
- Autumn
- Symmetry
- Tempest
- Silk
No matter which glass options you choose, you’ll be impressed with the AquaGlideXP coating. AquaGlideXP is an innovative protective coating applied to the glass to increase sheen and luster and prevent spotting, soap scum and mineral deposits. If your shower experiences “hard water” then this coating is a no brainer!
How Does The Semi-Frameless Stay in Place?
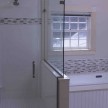
The glass panels are secured to the walls with glass clips and 1/16” of space that is sealed with silicone. On horizontal surfaces like half walls the glass is installed in an aluminum channel which is bonded down to the tile or marble with a 3M™ VHB™ high bond tape and silicone.
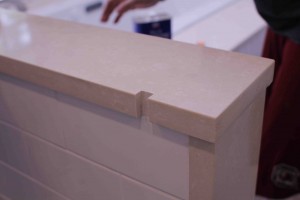
The 3M tape creates a chemical bond or “weld” that is very strong and will not move. [NOTE – High-strength bonding tapes are a proven alternative to screws, rivets, welds and other mechanical fasteners.] Unlike screws or rivets which join materials at a single point the 3M bonds the entire surface and spreads any stress load across the entire length of the joint.
Price Point:
Glass is priced per panel and based on size. Each jump in size increases the price by approximately $150.
The size ranges are: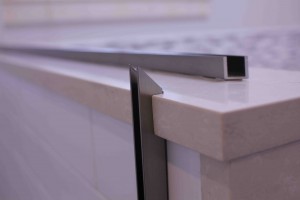
- 0-72”
- 72-76”
- 76-80”
- 80-84”
- Up to 102”
Installation of the Glass Enclosure:
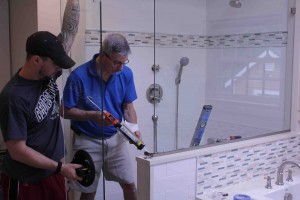
While it’s possible skilled persons could install these enclosures by themselves, I don’t see this as a DIY project. I highly recommend having a BASCO factory installer perform the installation. Their installers have “forgotten more than you know” when it comes to measuring and installing a custom glass enclosure.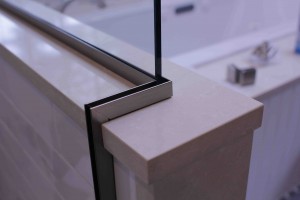
BASCO and offers a huge of network of professional, licensed, insured, and bonded installers [2 million dollars in insurance] who have been factory trained. These installers are experienced and tooled to provide a quality installation that’s warranted for a lifetime. For our project the installer was from BathWare solutions out of Westbrook, Maine.
The best way to get started is to utilize a local dealer or distributor that sells BASCO products, or call 1-800-45-BASCO. Most local distributers will key out your request to their network installer who will handle the measuring and install your glass shower enclosure.
The entire process from measuring to installation takes approximately 3 weeks. Plan on this when you begin your project in order to avoid delays. Aim to get the shower complete and the installer out to measure as soon as possible to get that clock ticking.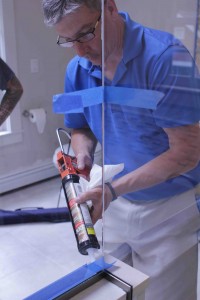
A custom glass enclosure like BASCO will add a level of quality and class to your bathroom like nothing else!


