
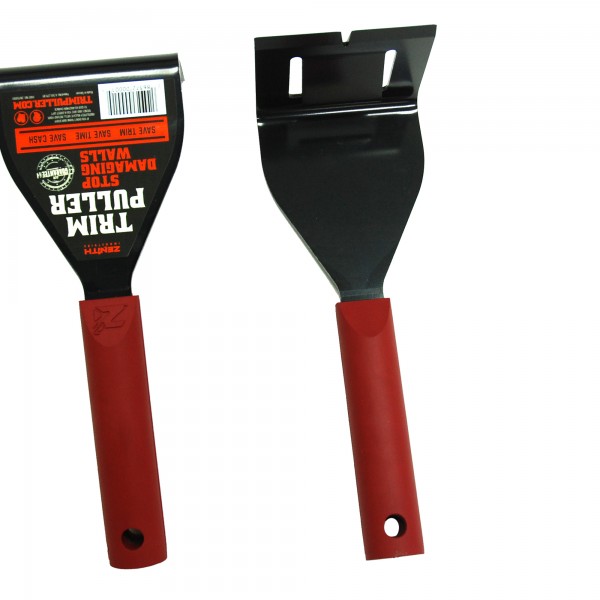
Pull It Right with the Zenith Trim Puller
Removing trim, like baseboard, chair rail, window and door casing is often a necessity when remodeling. I often find myself removing trim carefully when I plan on saving the trim, because its old and difficult to replace and match or I’m deconstructing something carefully to make some design changes. Either way the biggest challenge is not to damage the trim or the wall board behind it.
The Problem:
Most people remove trim by cutting the caulking and then using a pry bar to frorce it apart from the wall. Many times the force applied to the prybar breaks the wall board and cause additional patching or repairs. If you smart you will insert a shingle or a large putty knife to spread out the pressure of the pry bar. This requires multiple tools and hands to accomplish.
The Solution:
There is a new product called the Zenith Trim Puller. Made by Zenith company, the Trim Puller is designed specifically for repair or remodel projects where you aren’t destroying but rather reusing your trim, baseboard, cabinets, flooring and other materials
Applications:
The Zenith Trim Puller has a large contact area combined with the 15 degree wedged center. The largest and flattest contact area on the trim puller is what spreads out the pressure on the wall board. No shim or small board spacer is needed. It is useful in the following applications:
- Casing
- Crown molding
- Chai rail
- Wainscoting
- Baseboard
- Cabinets
- Wood and tile flooring
- Quarter round
- Counter tops
- Carpet tack strips
- Decorative door and wall moldings
- Many other materials
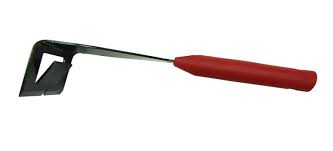
Using the Trim Puller:
Its used to replace the pry bar and shim board or putty knife. Simply use a sharp utility knife to score the seam between the molding and the wall. Apply just enough pressure to cut through the dried paint and into the paper face of the drywall. Insert the Zenith Trim Puller with a few taps of a hammer and pry off the trim, it will come away cleanly.
No shim or small board spacer needed.
- Use a utility knife or painters 5-in1 tool to score top of seam where trim meets the wall
- Position Trim Puller’s front face against the wall with the sharp edge on the seam where trim meets the wall. For best results start at the end of baseboard strip.
- Strike top of Trim Puller with hammer or hard mallet driving the Trim Puller between the trim and the wall. The wedge will begin to separate the trim from the wall.
- Once the Trim Puller is wedged between the trim and the wall gently pry the trim away from the wall creating a. Repeat Steps 2 – 4 moving the Trim Puller along the wall in 12” increments or as needed. The gap in Step 4 will increase with each pull until removed.
Learn more about the Zenith Trim Puller here.