Wedi Waterproof Shower System

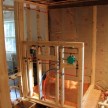
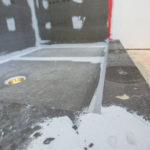
Warmup floor heat and underlayment
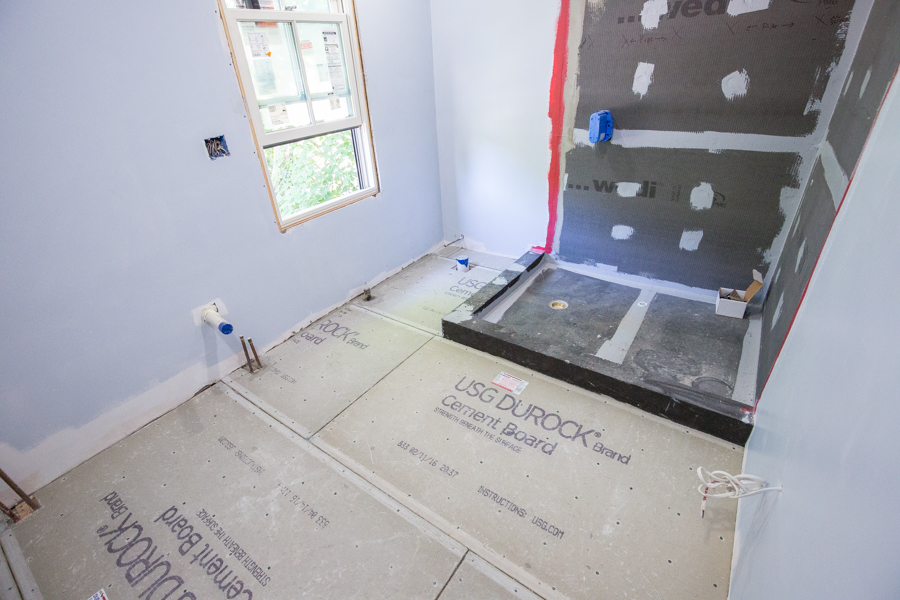
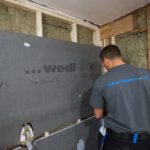
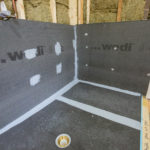
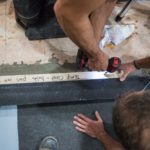
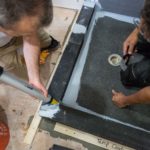
Waterproofing the WEDI System
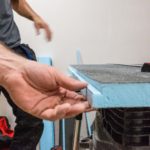
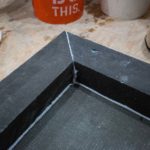
Once the pan, panels, and WEDI fasteners are installed, all seams are sealed and wall fasteners are coated with sealant.
Conclusion
With bathroom remodels, clients often focus on color, layout, and fixtures. While those are all important considerations, many times they’re missing the all-important conversation about waterproofing.
The Wedi shower system does everything we want it to do as a product and eliminates other the cost and hassle involved in traditional shower installations. This means we can get more done in less time – projects can be completed faster, which equate to more jobs and earning potential for contractors. Since it is fully waterproof, it also reduces callbacks and the risks of something going wrong.
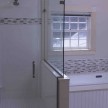
The end result is a bathroom both client and contractor can be proud of.
Read our article on How to Plan a Bathroom Remodel
Wedi Waterproof Shower System Video Review
-
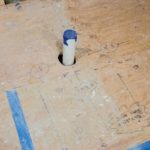
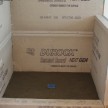
- Shower subfloor and drain
-
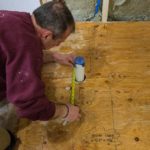
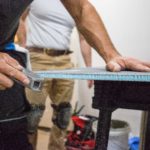
- Checking floor level and layout
-

- Cleaning subfloor
-
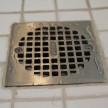
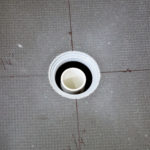
- Locating drain
-
- Cutting drain flush
-
- Drain prepped for pan
-

- Depth set for shiplap joint
-
- Cutting shower pan extenion
-
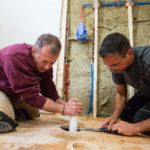
- Dry fitting Wedi shower pan
-
- Drain located – dry fit
-
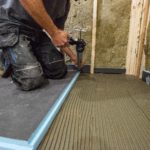
- Thinset on subfloor
-
- Thin setting subfloor
-
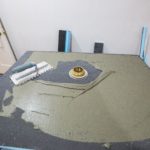
- Thinnest under pan
-
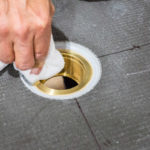
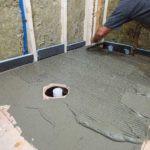
- Installing drain
-

- Applying Wedi waterproof adhesive
-
- Pan installed – shiplap prepped

-
- Prepping for pan extension
-
- Wedi shower pan and extension paninstalled
-

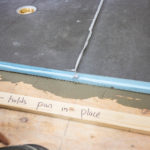
- Cleat holding pan in place
-
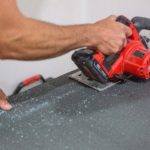
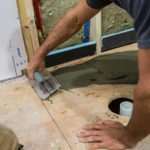
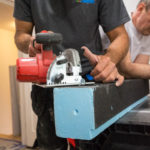
- Easily cuts with regular tools
-
- Wall panel adjustment is easy
-

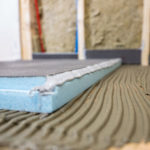
- Wedi wall panels
-
- Wall panels interlock into pan
-

- Sealant at seams
-
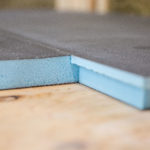
- Shower Curb easily cuts with saw
-
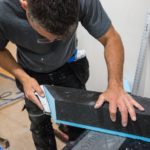
- Easy adjustments
-
- Dry fitting curb to pan
-

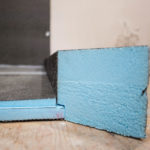
- Shower pan miter
-

- Sealant at shower pan curb
-
- Sealant applied
-
- Cleat holds turn in place
-
- Applying and shooting out sealant
-
- Pan complete
-
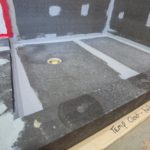
- Shower pan and curb
-
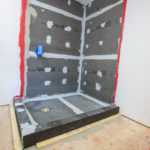
- Wedi waterproof shower system – 3hrs complete
-

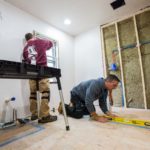
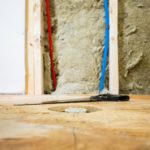
- Warmup floor heat and underlayment
-

- Tile installed next day
-

- Tile floor installed