Building A Diagonal Tongue and Groove Shed Door
Diagonal Pattern
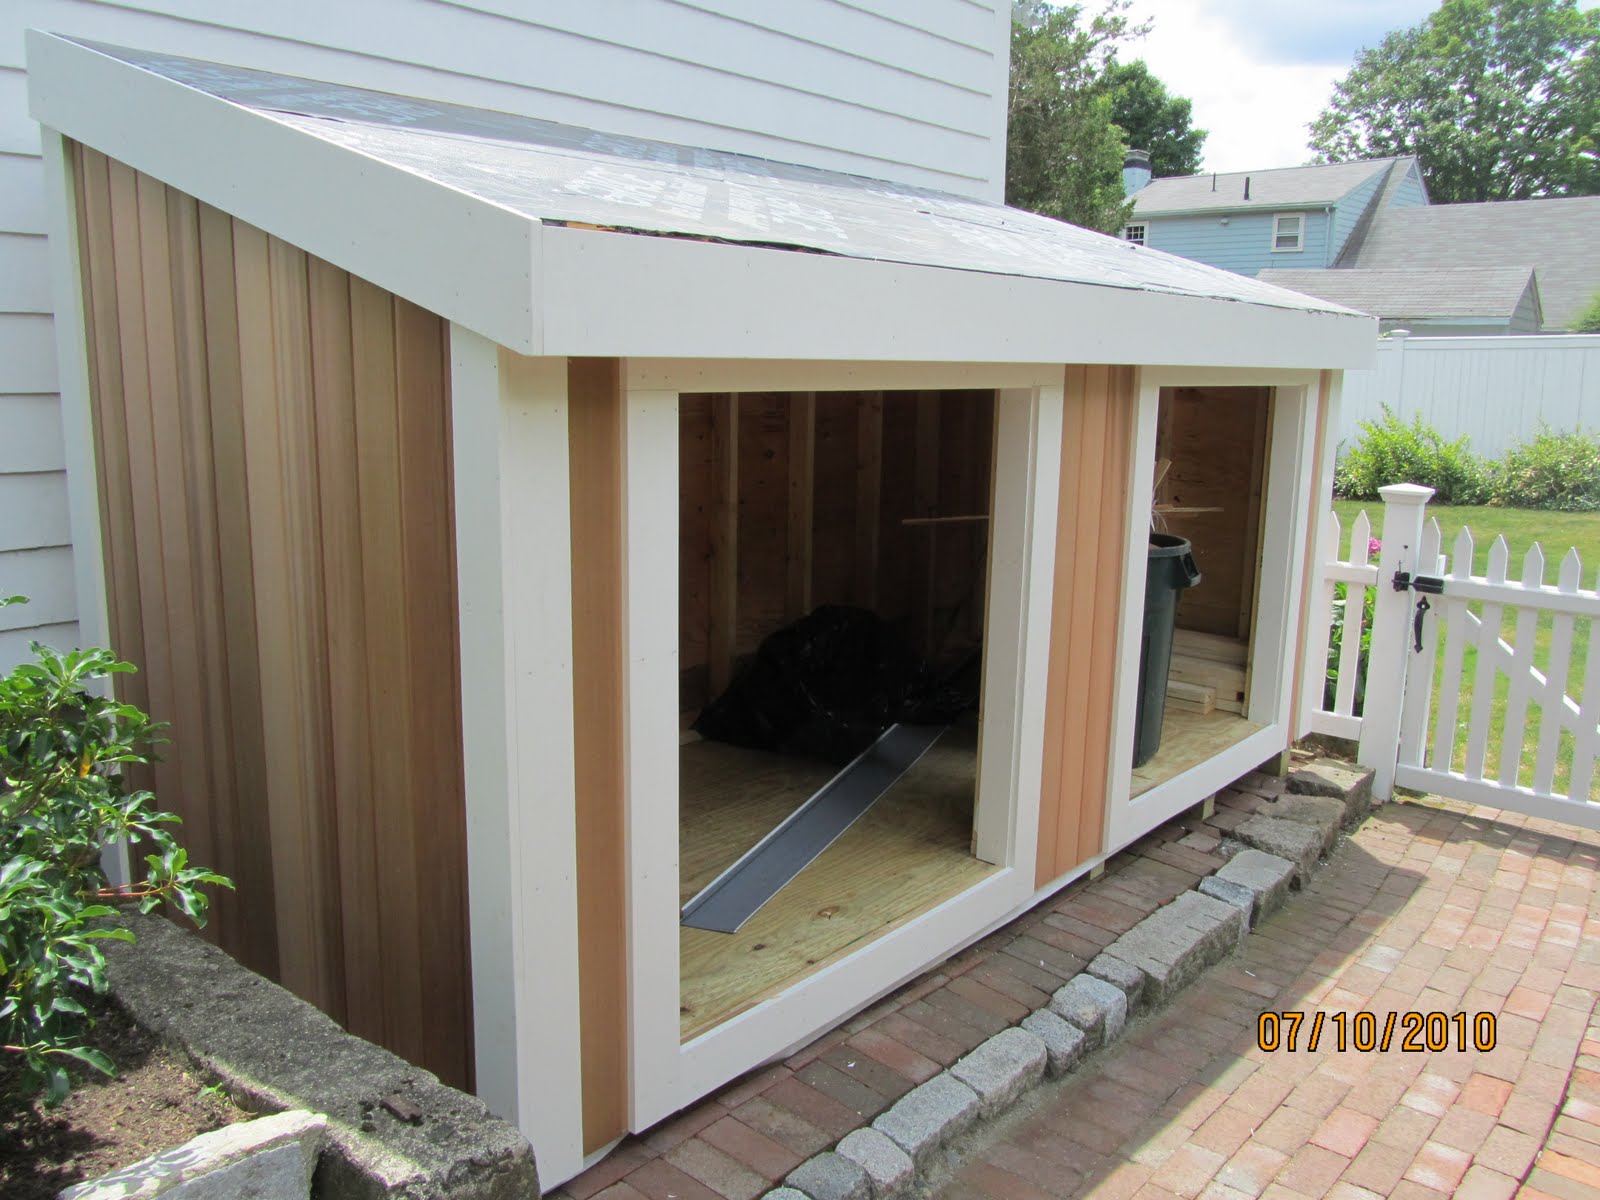
The customer wanted to have two pair of diagonal pattern, tongue and groove, cedar doors with the angles meeting at the middle seam.
We planned on building these in the shop. Normally I would use 1/4″ luan plywood ripped into strips but I did not have any on hand.
I did have my table saw set up so we made simple 1/4″ template strips out of ripped 2×4 stock and used small screws to secure it. Below carpenter George Gussler is making a template to be used later to make the doors.
Make a Template
The template has 45 degree braces in the corner to keep its shape and add rigidity and strength to the template. See my post on Making And Using Carpentry Patterns And Templates

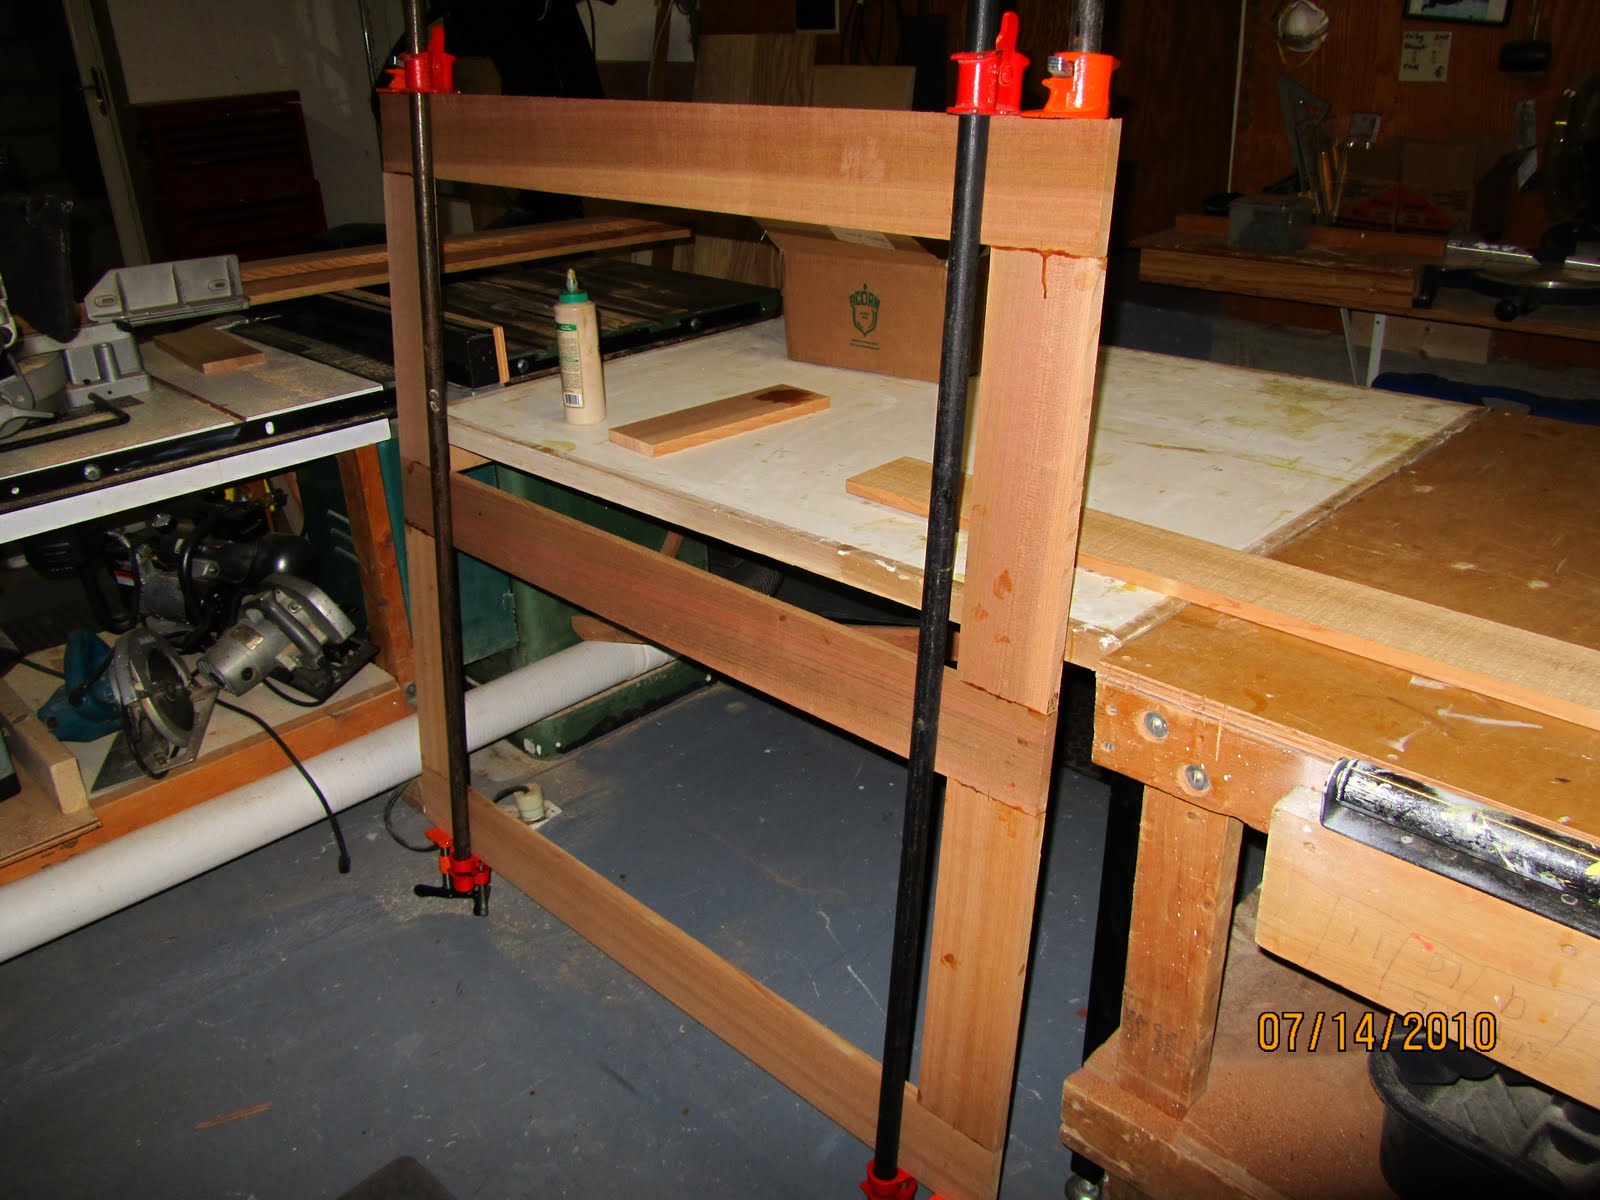
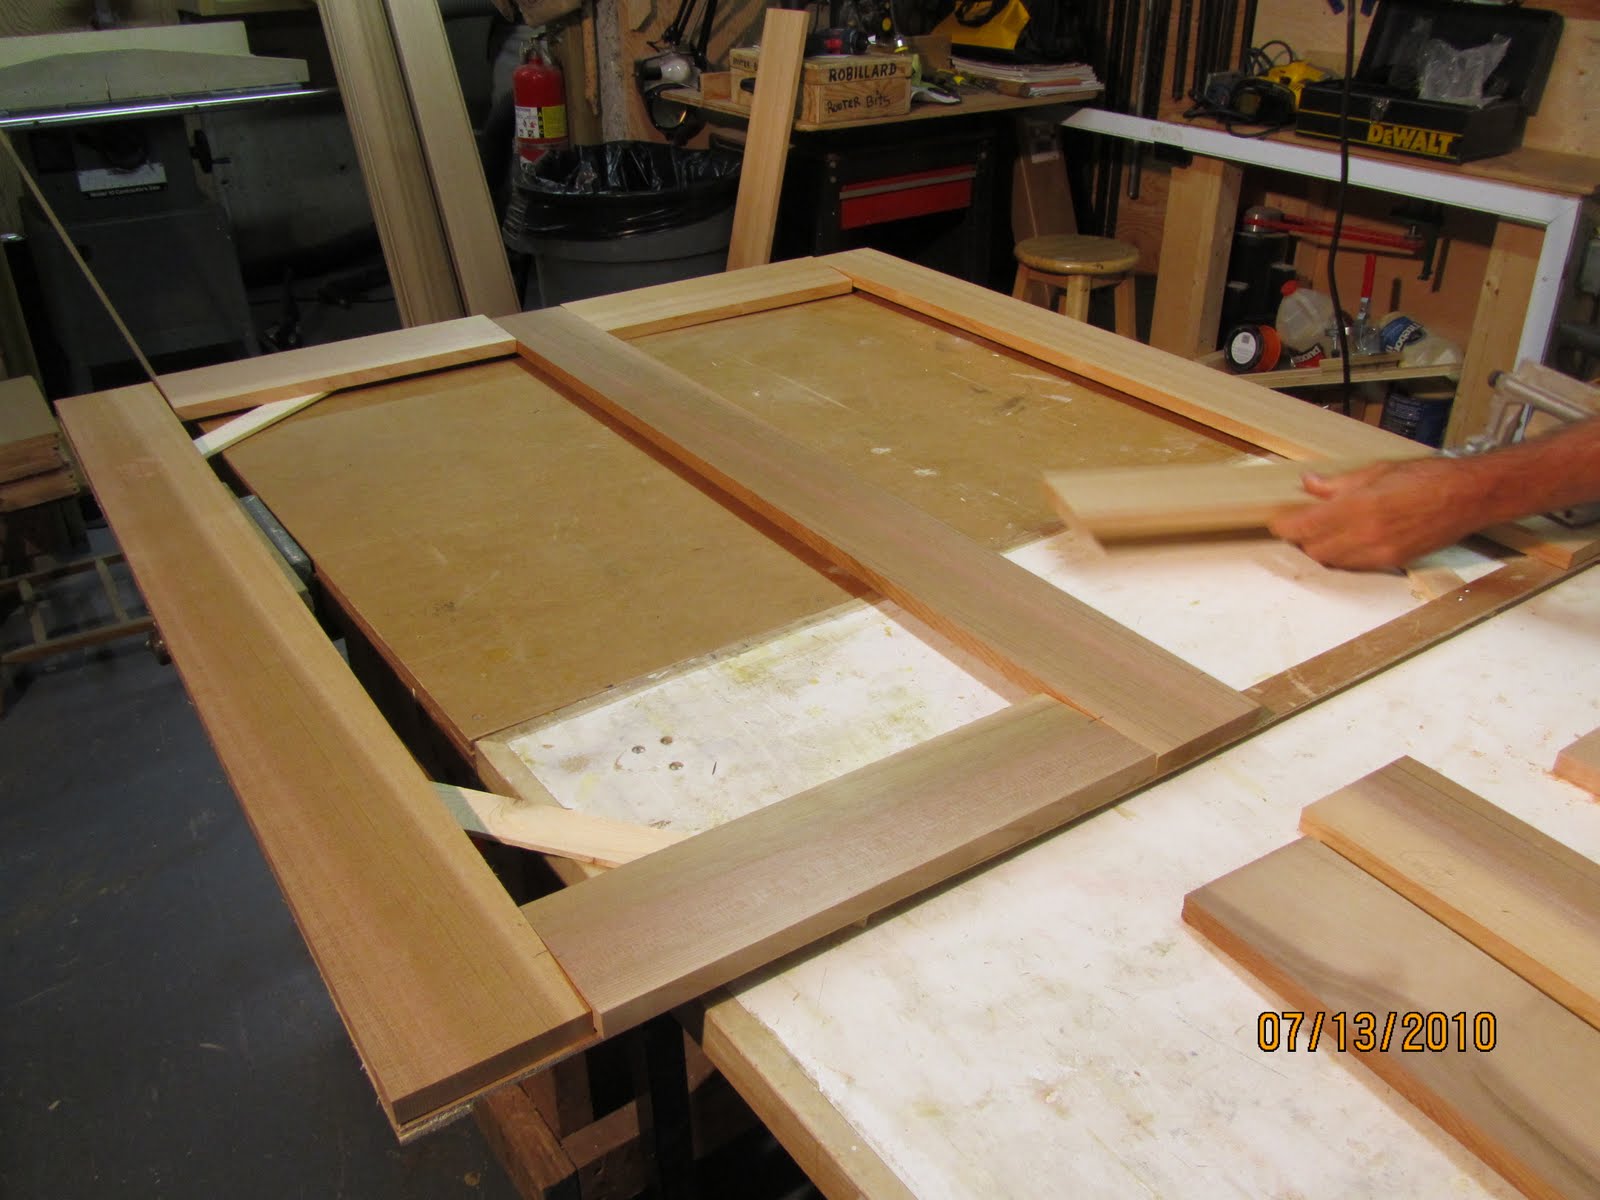
Back at the shop we ripped the tongue and groove off of the cedar boards and used the cedar boards for our door styles and rails.
We used a biscuit joiner to install biscuits and glue to secure the face frame until the boards went on.

The pair of doors was glued up and clamped together as one unit, they share a middle style and will later be cut on the table saw into two doors.
Once the face frame was dry we sanded it and routed a champher to the inside edge to match the bevel on the tongue and groove siding that will be applied to it.
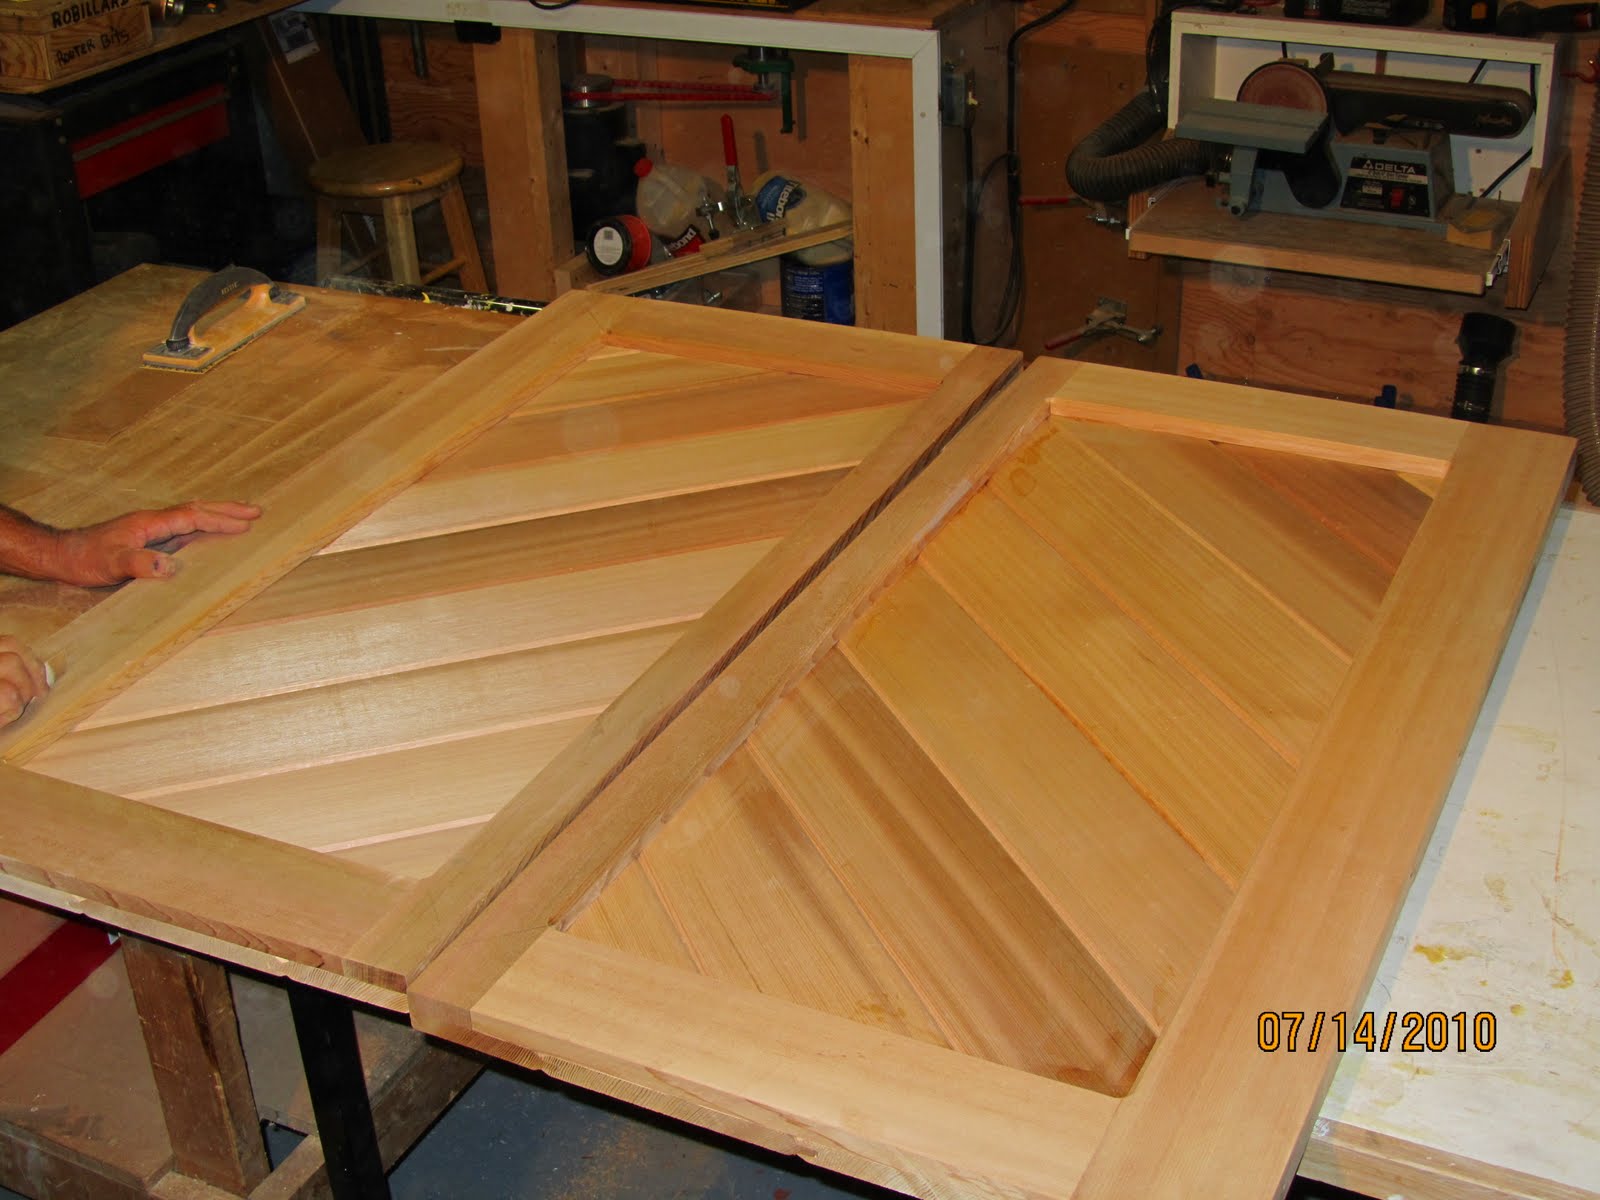
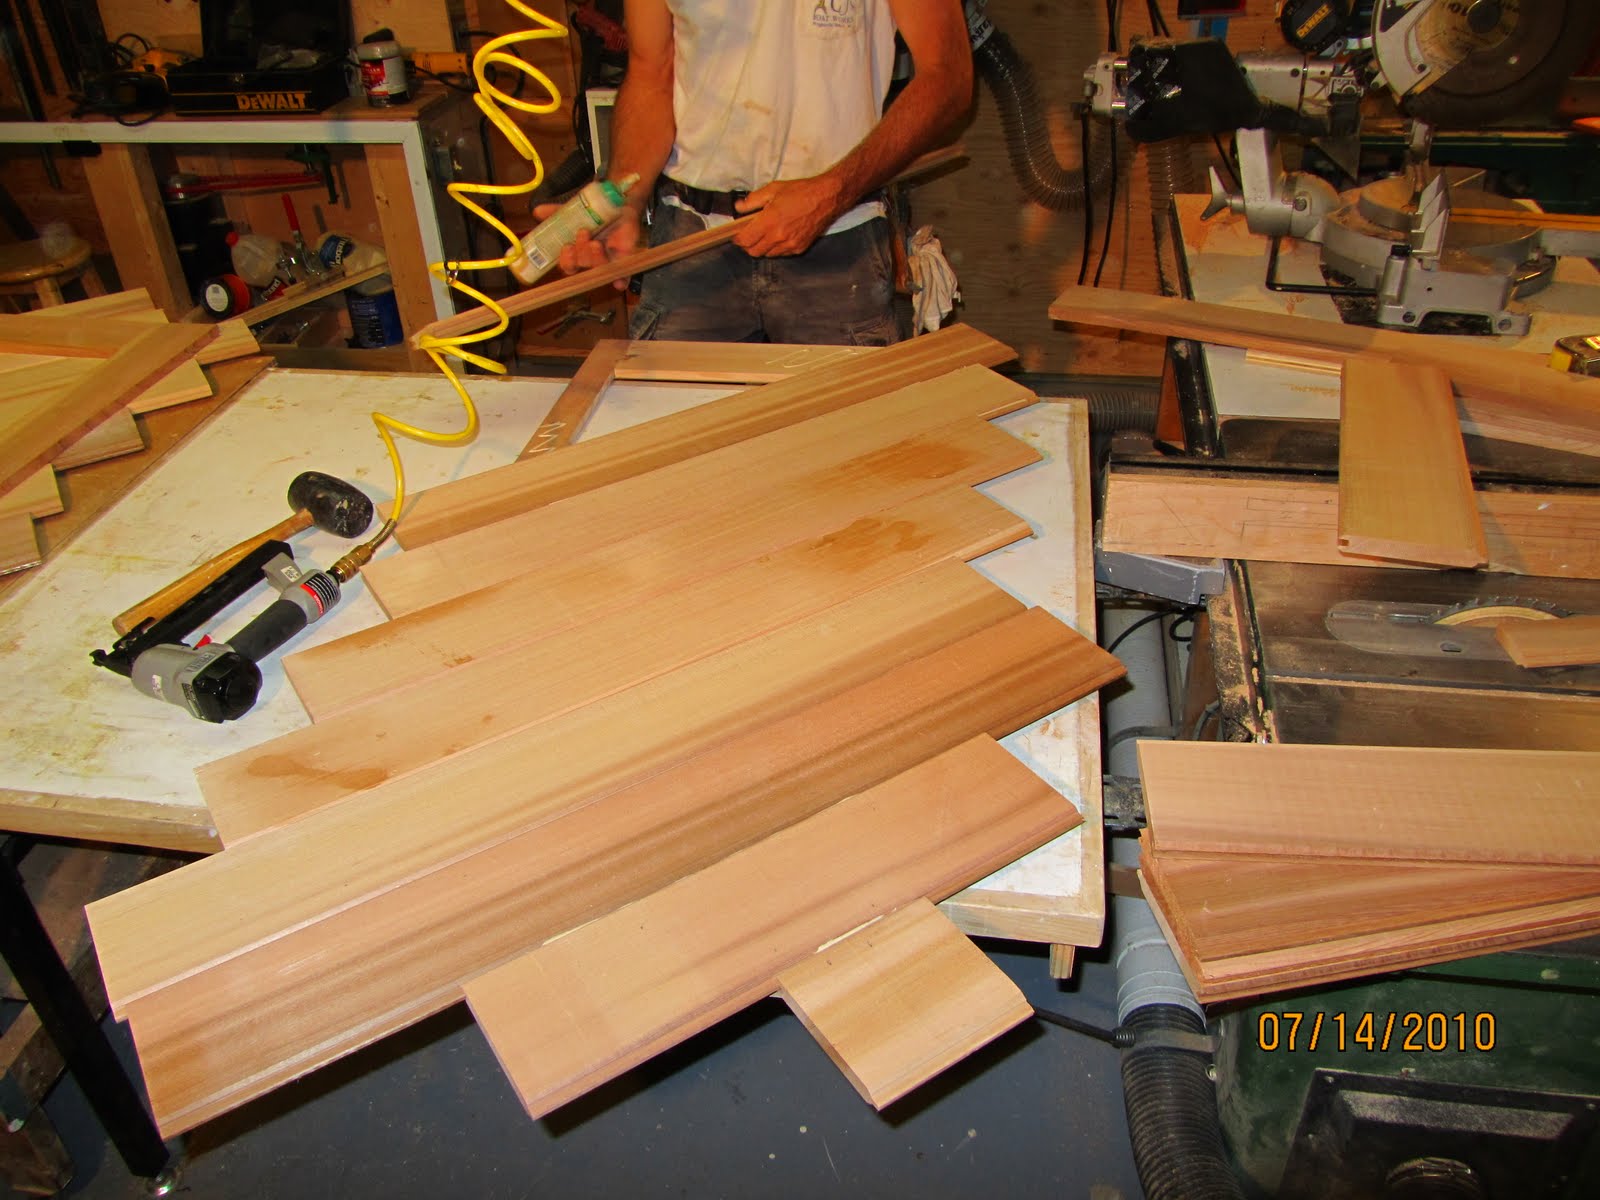
The tongue and groove siding was then installed at a 45 degree angle on the door face frame. We added a little glue to the flat surface only and used 1″ staples to hold everything in place until we added screws.
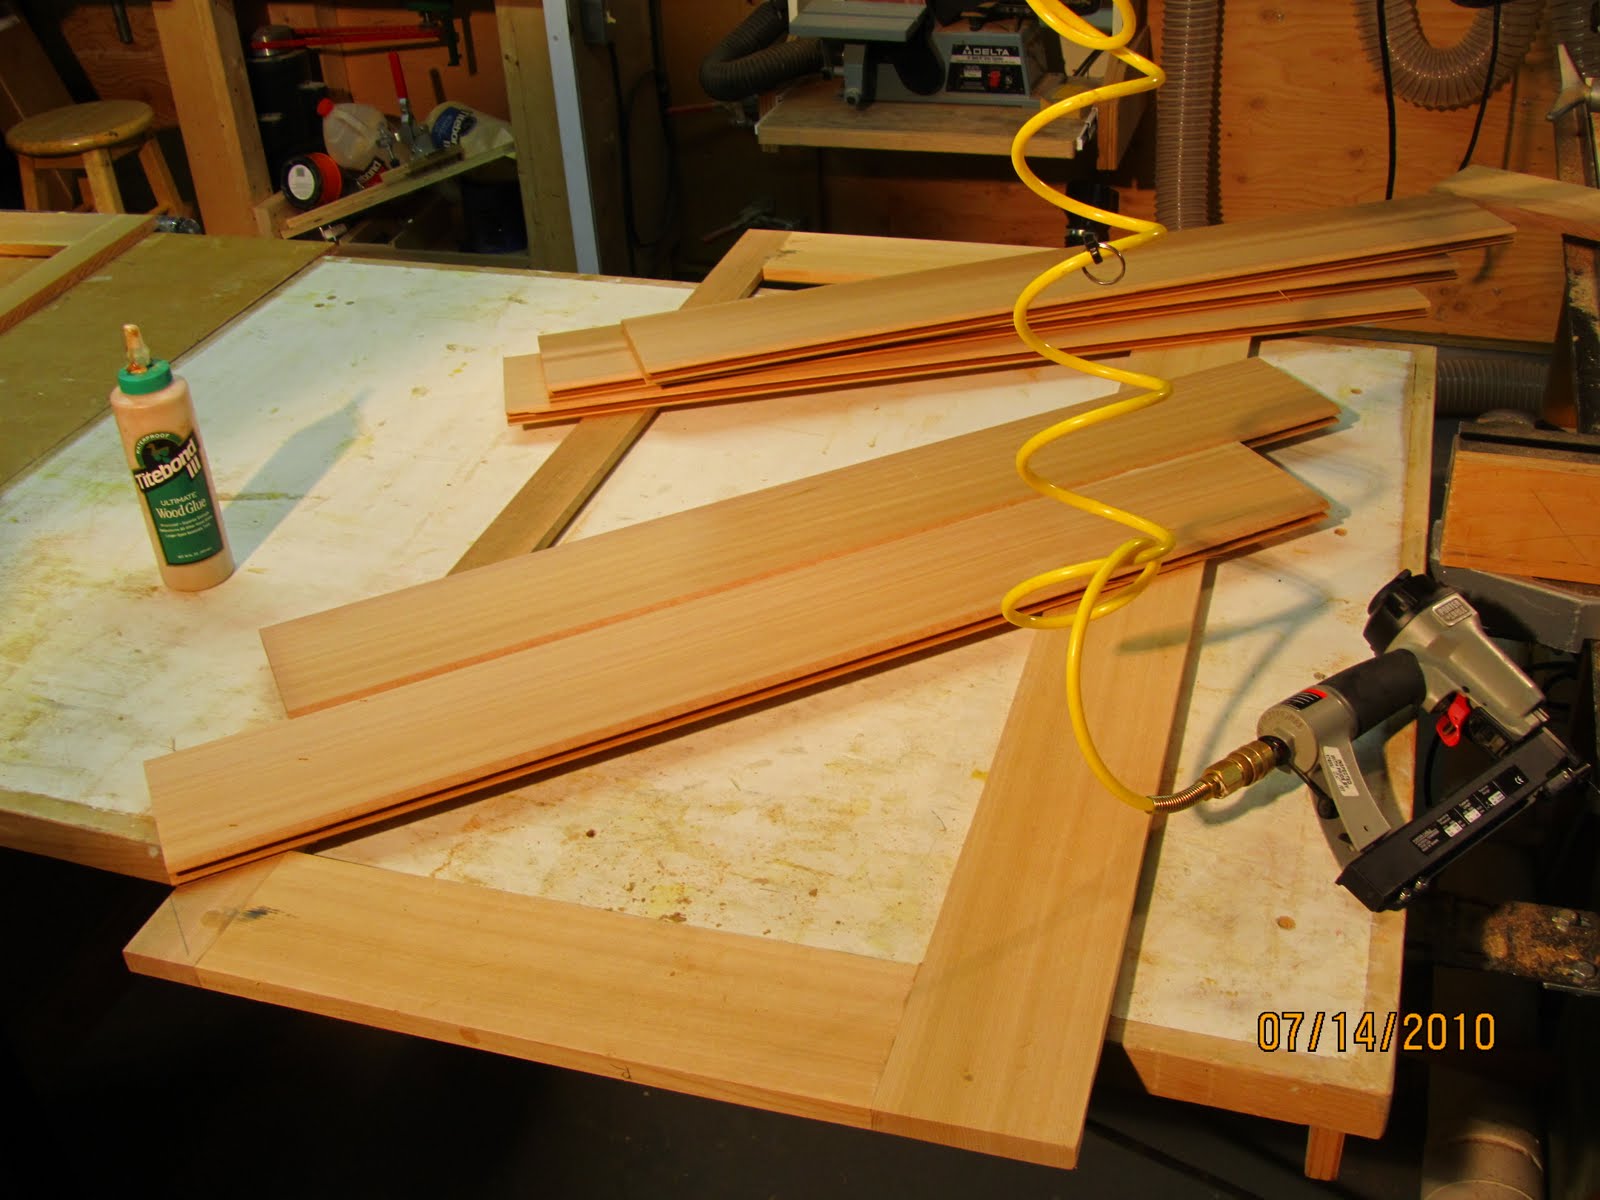
We covered the entire door with the tongue and groove cedar boards.
Front face of the door.

Once the boards were complete we cut the excess off flush with the face frame on the table saw. Screws were added to the back side and the entire door and all edges were sanded.
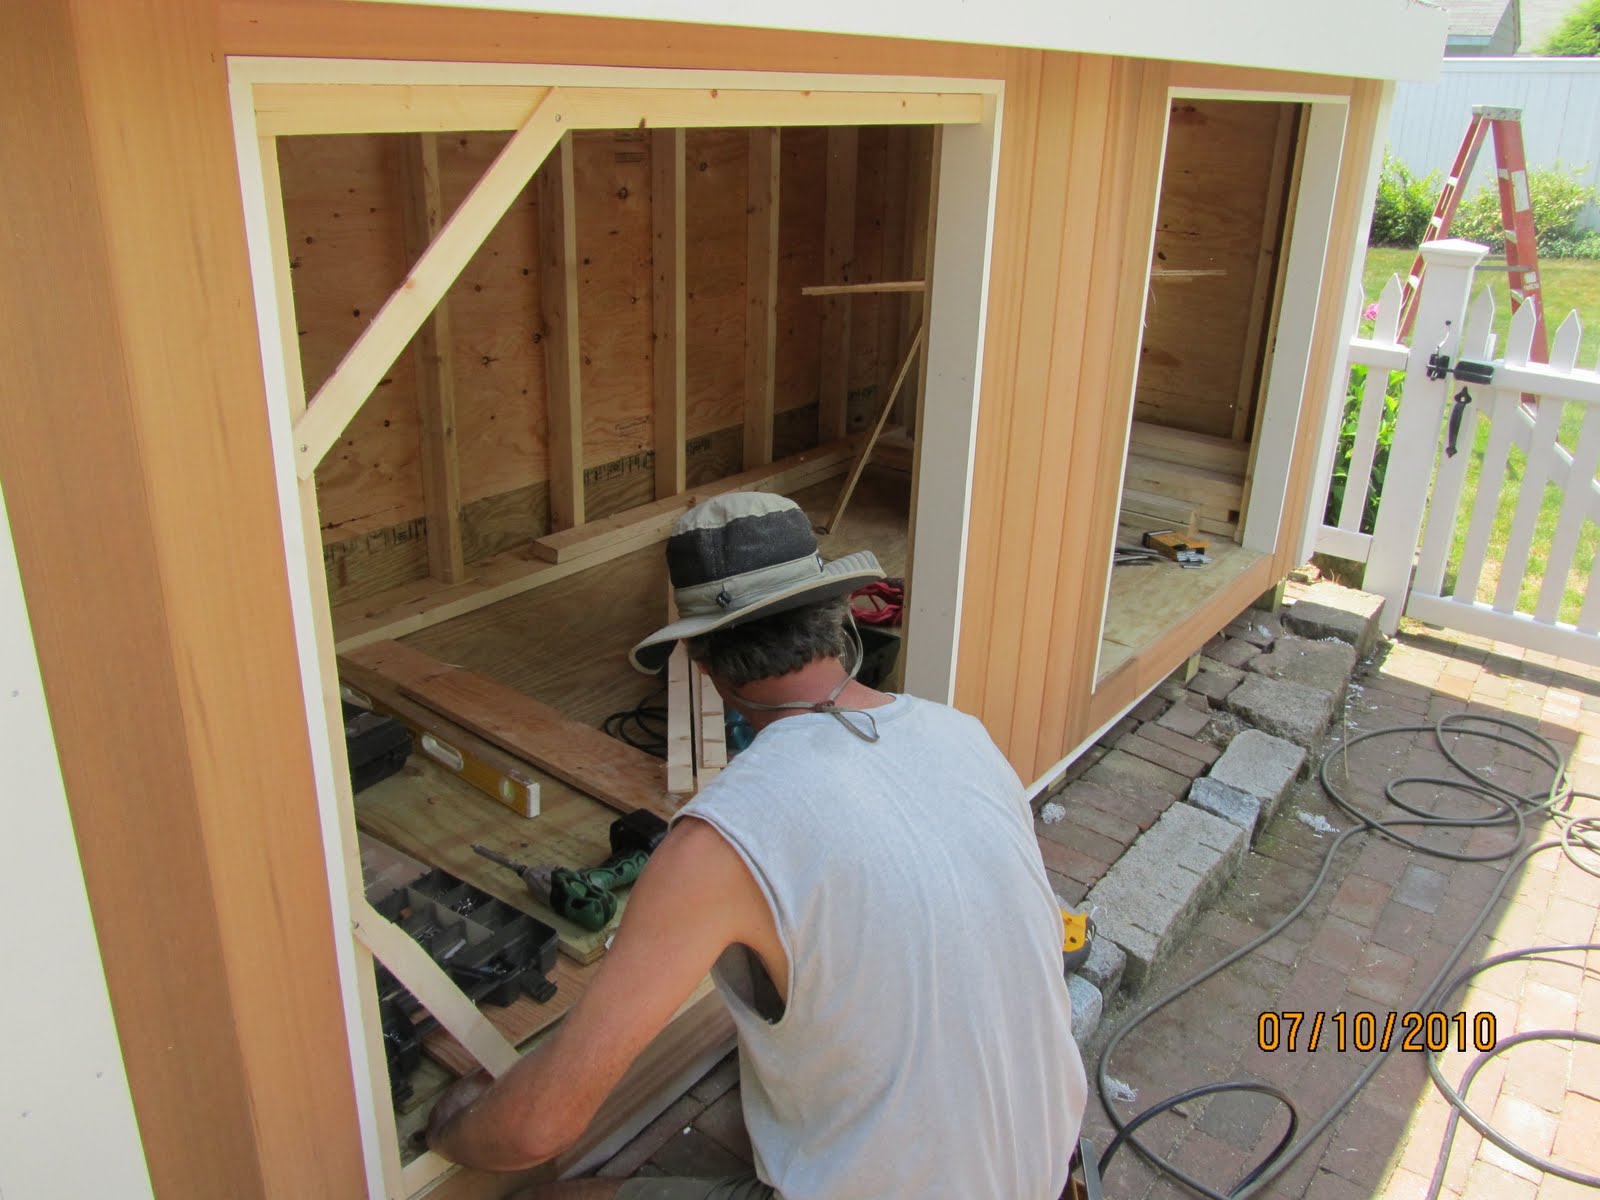
As a finish touch we routed a champher to the outside edge of the door perimeter. The doors were then primed and hung in place for a final coat.