


It’s easy to misread the tape measure, confuse numbers and tapes can flex and distort the accuracy of your measurement. Over the years I’ve learned a few tips that help me when trimming our a room.
Avoid the Tape Measure:
One tip that I was taught is to avoid using the tape measure when you can. It is more accurate to mark trim in place than to measure and then transfer numbers onto a board.
Mark The Reveals
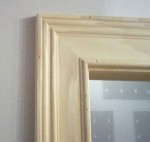
When trimming a door or window I will use a small combination ruler set to 3/16″. I mark the sides and upper corners of the inside edges of the window or door jamb that I plan to trim out.
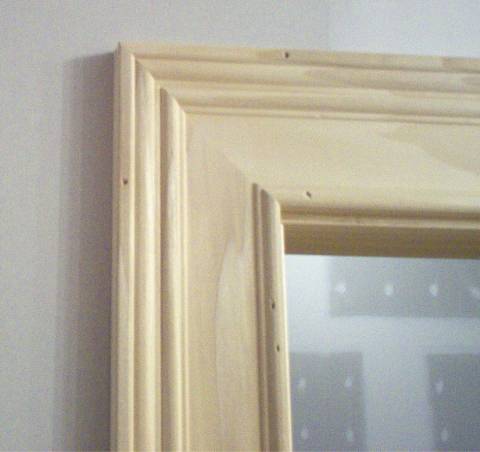
This mark is called a reveal. A reveal assists the carpenter installing the trim by marking consistent spacing all around the door or window jamb. The casing is then fastened along these marks.
My technique differs from the photo below, I only make small pencil “tic” marks.

I also score a line in the casing in the direction of the miter cut to help “remind me” when back at the saw which direction the miter angle will go.
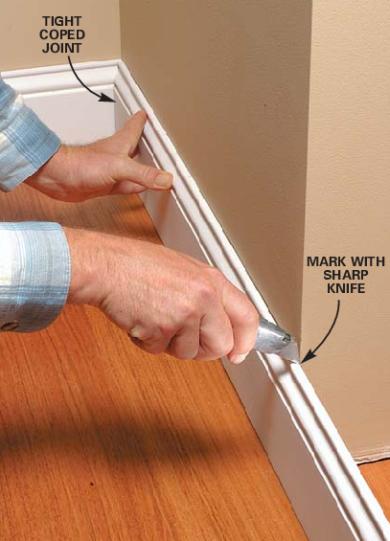
Put Away The Pencil
A utility knife has a smaller edge than a pencil and is more accurate. I mark all types of trim this way. [see photo below.]
Nail off the casing but not the last 12-inches
After cutting the two side casings, I install them but do not nail 12″ near the top miters. Leaving this section loose allows for micro miter adjustments later when fitting the top casing.
The top casing goes on last. Cut a miter on one side only. Holding the top casing upside down, on top of the two installed miters and flush to one side I mark the other miter with my knife.
A picture is worth a thousand words – see photo below, but us a knife.
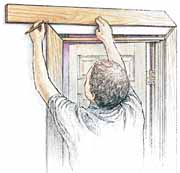
Image: taunton.com
After cutting the top casing I install one side of the miter to the vertical trim by first checking the reveal marks, adding glue, and then face nailing them and also nailing through the top and side miters.
This is where the micro adjustment sometimes is helpful in getting the two miters to close tight. Other factors that can hamper a tight miter are;
- protruding drywall,
- door jamb proud of wall surface,
- the miter saw bevel /angle cut off.
When all else fails a good quality, razor sharp block plane can be a rescue! Use them to back cut or shave the miter to fit.