Using Large Diameter Tapcon Screws to Secure A Partition Pool House Wall
As a residential contractor I used Tapcon screws, a brand well known, for their excellent masonry holding power. Tapcons are simple to use and have quickly become a go-to masonry fastener when securing partition walls to concrete.
When used properly, Tapcon masonry fasteners can work well in most masonry materials, such as mortar, brick, block or concrete.
How Tapcons Work
Tapcon masonry screws work by tapping threads into the side wall of a slightly smaller, pre-drilled masonry hole.
A properly sized hole is the key to proper embedment and holding power. Once the proper size hole is drilled the Tapcon screw is driven into the hole cutting threads cut away masonry material until the screw is threaded and secured.
See Common Installation Errors
Large Diameter Tapcon Sizes
Larger Tapcon bolts are now available in 3/8”, 1/2″, 5/8″ and 3/4″ sizes. These anchors come with or without a EnvireX coating which provides additional corrosion protection for outdoor applications. They are also available in stainless steel.
Weather Resistant Features
The Tapcon screw, blue coating is called Climaseal® which is a Thermosetting polyester coating designed to provide rust resistance. This coating works well and makes the Tapcon screw an excellent choice for outdoor use.
Using Large Diameter Tapcons For Securing Partition Walls To Concrete
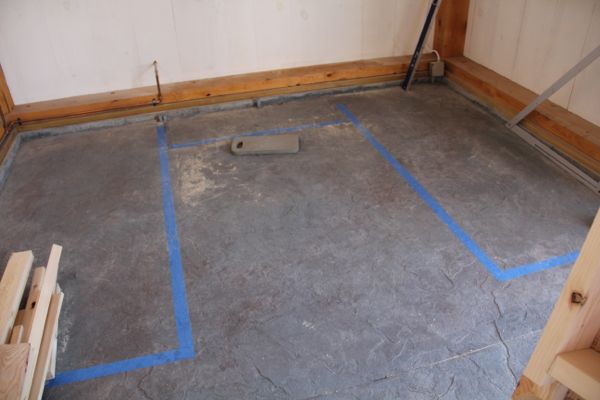
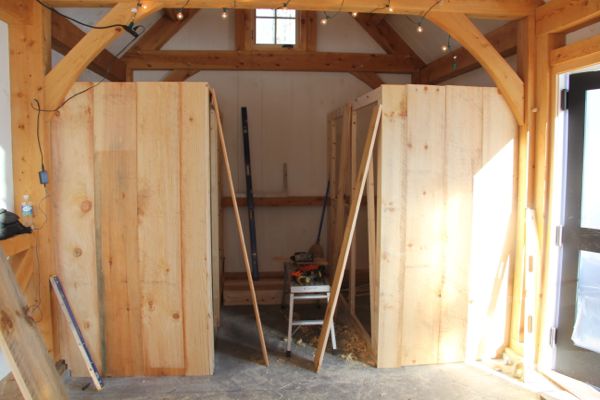
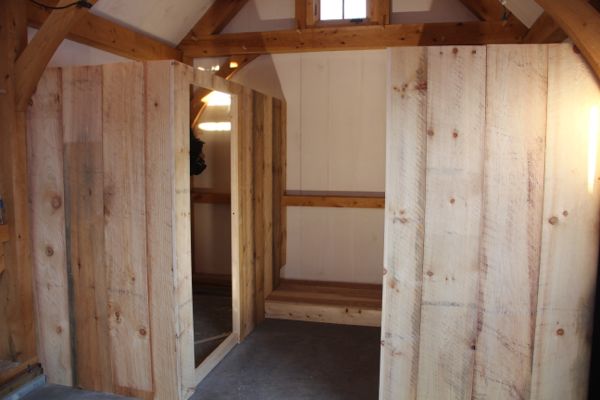
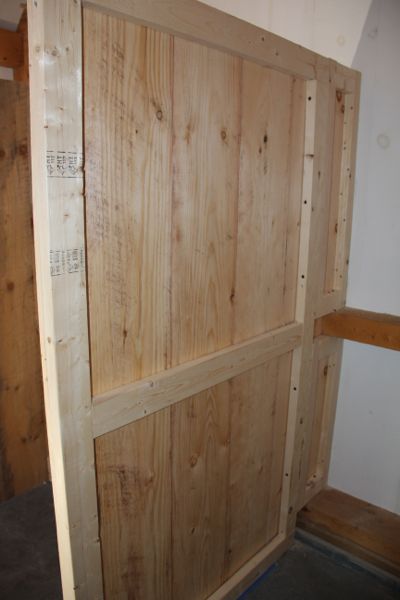
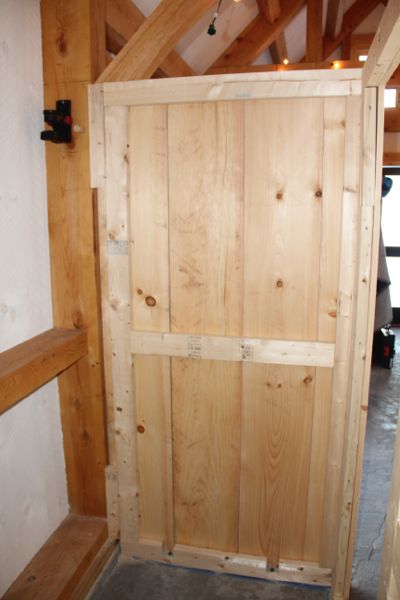
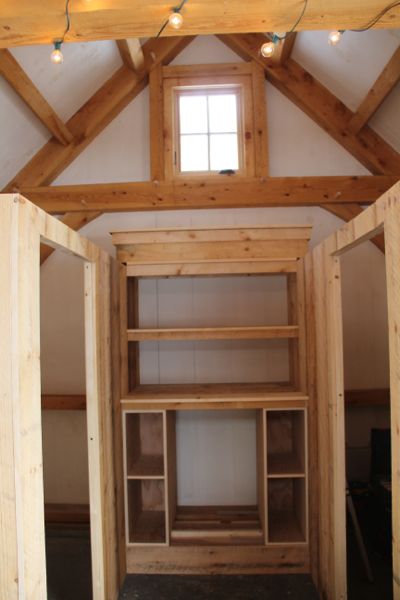
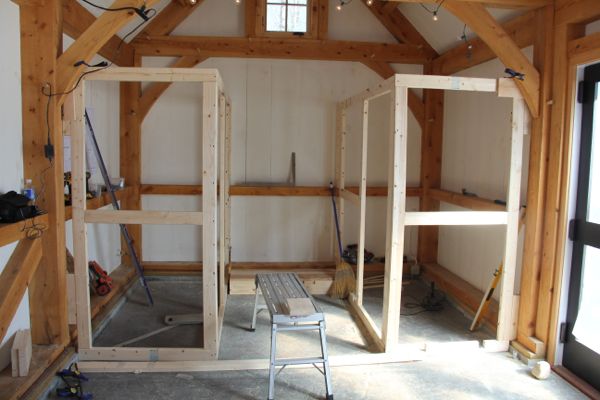
We recently were contracted to finish this gorgeous timber framed pool house.
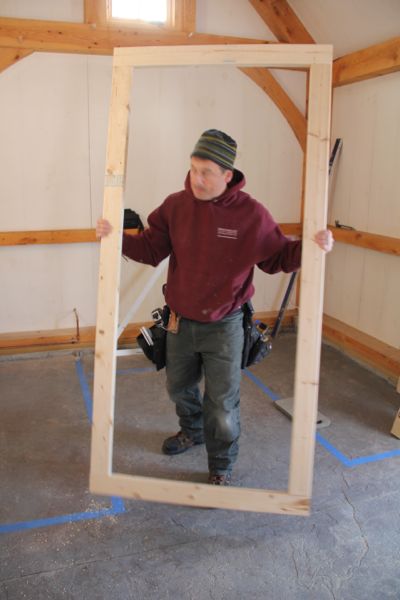
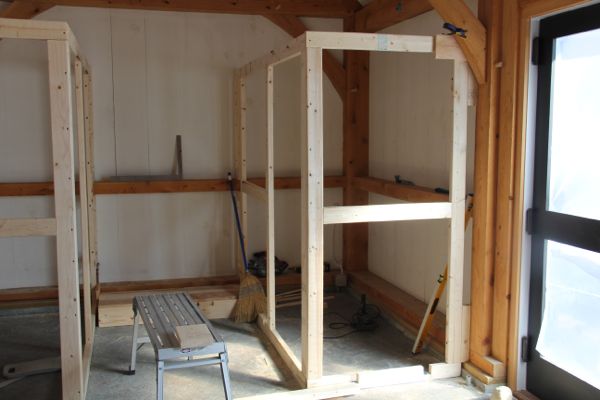
Part of the project was to build and install rough sawn partition changing room and bathroom walls. The owner / architect specified 2×3 on the flat to save precious space.
In order to accommodate this specification necessitated us securing the partition wall to the masonry floor. Sleeve anchors were one option , the other was to use the new large diameter Tapcons.
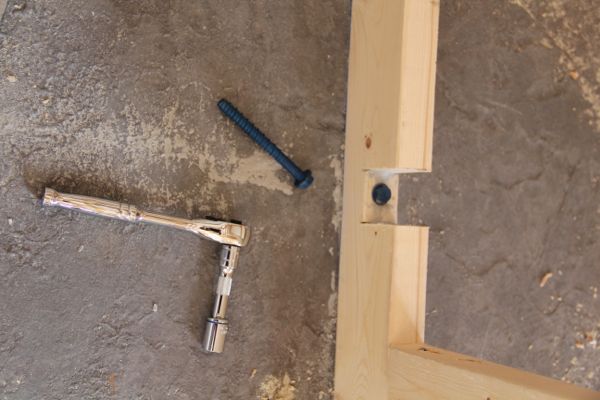
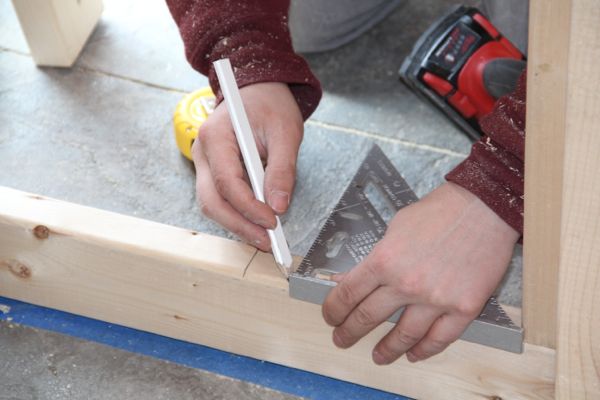
Securing the partition wall bottom plate to the masonry floor.
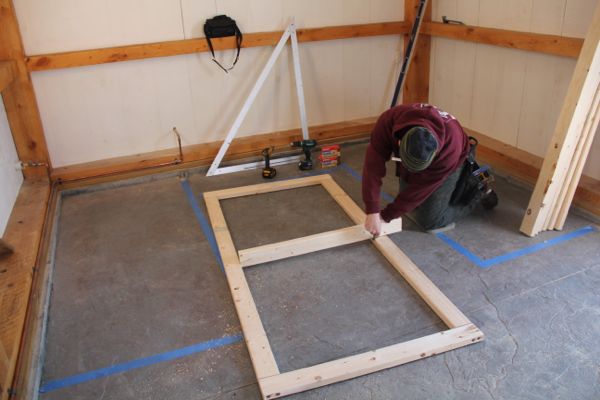
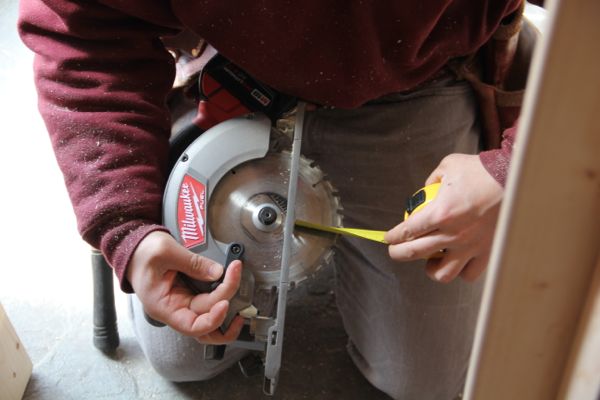
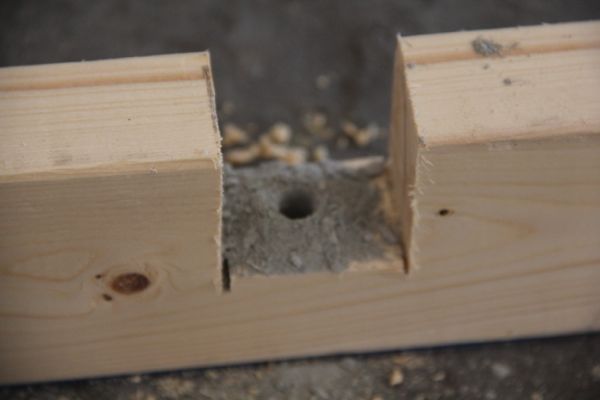
The first order of business was to determine proper depth embedment. We were able to secure 4-inch long Tapcons so in order to get the Tapcon to embed 1-3/4 inches in to the floor we needed to remove some of the bottom plate.
Installation Tip:
To determine the length of Tapcon fastener: Add the thickness of the material plus 1-inch to 1-3/4 inch embedment.
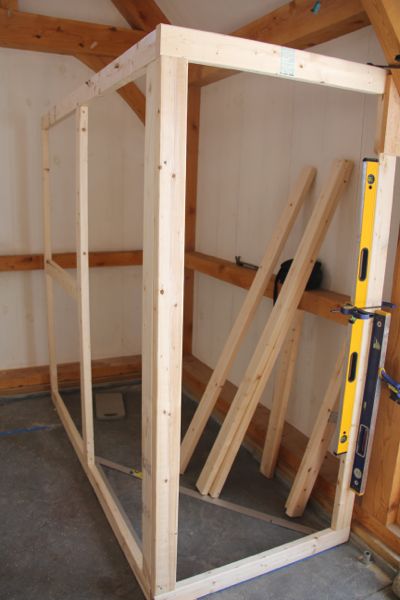
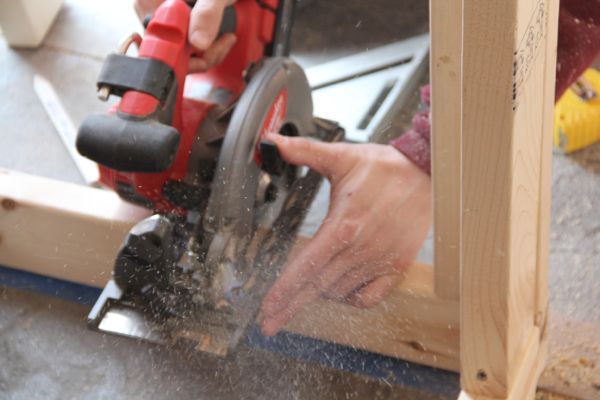
We used a circular saw to cut to kerf approximately 2-inches wide and finished the cut with a oscillating multi-tool.
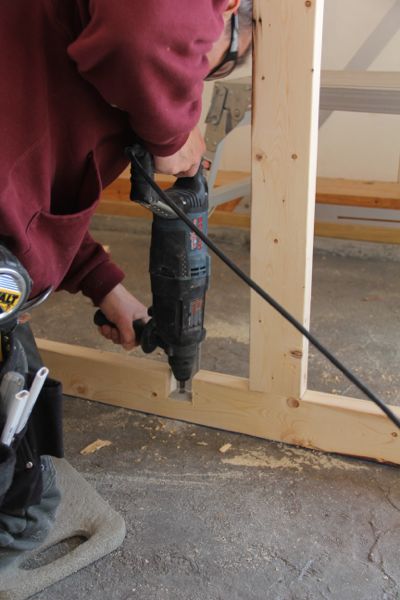
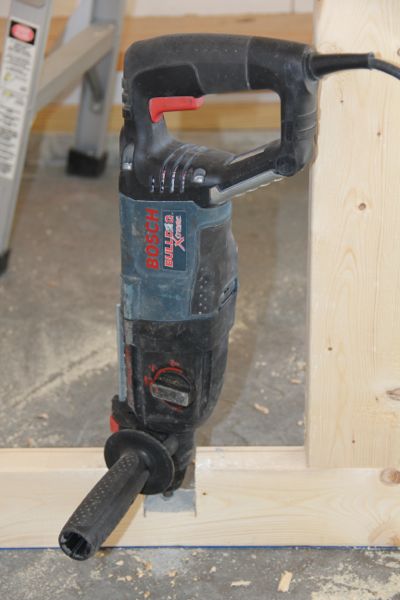
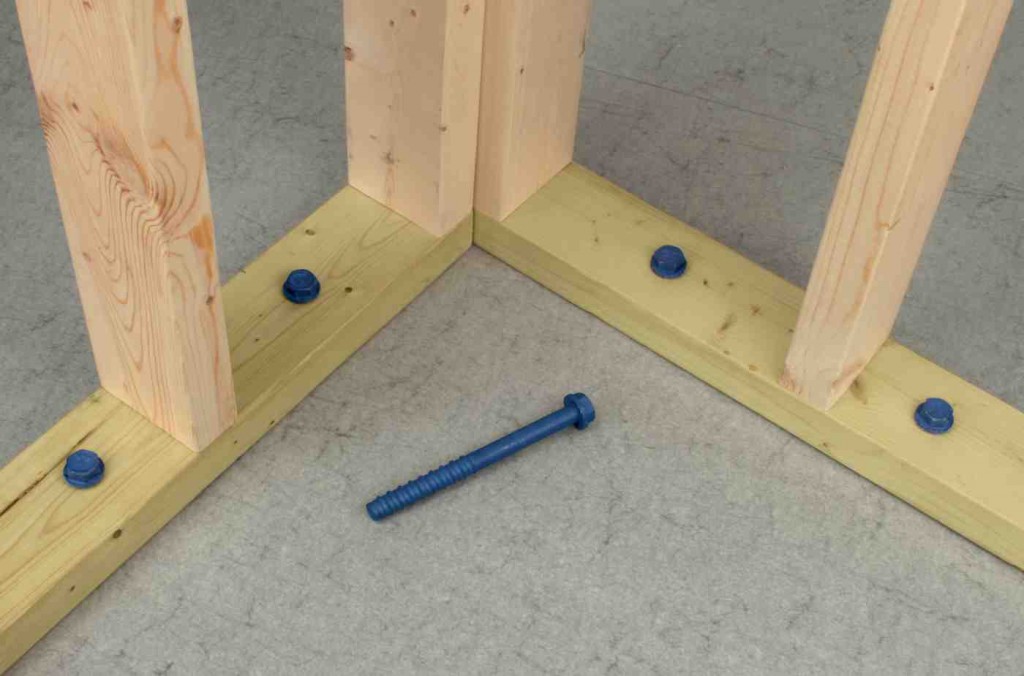
We then used a wood bit to drill through the 2×4 sole plate. Once this was complete we used our Bosch SDS Hammer drill to drill into the masonry floor.
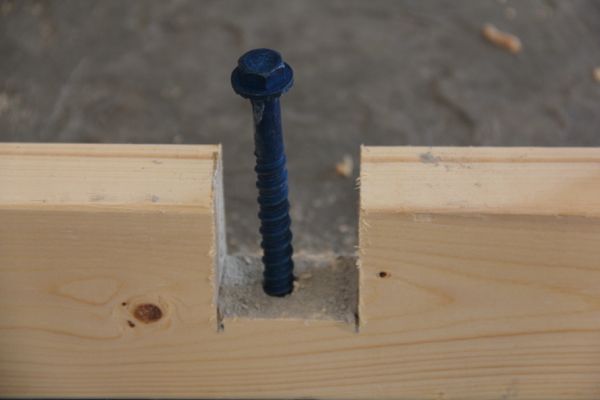
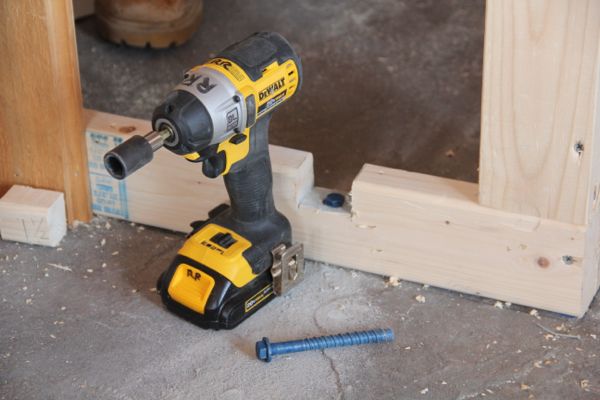
We cleaned out the hole with a vacuum and then inserted the Tapcons, securing them at first with a socket set and then later using an impact wrench with a nut driver.
We were amazed at how fast, easy and secure the Tapcons held.
Installation Tips:
- Using a SDS hammer drill and a carbide tipped masonry bit, drill a hole with the required diameter of Tapcon masonry screw being installed.
- Ensure that the depth of the hole will be a minimum of 1/2” deeper than the embedded of the Tapcon screw.
- Vacuum dust and debris out of hole.
- Move the item being fastened and align over the hole.
- Insert Tapcon concrete screw through hole in the fixture and into the hole in the base material.
- Fasten the Tapcon concrete screw tight against the surface of the fixture being installed. I use nut drivers and an impact drill to do this.
- Ensure that the Tapcon concrete screw is not over-torqued to avoid stripping the threads and to ensure proper embedment.