
Locating and Sealing A Kitchen Draft
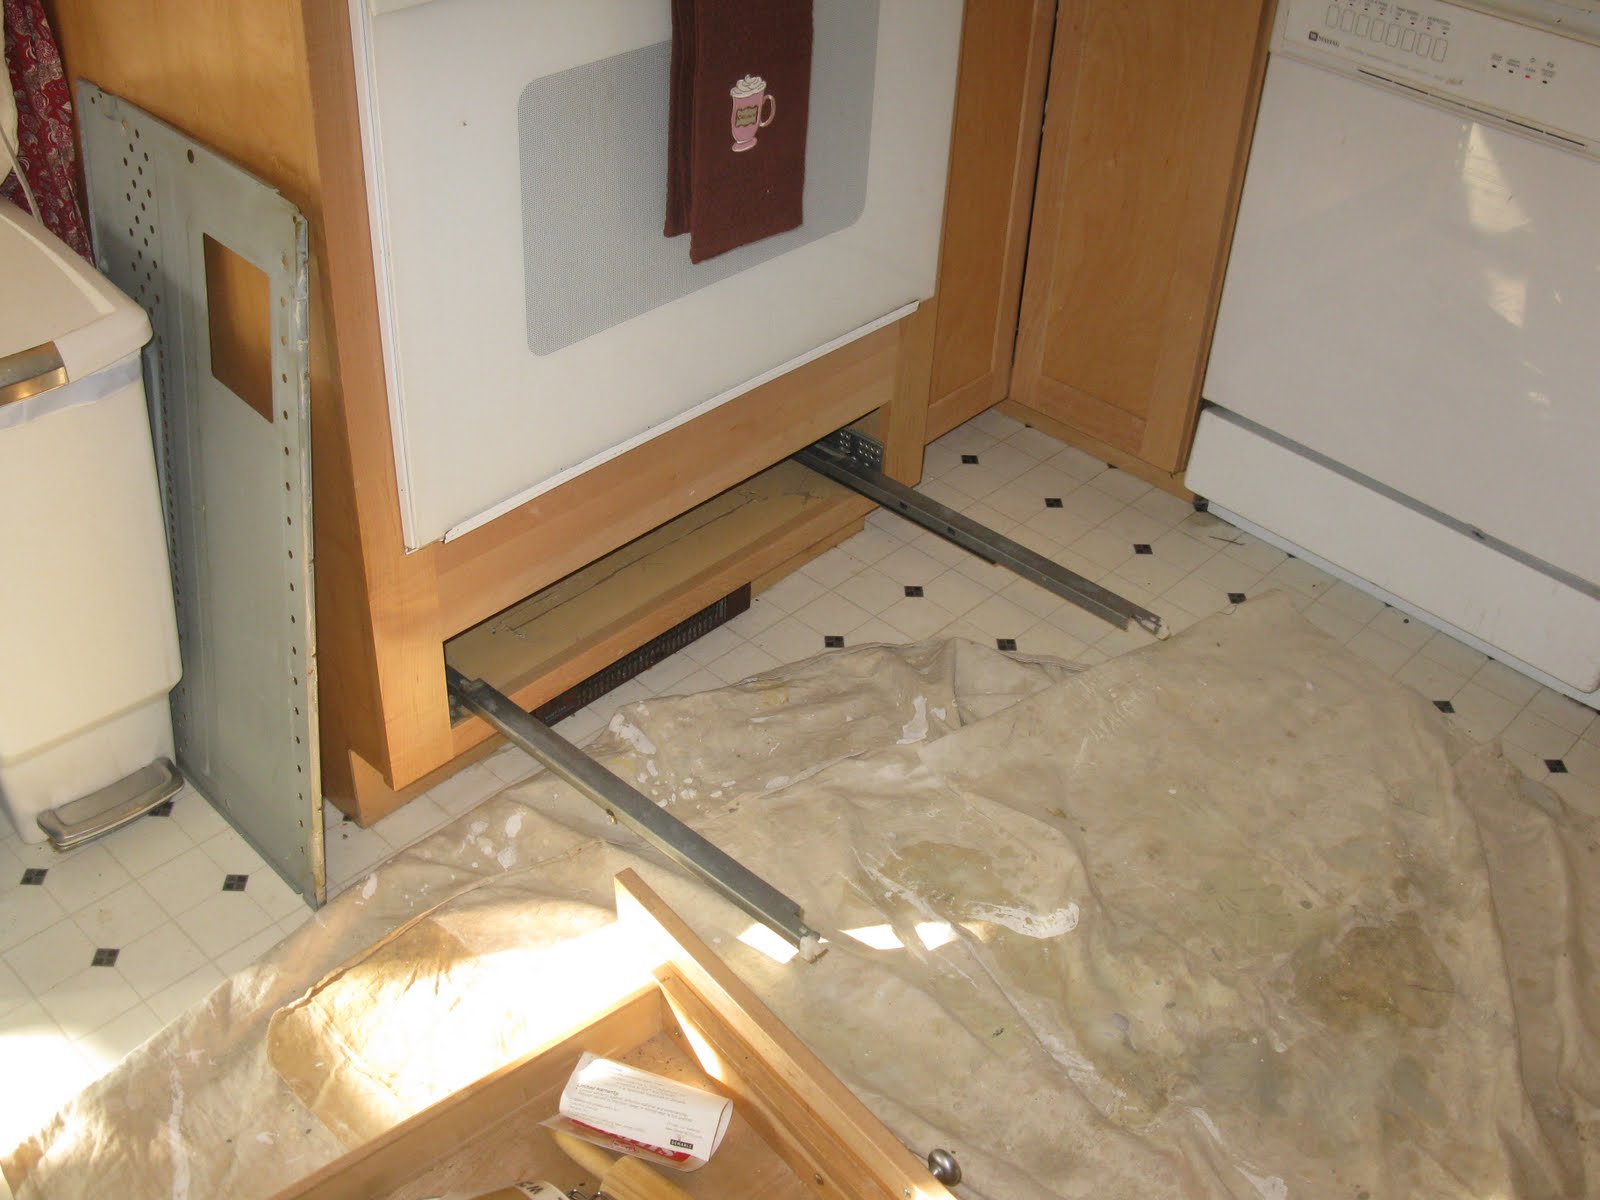
This customer was complaining about a cold draft coming from under her kitchen double oven cabinet. She also stated that on occasion a mouse or two has been spotted in the area and droppings had been found inside the drawer. [drawer taken out in picture below] Sealing Drafts like this can often be a super easy fix… this was a quick fix!
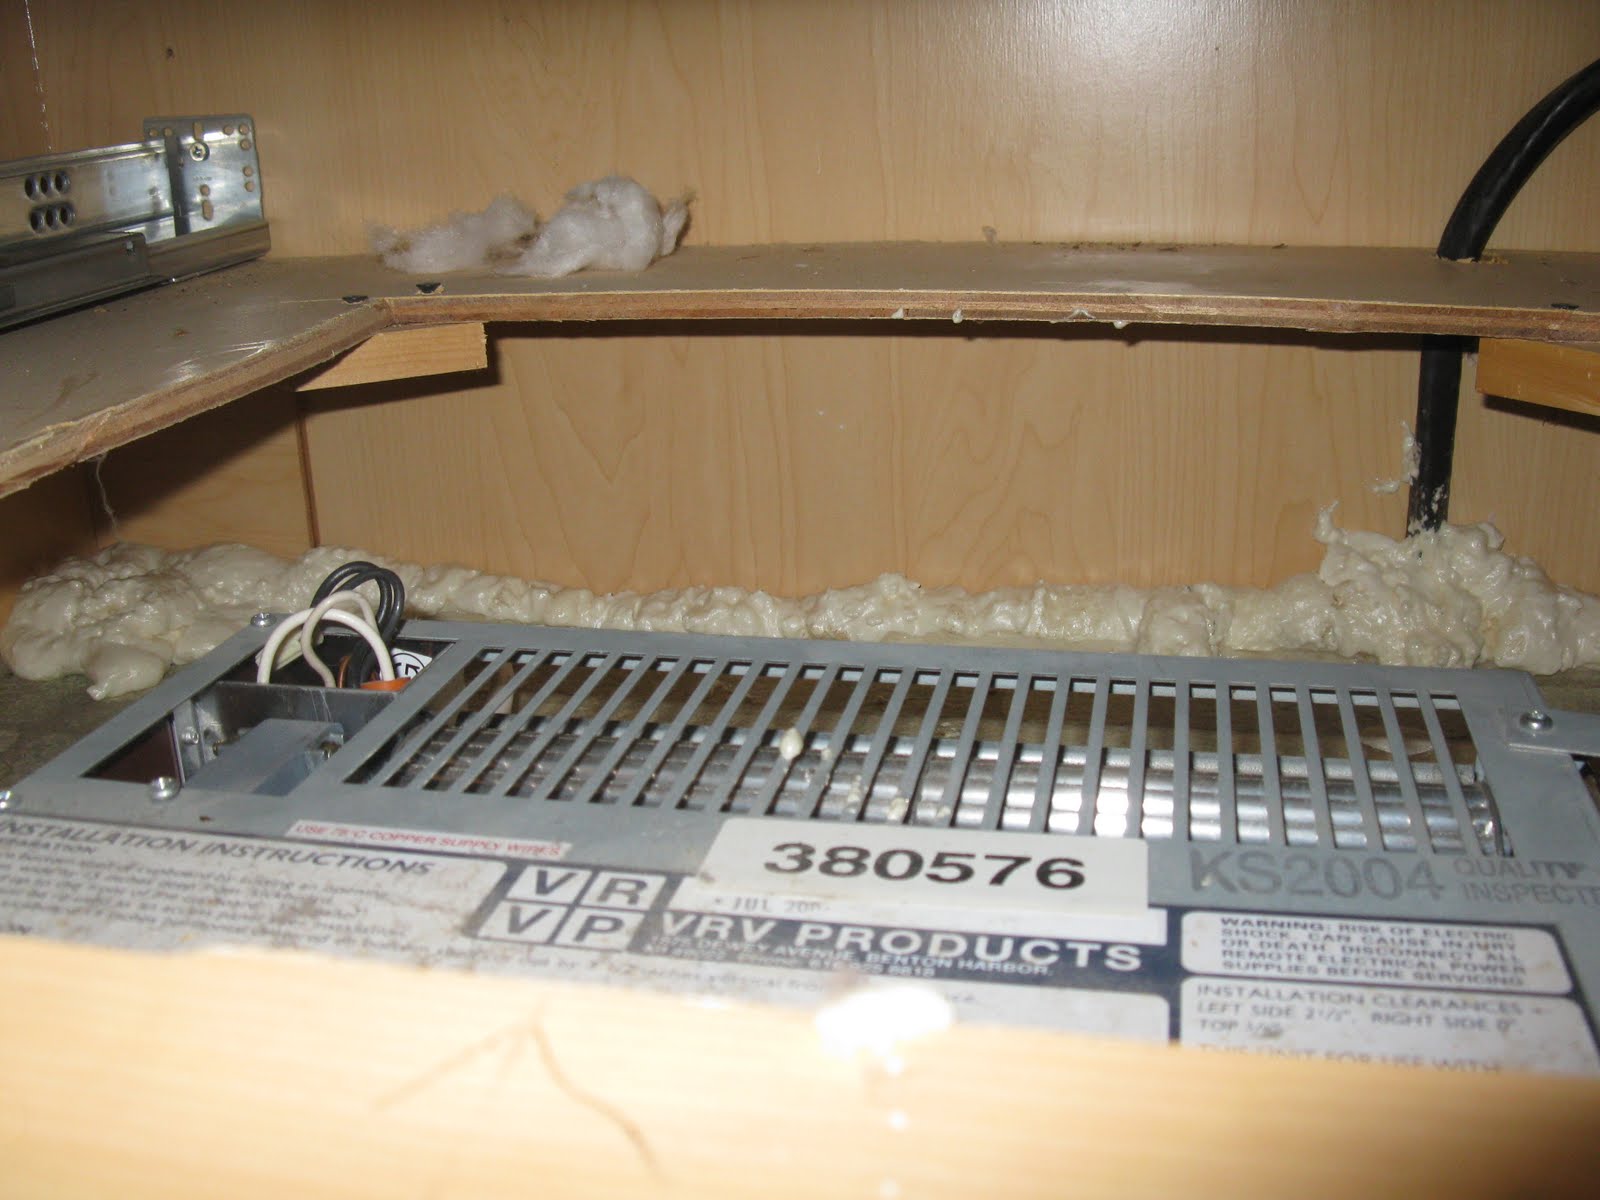
Another issue that she related to me was that the “toe-kick” heater installed below this drawer that was not working.
The heat pipes to this heater were hot to the touch but the blower was not working. With all of the cabinets along this kitchen wall, this is the only source of heat in this kitchen.
The homeowners have resorted to turning up the heat in an adjacent room to warm the kitchen.
The first part of this repair was to have the electrician evaluate the heater. The electrician determined that the problem involved a neutral wire and was able to get heater blower working. The kitchen now has heat and is no longer a cold room.
Locating and Sealing Drafts
The second part of this repair involved a visit from me to address the draft and critters.
While I was looking under this cabinet I could see a 1/2″ to 1″ gap at the rear of this cabinet that went down to a cold crawl space below. A draft was immediately felt.
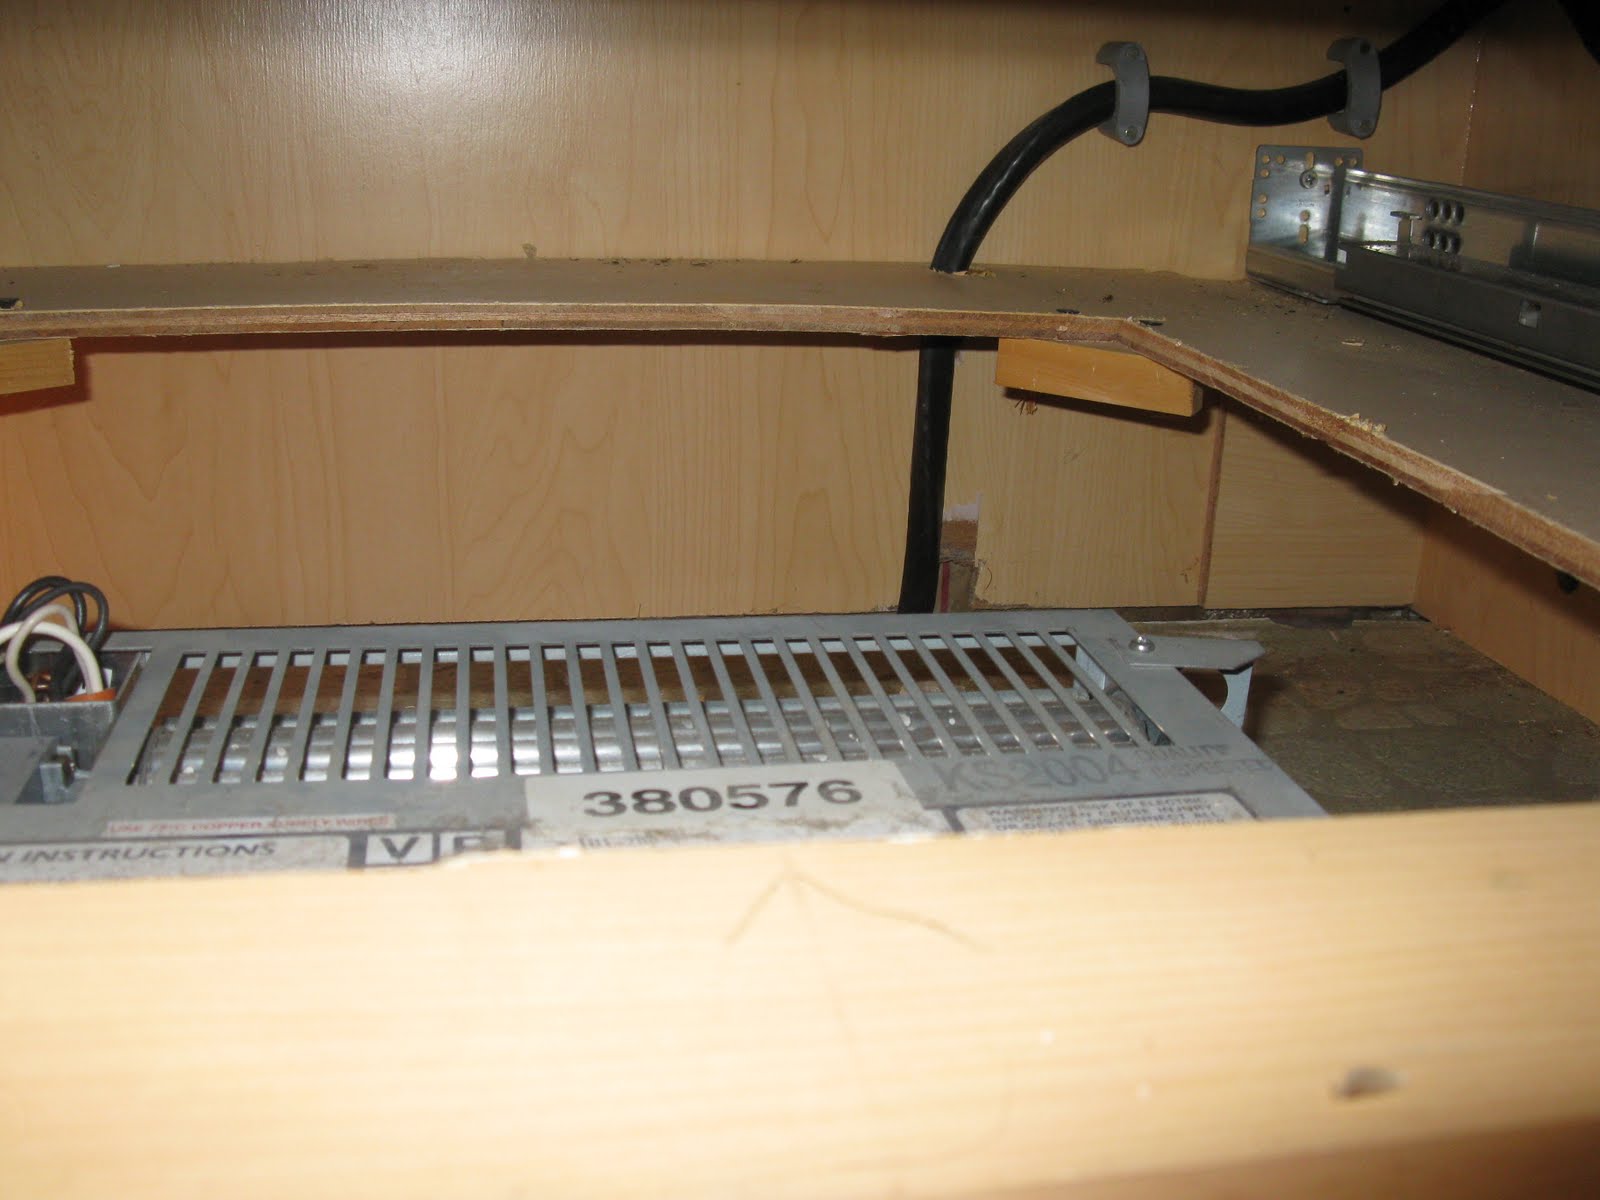
Close up of gap. Cold air was coming up through this gap. this wall is where the old house and a new addition meet. An unheated crawl space is below this gap and I’m guessing that this gap opens into that space.
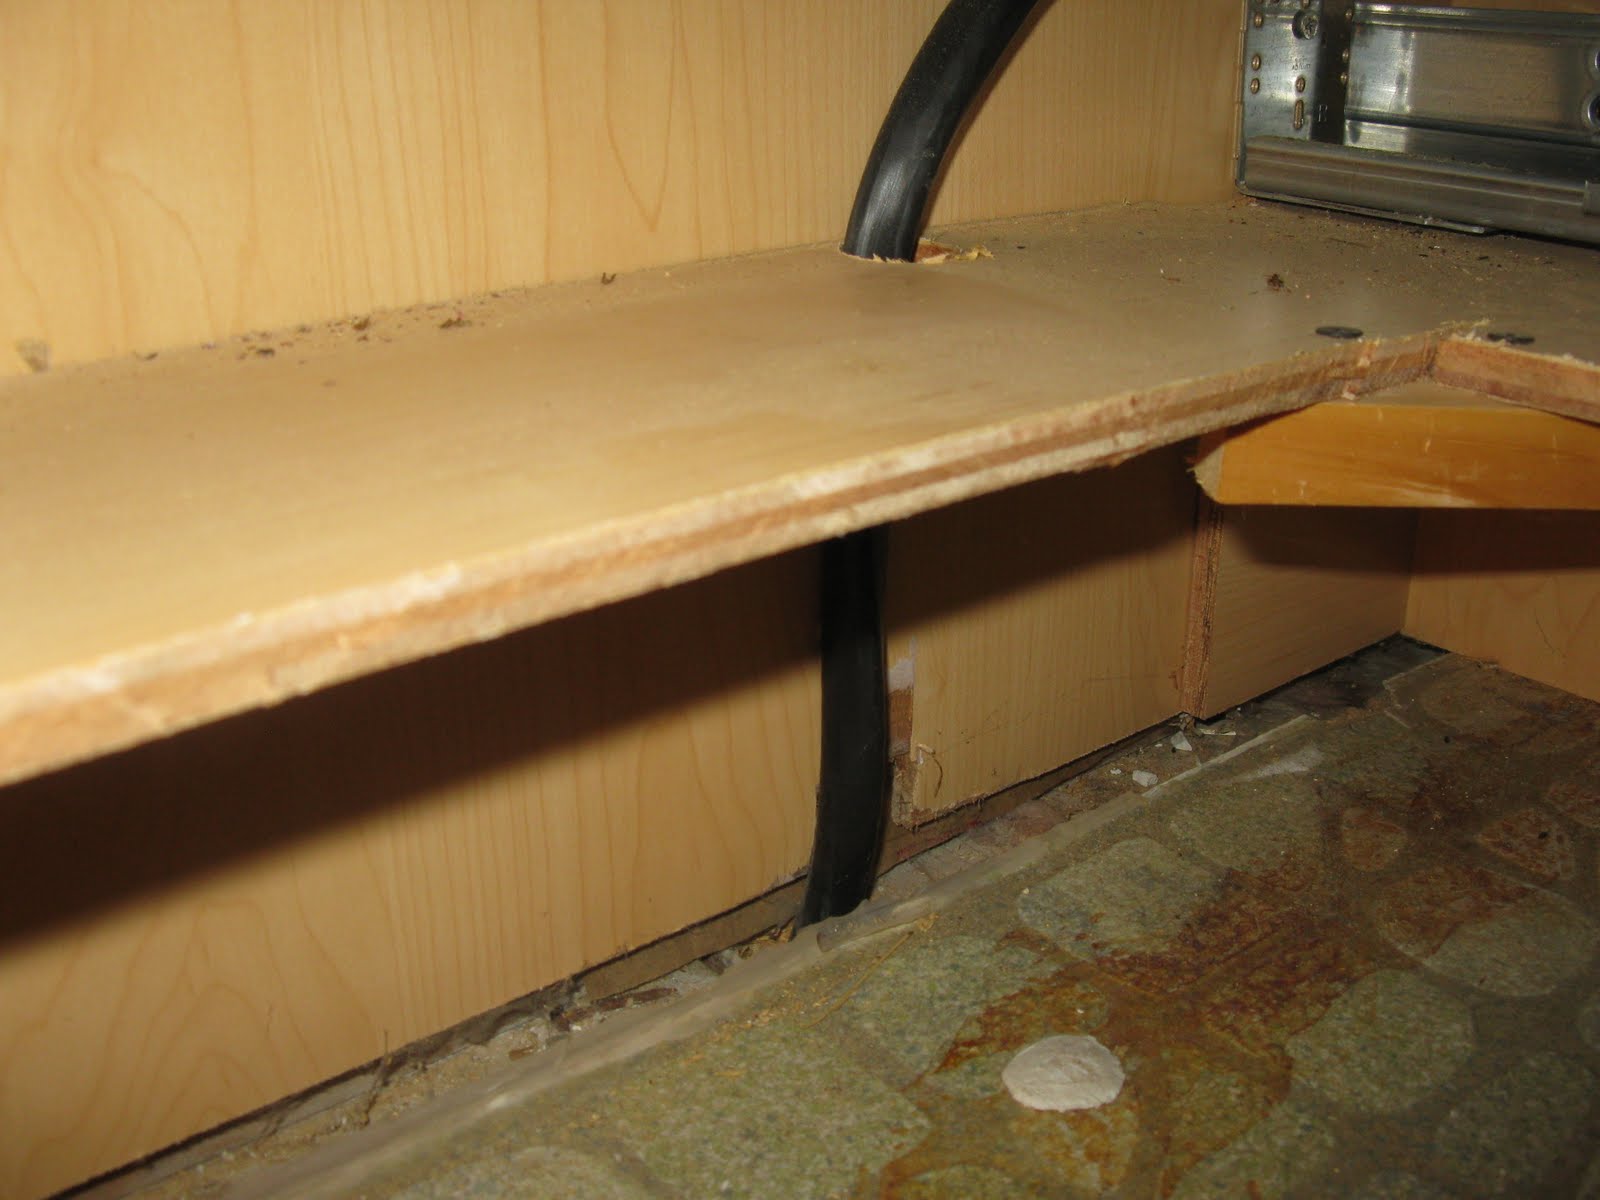
I foam sealed the gap to stop the drafts.
This area is also directly adjacent to the cantilevered built out pictured below. The built out was used for wood storage and this is where the mice WERE entering.
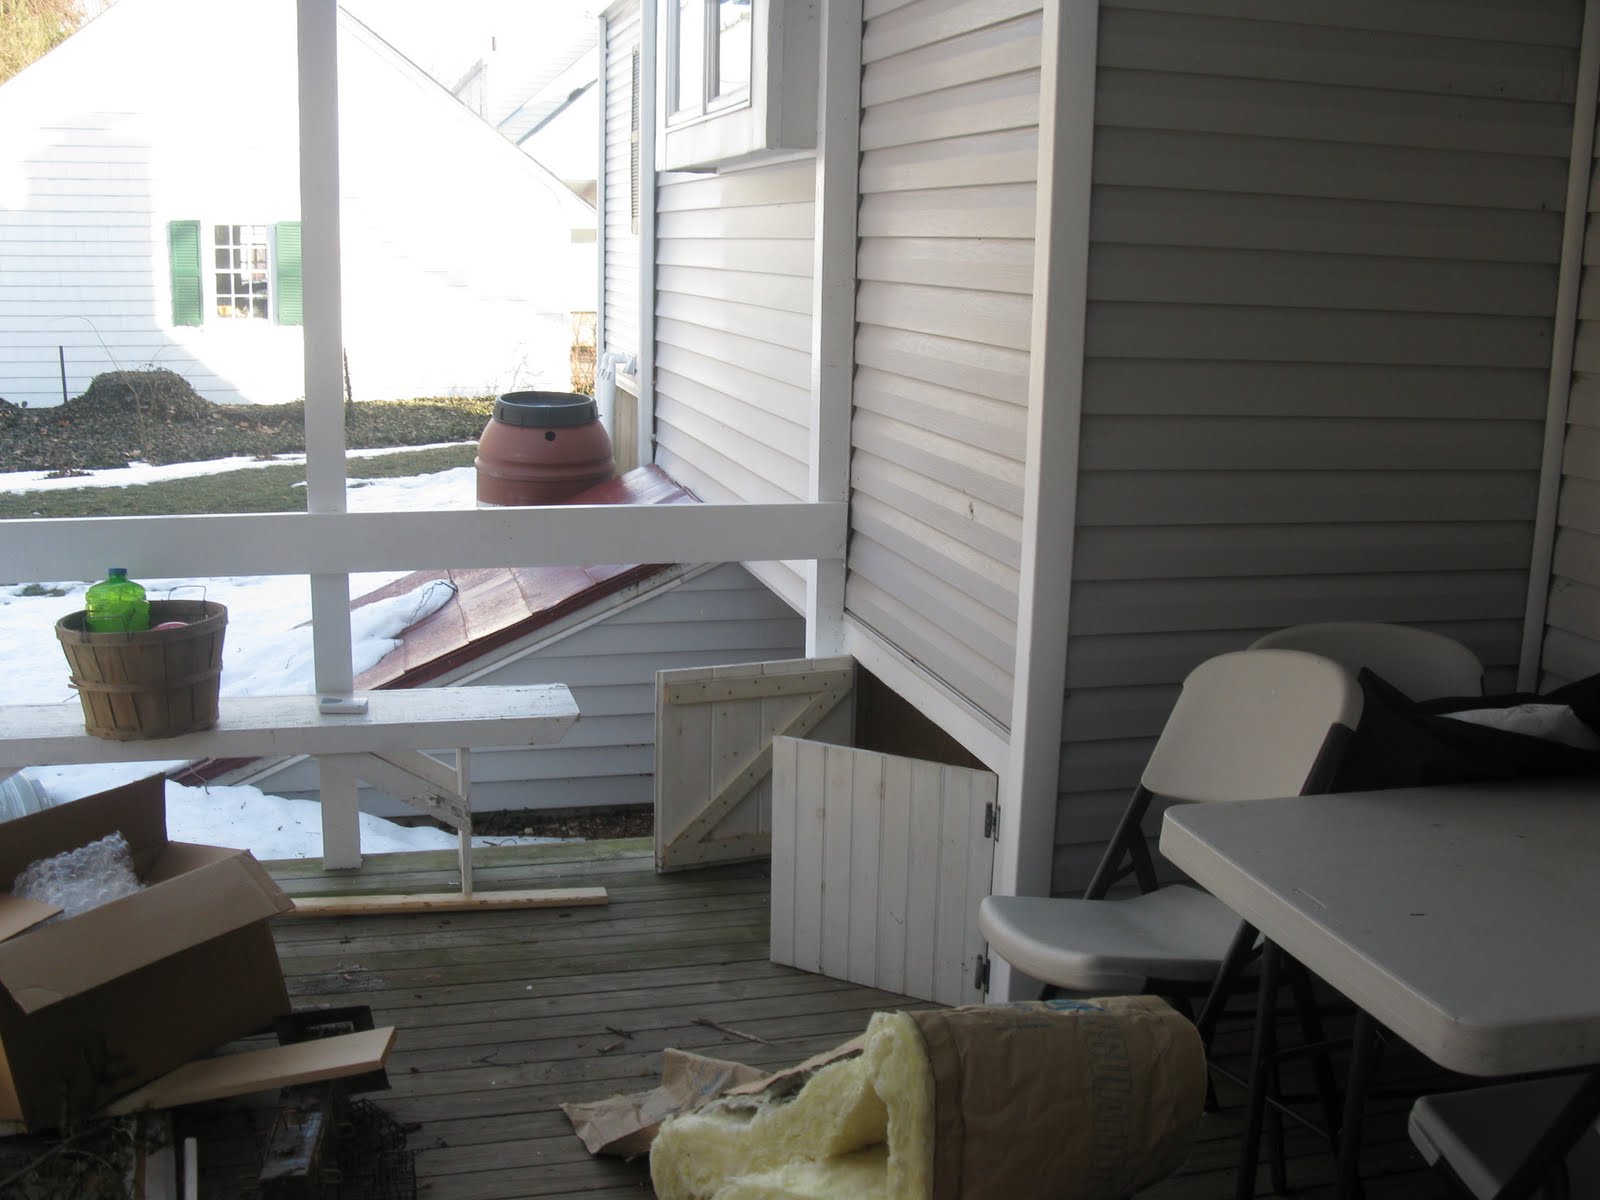
Wood cleared out revealed a large gap between the studs and concrete foundation. [right side]
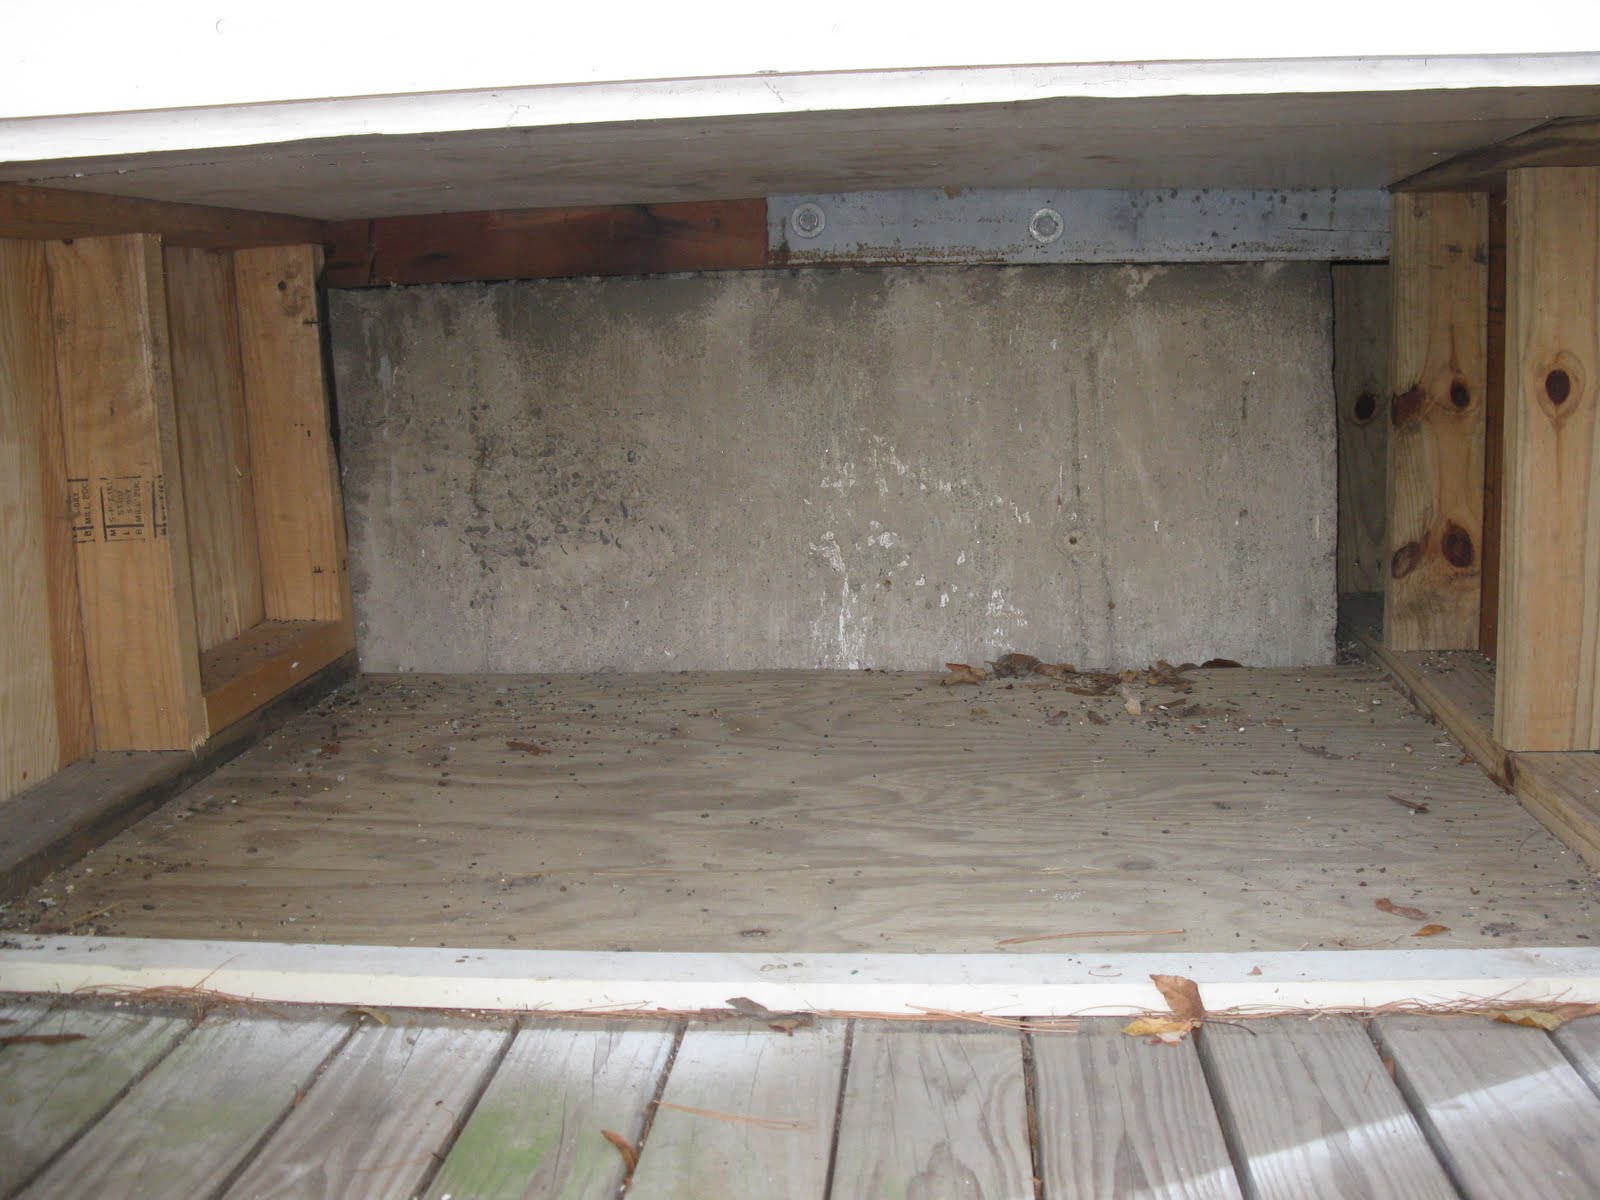
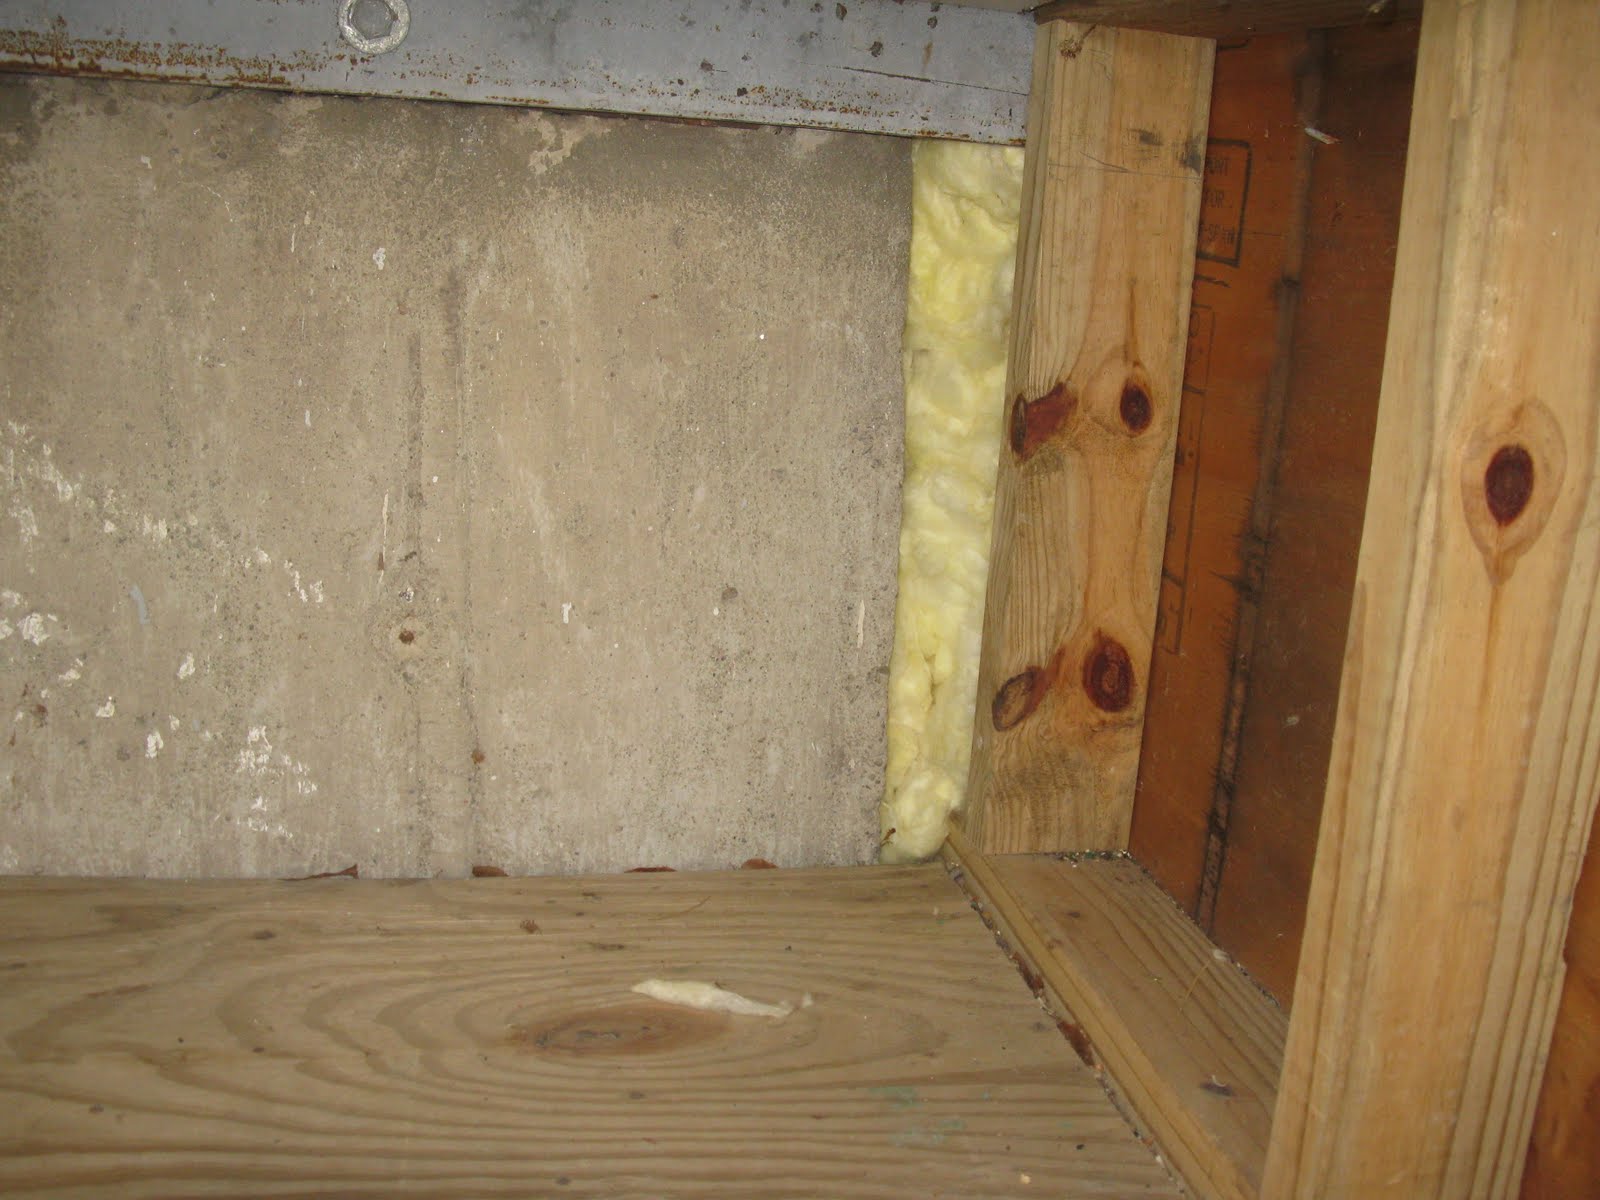
Close up of gap. [right side ] This gap goes into the crawl space and floor joists above which relates to the oven wall.
I’m not sure how the builders of the addition missed sealing up this gap, it is a huge energy sink as well as way for critters to enter.

Insulation added as far back as I could stick my hand.
3/4″ plywood was attached to the concrete foundation with a power shot – concrete nail gun and then we foam sealed the edges.
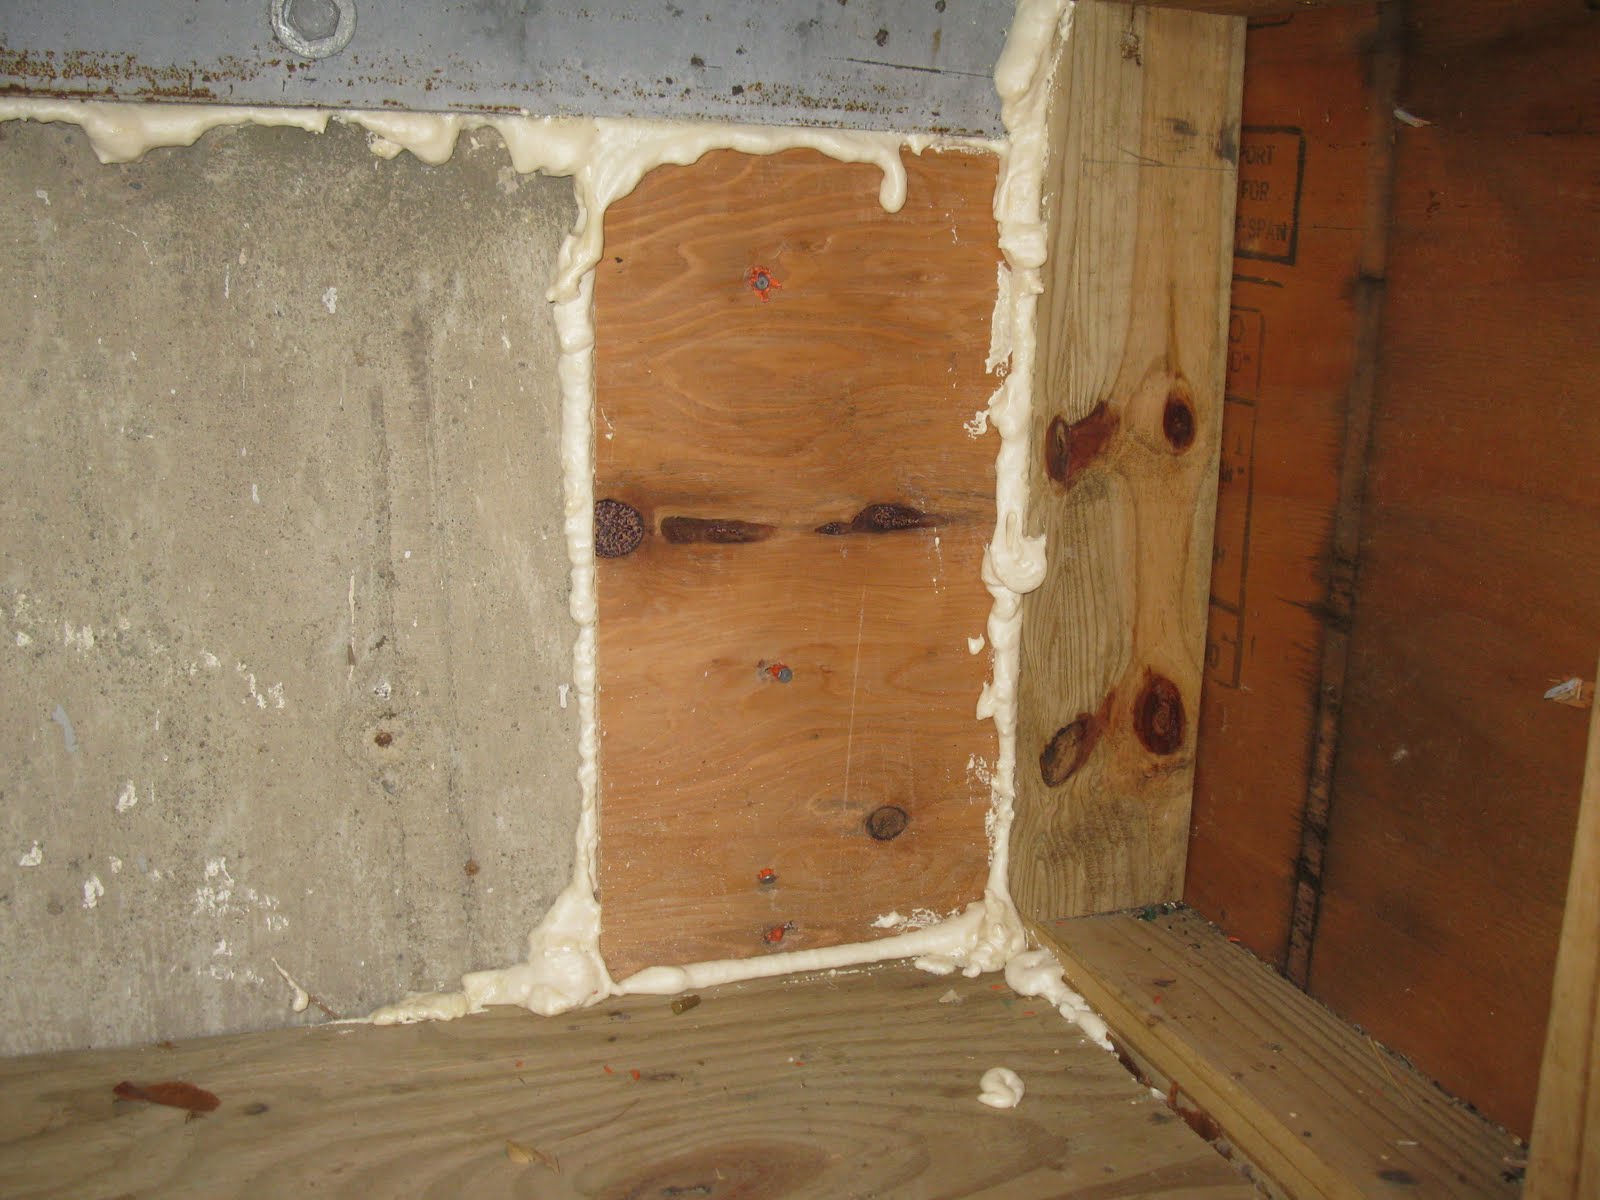
Four hour repair will pay for itself with this winters energy bill savings.

