Sealing and Insulating Rim Joists – BEST PRACTICE
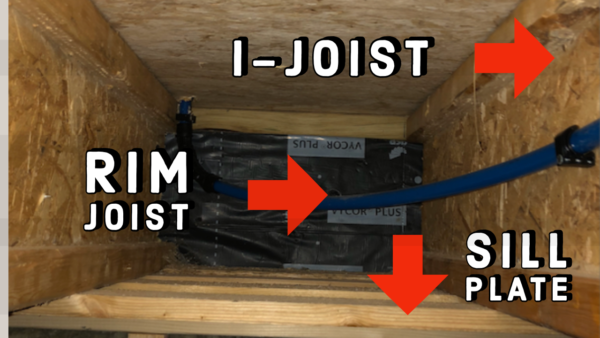
Rim Joists [also called band joists] and sill plates are often an overlooked and under-insulated location in a house. The rim joist is a box-like cavity that the floor joists connect to and sits on the foundation sill and wall.
Rim joists and sill plates, if not sealed, are notorious areas for air leakage and pest infiltration.

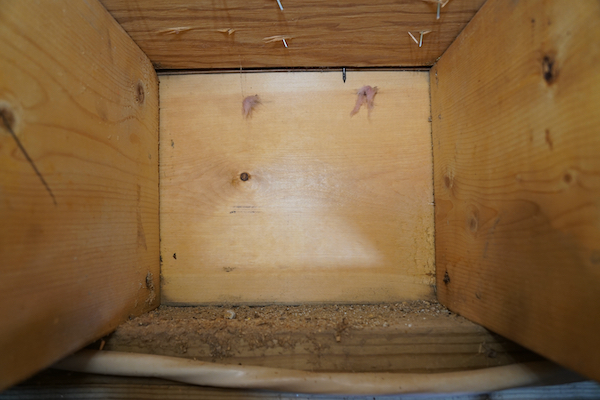
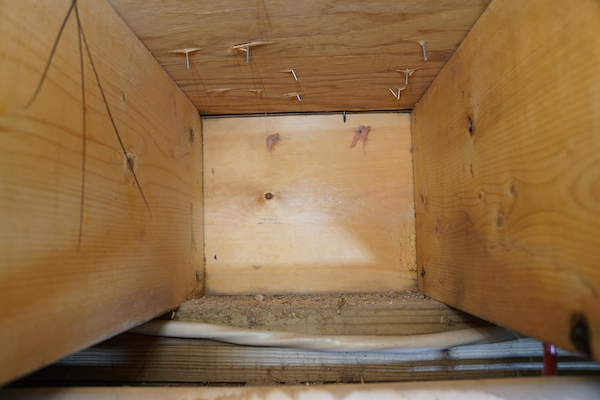
Circa 2018 I-Joist and Rim Joist Area [uninsulated]

This article will detail that process in three different approaches:
- Full cavity Spray foam
- Flash and batt
- Ridgid Insulation and batt

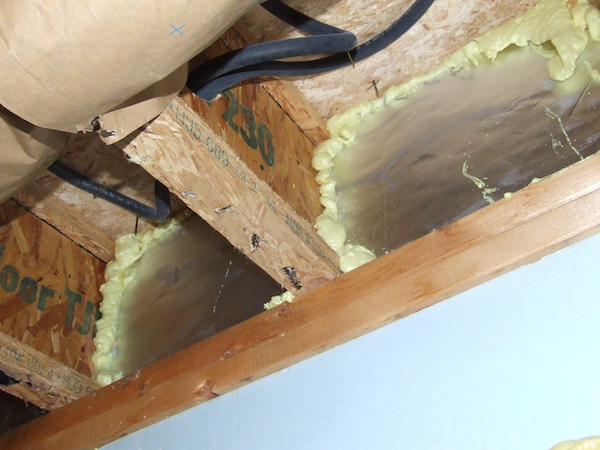
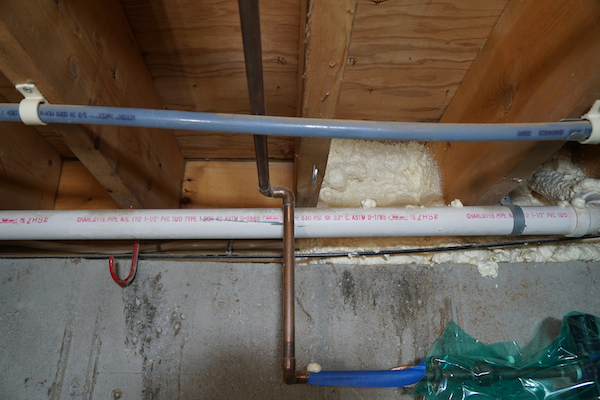
Rim joist area with I-beam Joists – sealed with Rigid Board and foam sealant
Fiberglass Insulation [alone] Is NOT Best Practice
The practice of insulating rim joists with fiberglass batts is no longer recommended mostly because fiberglass batts are air permeable, and allows warm, humid interior air to contact the rim joists. Warm air can condense on the cold rim joist and cause mold and rot.

If you’ve ever pulled a piece of fiberglass insulation out and noticed black spots, this is a clue that there is an air leak in that area. Fiberglass batts are a GREAT filter and capture dirt, pollen, and dust coming in from the outside of the house. While mold will not grow on the fiberglass fibers, it will grow on the dirt, pollen, and other debris that the fiberglass captures.
Best Practice for Sealing and Insulation A Rim Joist
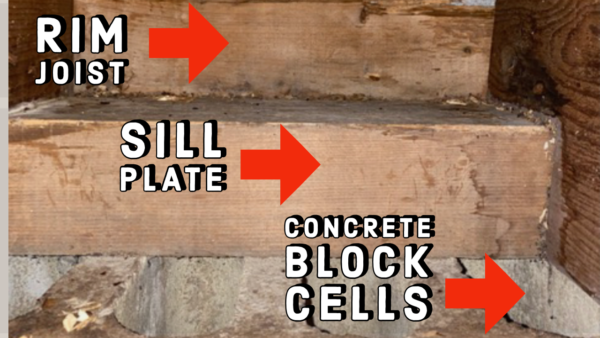
Circa 1950’s Concrete Block Foundation With 6×6 Mud Sill
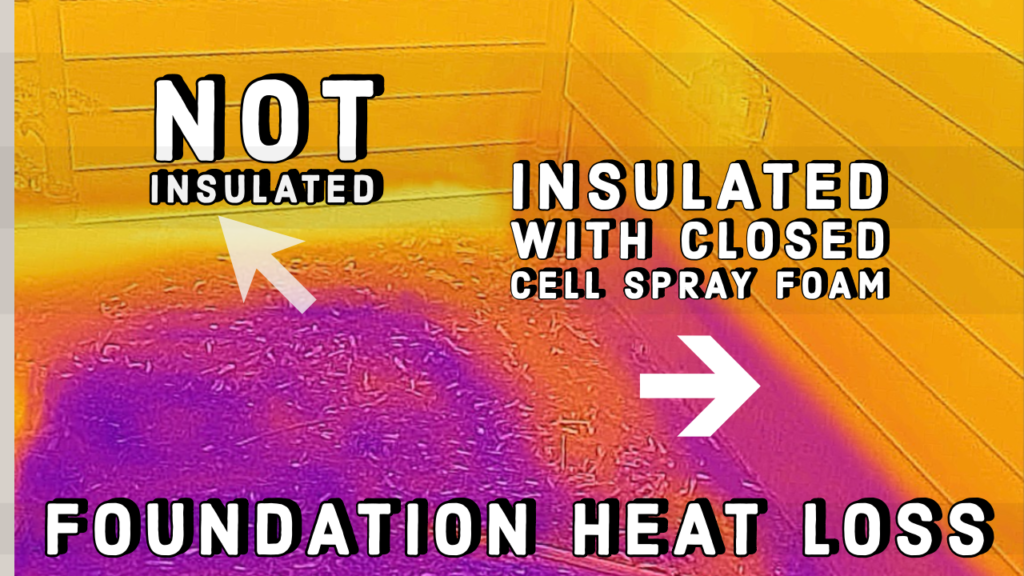
The best practice to prevent air leaks, mold and rot issues is to seal the rim joist and sill areas with either rigid foam or spray polyurethane foam.
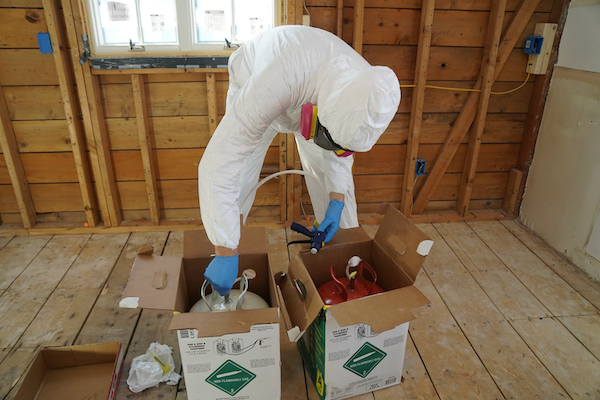
DAP System 600 – Full Cavity Fill With Spray Foam [BEST Practice]
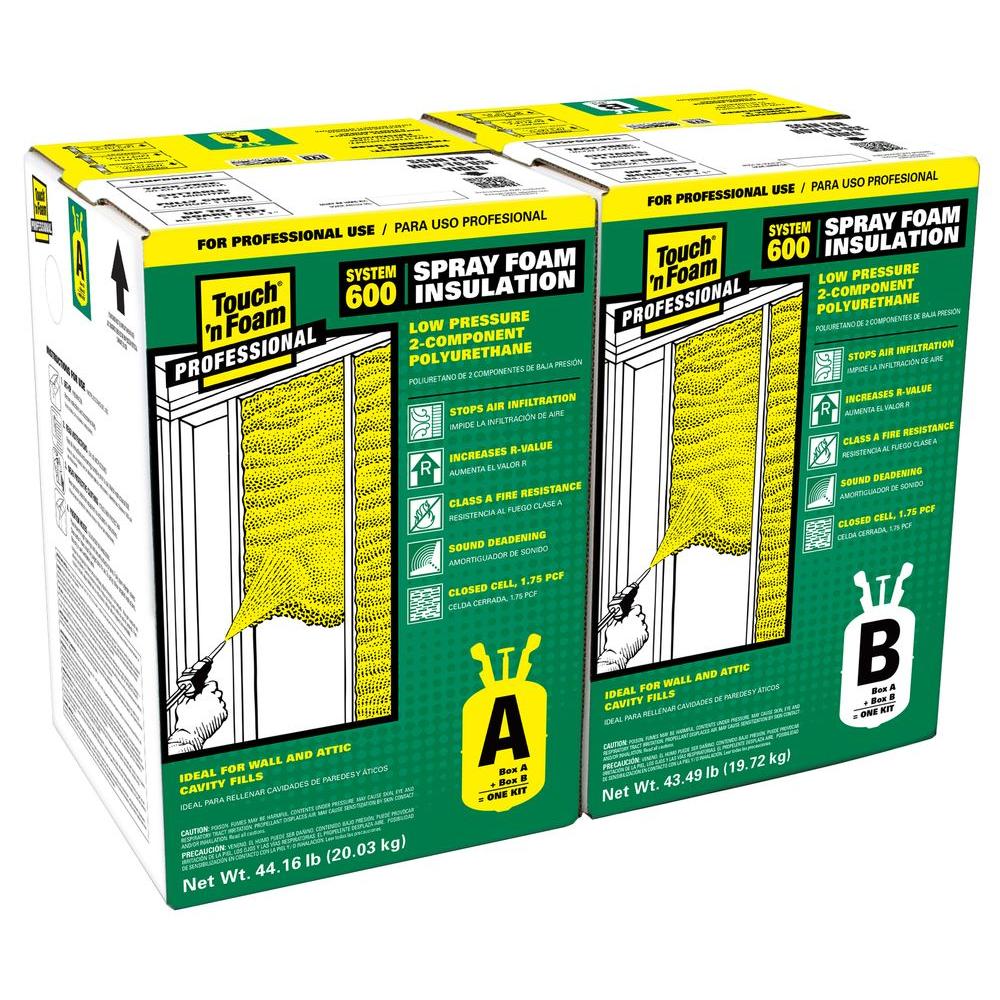
This is the fastest and best approach for insulating rim joists is to use a spray foam contractor, or if you decide to do this yourself, then use the DAPs System 600 Touch N Foam Spray Foam Insulation. DAP System 600 is a two-component polyurethane foam [closed cell] that will completely fill the entire sill plate and rim joist.

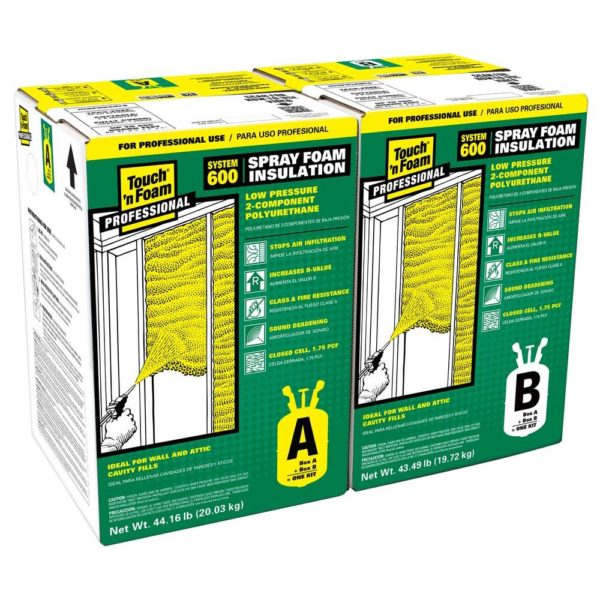
Touch and Foam DAP System 600
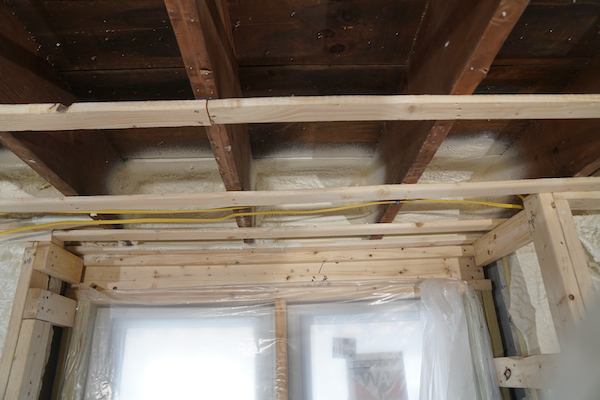
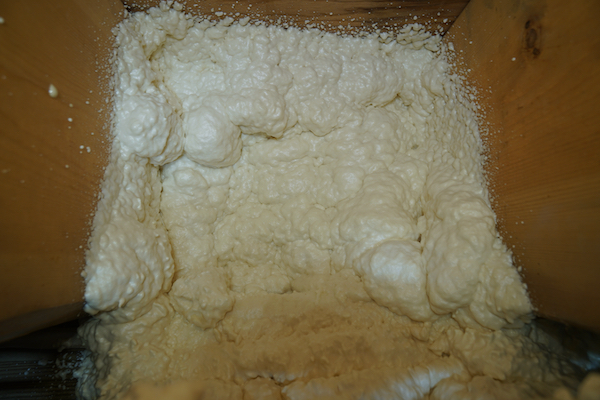
In the photo above you can see the concrete block “cells” are open at the top. The System 600 spray foam is the best approach for filling the entire bay and covers these concrete block cell openings.
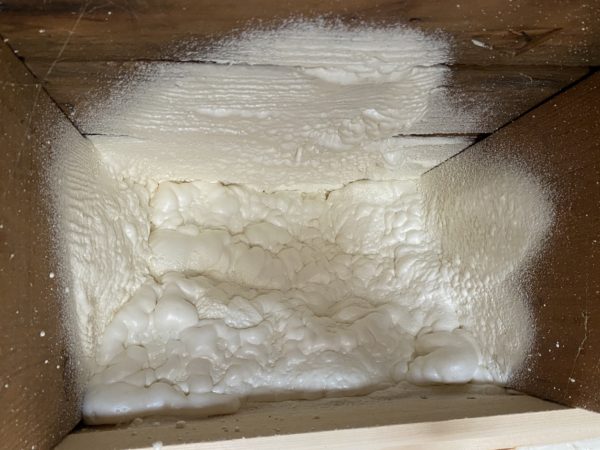
Rim joist completely covered with insulating foam
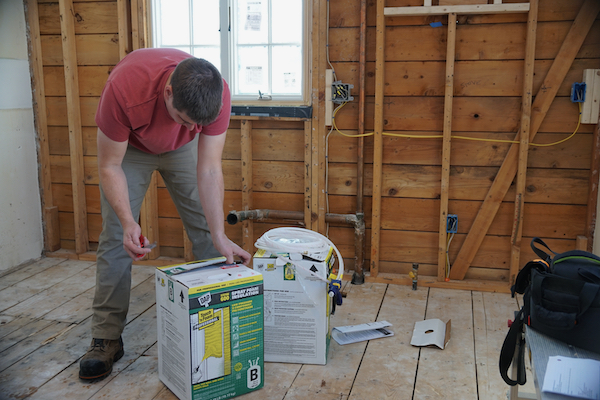
As a remodeling contractor, I like using the DAP System 600, it’s super easy to use, saves me money by allowing me to insulate myself, and eliminates having to call in a spray foam contractor. System 600 is a two-tank system that meters chemical flow which gives me greater control as an end-user and also minimizes waste.

I typically dispense the foam in multiple 1/2 -inch layers. moving from one joist bay to the next, allowing the foam to expand before going back to install more. Once cured, closed-cell spray foam has an R-value of about R-6.5 per inch.
Flash And Batt
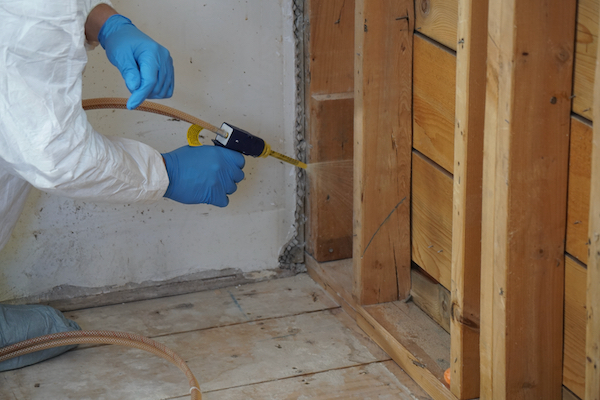
“Flash and Batt,” [or flash and fill] refer to the method of installing a 1/4″ of spray foam to seal all of the air leaks and to prevent the warm interior from contacting the cold rim joist. Once the foam has dried fiberglass batt insulation can then be installed to fill in the rest of the cavity. We use the DAP System 200 for this approach, which we have found uses less costly materials but requires more steps.
Many times when were are having an insulation contractor come in to install fiberglass batt insulation we will use this flash method to create a vapor barrier, and seal air leaks at the rim joists. Then have them install insulation in the rim joist bay.
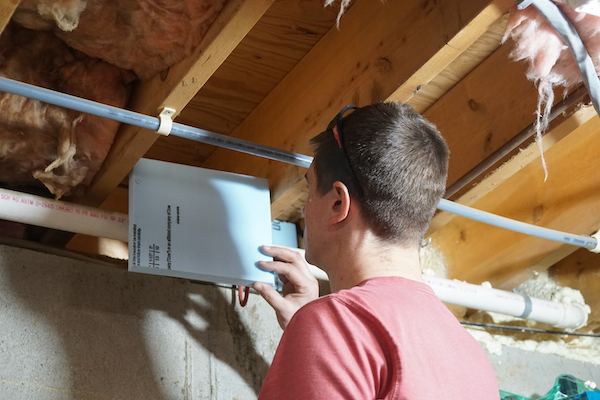
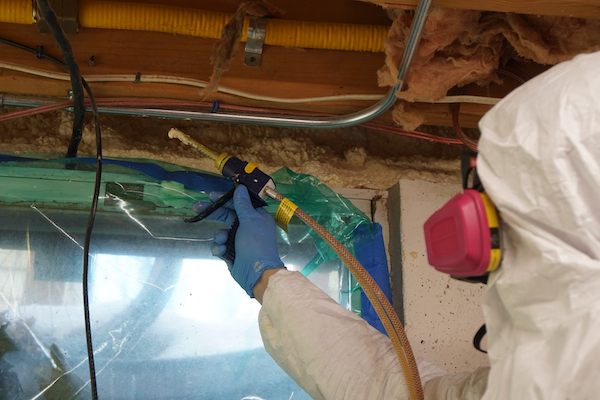
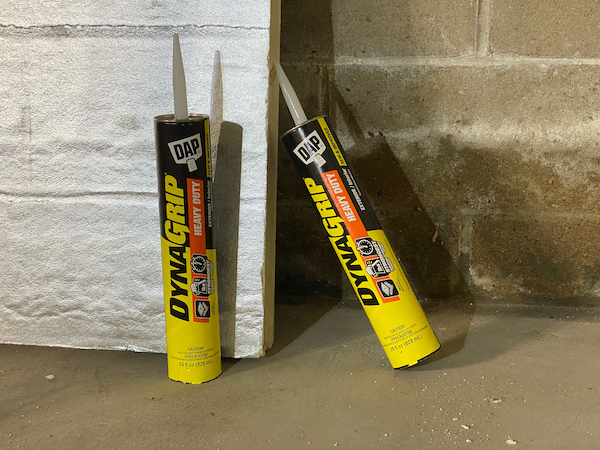
Ridgid Insulation Installation With DAP DynaGrip
This method keeps the cost of material down but is more time consuming as it requires you to cut 1-1/2″ to 2″ thick Extruded Polystyrene (XPS) insulation to fit between the floor joists and up against the rim joist.

The foam is either glued in place or attached with screws with larger washers, we do both, and use DAP DynaGrip to glue the insulation board in place.
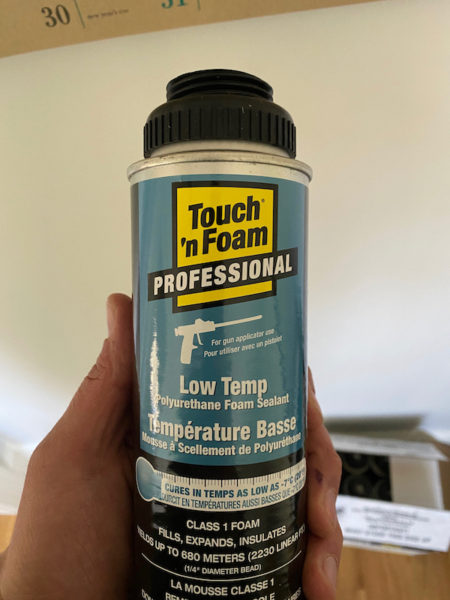
Spray Foaming the Edges
Once in place, we use the DAP Touch ‘n Foam Low Temp Polyurethane Foam Sealant to seal all the edges in place. Fiberglass batts can later be installed.
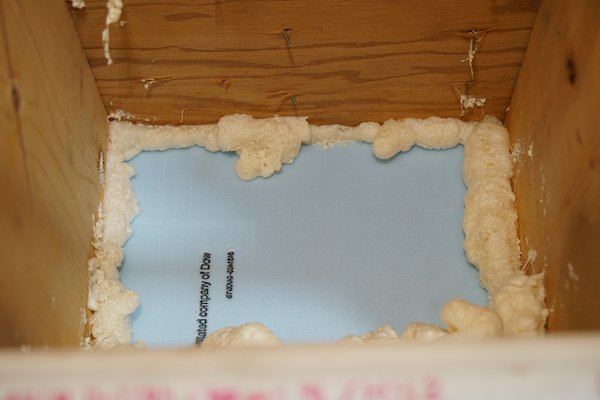
The Extruded Polystyrene (XPS) insulation delivers the long-term stable thermal performance of R-5 per inch.

Compared to spray foam, it’s harder to install in awkward areas (for example, in a tight space where a rim joist is close to another parallel joist). Rigid foam is also fussy to install if the rim joists are the site of lots of wiring and pipe penetrations. If we run into this situation we prefer to use the DAP System 600 to completely fill that rim joist area with foam.
Sealing And Insulating Rim Joists 3-Methods – Best Practice Video