
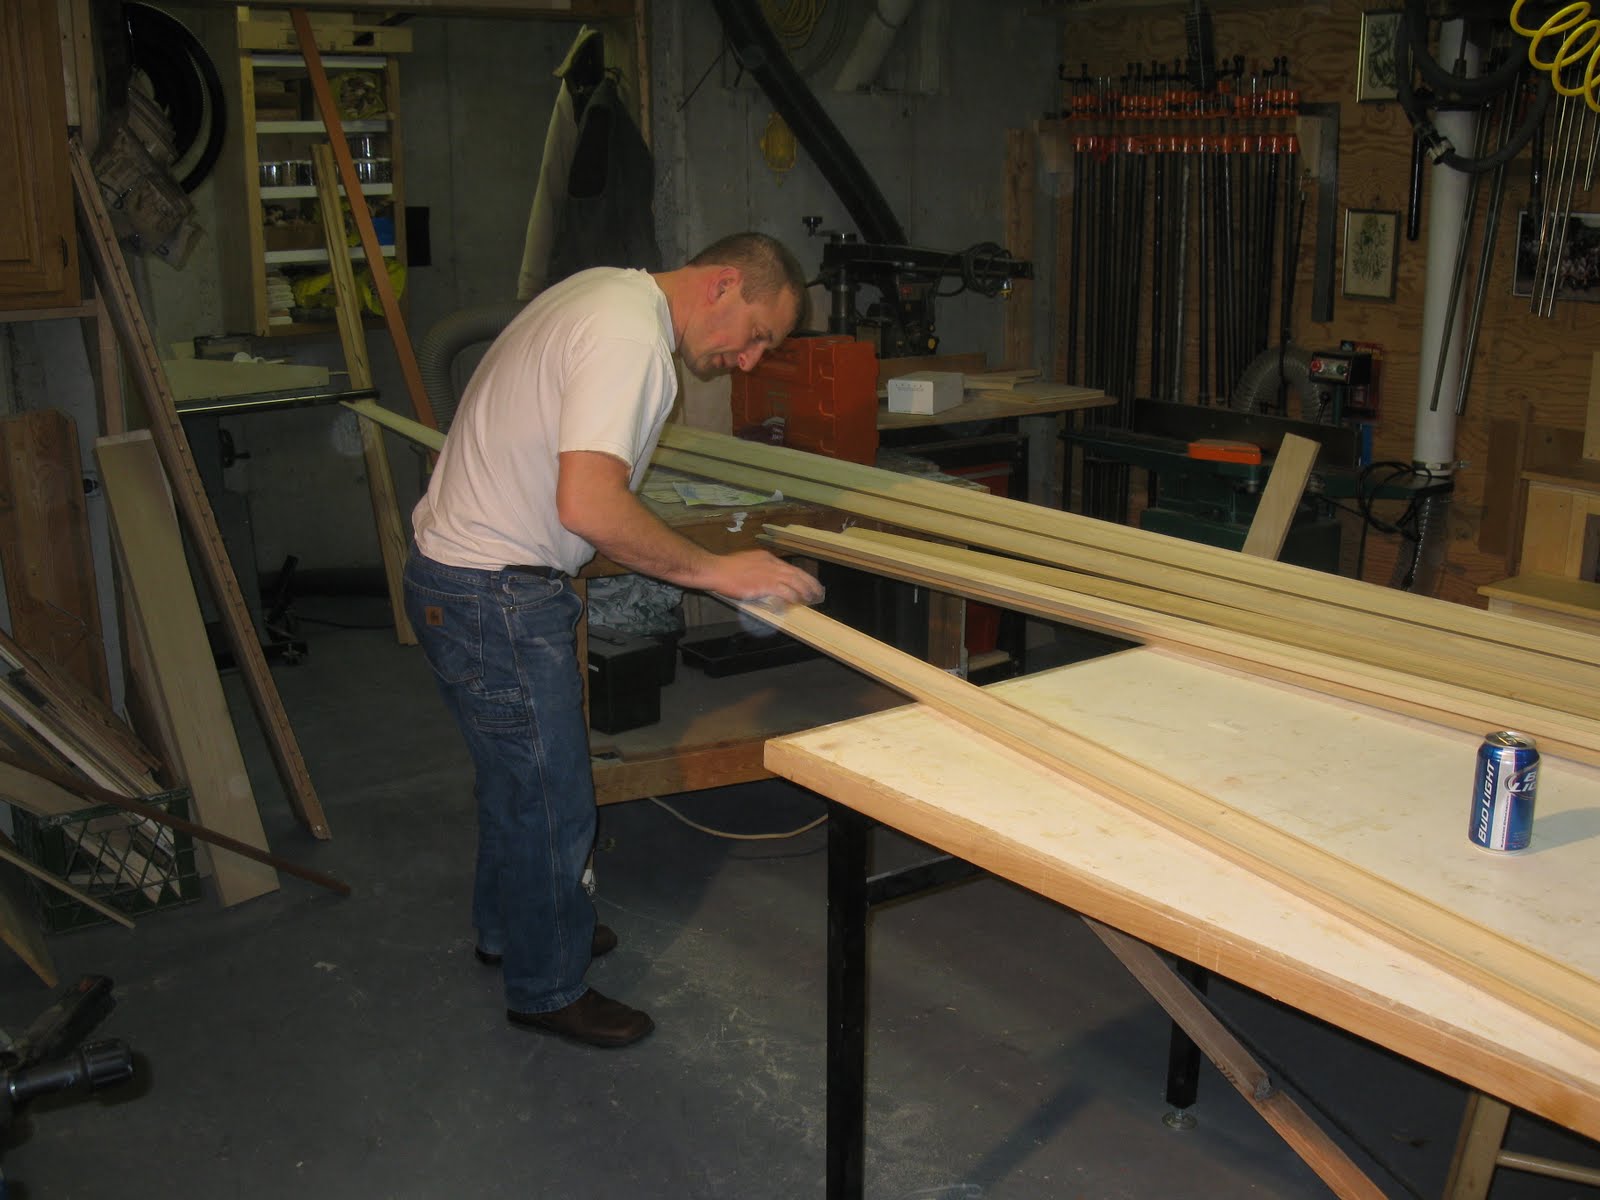
If you want an “A” paint job on crown moldings and trim then you need to take the steps to prepare the wood prior to painting.
This means sanding out the mill marks left on the wood from the moulding and planner blades.
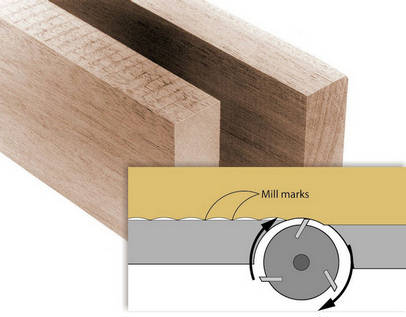
When boards are run through a planer, the rotating planer knives take shallow bites out of the wood. Mill marks appear as a series of repeating raised bumps that run across the grain of the board.
Look closely at the molding picture below. I drew pencil marks over some of the mill marks and if you enlarge the photo you will see the marks continue down the molding board.
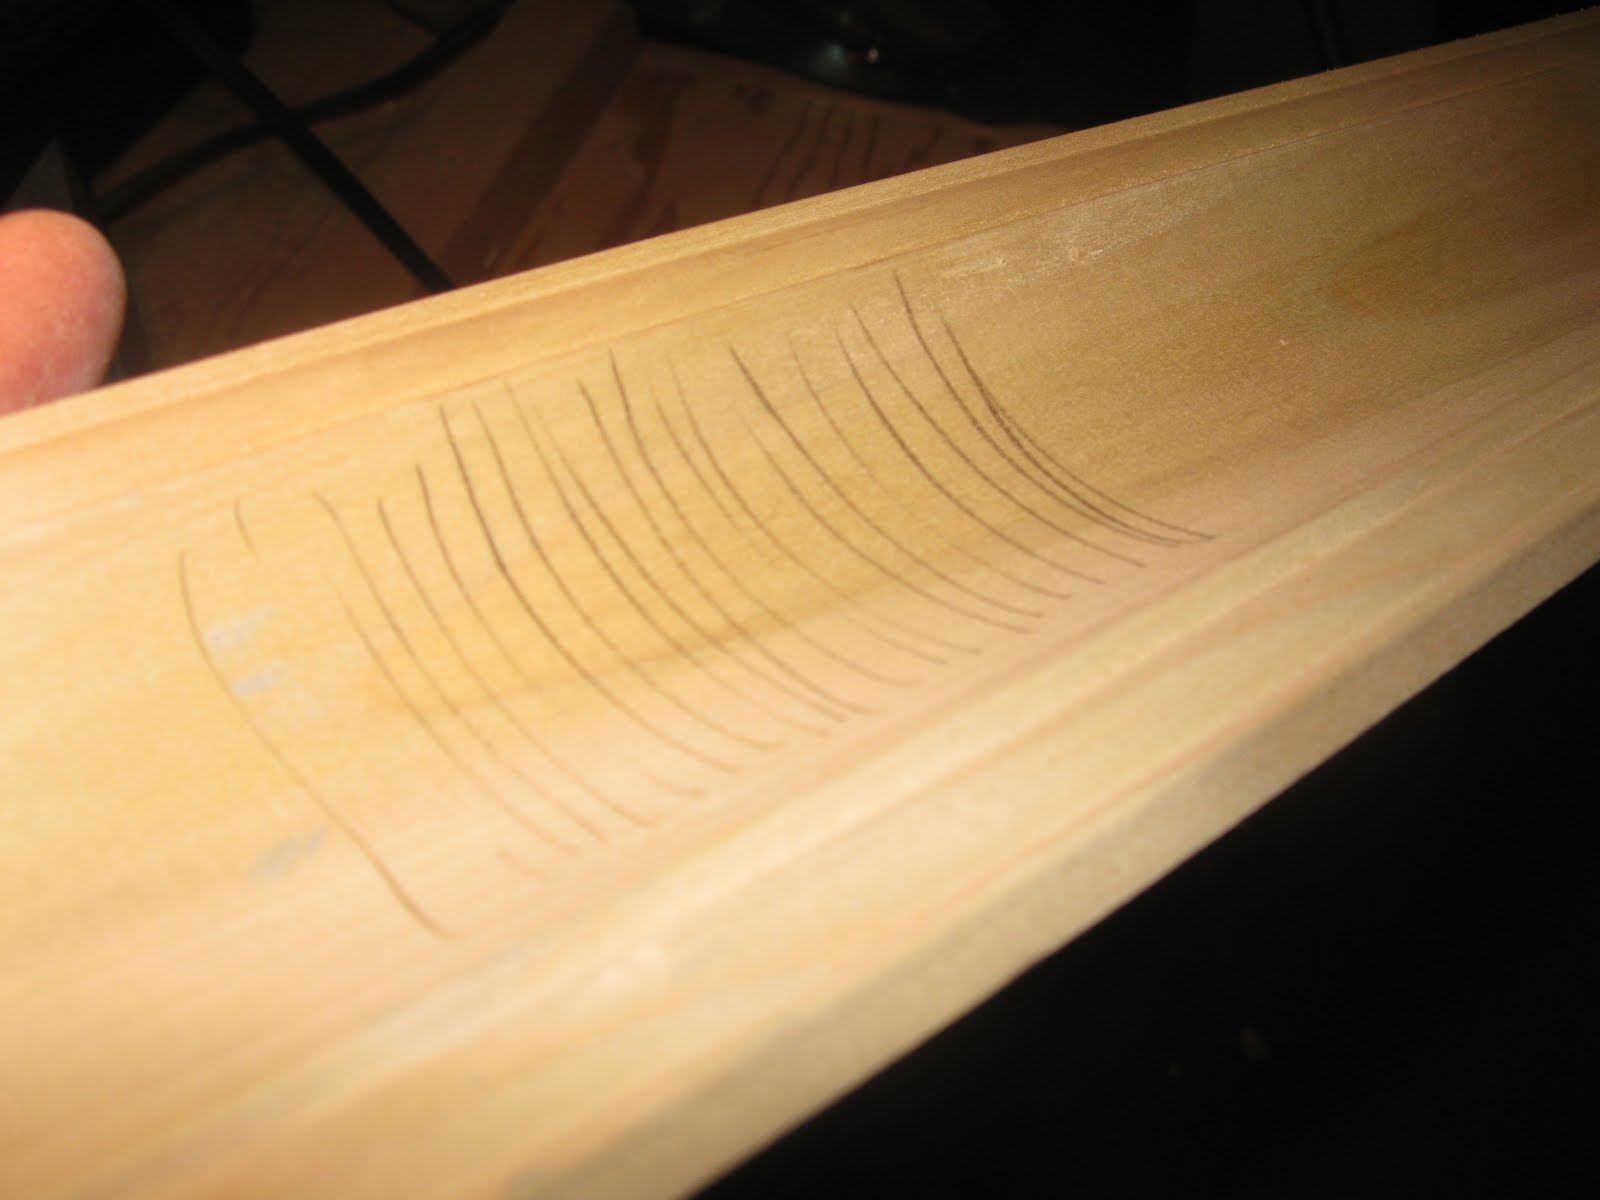
If the knives are very dull, the marks really stand out, but more often they are less pronounced, in some cases invisible to the naked eye but will often show up when light hits the wood at an angle, similar to a sunset or sunrise.
It’s important to note that mill marks are present on every board that has been run through a planer, regardless of quality or source. Sometimes mill marks are very hard to see. If you don’t detect and remove them, they will really stand out once a stain or finish has been applied.
The best way to sight mill marks or any other minor flaws or defects is to use reflected light. Position a lamp above the work surface at about a 30 degree angle to the surface.
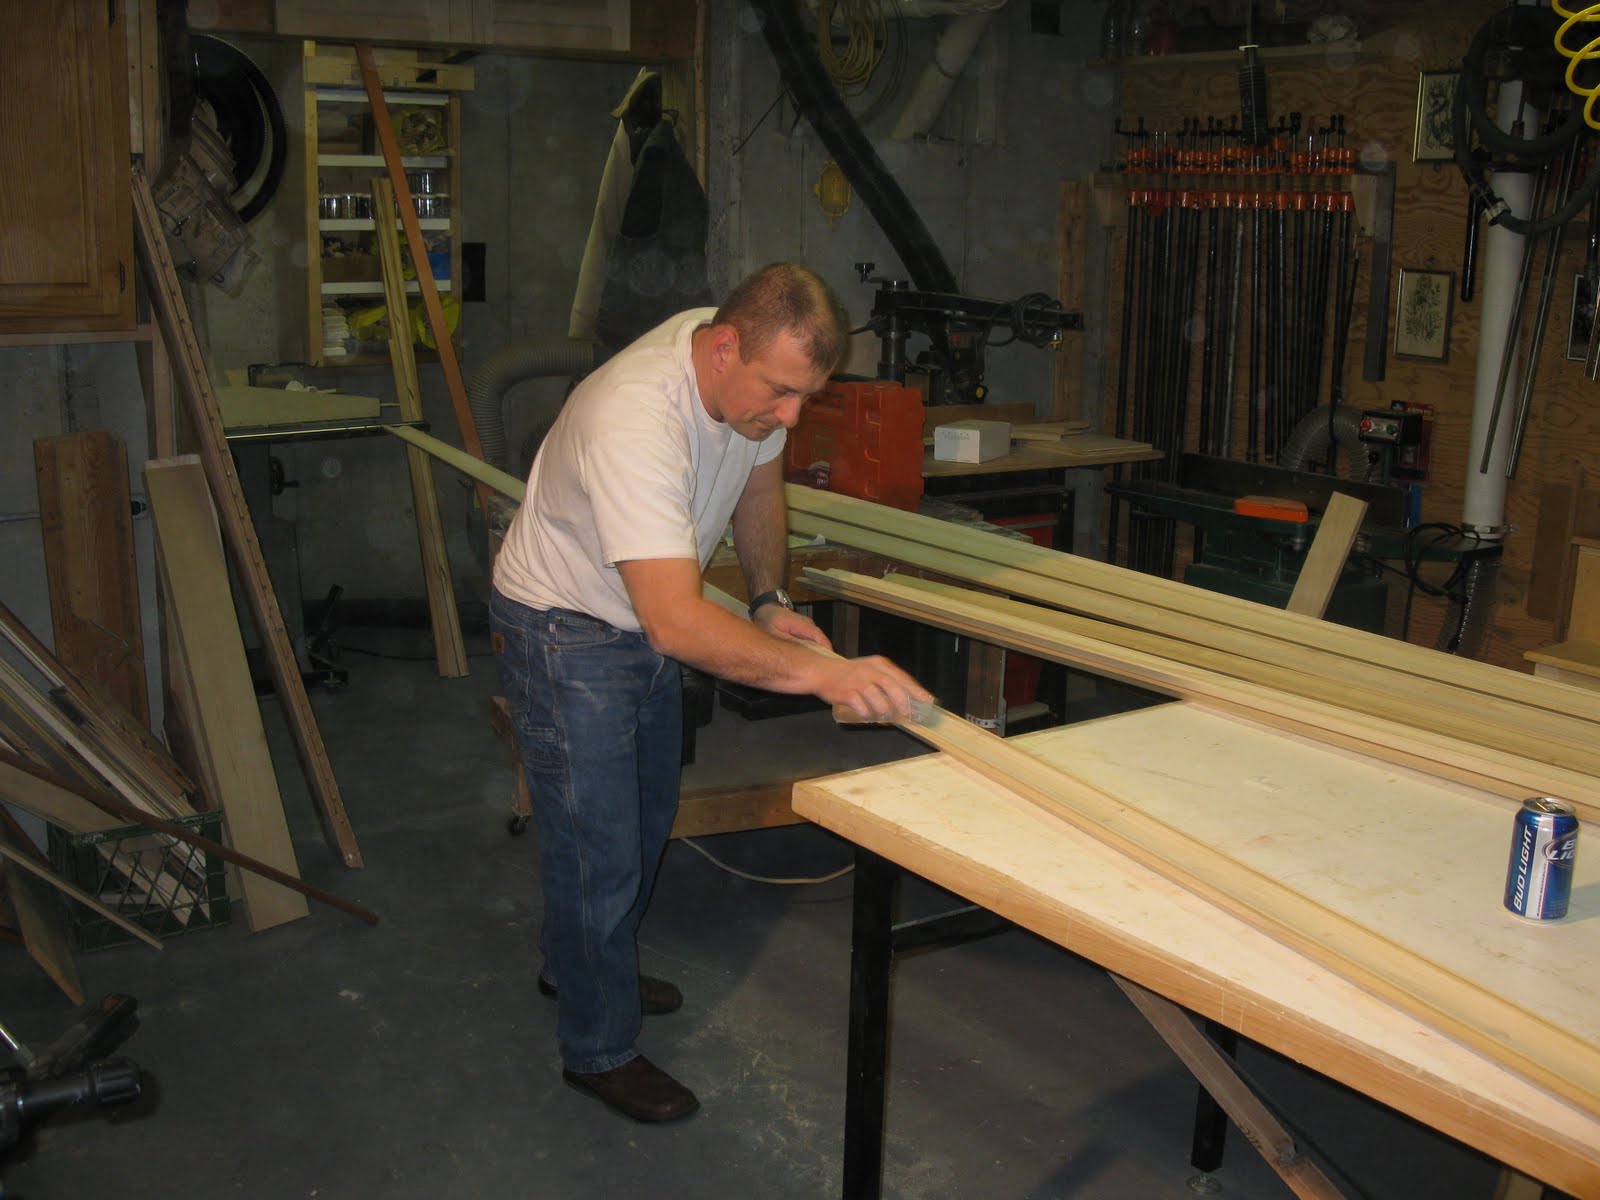
You will be surprised when the marks you could not see before now look like mountain peaks and valleys.
The best way to remove mill marks and other minor defects like small surface scratches is by sanding.
This molding will be installed Monday ~ YES! my shoulder is feeling better and I’m going back to work as a carpenter this coming Monday!!!


If you enjoyed this post, please consider commenting or subscribing to receive my future posts via email