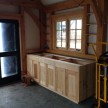
Rustic Cabinet Doors

 Sand All Six Sides
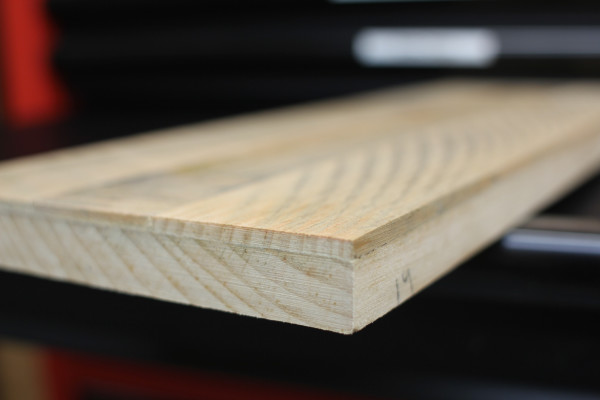
I allowed a day for the strips to dry, filled any voids with wood filler and then sanded the faces with an orbital sander. When sanding, I focused on getting the style and rail strip intersections flush but used care not to eliminate the sawn marks.
I then took the door and drawer blanks to my Ridgid bench top belt sander and carefully cleaned the edges, focusing on getting the applied strips flush with the rough sawn board.
Tip: The doors are longer than the sanding belt so I “free-handed” this procedure. Carefully and evenly moving the boor back and forth along the sanding belt.
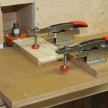
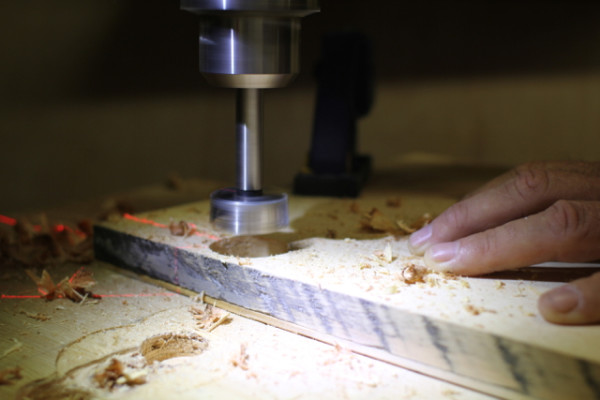 Drilling for the hinges and knobs.
We used a 35mm Forstner hinge cup drill bit in the drill press to drill the cabinet door hinge holes. I placed these holes in a slightly different location than on the older door hinges so as not to have to deal with the old screw holes in the cabinet case face-frames. These holes would be filled and painted by the painter and I wanted solid wood for my screws.
The client provided me with solid cherry knob pulls and I simply centered and drilled these in the locations he desired.
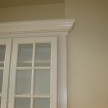
For the hinges, we re-used the existing Blum Overlay Hinges designed for face-frames and replaced any as needed.
I like these hinges as they have a smooth, soft-closing action and are ideal for face-frame cabinets or any cabinet where clearance is an issue. Each hinge has a 3-way adjust-ability, are compact and are available in five different overlays, ranging from 3/8″ to 1-3/8″.