Rustic Cabinet Doors

 Measuring For Doors:
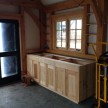
Measuring was easy. My client brought me the entire set of doors and drawers, all I had to do was replicate the width and height of them. Having them in the shop as I worked was extremely helpful for reference.
Milling the Door Panels
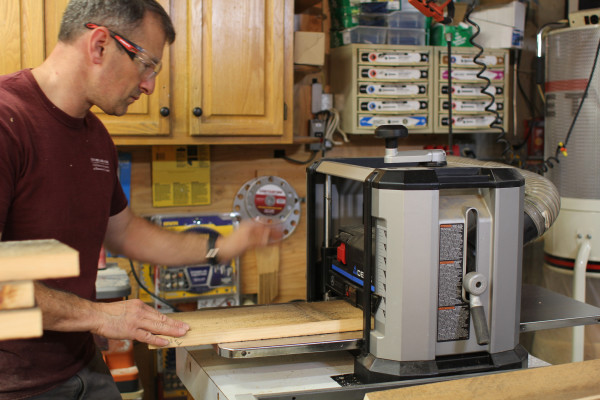
Rough lumber is rarely flat or straight. I used the table saw to size the lumber and my 13” thickness planer to mill the lumber down on one side only to just under ¾ of an inch.
Carpenter Tip: Take the time to make a cut list and group all of your same size rips together. This reduces the adjustments on your saw and is more time efficient. Write your finished, cut sizes on the boards edges for future reference and for ensuring you have all of the parts made prior to moving onto the next task.
Milling ¼” of wood off a board is a lot of work, puts wear and tear on your tools and creates a ton of sawdust. I emptied my dust collector twice.
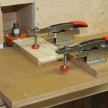
On the three largest doors I had to cut the rough sawn to fit into my thickness planer and then glue it back together again. I matched the rough sawn pattern and used dominos to keep the panels aligned and give them strength.
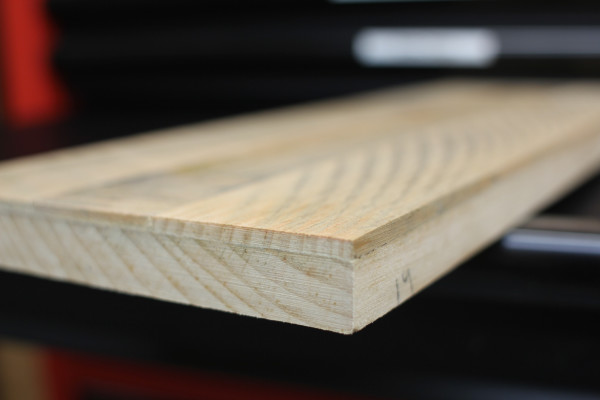
Once I had the doors milled I gave the rough sawn faces a light sanding to remove the splinters, dirt and other debris.
 Milling the Frame and Panel Strips
Choosing a fairly standard style and rail width, I ripped some of the rough pine boards down to 2-1/2” wide strips and then flipped them on their edge to rip ¼” strips of rough sawn. By cutting both faces of this board I was able to get two pieces of rough sawn strips to use. I set the table saw fence ¼” off the blade to do this, keeping the rough sawn faces against the fence.
Each board gave me two ¼” thick strips to use and a ¾” thick piece of cleanly cut pine as waste, for the scrap pile.
When ripping the strips I used a table saw and feather board to keep the board tight to the fence. I also used a sacrificial push block to move the board through and past the blade.
Note – on the drawers we reduced the faux strips to 2-1/4” wide for aesthetics.