Replacing a window screen is an easy project and should take a novice 1 hour or less for the first window and even less as thy move on to other screens.
Tools Needed
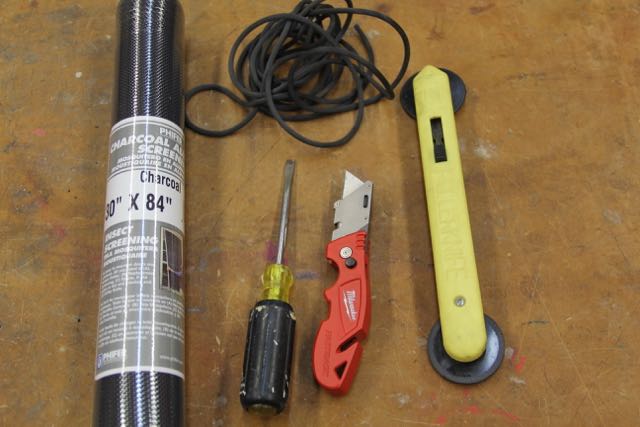
- Utility knife
- Flat headed screwdriver
- Scissors
- Spline rolling tool
- Screen spline
- Screen

When replacing a window screen is one thing but which type of screening should you use? I typically use what ever was in the broken screen so all the windows match. This is not always the case an I have swapped out materials, especially for screen doors, more on that below.
There are there basic types of screens:
- Fiberglass
- Aluminum / Bronze
- Pet or Shade Screen
Fiberglass screening is the most common. It is flexible and easy to install, in fact if you make a mistake during the install you can remove the spline and start over as the fiberglass screening material does not have a crimp fold memory.
Tip: when installing fiberglass screening ensure that you keep the screen taunt and wrinkle free. Ive accomplished this by using clamps, a helper or adding weight to hold the excess screening hanging off the far end – tight! don’t install the fiberglass too tight or you can warp the screen.
Aluminum screening is stronger, ore durable and my preference for screen porches. Unlike fiberglass screen, does dent and has a memory once dented, dinged or crimped. This means yo have one-shot of installing it, if you screw up , you’ll need to start with fresh material.
Pet or Sun Screening has a thicker grid which restricts light, and like fiberglass is flexible to work with. This is helpful with keeping the sun out and helps reduce fabric and carpet fading. It is also a stronger material than fiberglass and aluminum screening, which makes it a fantastic screen of use in screen doors and in places often damaged by pets.
Replacing a Window Screen Steps
Step 1:
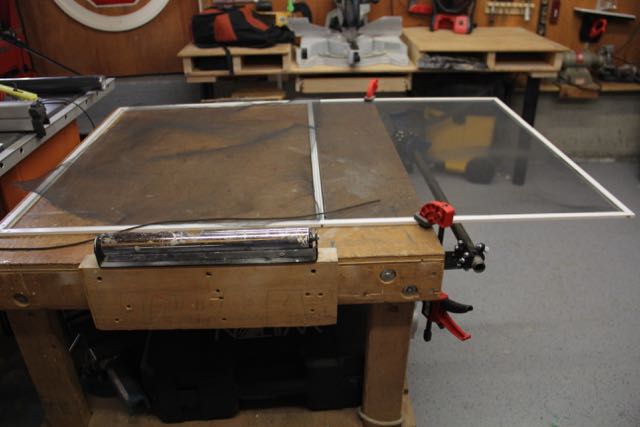
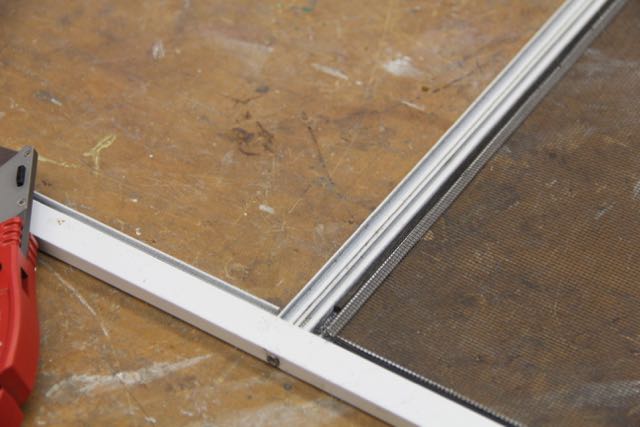
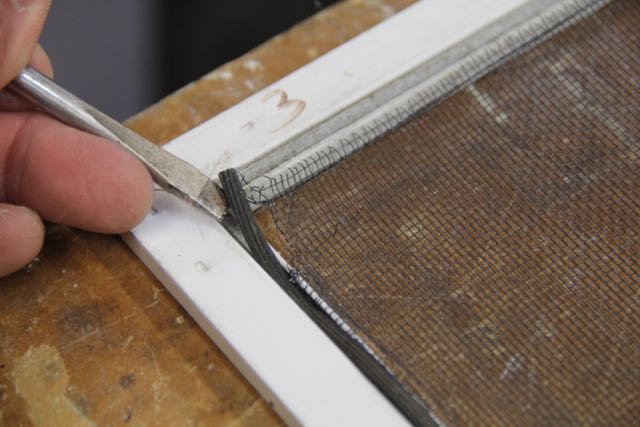
Remove the screen from the window frame and place it on a flat surface. Use a flat head screw driver to pry loose the rubber spline [roping] in the window screen frame. Pull this spline out of all four sides /grooves, that line the perimeter of the screen frame.
Discard the damaged screen and evaluate if you can reuse the spline. Dry battle spline should be replaced.
Tip: Use a pair of clamps or tape the hold the screen frame flat and secure while working.
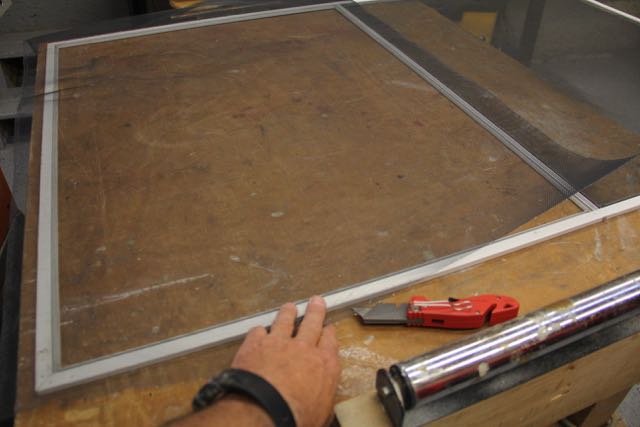
Step 2:
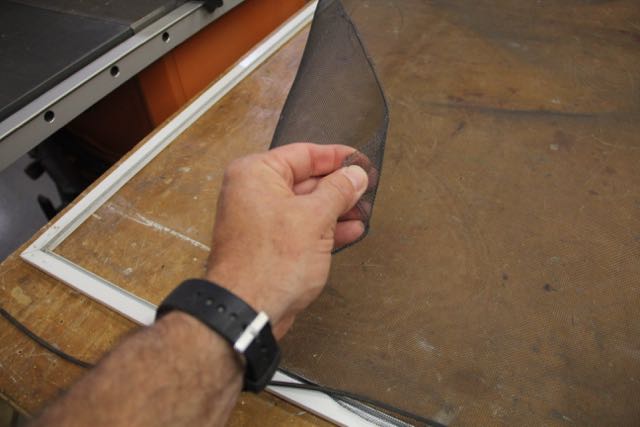
Align your new screen over the frame opening. You can either use scissors to cut your screening material s so the it overlaps 1″ on either side, or simply leave it long and overlap all sides, trimming later.
Step 3:
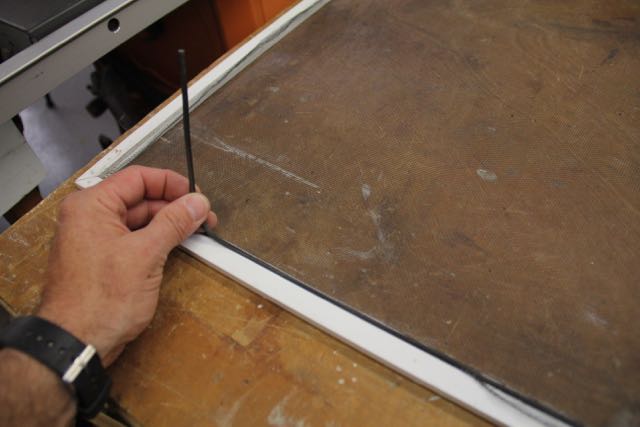
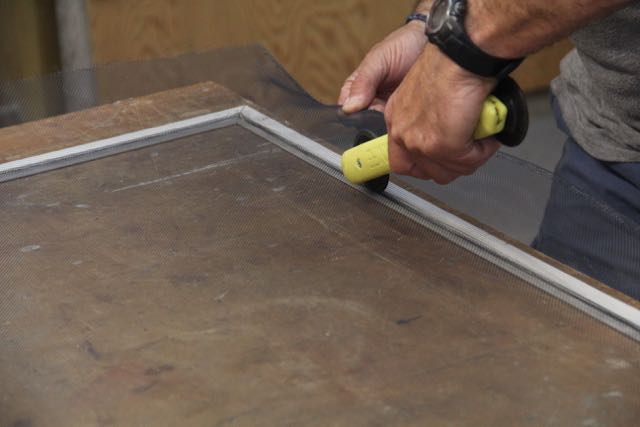
With the convex roller [pointy] of your spline roller, start in one corner of the screen frame and roll the screen into the grove of the frame. Go easy and do one side only then move to the next step.
Step 4:
Insert and roll spline into the grooved screen and screen frame. Depending on the screen frame you may need to cut the spline into four sections for it to fit lengthwise in the grooves.
Once the spline is installed, repeat Step 3 and 4 on adjoining screen frame groove. Work in this fashion until all four sides are installed.
Remember to hold the screen under pressure to keep the material taut, and prevent wrinkles or folds.
Step 5:
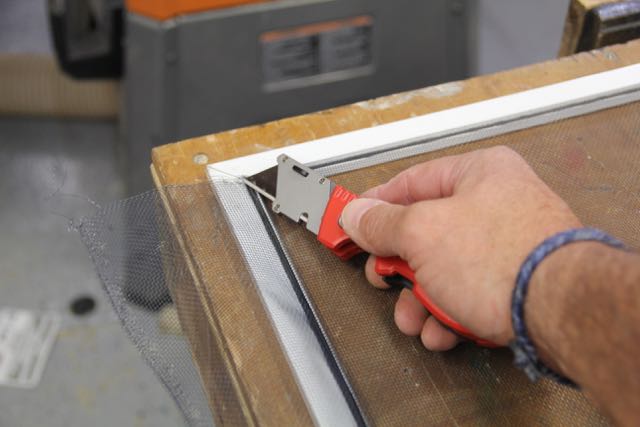
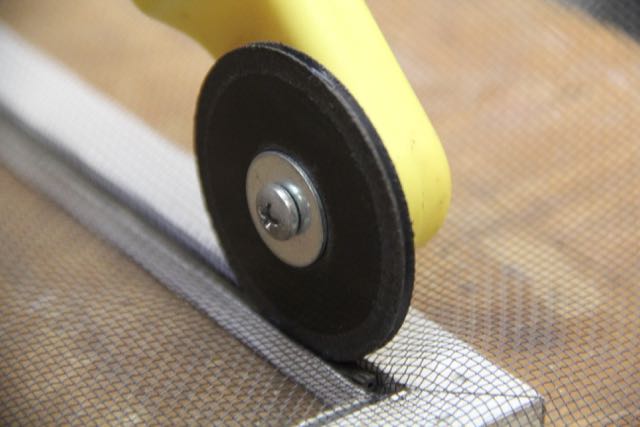
With a flat tip screwdriver, gently push the spline down, into the grooves in all four corners.
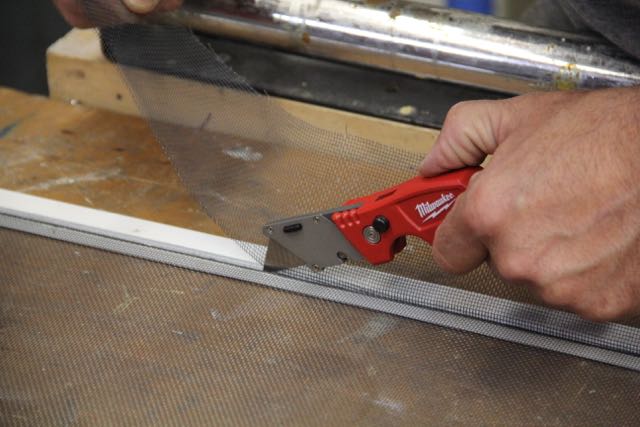
Using a sharp utility knife, trim the excess screen by cutting alone the spline. Hold the screen taut as you cut with the knife.
Replacing a Window Screen Cost
If a Pro was going to do this project for you they would charge approximately $75.00 per window in labor and approximately $15.00 in materials.
Once you purchase the spline roller you can plan on doing these repairs yourself for $10.00 per window screen. You can do this project yourself and save some money!
Replacing a Window Screen Video How-To