Replacing an Outdoor Light Fixture
A few months ago, my family and I move into a new house. Well, a new to us house but pretty new as well. It was built in 2010-11 so it has all modern wiring, plumbing, and ventilation. Our last house was a complete fixer-upper but now that we have some kids there is a lot less time to work on projects so we opted for a completed domicile.
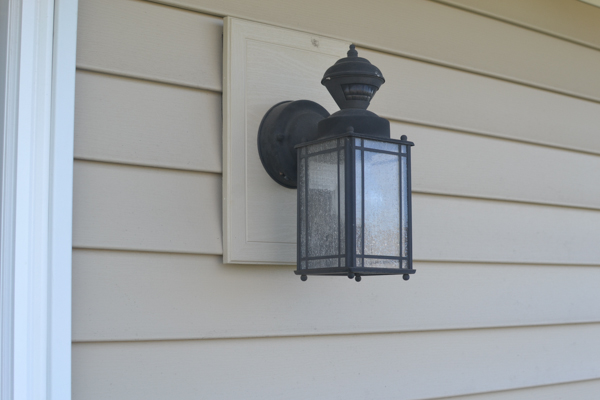
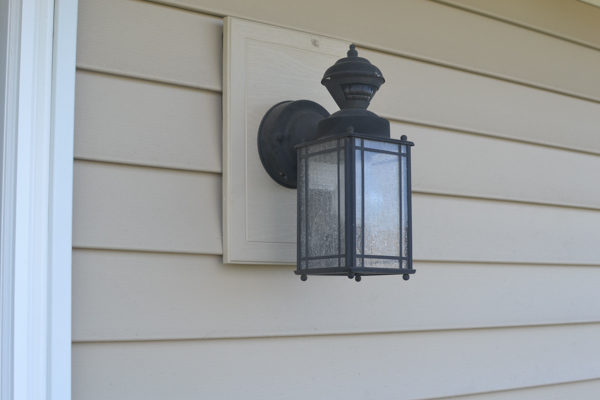
Five years is just about the time where some minor wear and tear starts to show up. Some items start to not work as well as they use to either because they’re wore out or maintenance was deferred. One such item for us was an outdoor light fixture out on the deck. For one reason or another, it developed a short and would flicker when it was turned on. I’m sure our neighbors thought we were either calling for help or having a dance party. Maybe you’re in a similar situation or your just looking for a change of outdoor lighting scenery. Either way, we’ll show you how to easy a task replacing an outdoor light fixture can be.

Considerations before Replacing an Outdoor Light Fixture
When thinking about replacing an outdoor light fixture there are some things you should consider. First, look at the placement of the junction box on the wall. The style of fixture you pick out will be affected by the placement of the junction box. For example, a lantern style fixture will hang too low if mounted on a box that is mounted lower than 5.5-6 feet.
Another thing to consider is the size of the fixture. Fixtures come in roughly 3 sizes, small, medium, and large. These sizes don’t really mean much when you see all of the fixtures up on the wall at the lighting store. Measure your old fixture so that you have a rough idea of what will look good, size-wise, before you go out to buy a replacement fixture.
Gather Your Tools
Tools needed when replacing an outdoor light fixture are pretty few and you probably already have most of them. A screwdriver will be the most used tool on this install. Depending on the vintage of your home you may need both a standard and phillips driver. Also, you’ll need a non-contact voltage detector. Mine was AWOL so I used the auto meter in the picture. Finally, you may need a wire stripper or pliers. Gather these up, and you’re ready to go.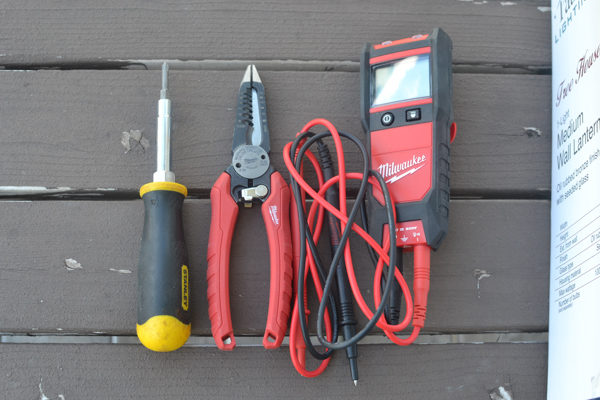
Remove the Old Light
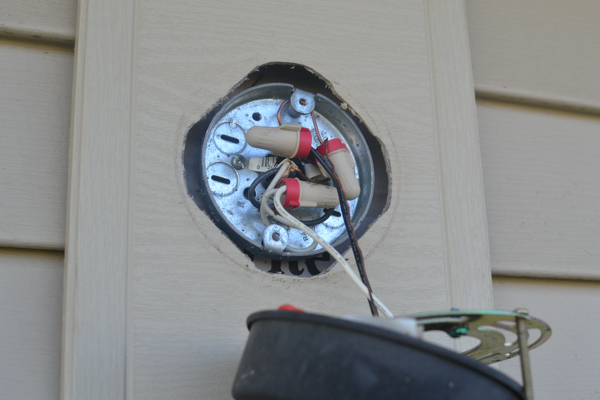
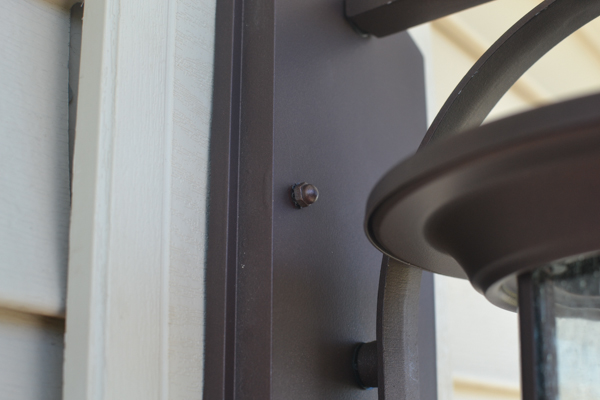
Remove the screws that hold the old light in place. There may be decorative nuts that hold the fixture on or maybe a set screw underneath the fixture. Before you touch any of the wires, take your non-contact voltage detector and get it close to each of the wires just to make sure you don’t have any current on any of them.
Once you’ve confirmed they’re dead, then continue the rest of the disassembly. Remove the wire nuts, disconnect the wires, and maybe even remove the old bracket.


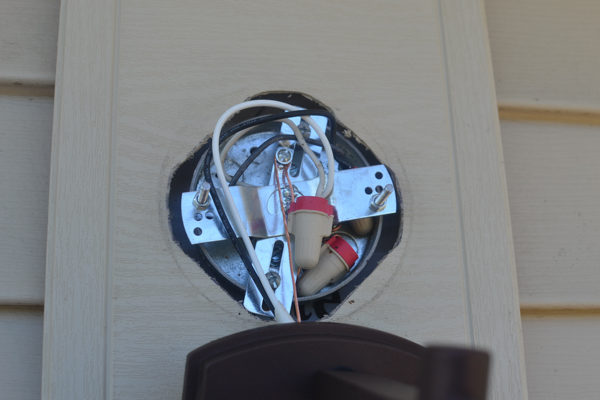
Mount the New Bracket and Tie Off the Ground
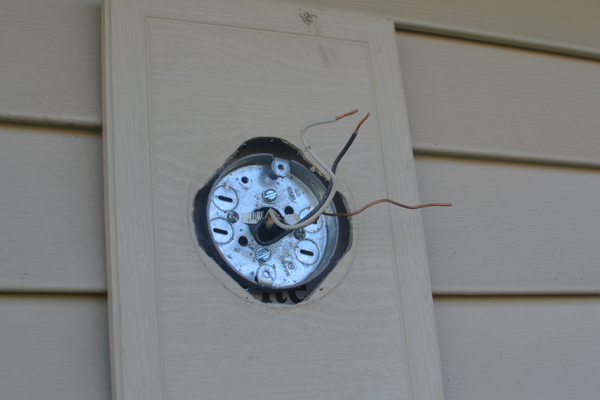
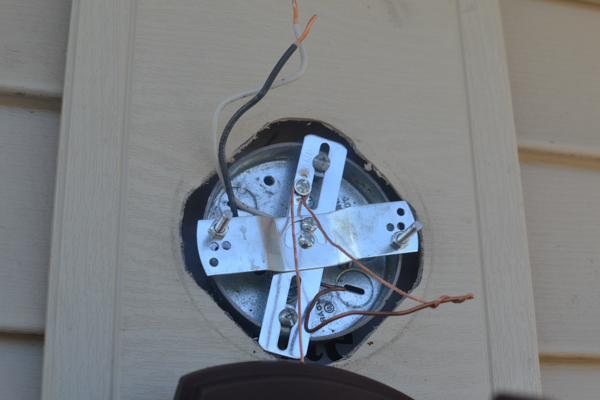
Junctions boxes for outdoor lights can be a hole bunch of different types depending on the electrician that installed it in the first place or the age of your home. It could be a single gang box or it could be a really shallow round, or something else entirely.
These boxes could have the mounting screws in just about any rotation, hence the need for a mounting bracket. The bracket allows you to secure the light fixture to the box regardless of the type or orientation.
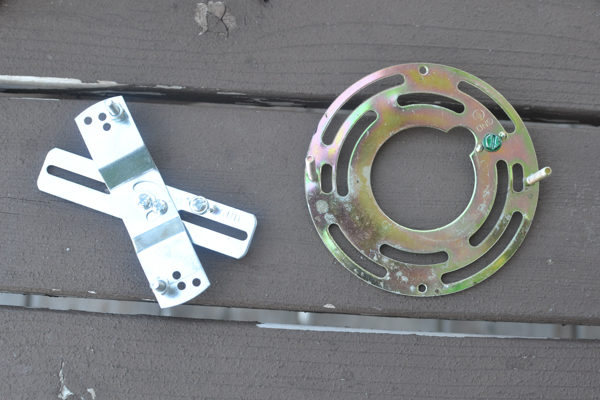
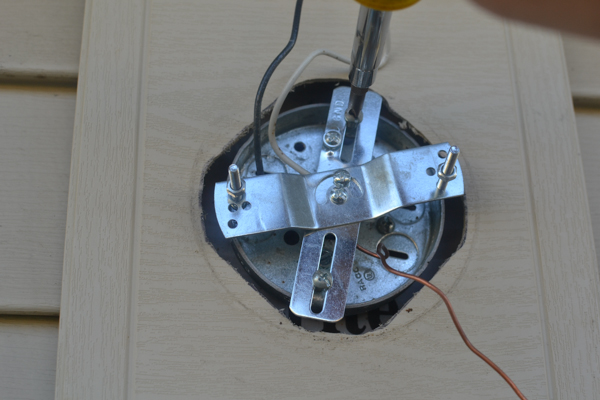
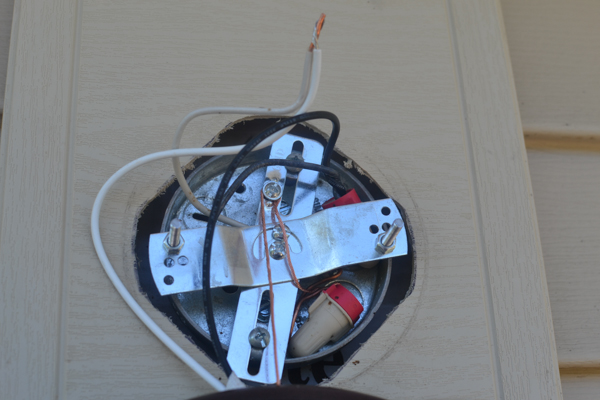
If possible, it is best to use the bolts off of the old bracket to secure it to the box. The new light probably comes with 6-32 machine screws but if the old one was secured with 8-32s, use those.
The new light fixture often times has a pretty long ground cable. Loop the ground wire around the ground screw on the bracket and leave a long enough pigtail to be able to wire nut to the ground wire coming into the box. This does two things, 1. it grounds the housing of the fixture and the junction box in case there’s a short to either. And 2. it allows you to hang the new fixture off of the ground screw, freeing up your hands, while you nut the remaining wires together.

Nut the Wires Together and Mount the Light
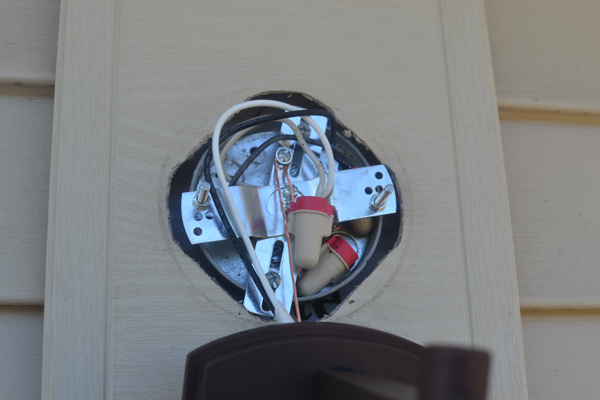
Now that the light is supporting its own weight, strip the wires on both the supply and the fixture so that 1/2″ or so is exposed. Take the matching sets of wires, even up the ends, and twist a wire nut on until the wires start twisting around themselves. If the wire on the fixture is stranded (instead of solid), make the stranded wire about an 1/8″ proud before twisting. Once the wires are nutted together, tuck the nuts under the bracket so that they don’t interfere with the light mounting up.
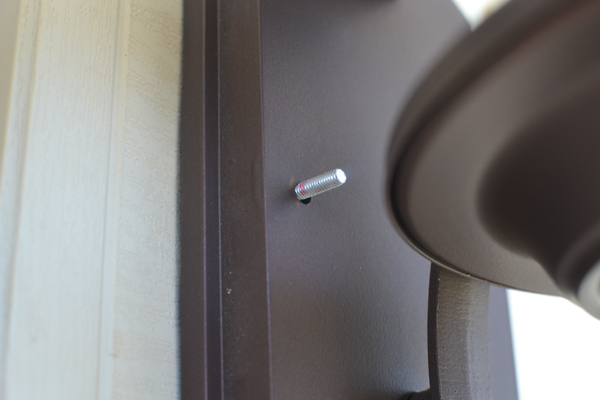
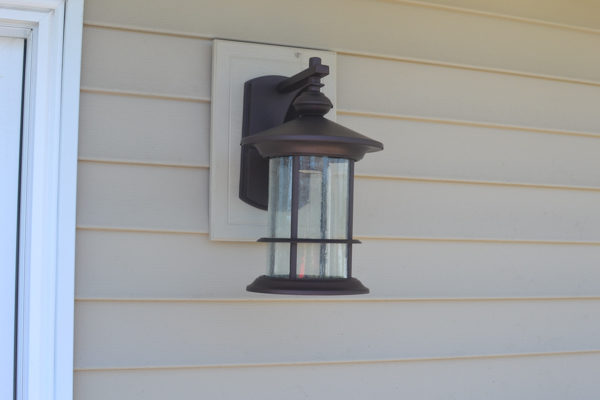
Finally, mount the light up. It may slip over some machine screws and attached with decorative nuts or have a set screw. Add the right wattage bulb and Bob’s your uncle!

Enjoy
Replacing an outdoor light fixture is an easy project that just about anyone can handle and it really can add to not only the lighting, but the look of your home as well. If you have any questions while tackling this project for yourself, feel free to reach out to us.
Project Gallery