Replacing An Acorn Roof Finial

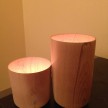
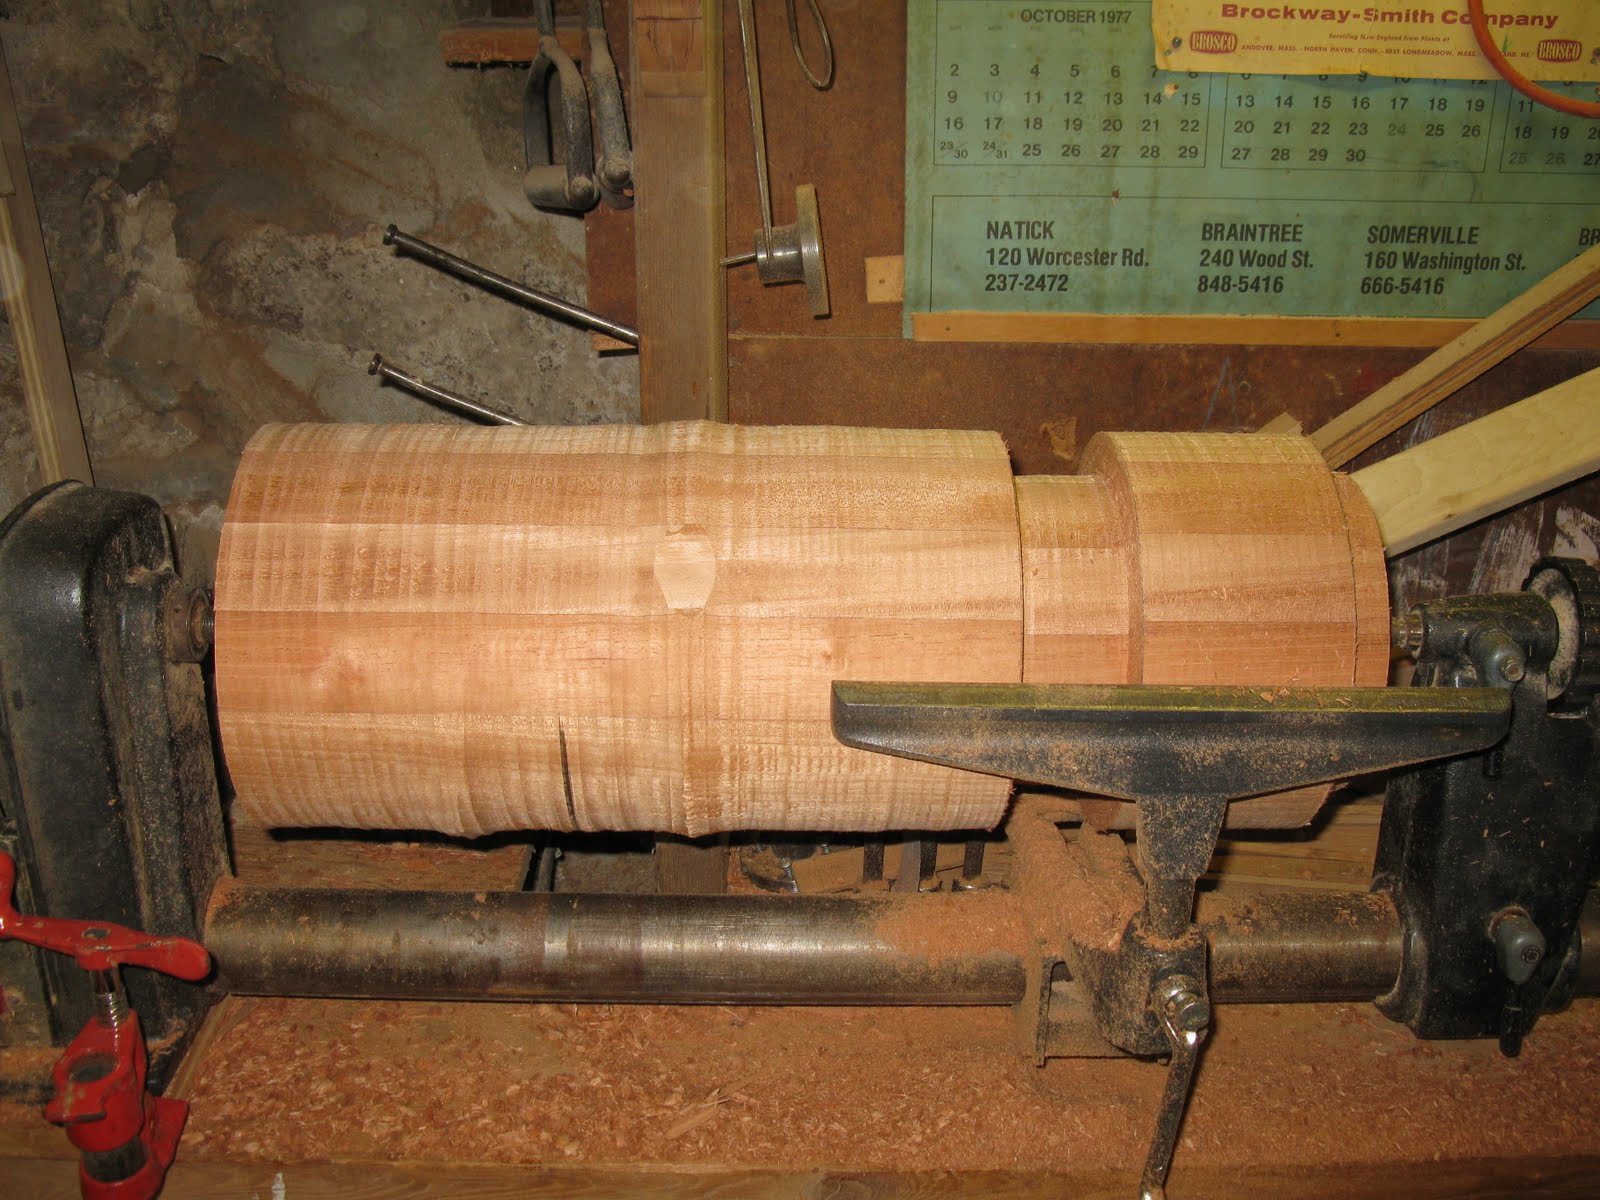
A few days ago we ripped 8/4″ Spanish Cedar to size and glued together several boards to make two blocks of wood. One block will make the acorn finial and the other will make it’s base.

If you look at the block of woods end you will see a circle. The circle represents the finial base which is the largest diameter needed. 45 degree cuts were made on the block to assist in making this fit in the lathe as well as make it easier to make round.

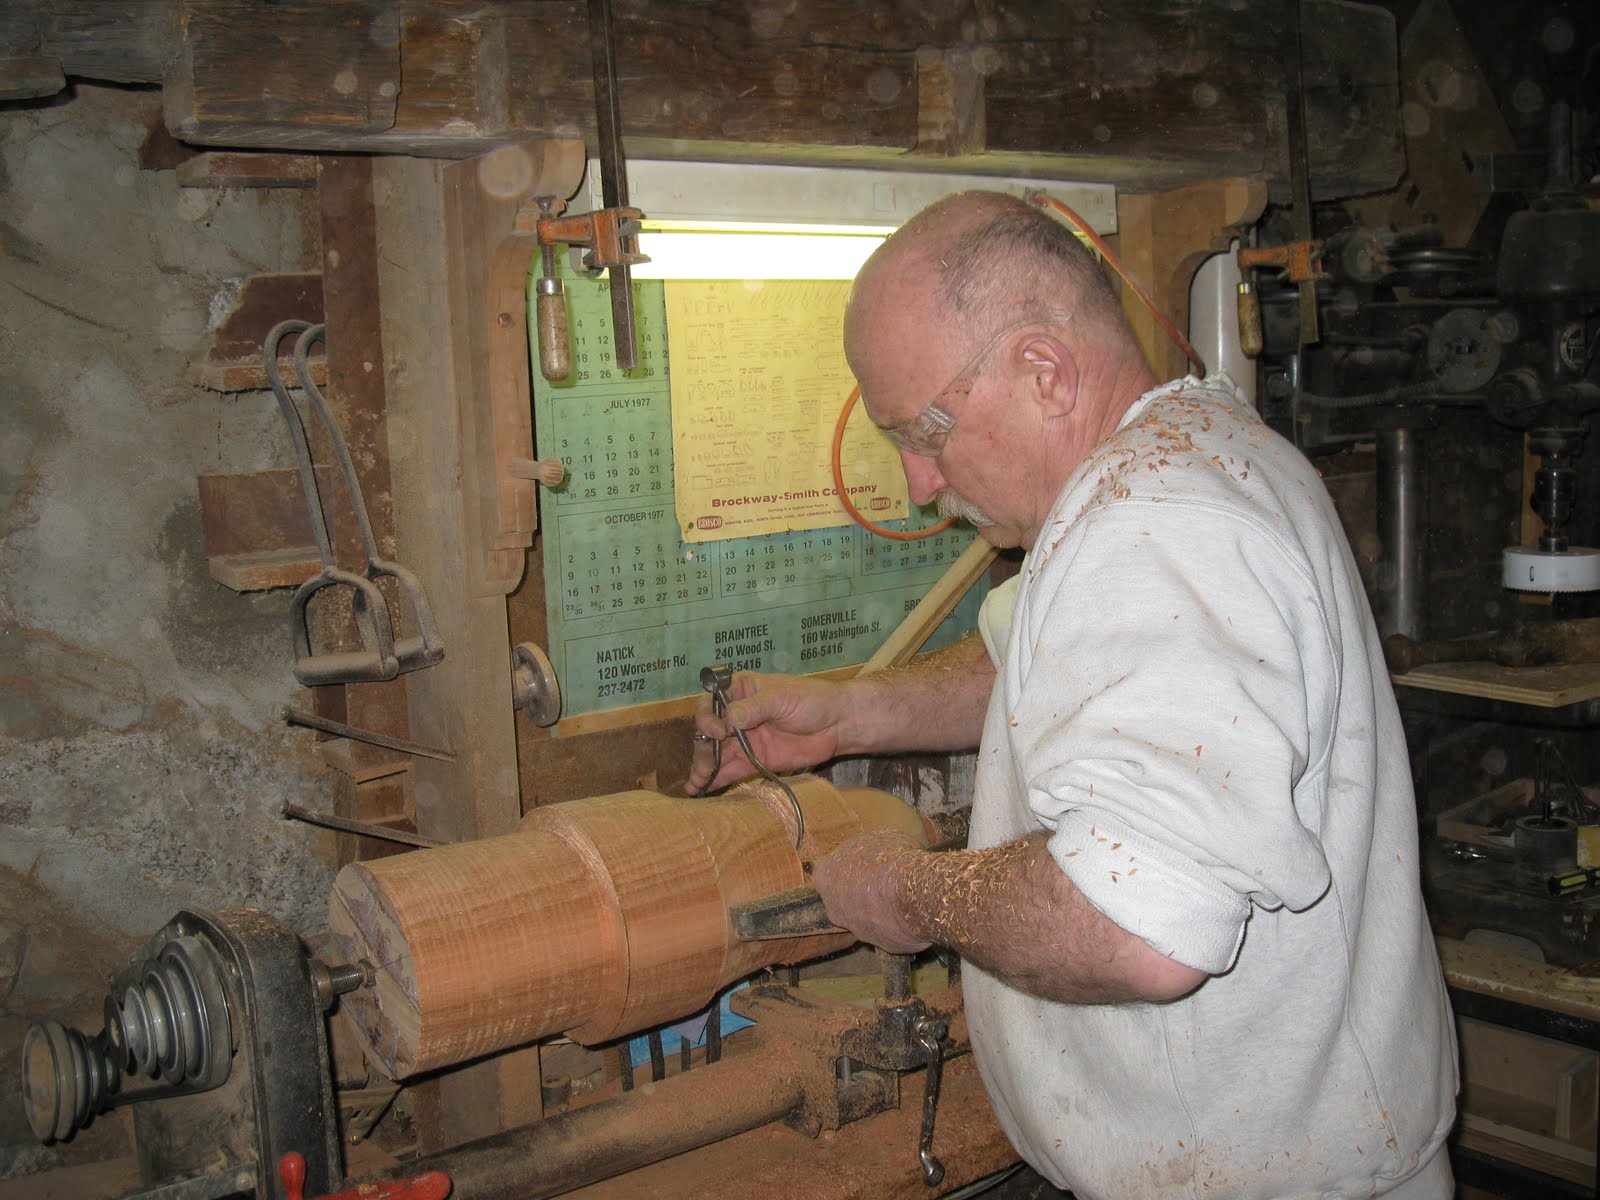
Fitted in the lathe in Bill Langton’s shop.
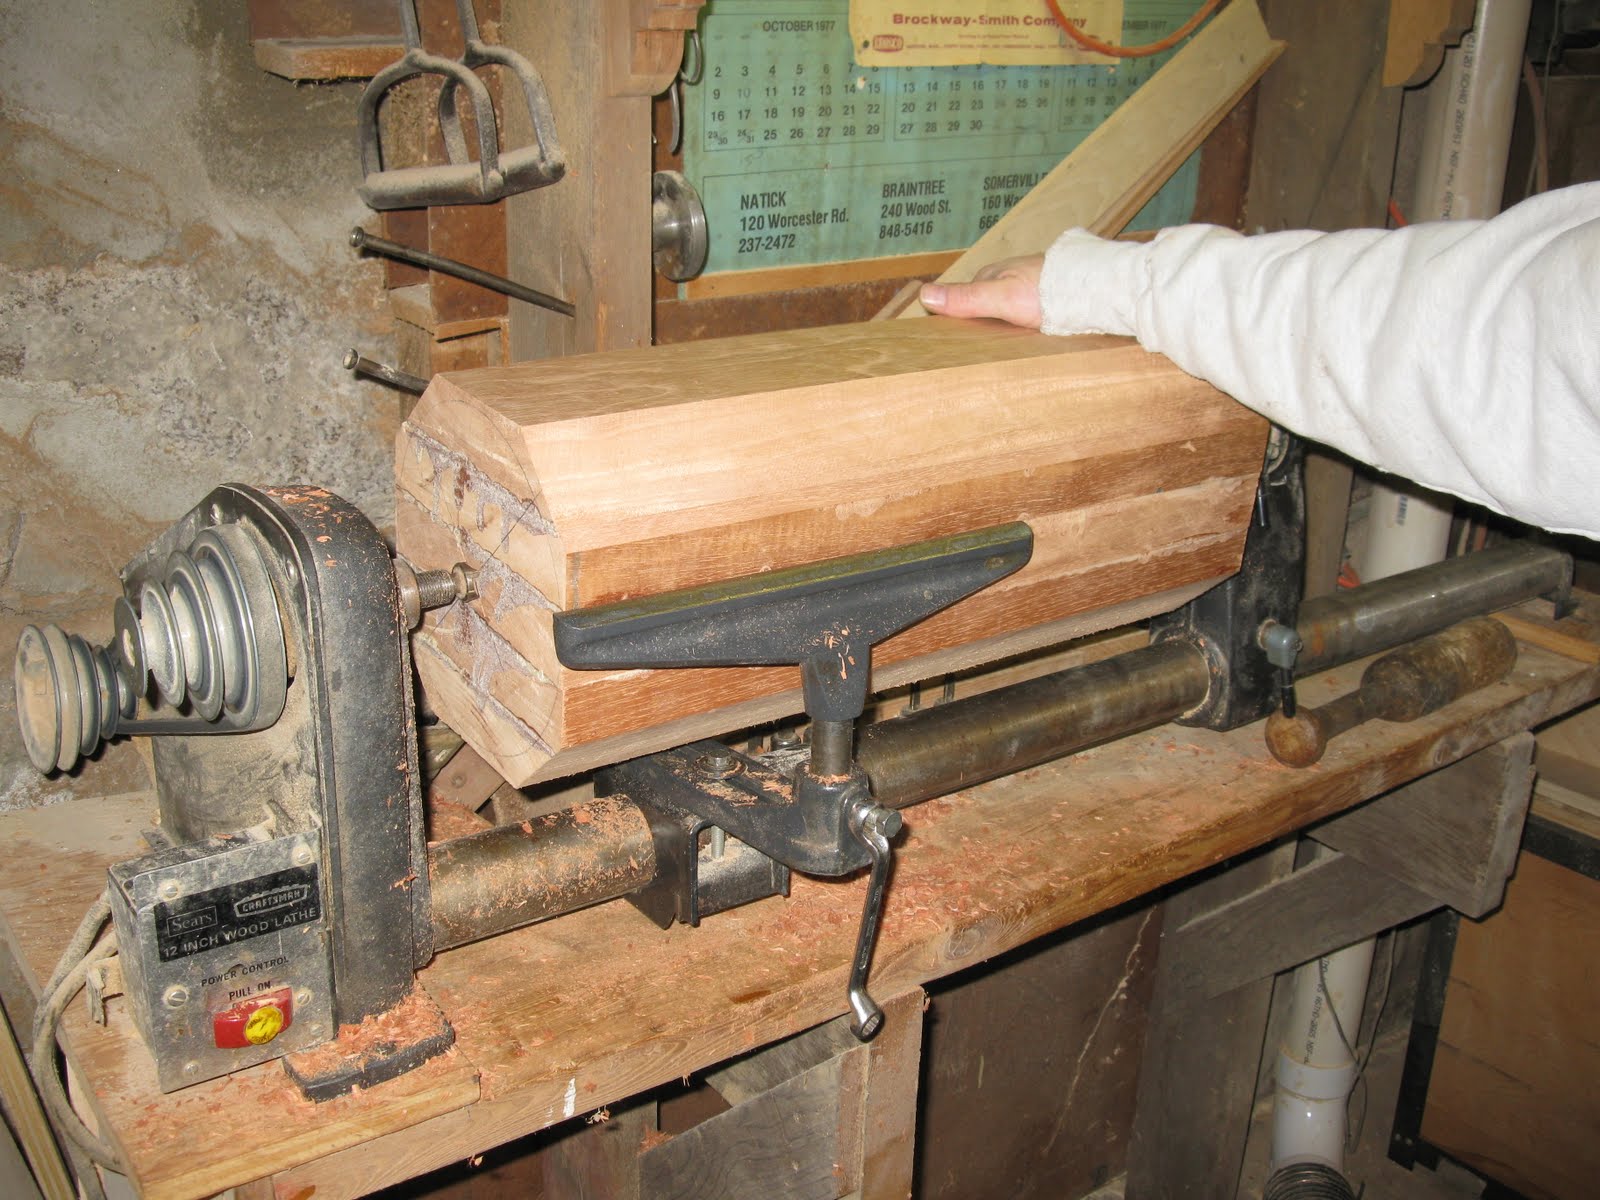
The block was roughed into a round shape. It’s important to get the shape round and to try to keep the piece balanced in the lathe. Bill worked back back and forth as he continued to remove material.
Some of the tools that were used: included a 3/4″ Roughing Gouge, 1/4″ Spindle Gouge, 1/2″ Spindle Gouge, 3/8″ Bowl Gouge, 3/4″ Skew, 1/4″ Diamond Parting Tool, 1/2″ Round Nose Scraper, and 1″ Square End Scraper.
Many of these tools were very old and had been refurbished by Bill. He also added new oak handmade handles. I had fun playing with these old tools ~ nothing beats the feel of the old fashioned steel!
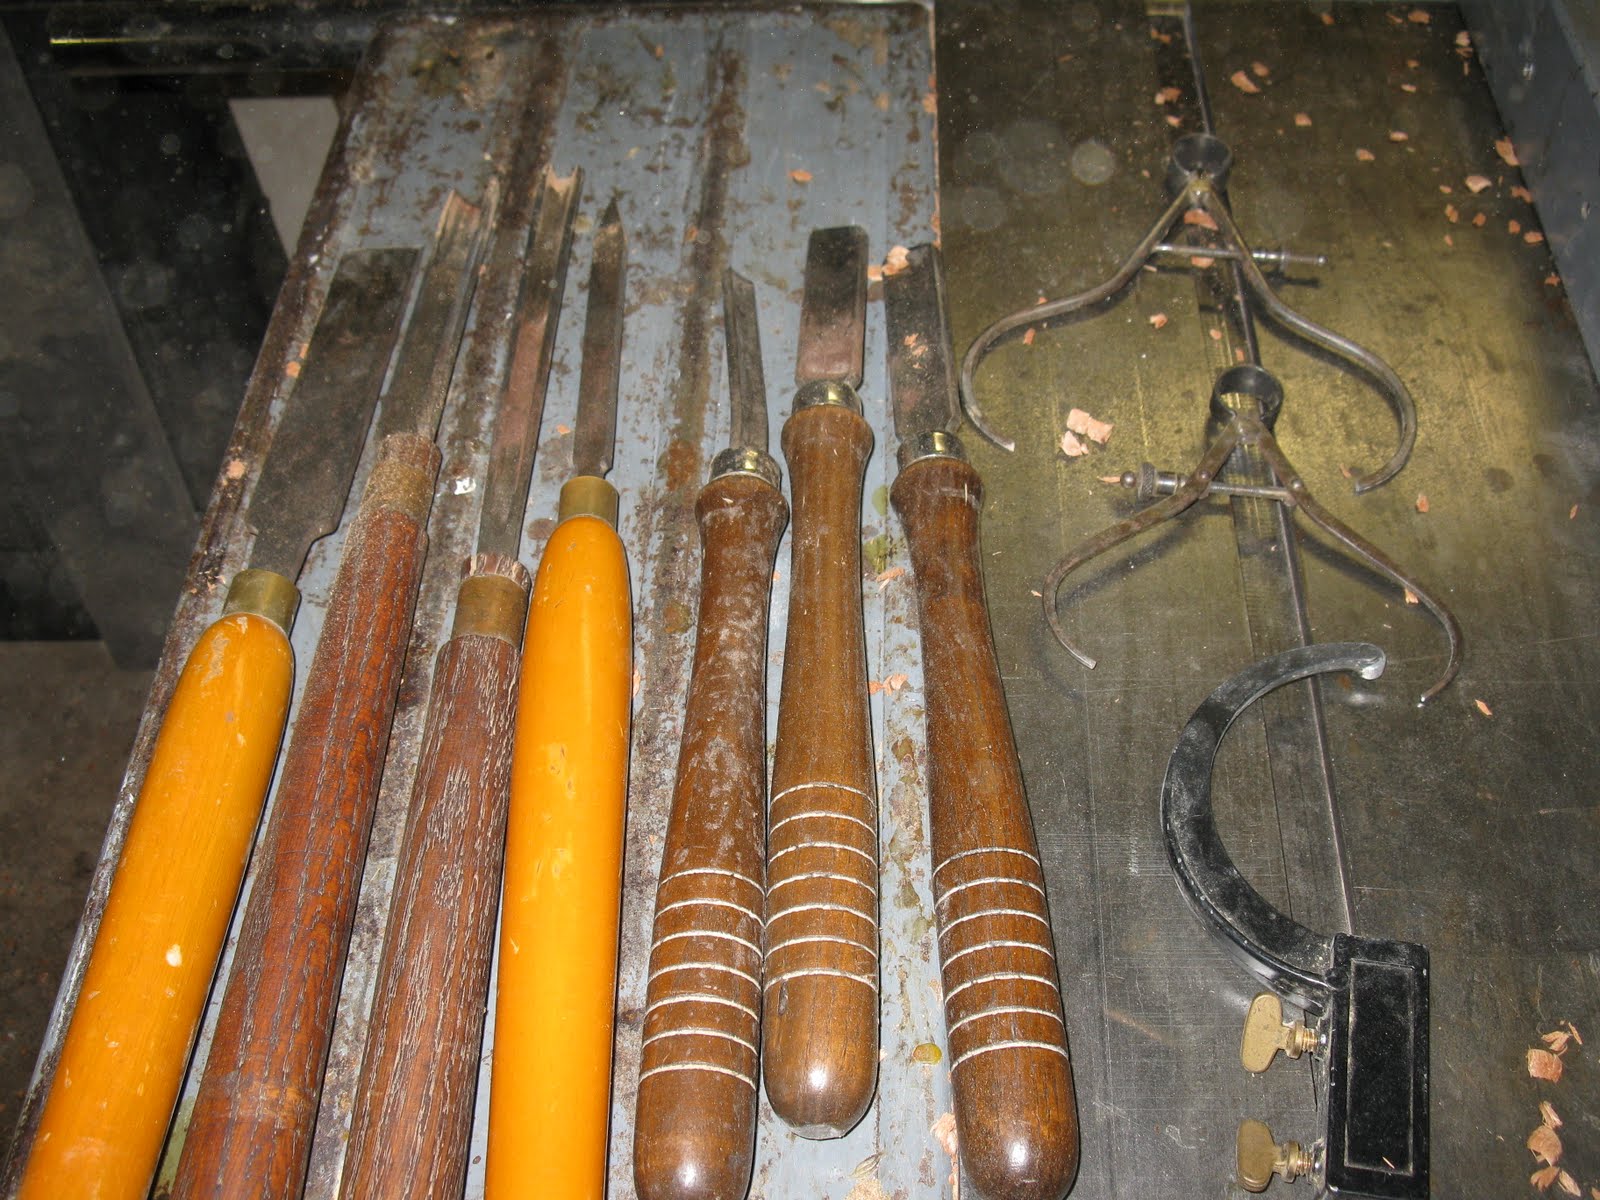
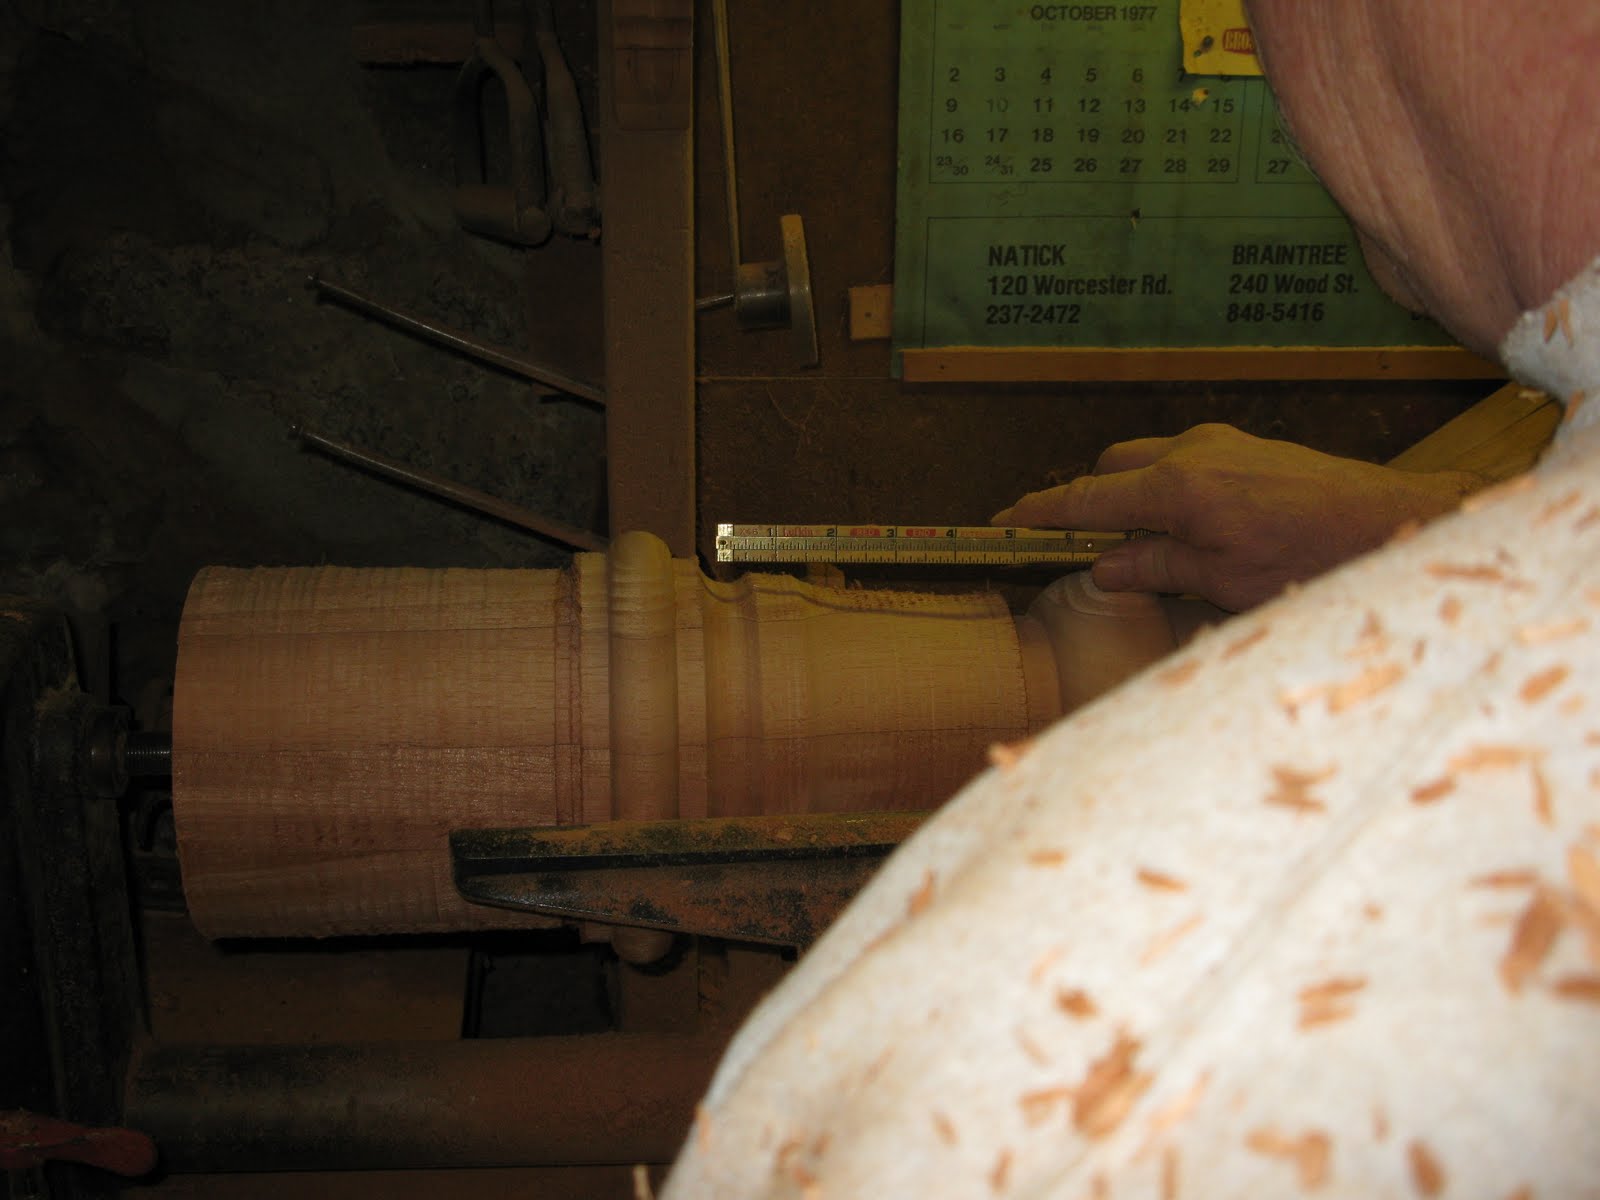
The calipers helped us duplicate the turnings.
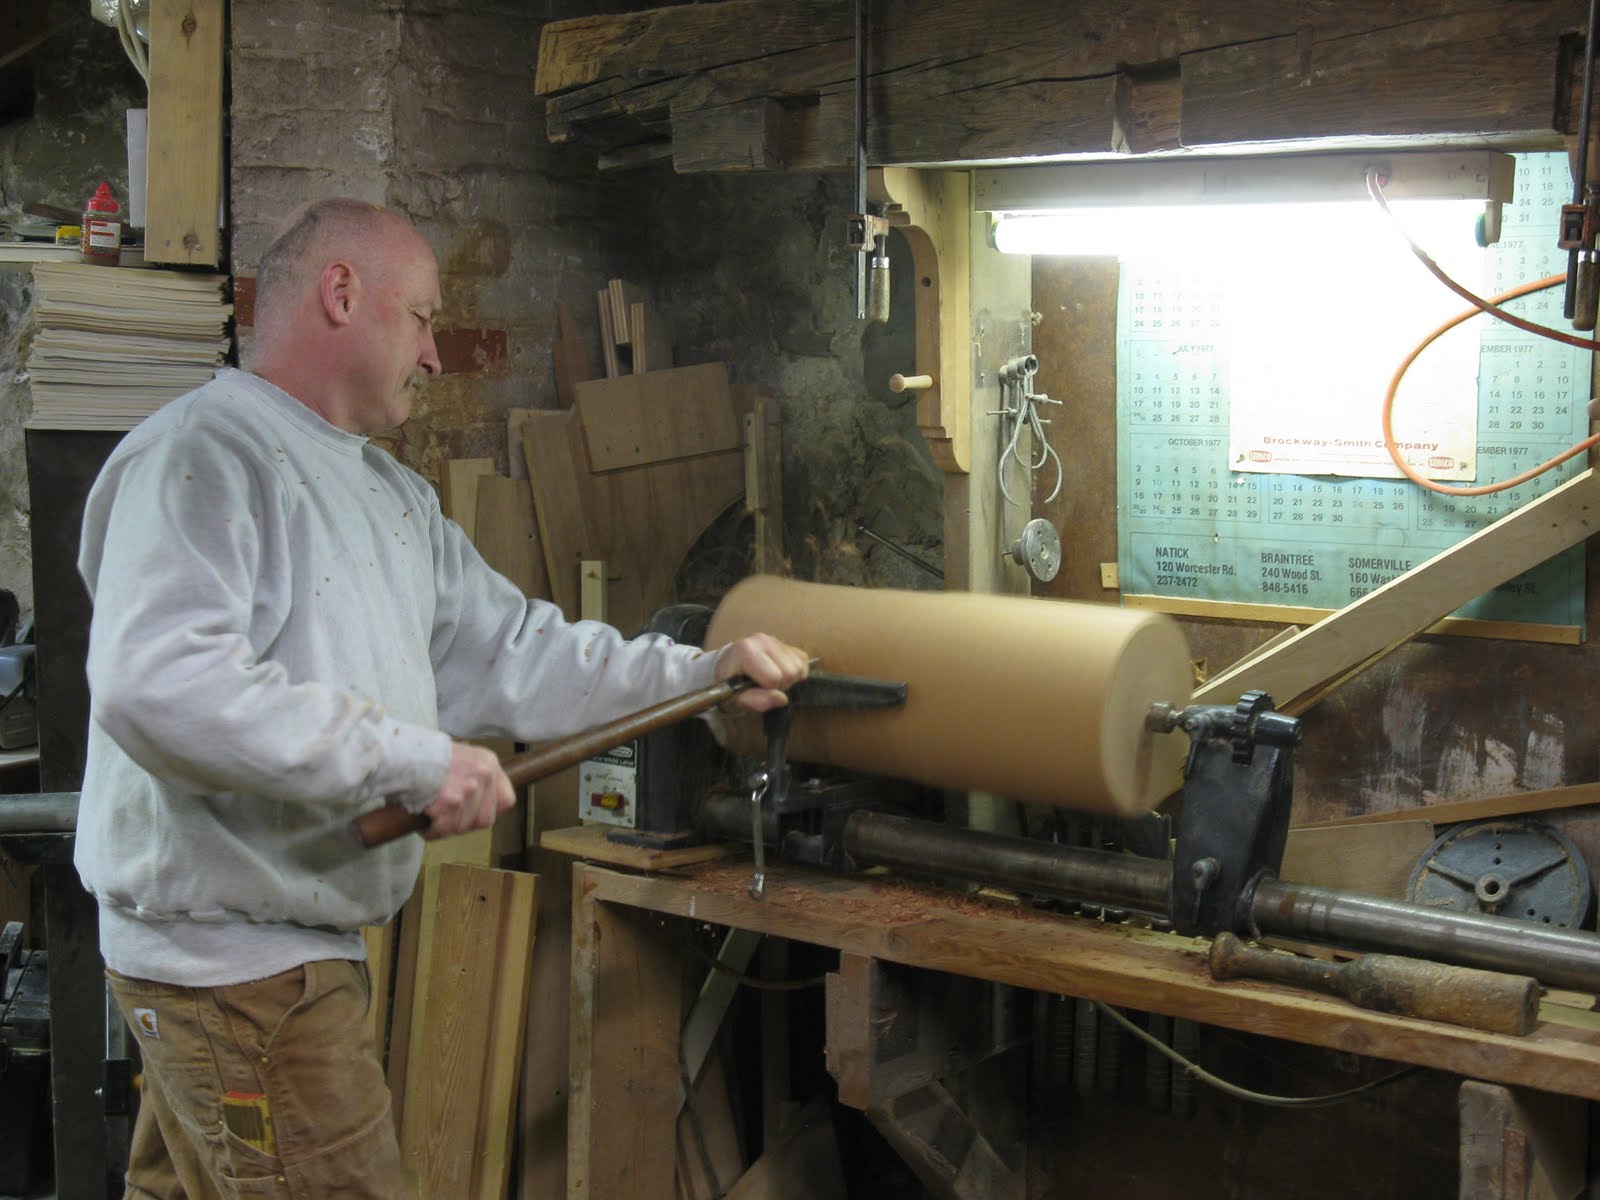
Bill roughing the block with a gouge tool.
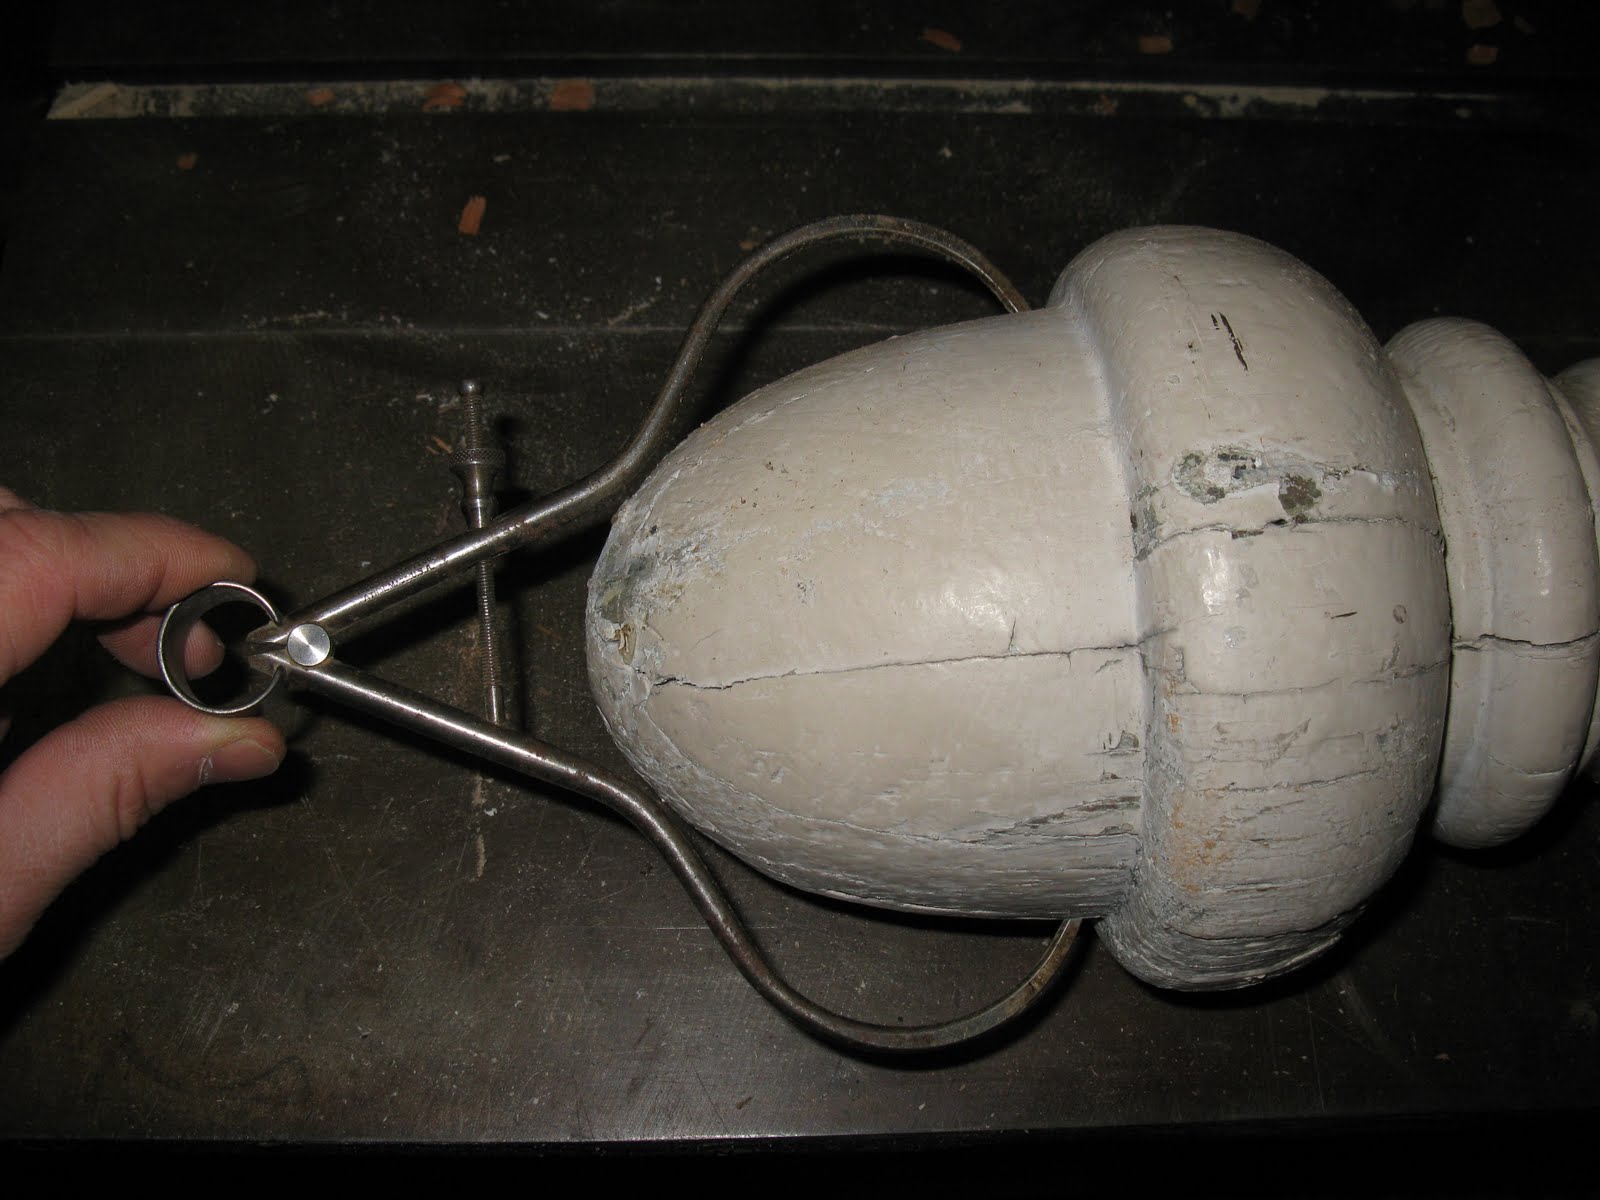
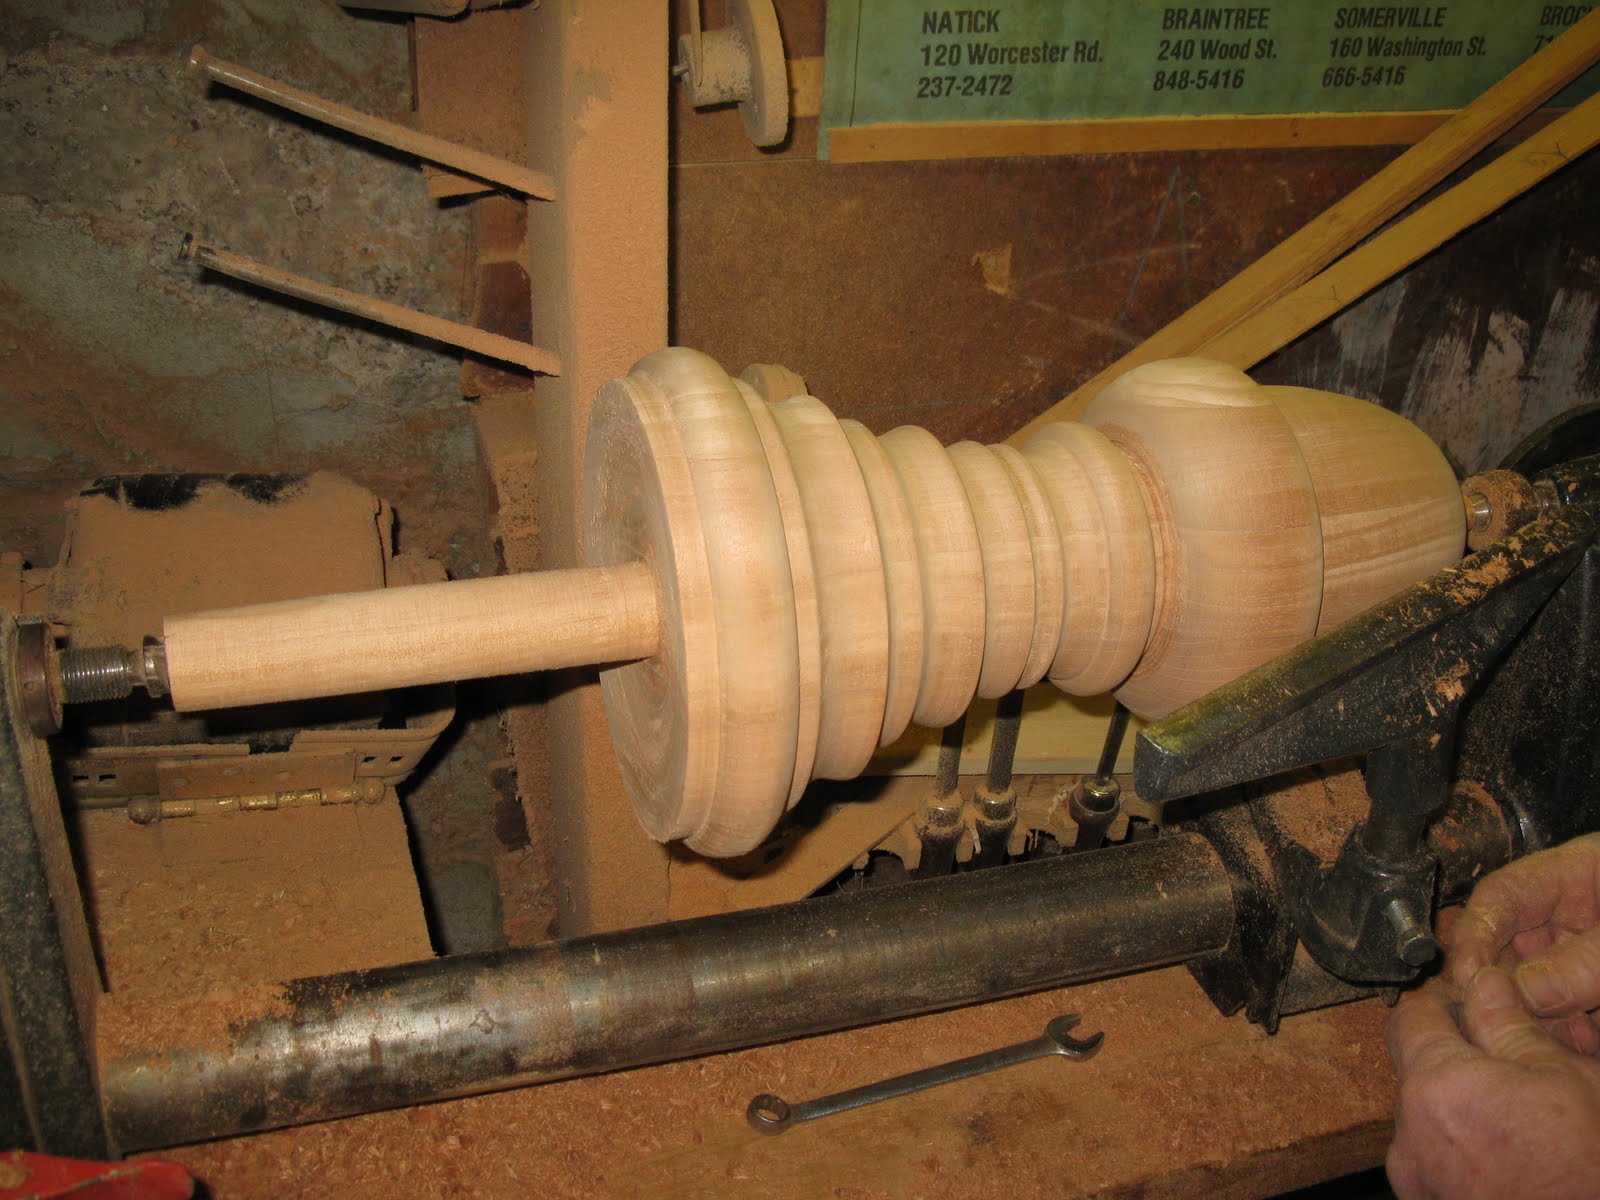
Bill carving and using the calipers to ensure we make the turning the same size. This is where the block was laid out for each detail and brought down to individual shapes.
A little early but still your able to get the picture.
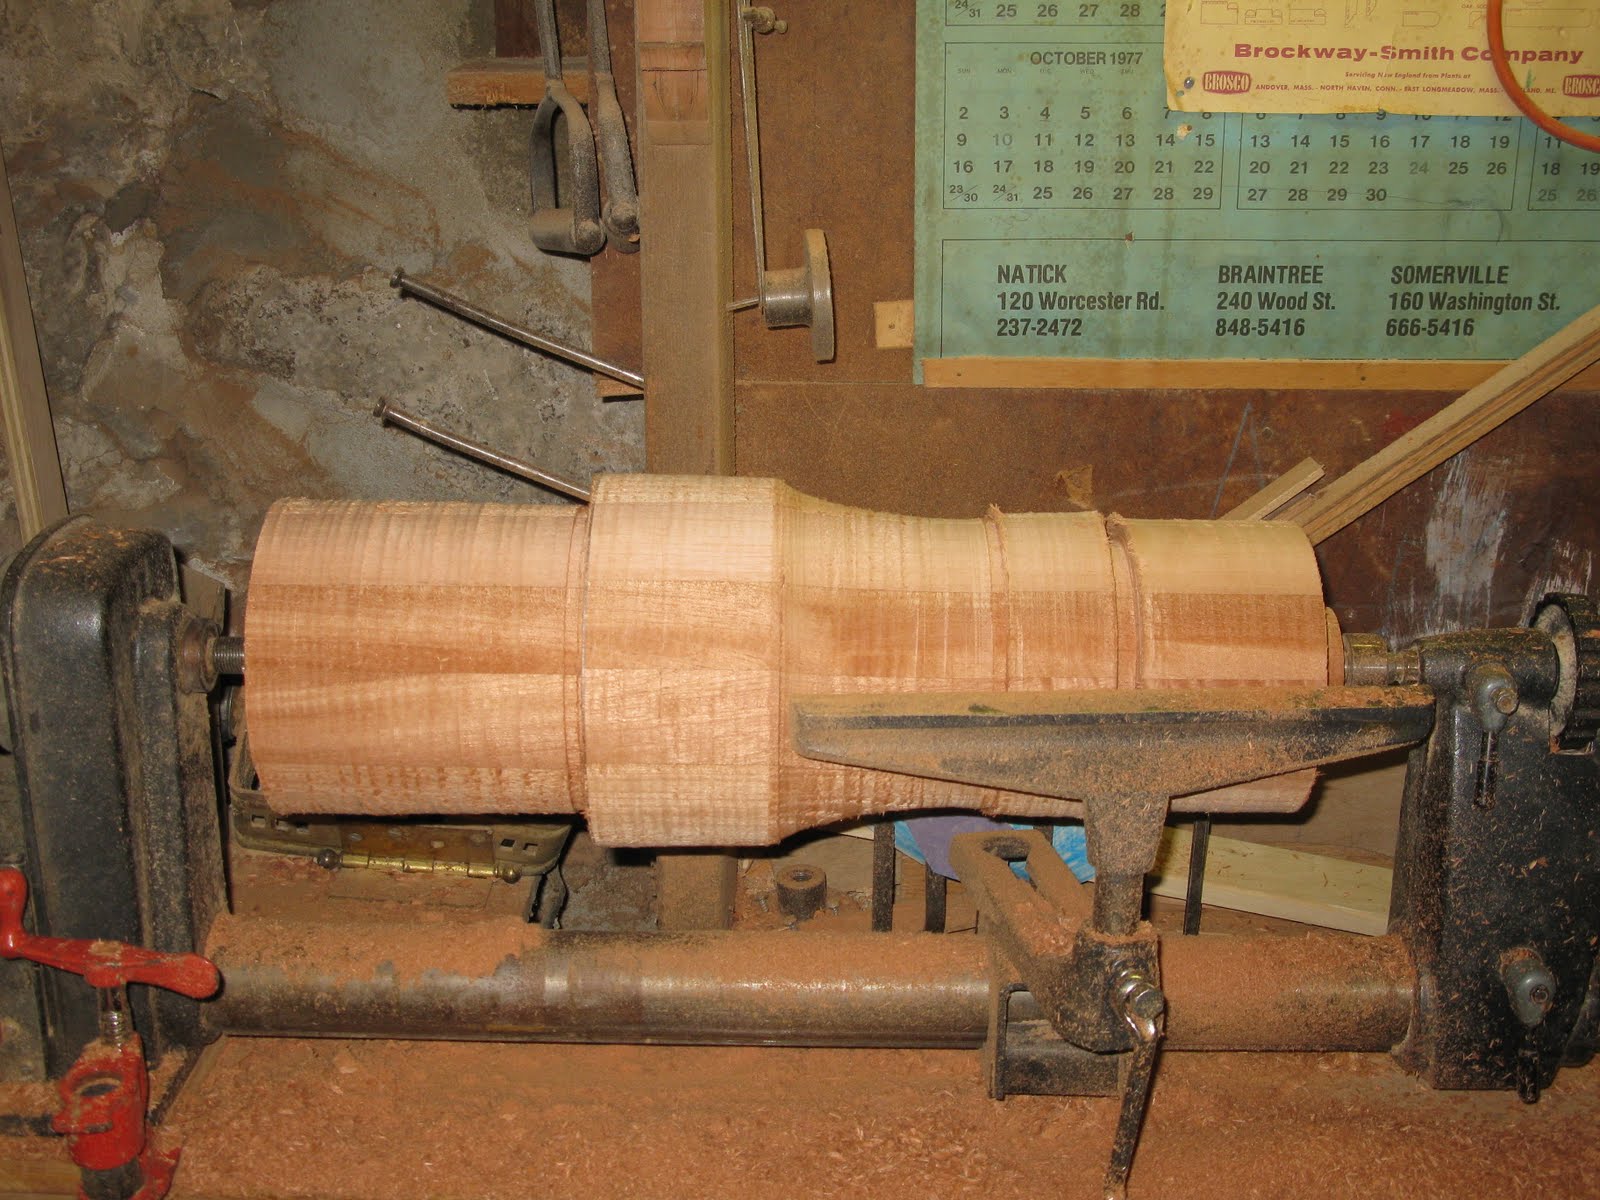
The block is roughed down to it’s approximate size before turning the specific details.
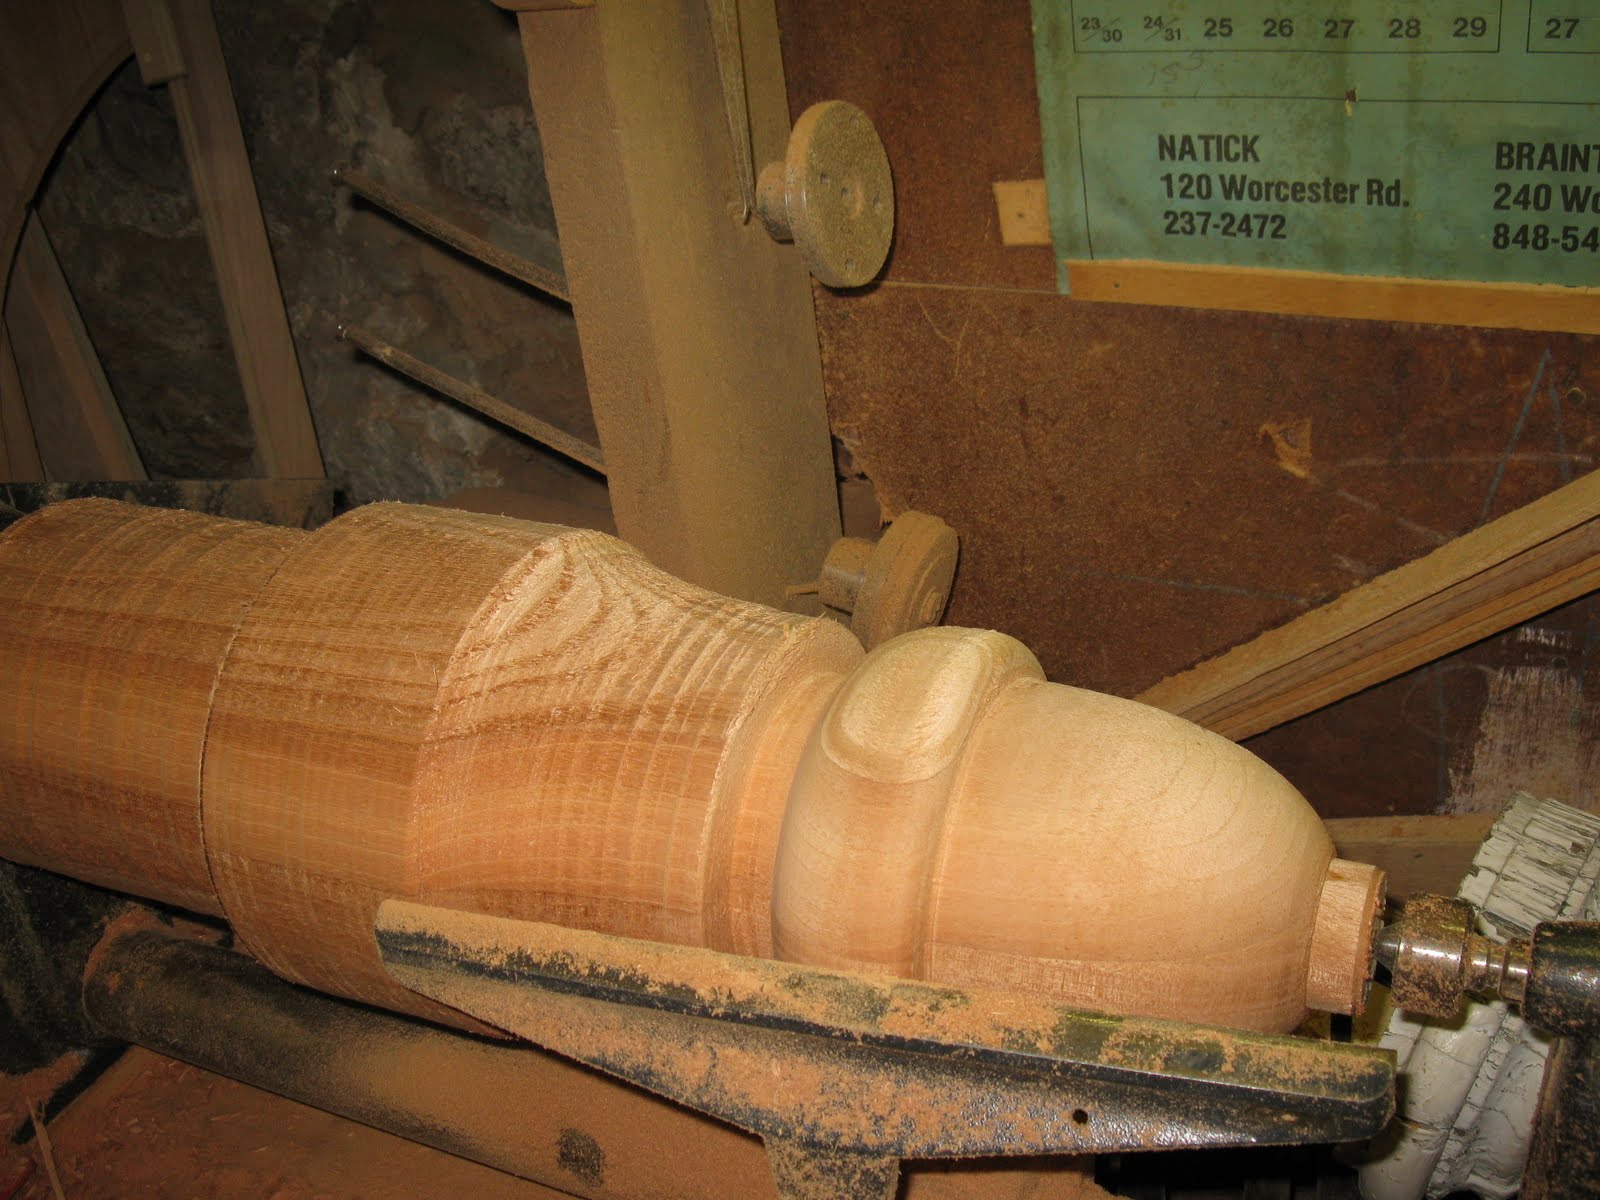
The acorn finial top starts to take shape.
Checking the layout.
The turning is really starting to take shape.
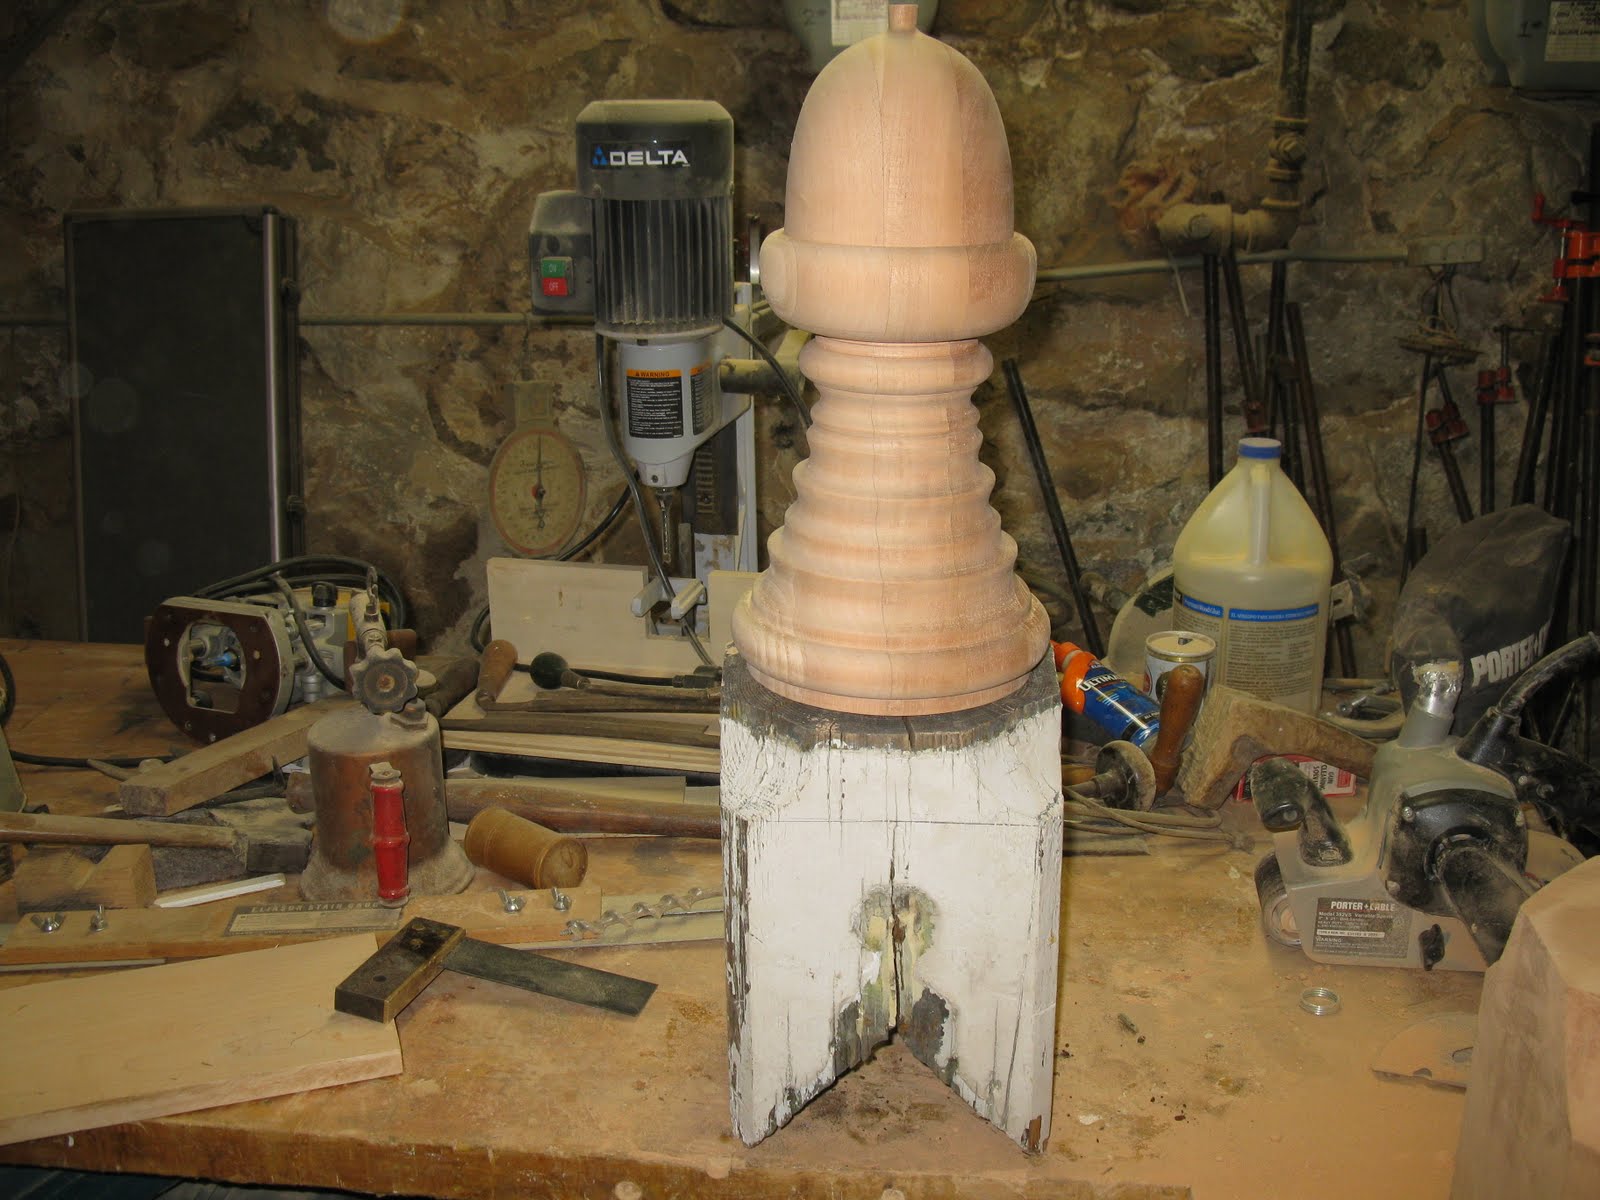
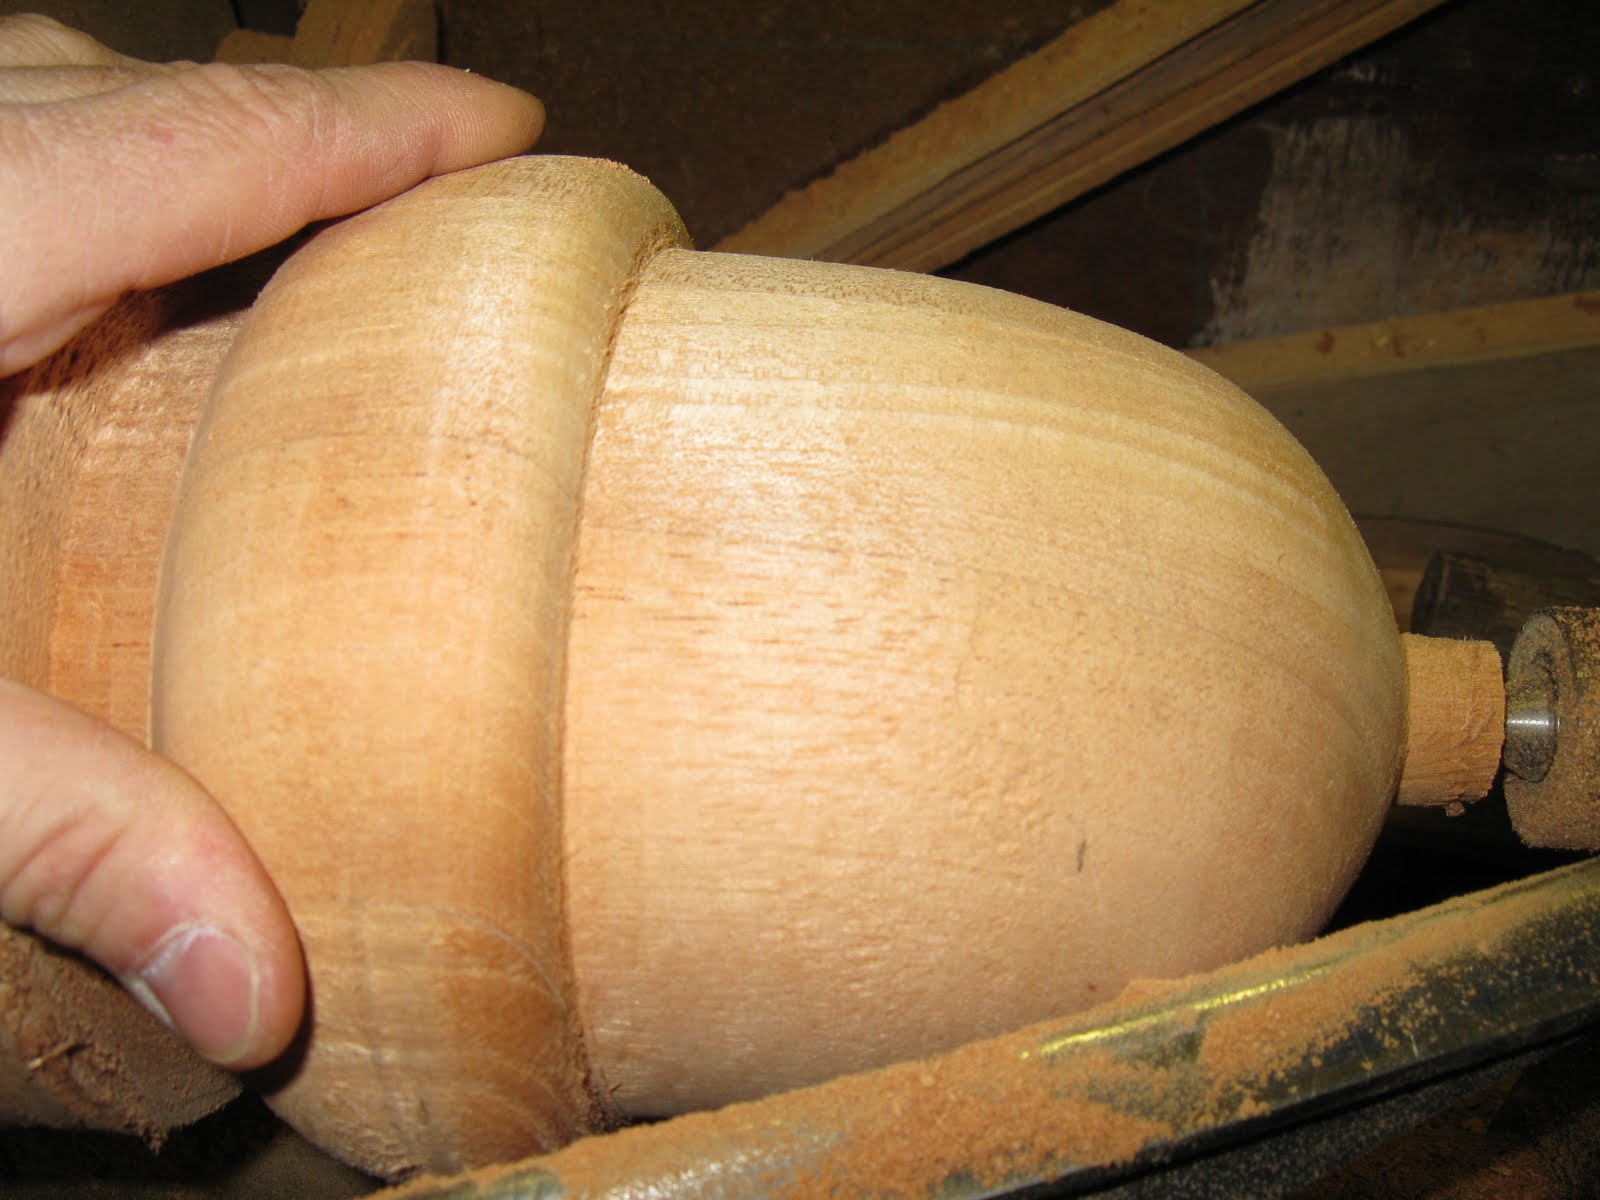
The acorn shaped. It was sanded right in the lathe ~ which is easier than on the bench top. Later when we were finished turning I used a hand saw to cut off the tip of the acorn and then sanded it smooth.
The dowel, on the left, was the last thing to be turned.
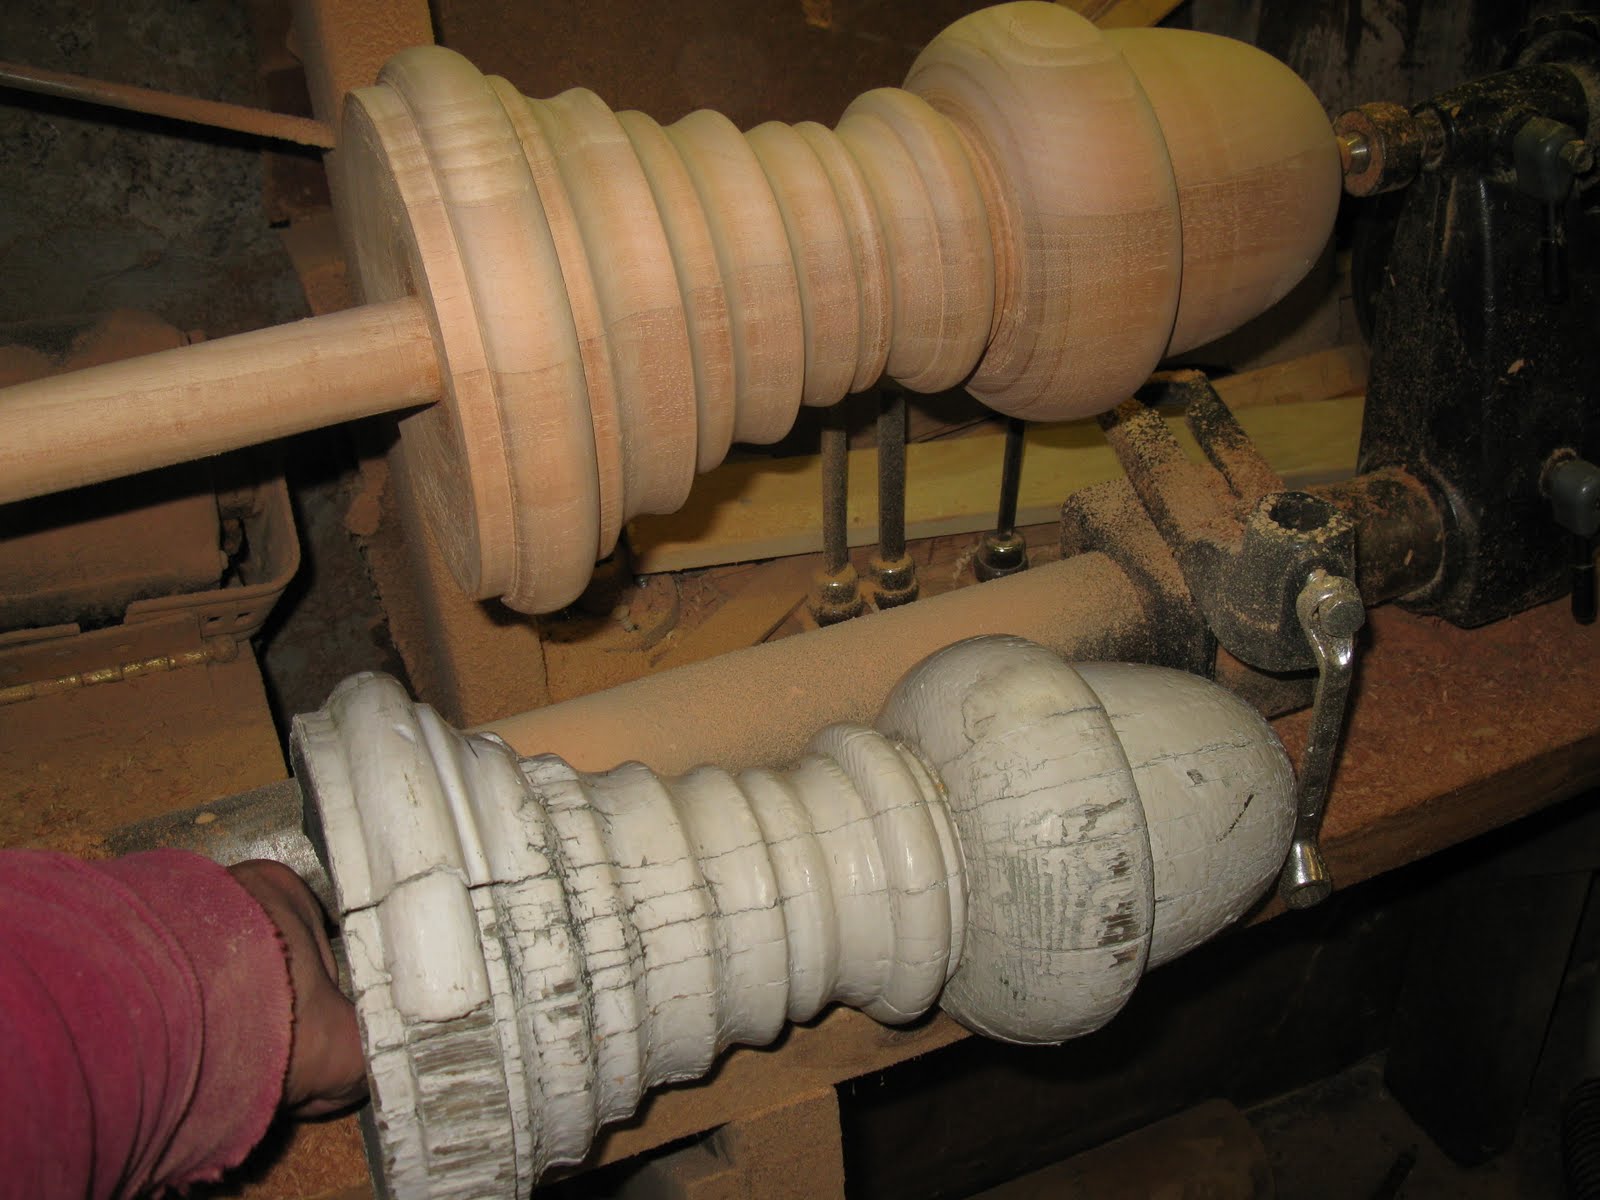
Done!
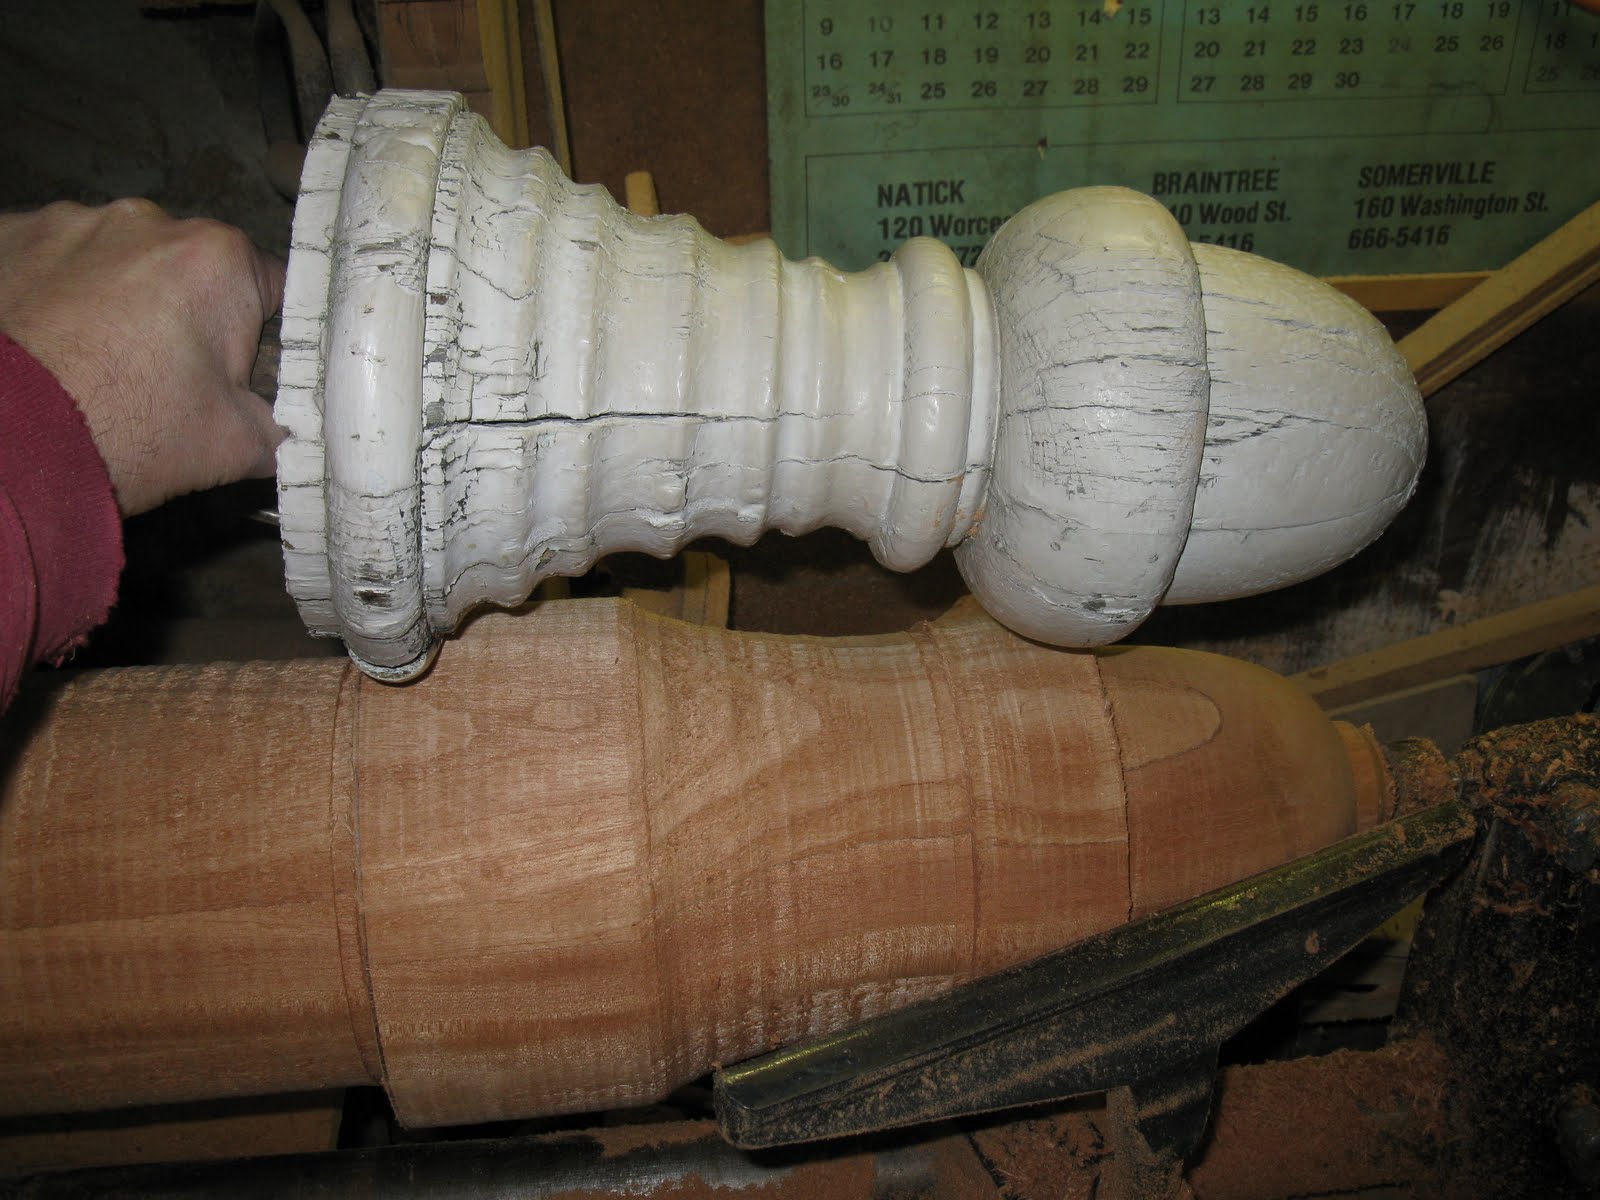
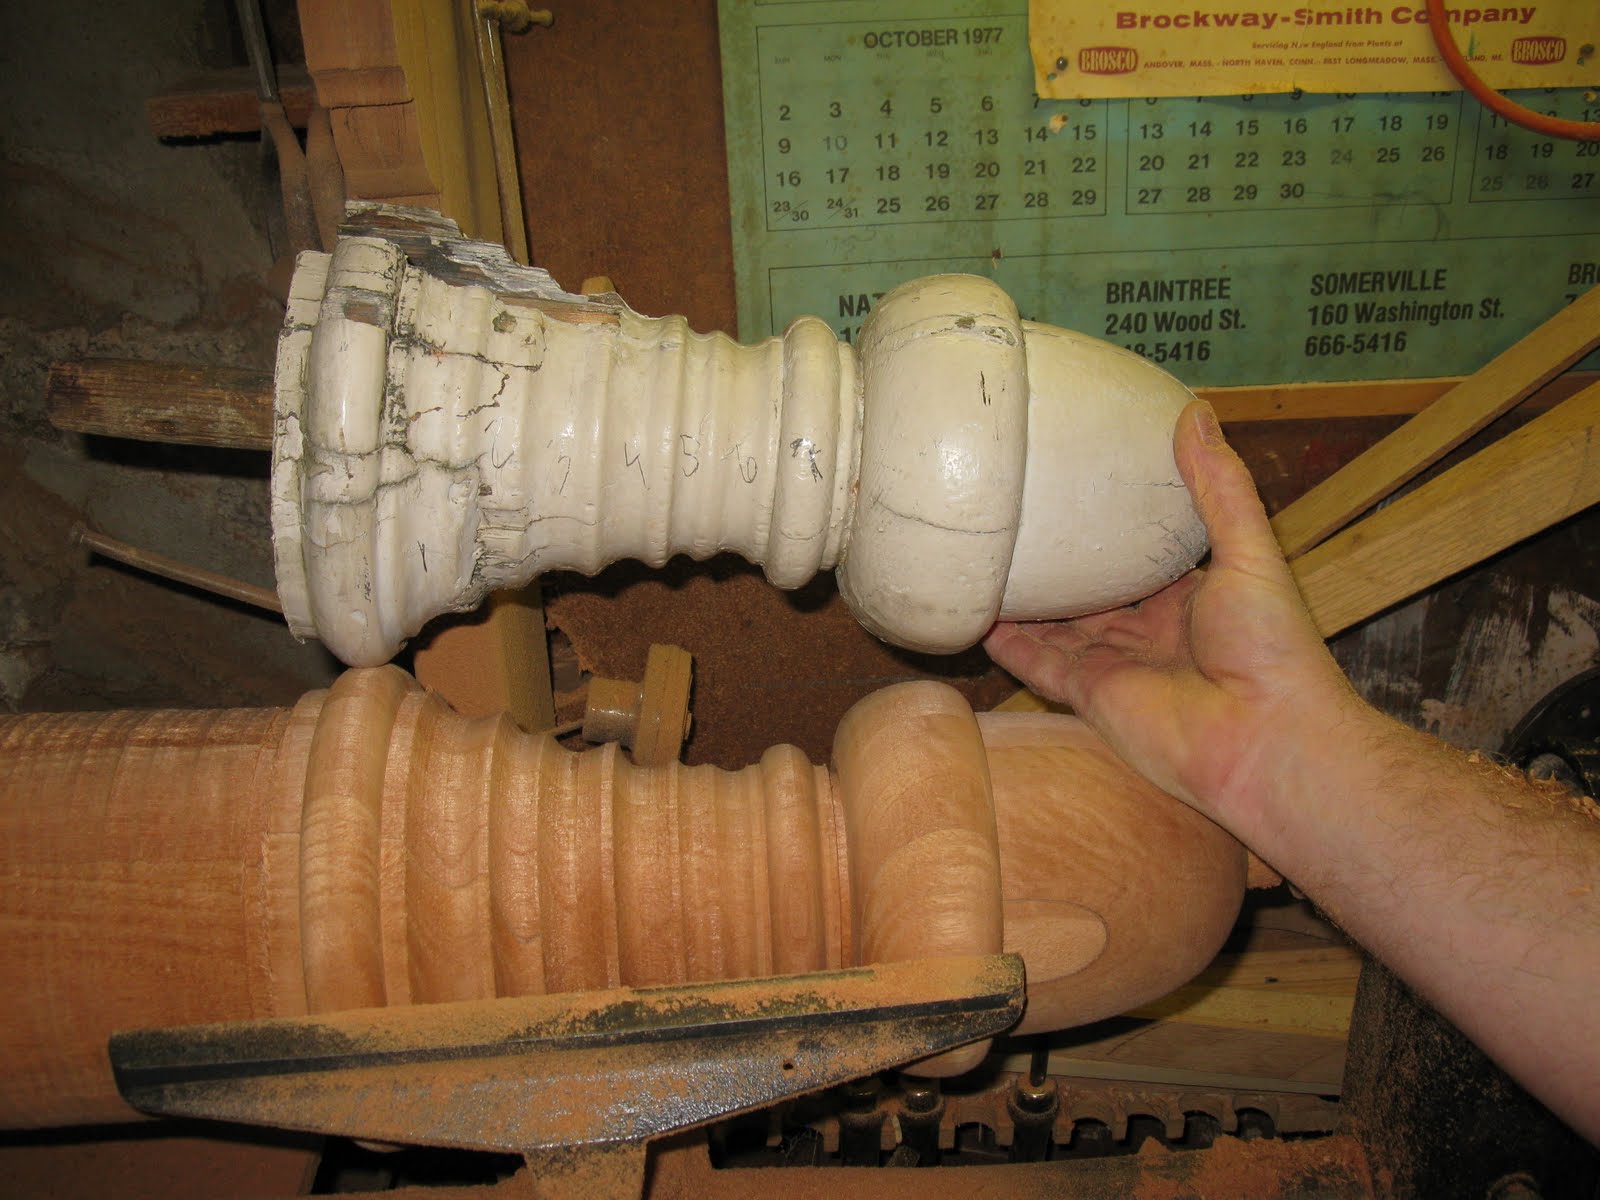
New acorn finial next to the old.
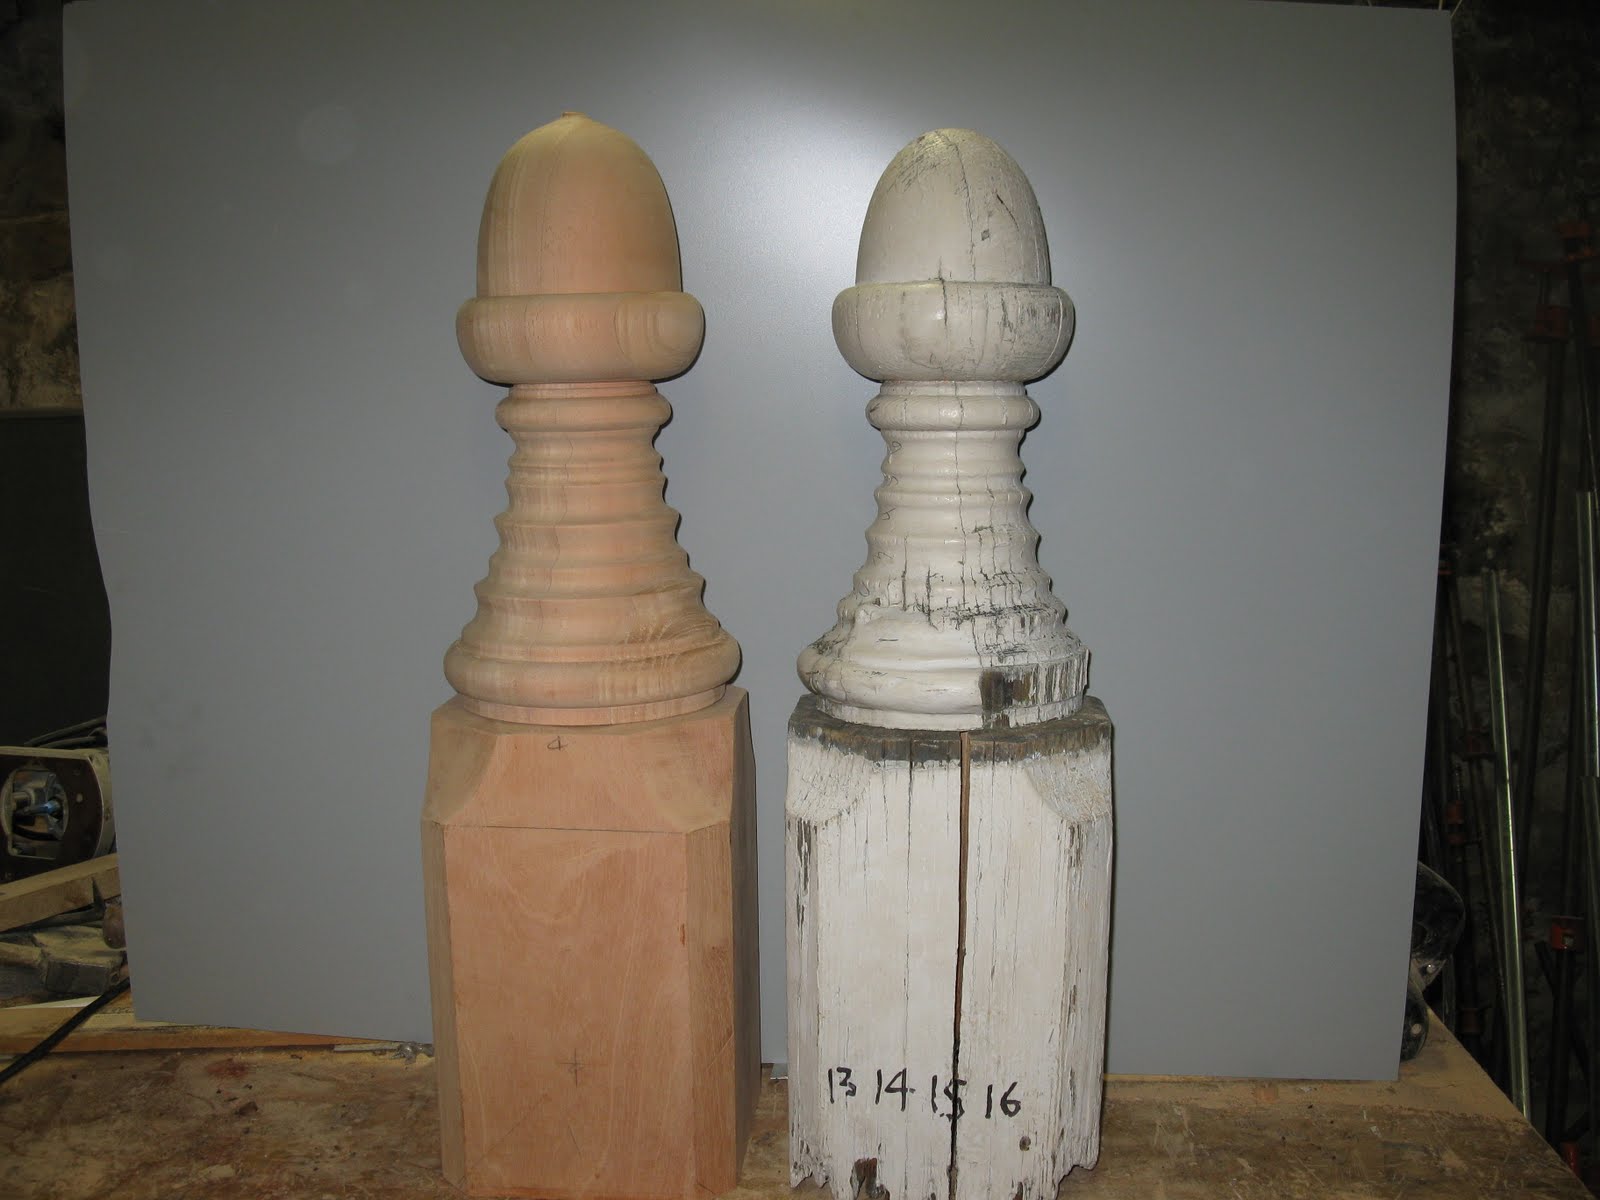
New and old. In the next post I will detail the work performed on the finial tail and skirting.