Replacing A Front Entry Door

BEFORE: replacing a front door

Close up of the old door Sunburst Style pediment. Upon close inspection this sunburst was never flashed to prevent water from getting behind it. Why it didn’t leak is beyond me.

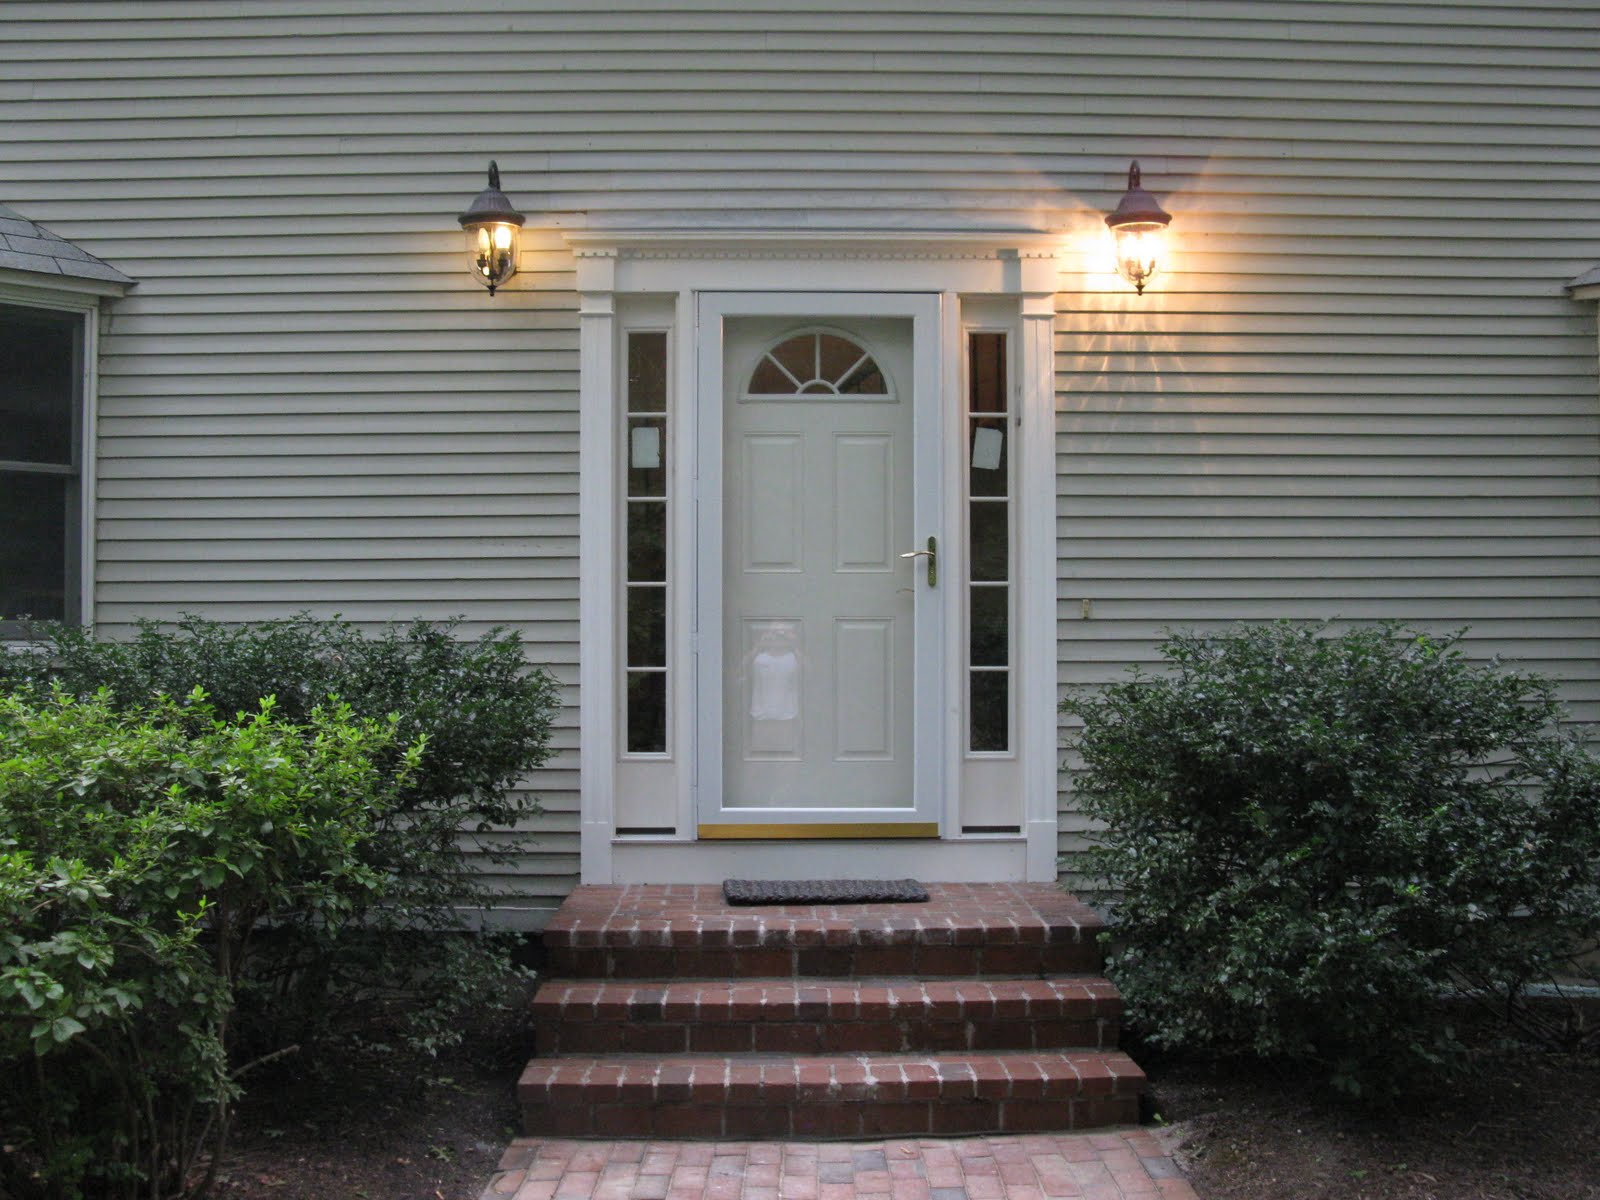
AFTER: replacing a front door entry
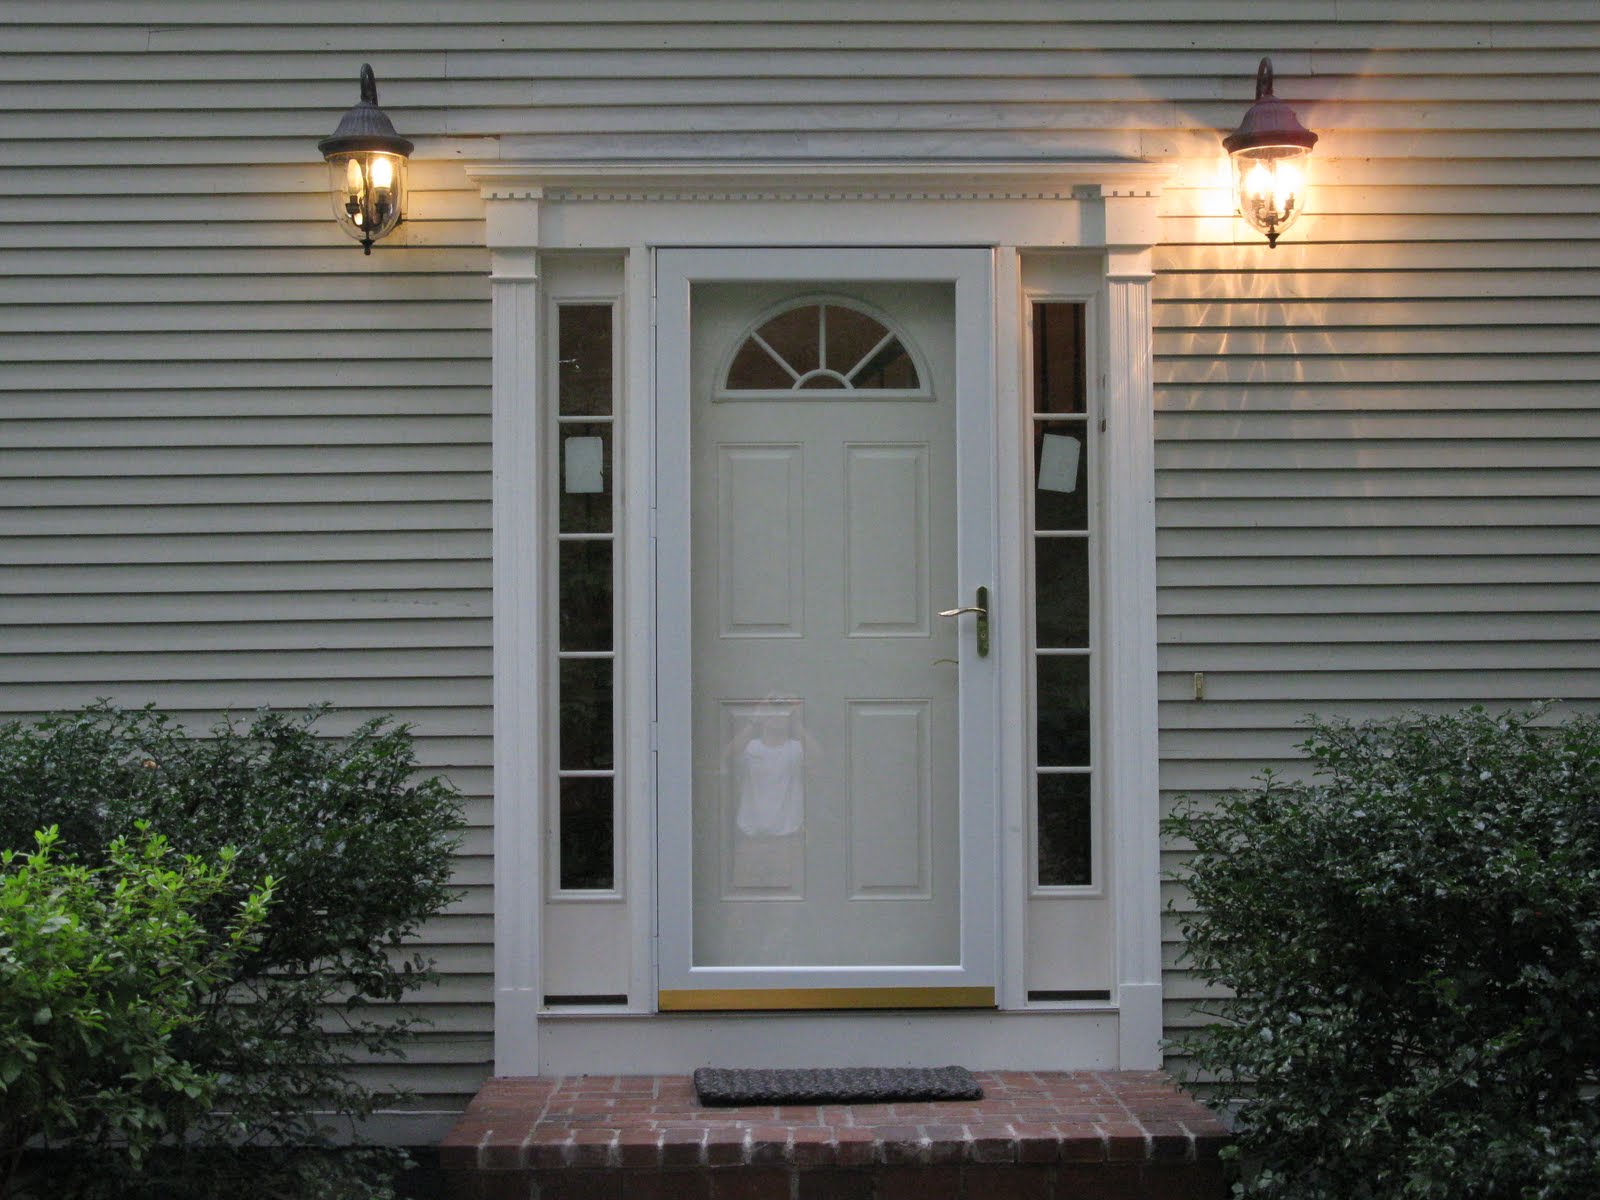
Close up of the dental pediment head piece and column trim. [click on any photo to enlarge]

Front Door Replacement
This house is in Wayland, Massachusetts.
The owner called me to look at her door which had extensive rot in the door and side lite jambs.
The best approach here was complete replacement.
The owner decided on changing the front appearance of the entry door a bit. She choose a maintenance free door and side-lite set up.
This included a six panel door with a fan light window and full side lights, all of which have vinyl exterior skin. This unit also has an aluminum sill.
PVC Pediment
The homeowner choose a PVC Pediment Dentil head piece with fluted column moldings, made from Advanced Trim wright. They have many entry door styles available, see below.
Storm Door Protects Inside Door
To protect this door further, increase energy efficiency and to finish this project off we installed an Anderson full-view storm door.
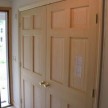
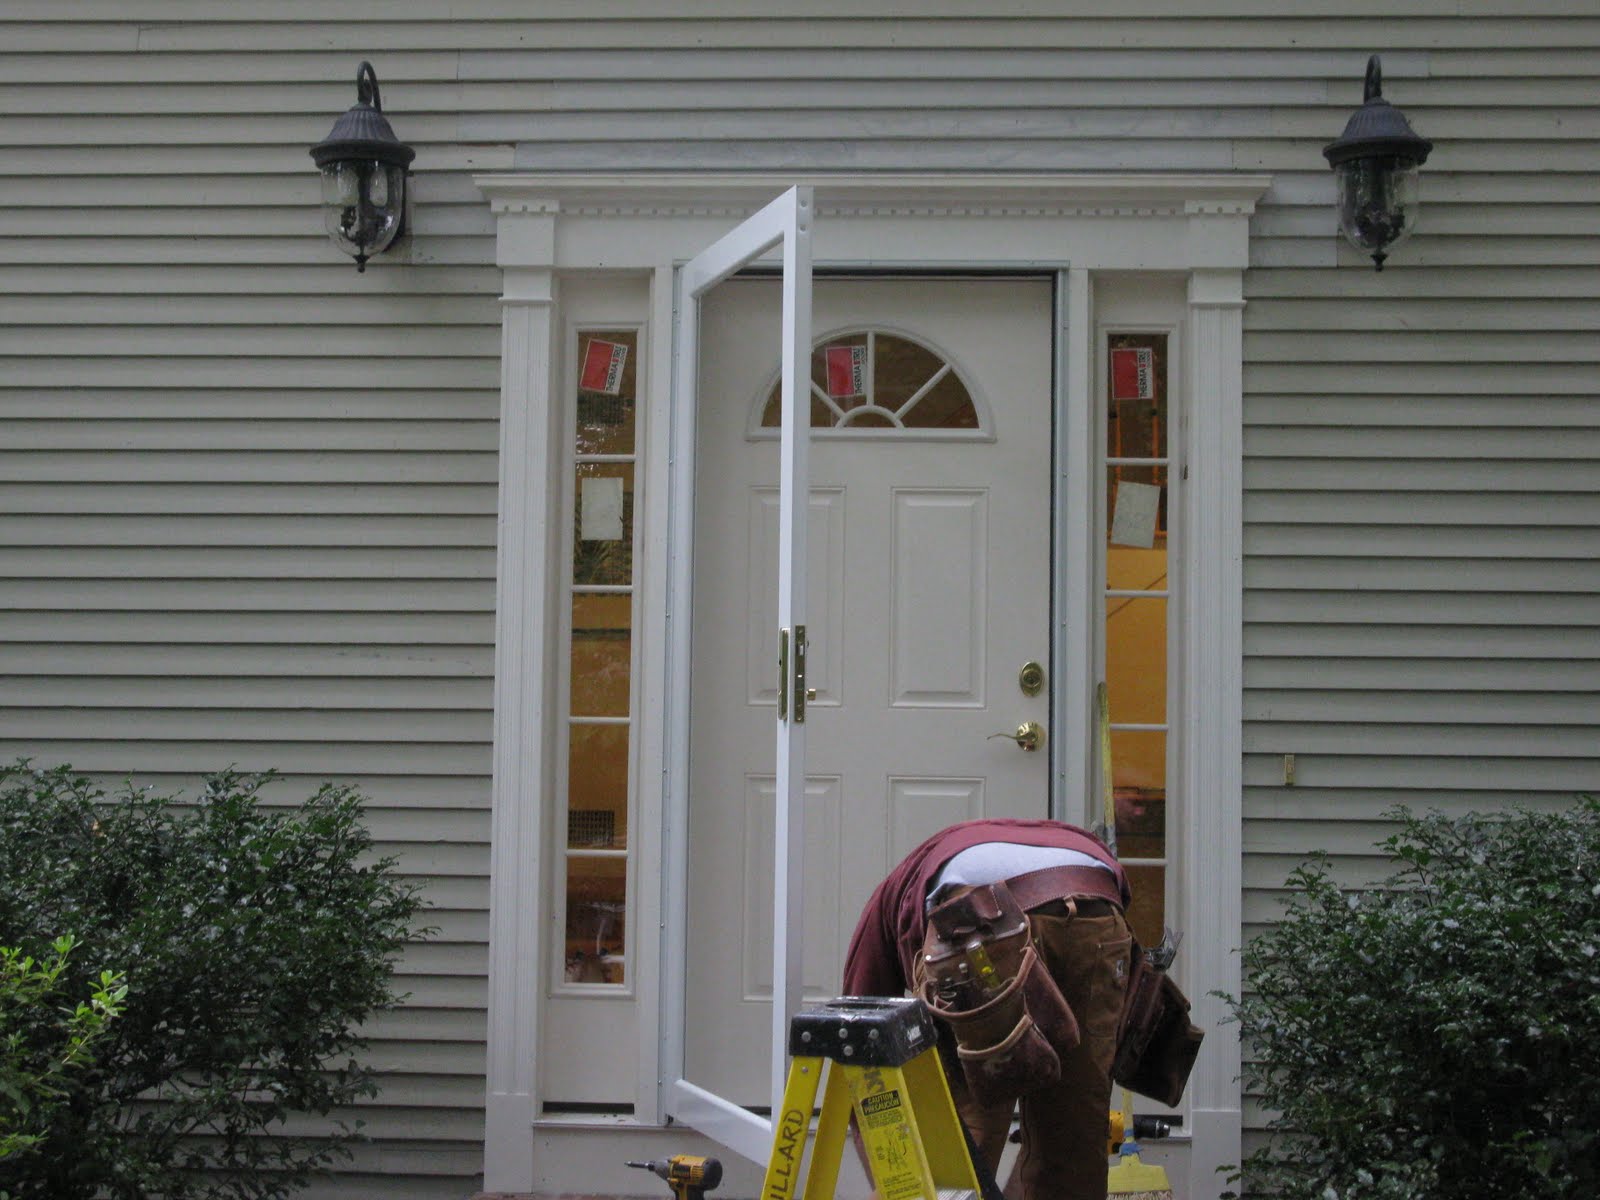
Below: Plumbing the unit before securing it in place. Careful measuring allowed us to get the correct size door that allowed the new door to fit exactly between the old clapboards.
The clapboards where the sunburst trim was will need to be cut back, flashed and filled in.
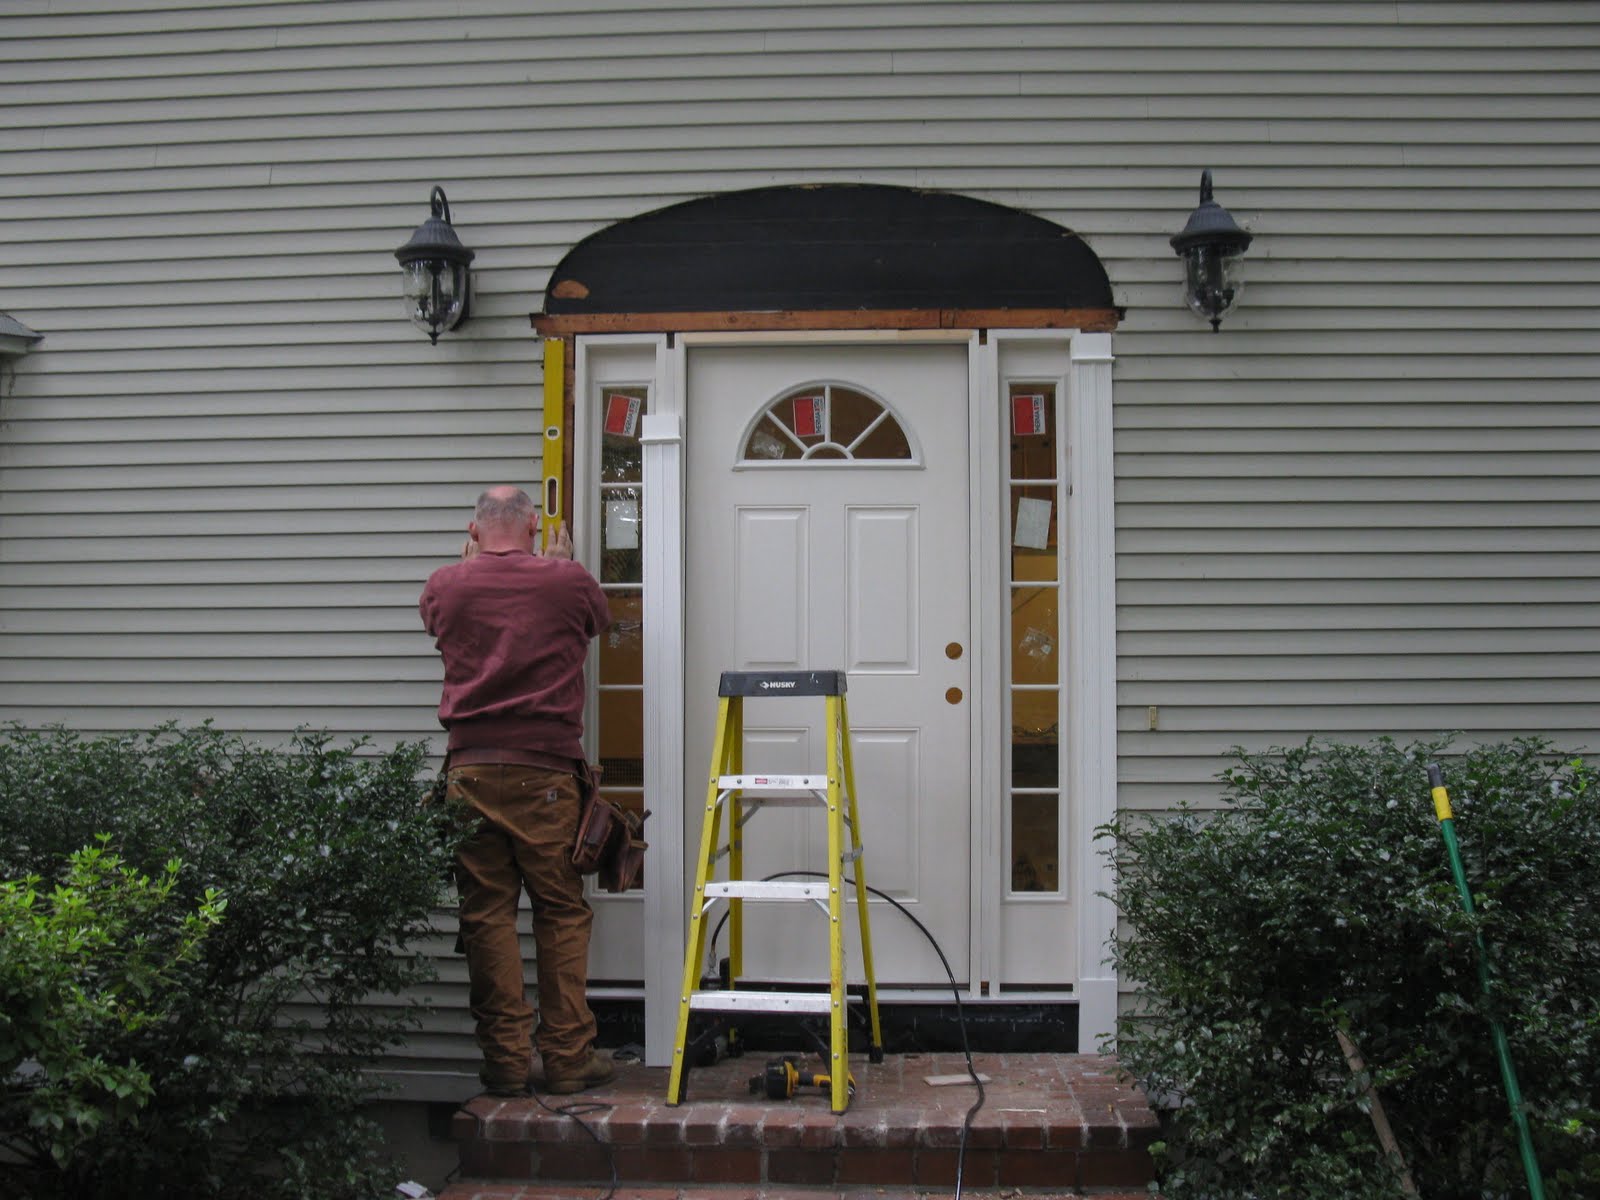
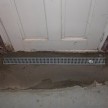
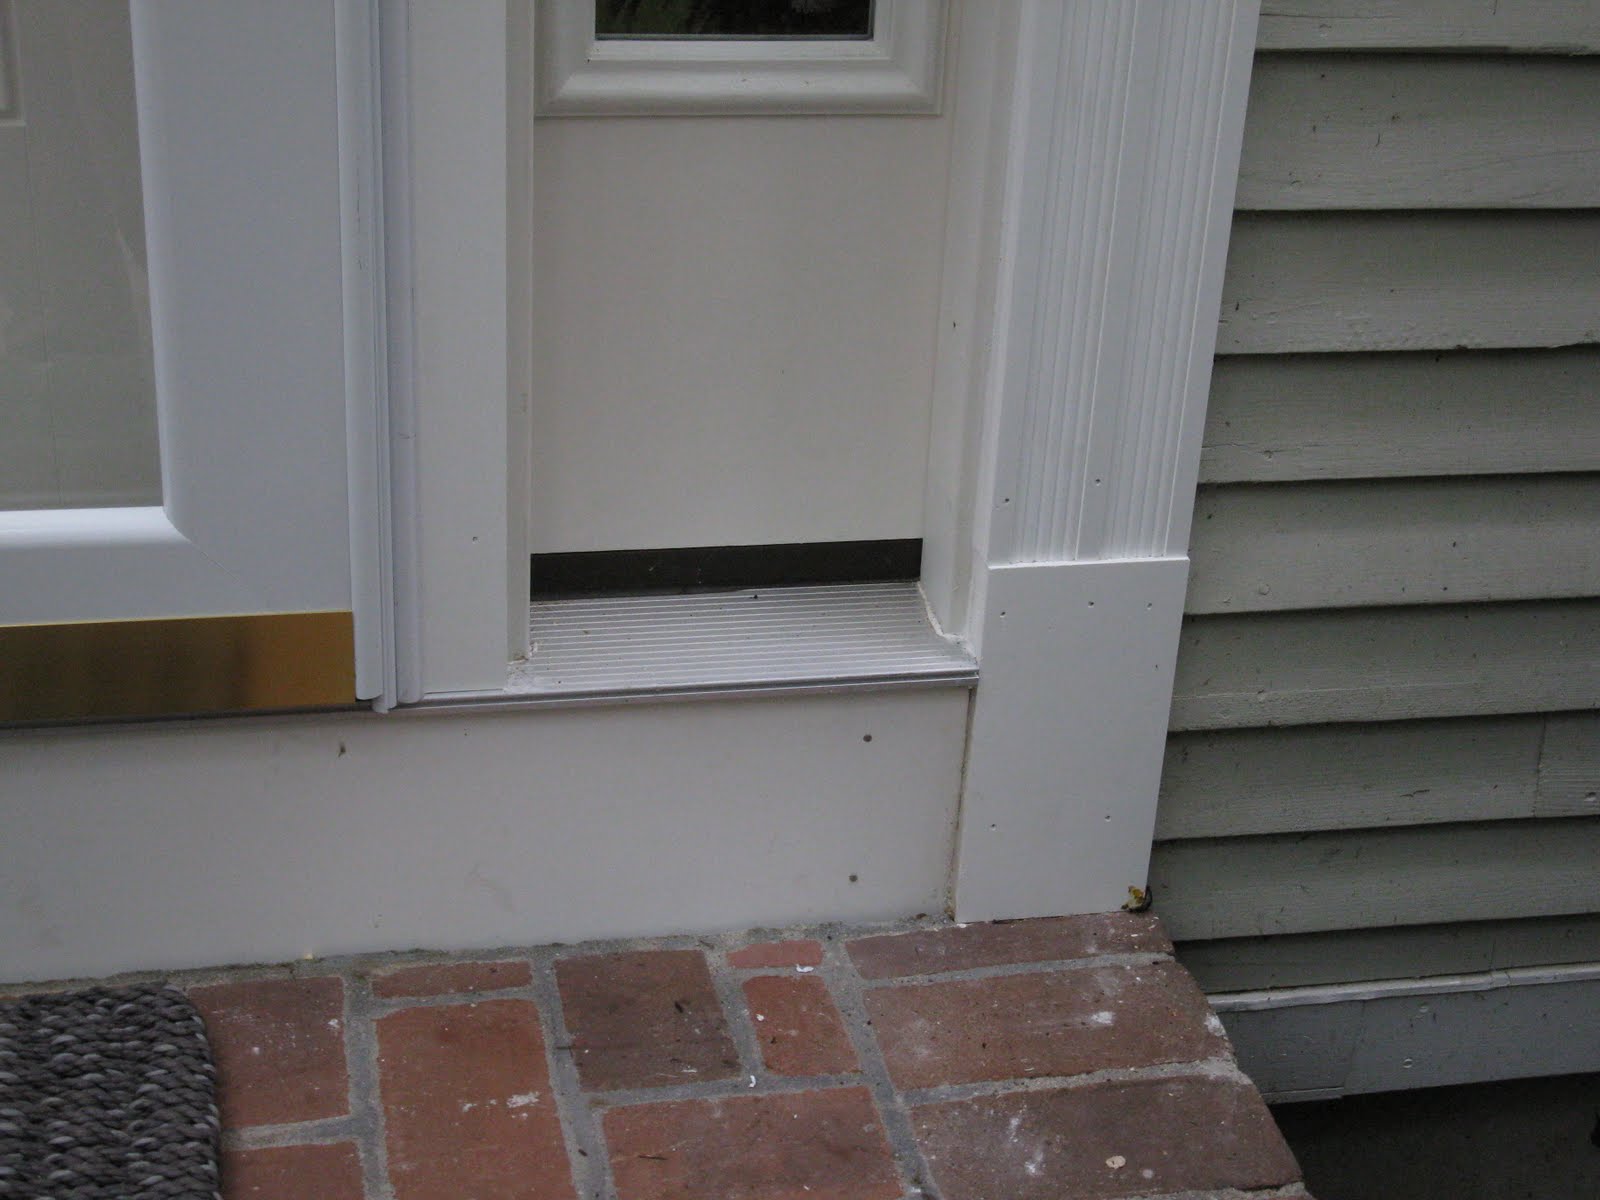
The black below the door is a sill pan flashing that we fashioned out of Vycor. [self sticking / sealing rubber] This protects the house sill from water damage.
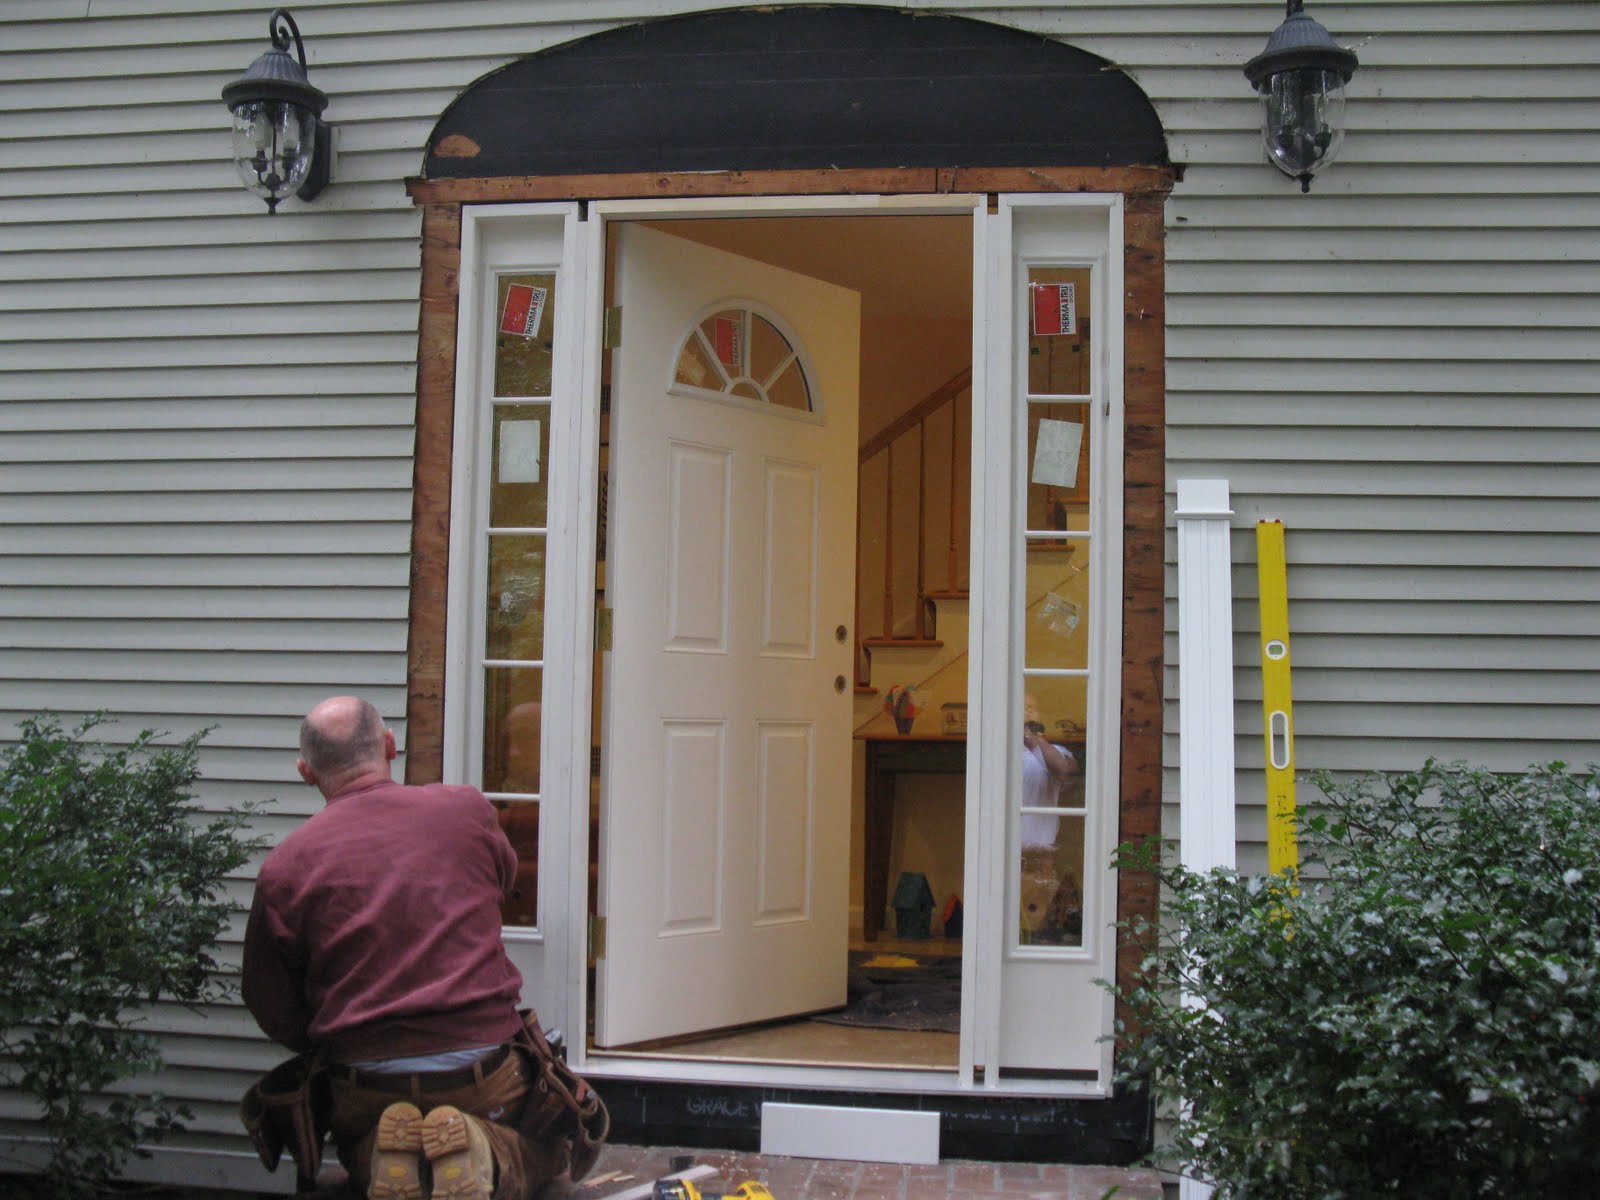
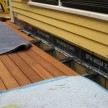
The upper clapboards have been cut back, staggered and are ready for new clapboards to butt into them.
Rubber flashing was placed under all of the clapboard joints and fashioned to drain onto a lower clapboard. This is a redundancy protection flashing.

When removing the clapboards above the door we noticed something that neither Bill nor I have ever seen. The existing clapboards were only 3 1/2″ wide with 3″ of this clapboard exposed to the weather.
The problem with this is that there is only 1/2″ of an overlap for weather protection ~ which is way too little.
The standard clapboard these days is 5 1/2″.
In order to patch in the missing clapboards we had to cut down and bevel a new 5 1/2″ clapboard to mirror the old existing clapboards. See photos below.
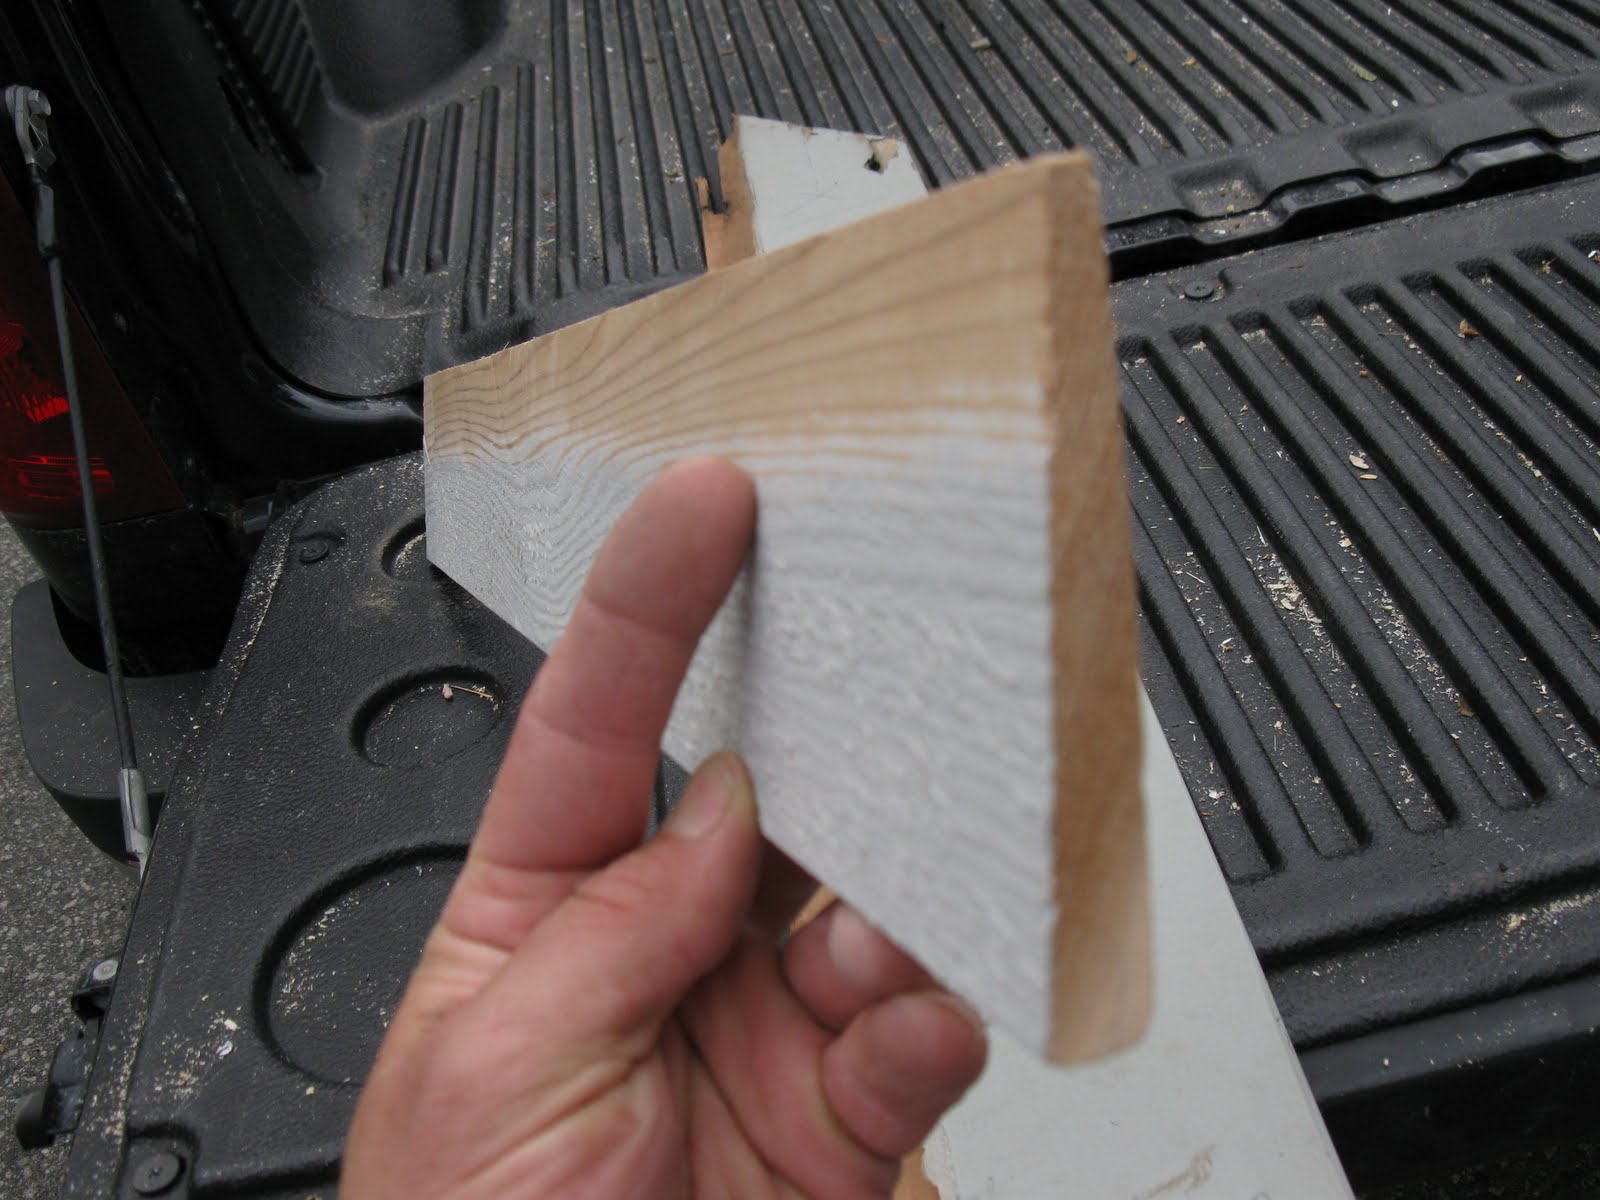
Clapboards side by side you can see the difference in size.

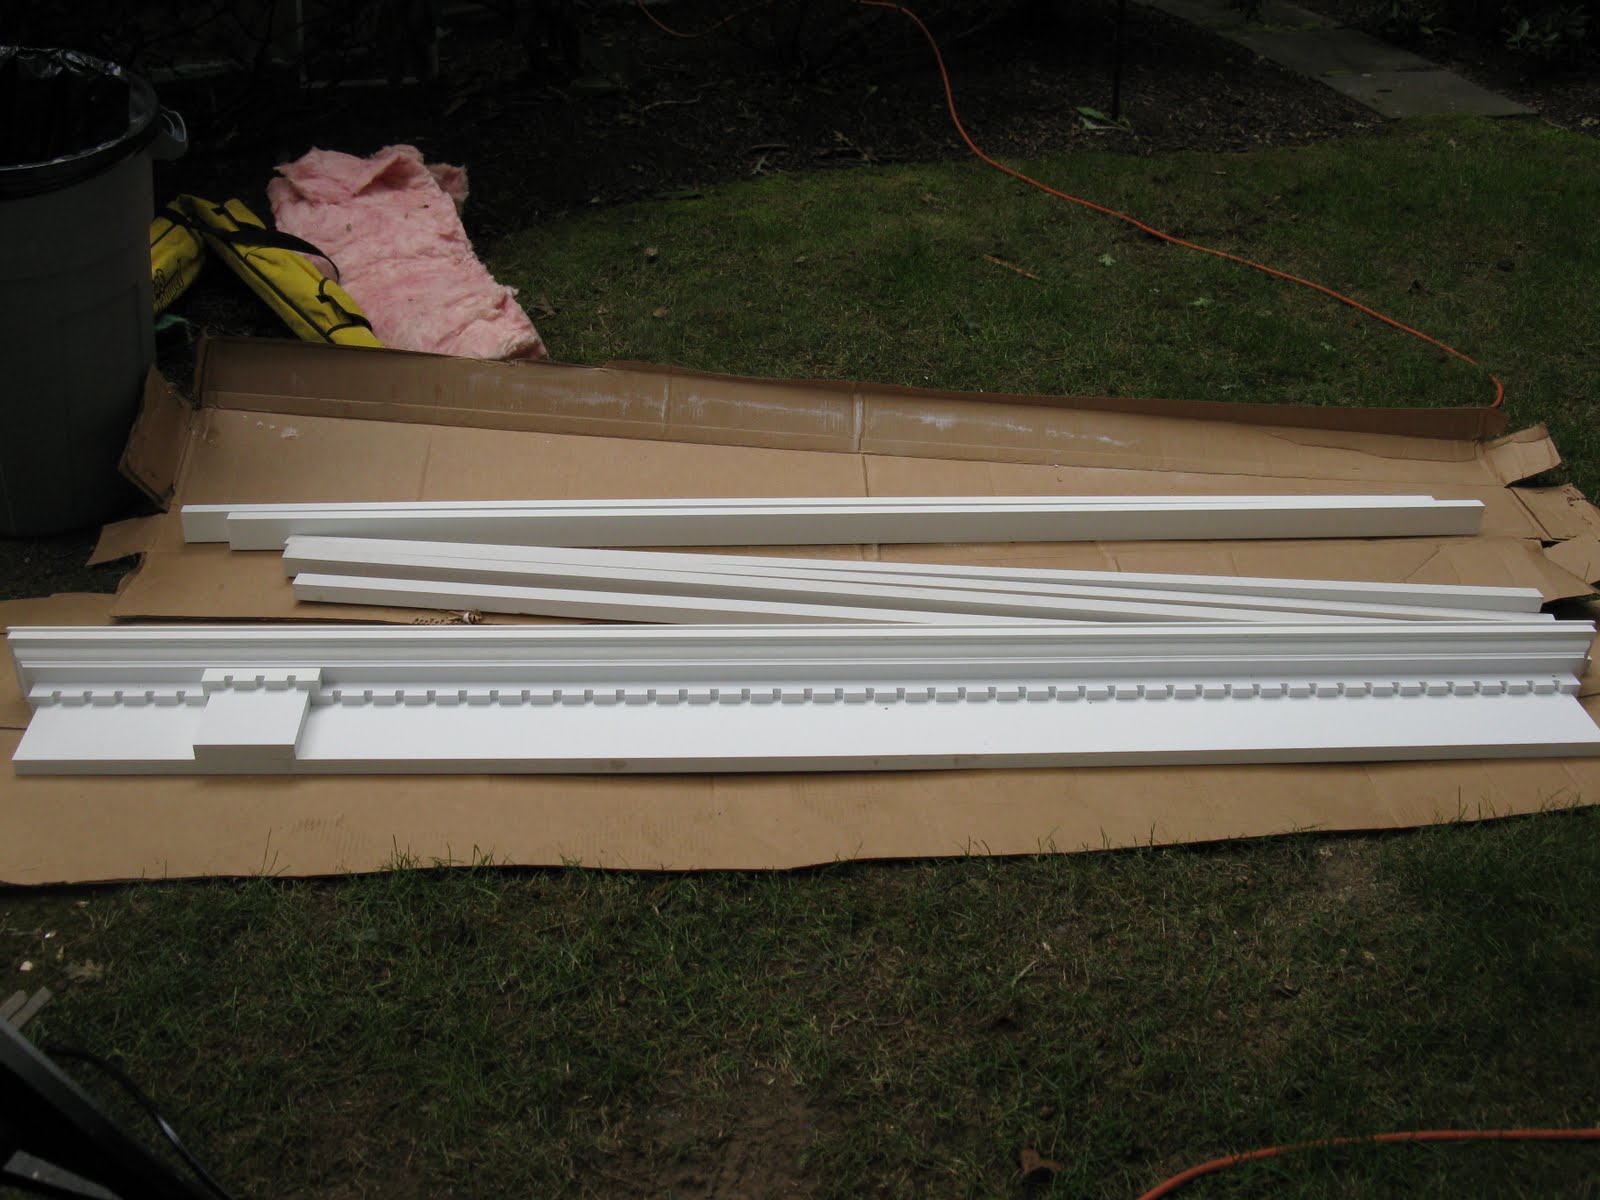
The Dentil head trim comes in a box. The unit is longer than needed and needed to be cut down to fit.
Clapboards installed. Door, head piece and storm door installed. Lead flashing protects the top of the dentil pediment.
Close up lower “column” trim and plinth block.
Cut away section of the PVC dentil pediment trim.
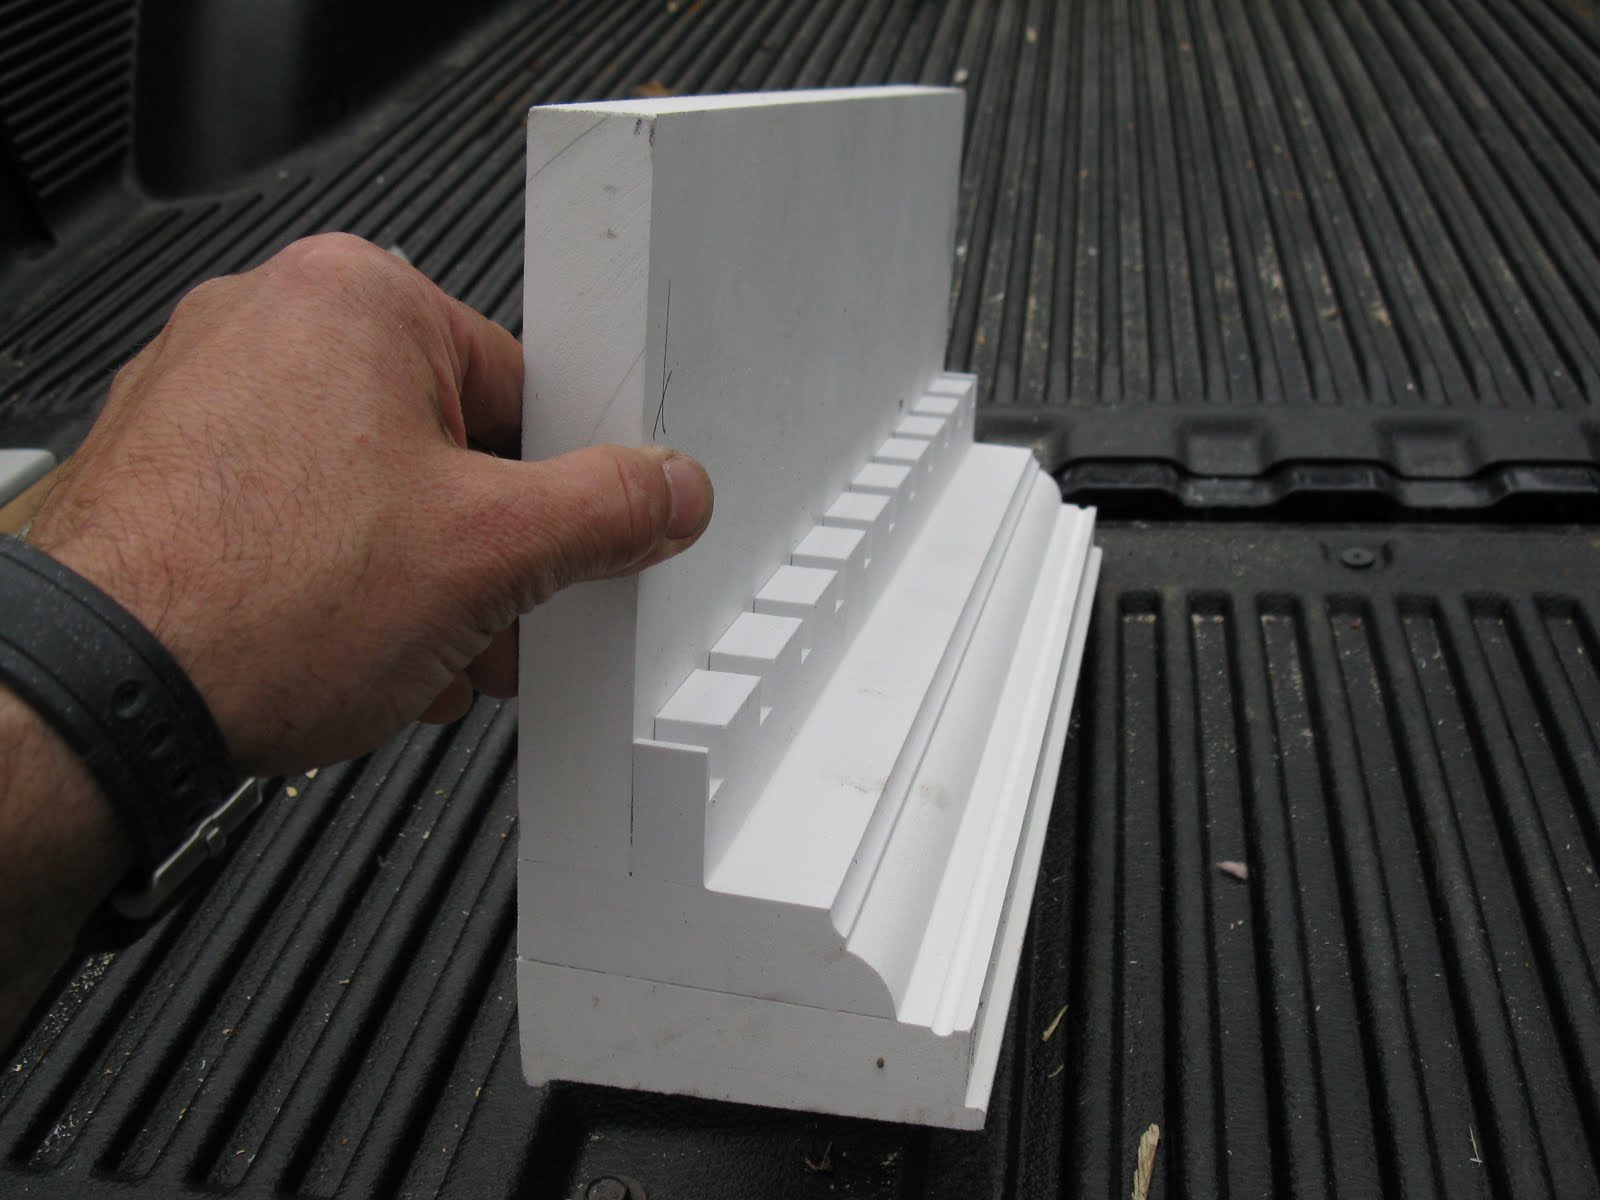
All PVC construction this dentil pediment head has great lines.

Finished! ~ another happy customer!
~ concord carpenter
Subscribe to A Concord Carpenter Comments by Email