


Photos: Concord Carpenter
Recently a client asked me to evaluate her bathroom fan. This fan was not removing the steam from the bathroom during showers and we both assumed the fan was the culprit. Actually we ended up replacing the bathroom vent duct instead. Read on to see how we figured out the issue.
Test The Fan Suction
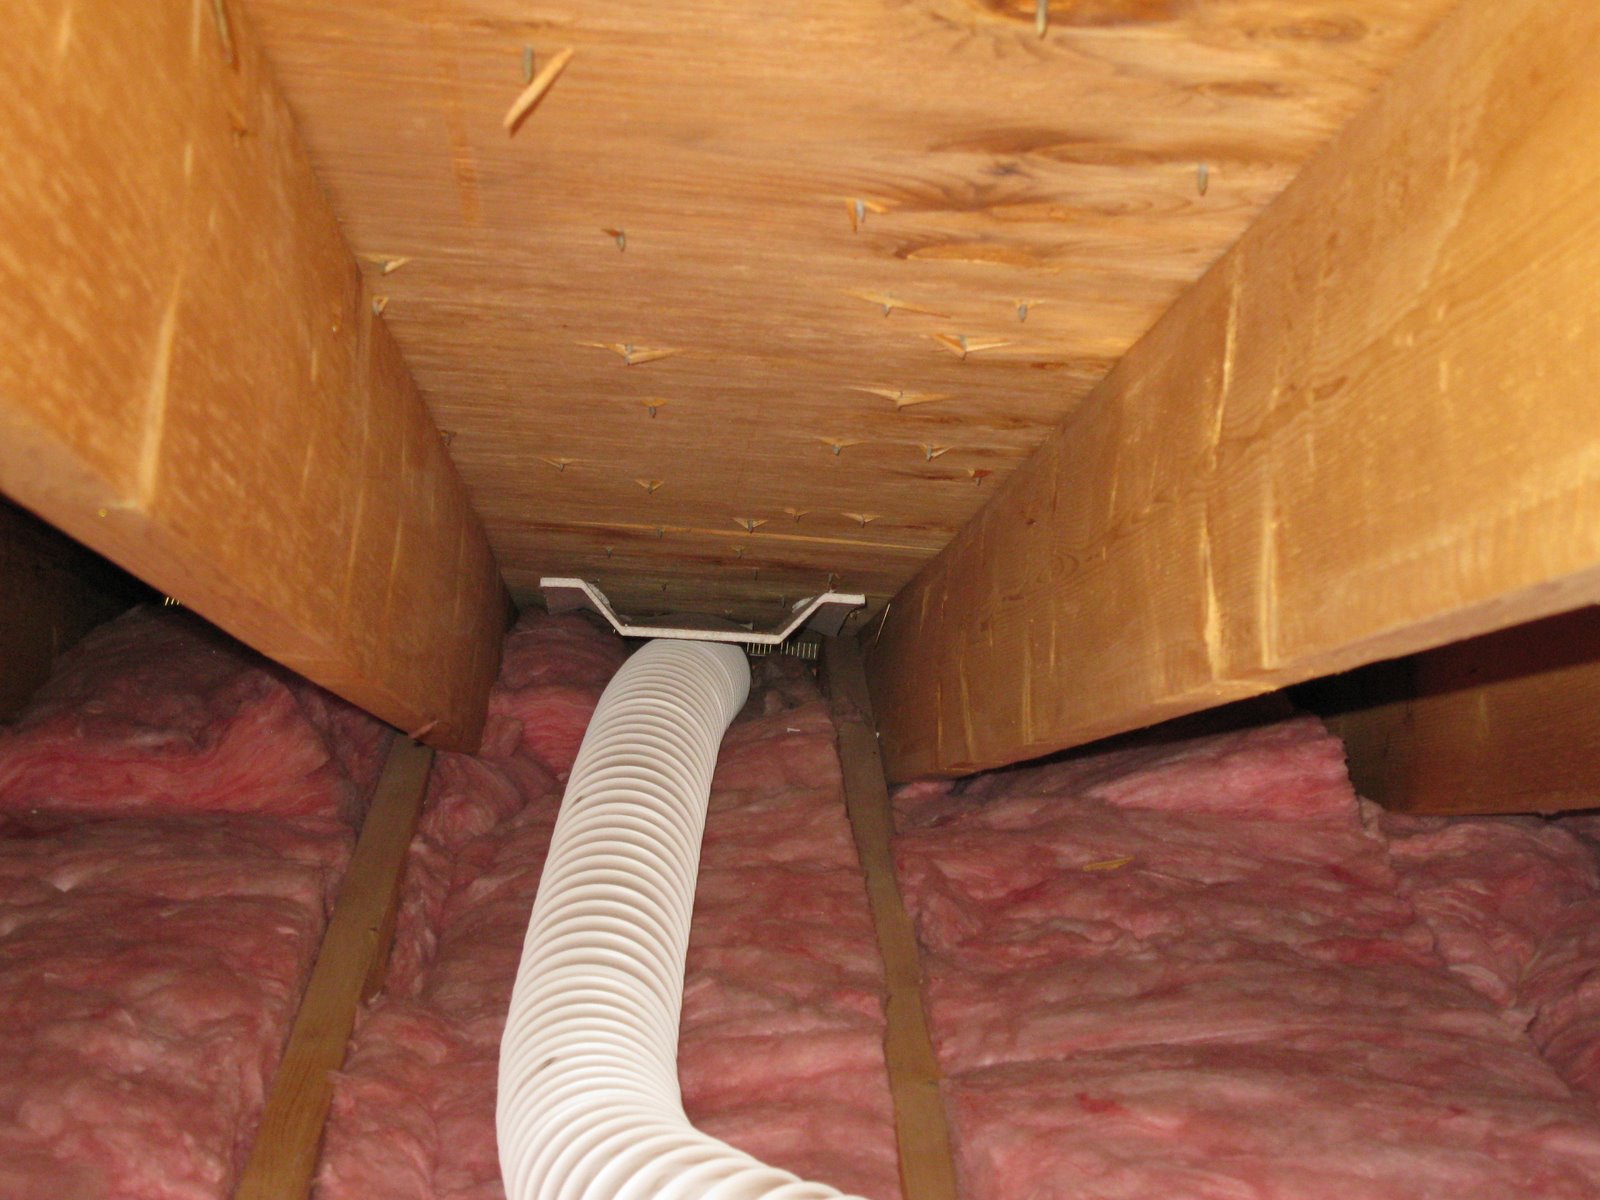
When I inspected and tested the fan I found the fan severely corroded and not pulling air well. A look in the attic revealed a fairly long duct run with plastic duct running parallel in the joist bay.
Note – to test fan for suction, turn on fan, and place a piece of paper up to the fan grill and see if the paper is sucked up to the grill and held in place my the fan.
This duct was also pitch back to the fan and had sagged in the joist bay. Water was found accumulating in the sagging portion of the hose. The plastic vent hose was also dry and brittle, no doubt from the high and low temperatures that this attic endures.
Not my first choice but by venting through the roof we could shorten the duct run by approximately 10′ and also eliminate one elbow. When figuring duct runs always remember that every elbow is the equivalent of 10′ of straight duct run in air resistance. Instead I bought a fan that was powerful; enough to push the air the distance of pipe run.
I removed and replaced the fan motor first. [forgot to take photos sorry]
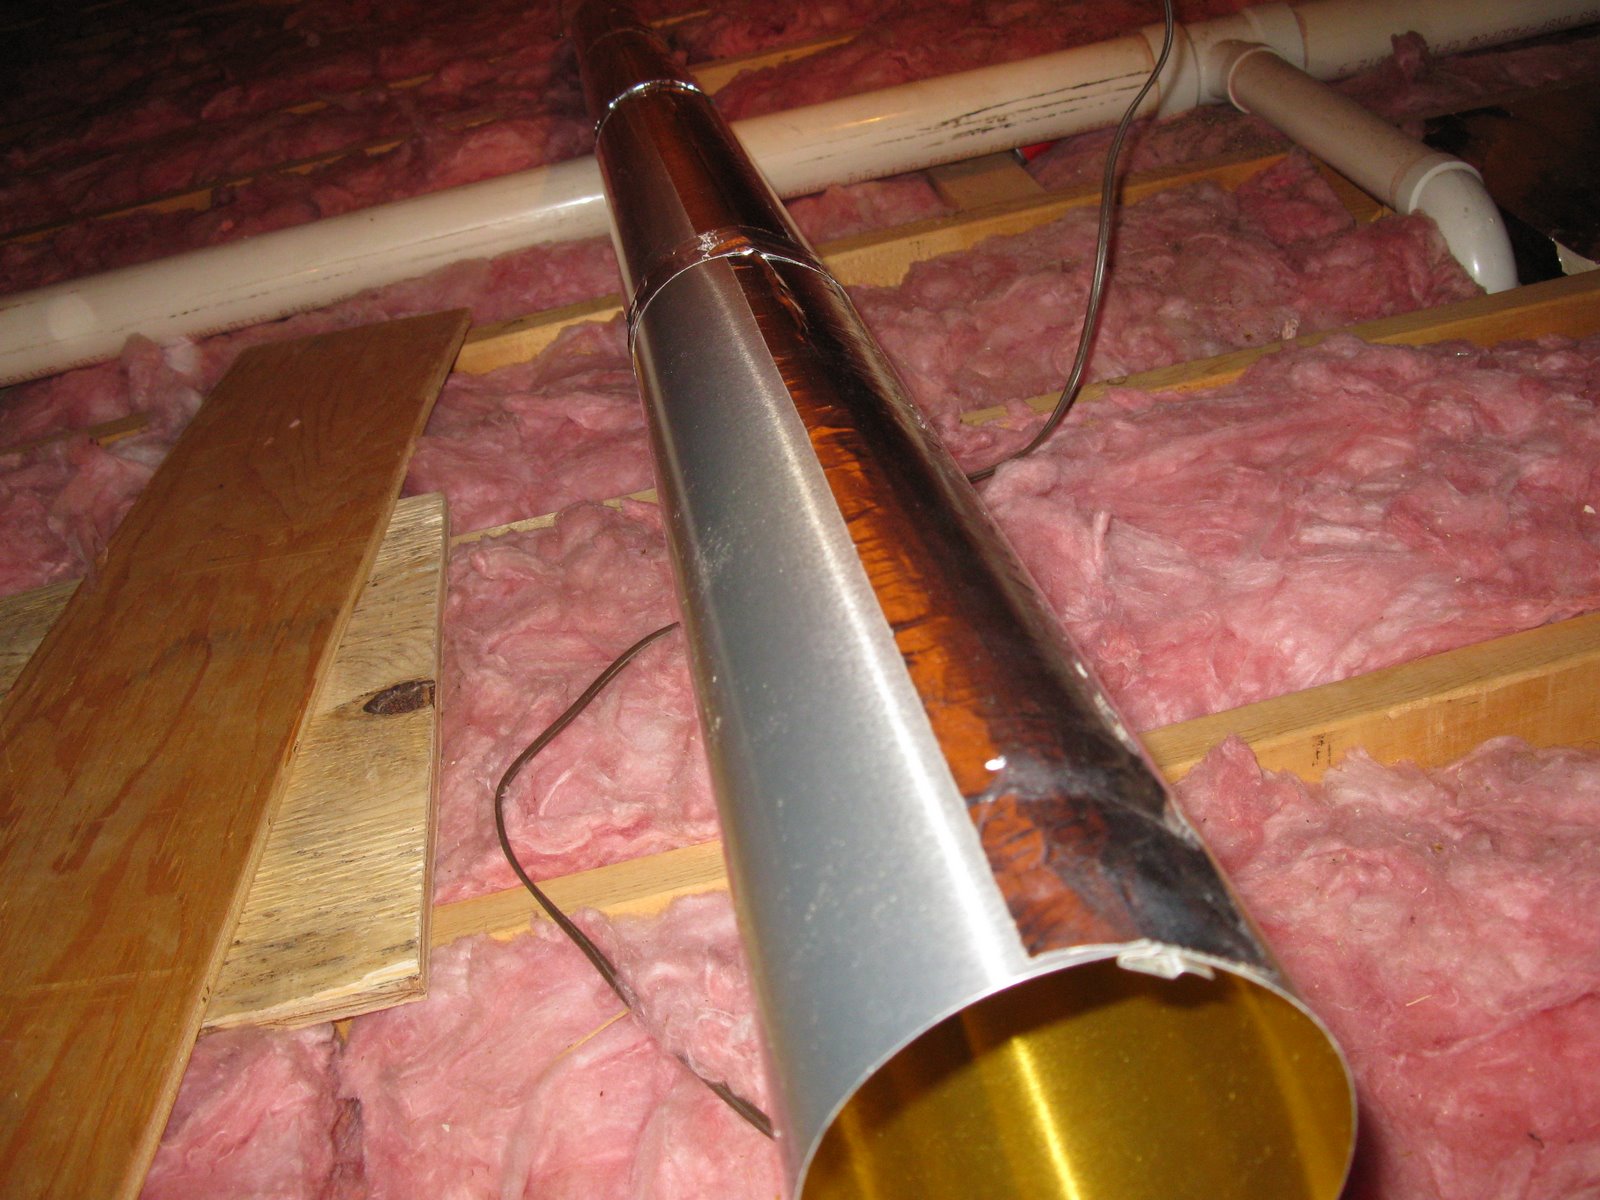
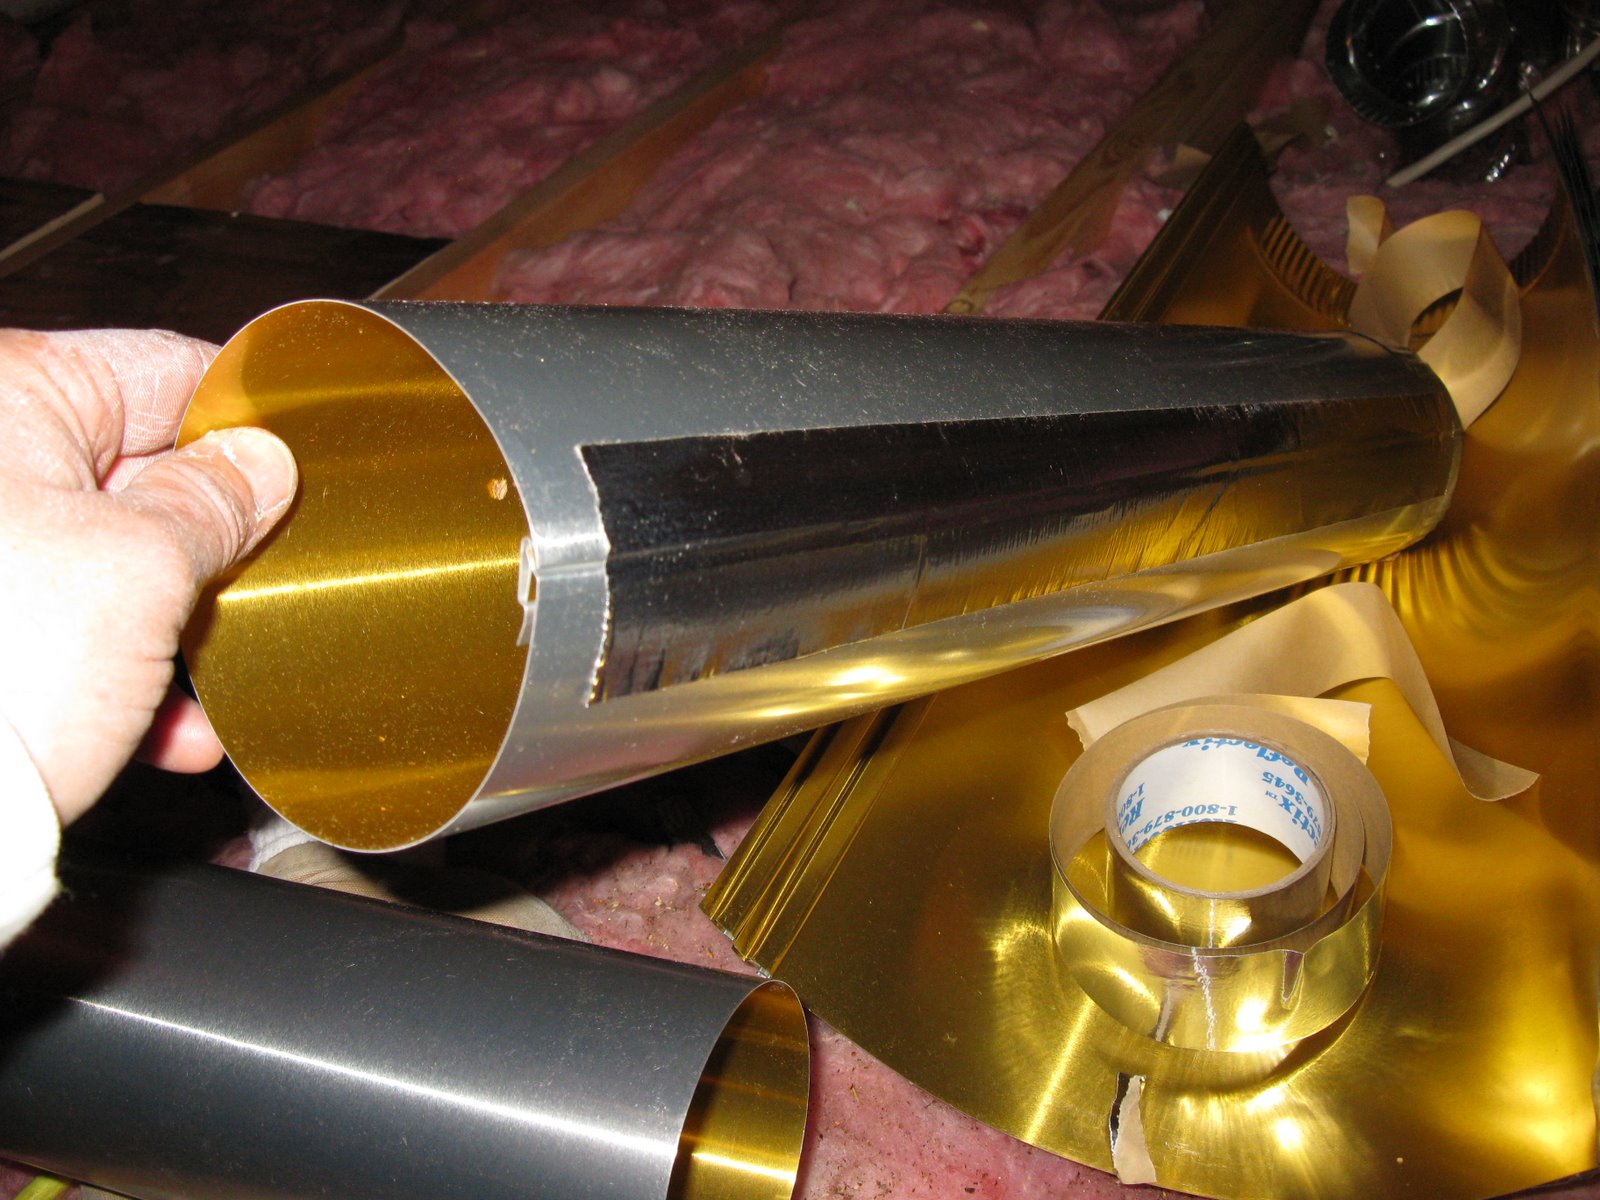
In the attic I installed sections of 4″ x 2′ Lambro # 229 aluminum pipe. I installed the pipe with the seams up to avoid any moisture leaking out of the seams resulting in possible staining of the ceiling below.
Smooth aluminum pipe has less air resistance than the previously used ribbed flexible duct.
All duct seams were sealed with aluminum tape. [Do not use duct tape!]
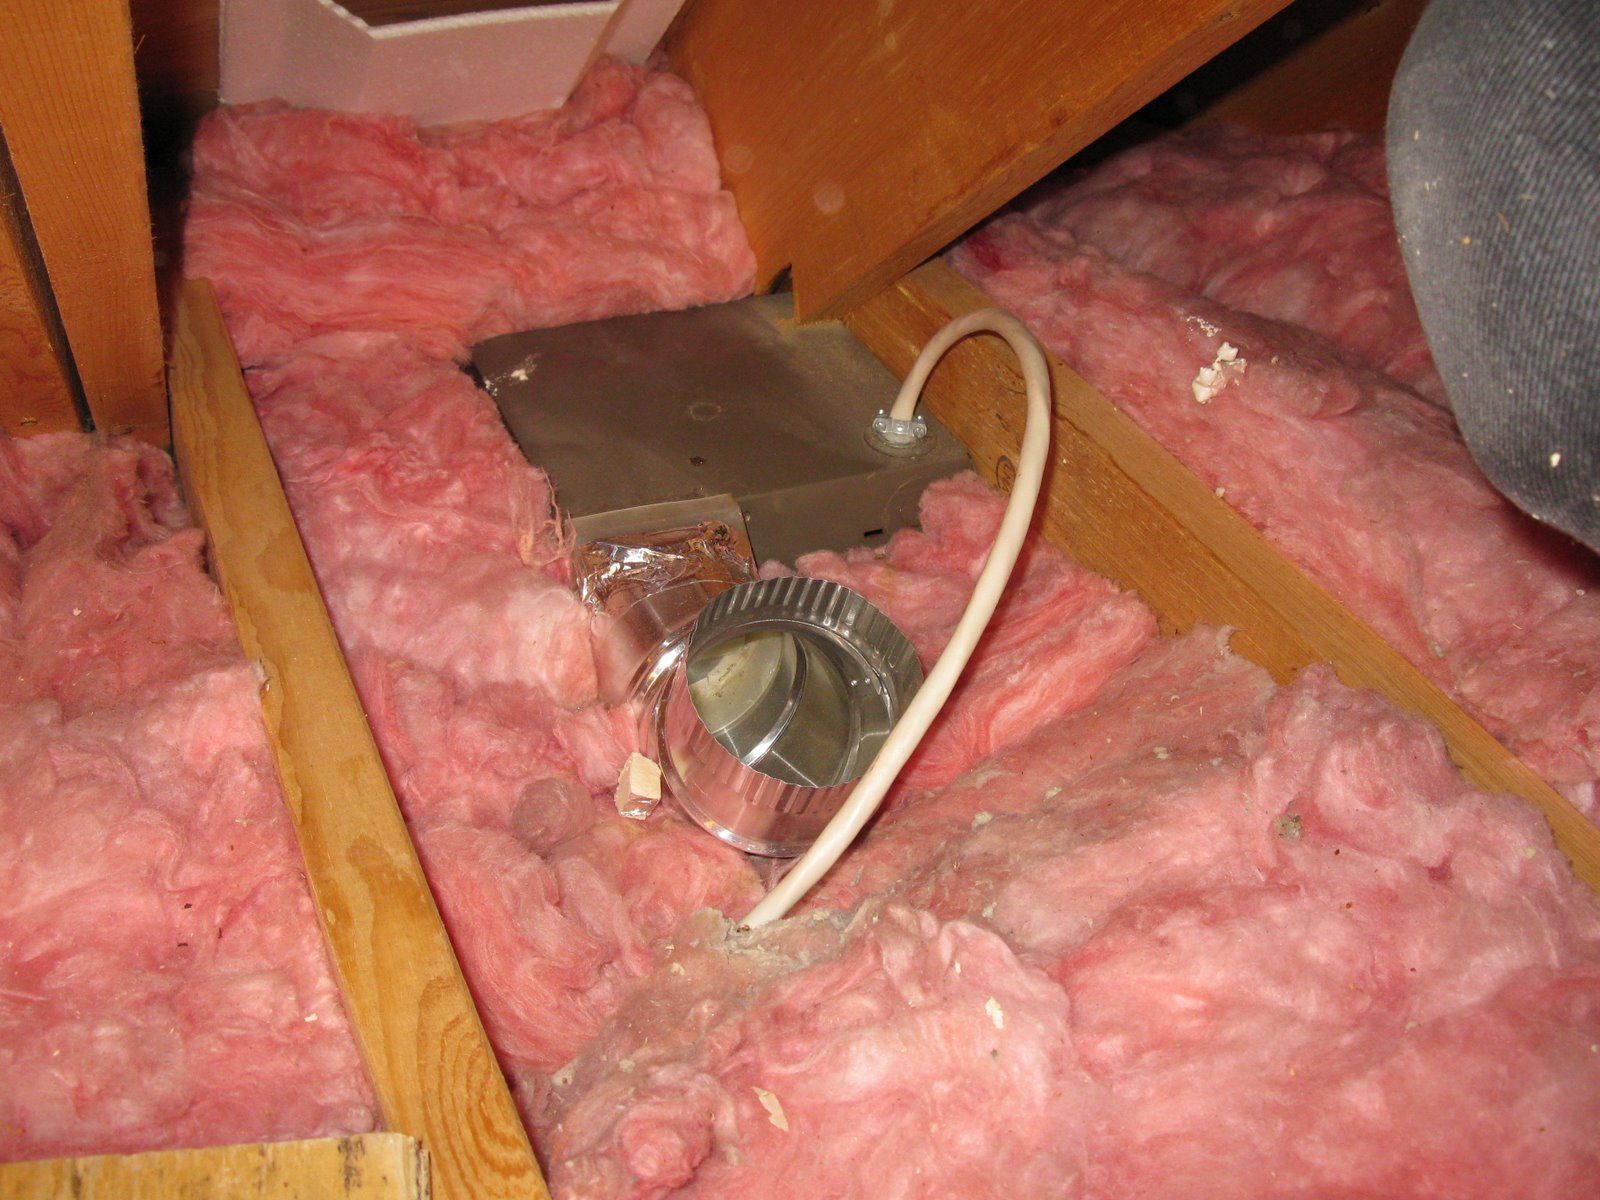
Two adjustable elbows were used to get the pipe to clear the insulation and ceiling joists. The pipe was then attached to the elbows with a slight pitch toward the outside sofit vent.
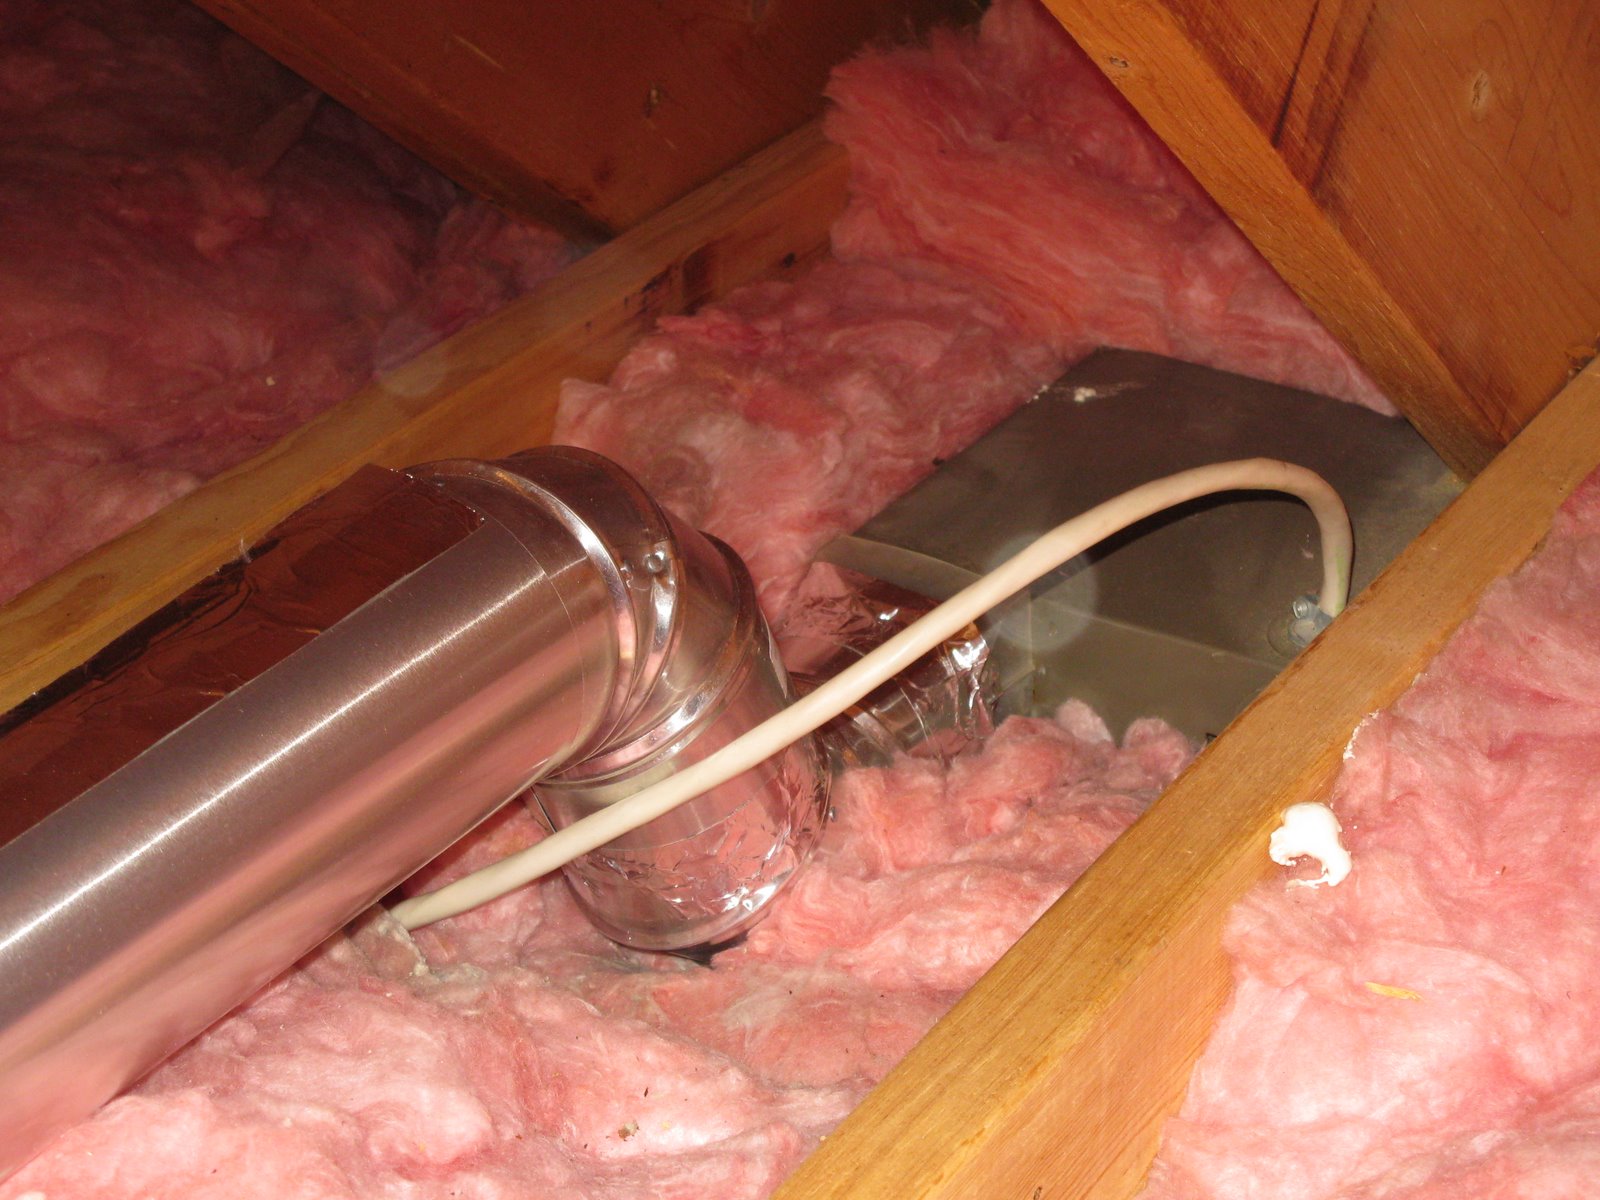
Once the pipe was installed and attached to the sofit vent we slid on a pipe insulation sleeve to keep the pipe protected from the cold attic.


