


Recent child rough housing cased this damage to the wall. The weight of an 85 lbs kid being tossed into a wall was enough to cause the drywall to break at the seam, between two 2×4 wall studs.
Repairing Drywall Damage
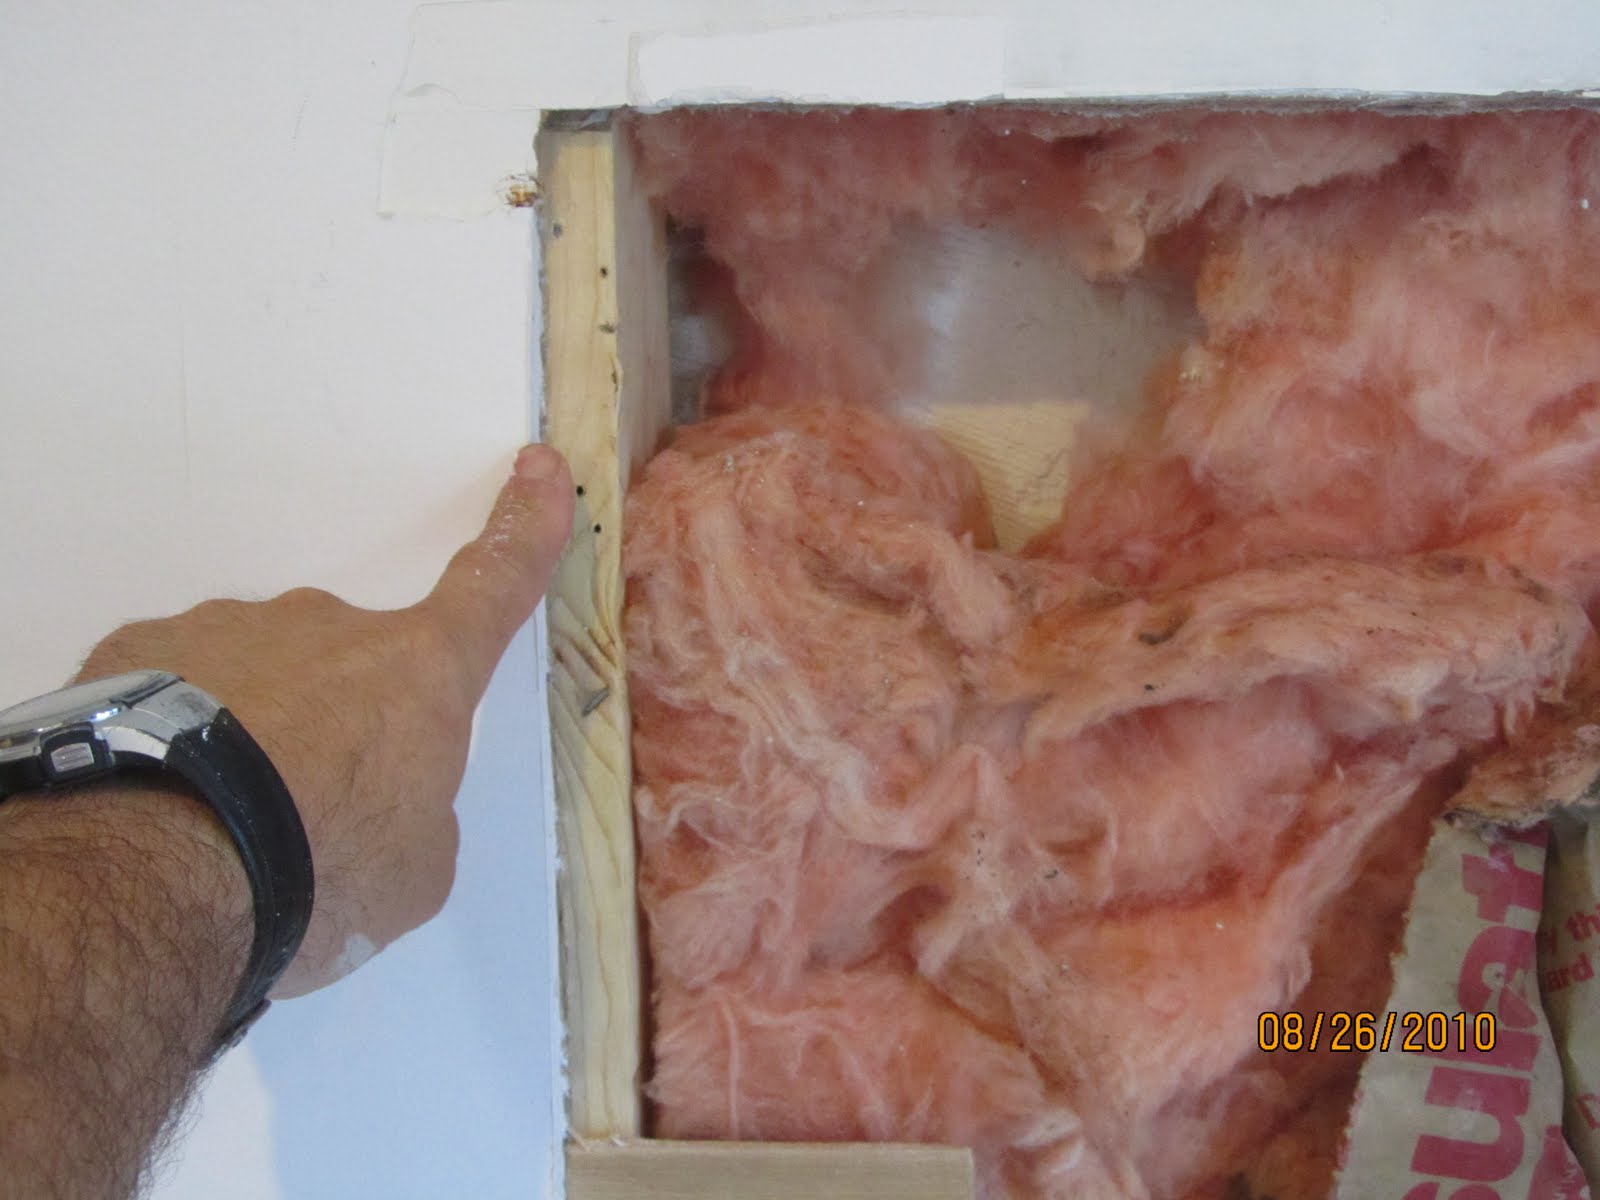
The first step in this repair was to identify where the two studs were. I did this by removing some of the damaged drywall and looking in.
I then used a level to make horizontal and plumb lines to be cut out. I place both my plumb lines on the center of a stud to avoid the need to add a nailer for my patch.

Cut Out Damage
Using a utility knife the damaged drywall was removed. New drywall was then cut to fill the hole.

Below I am pointing to the middle of the 2×4 wall stud. This will act as a backer to support the new board as well as receive screws.
Add Furring To Support Patch
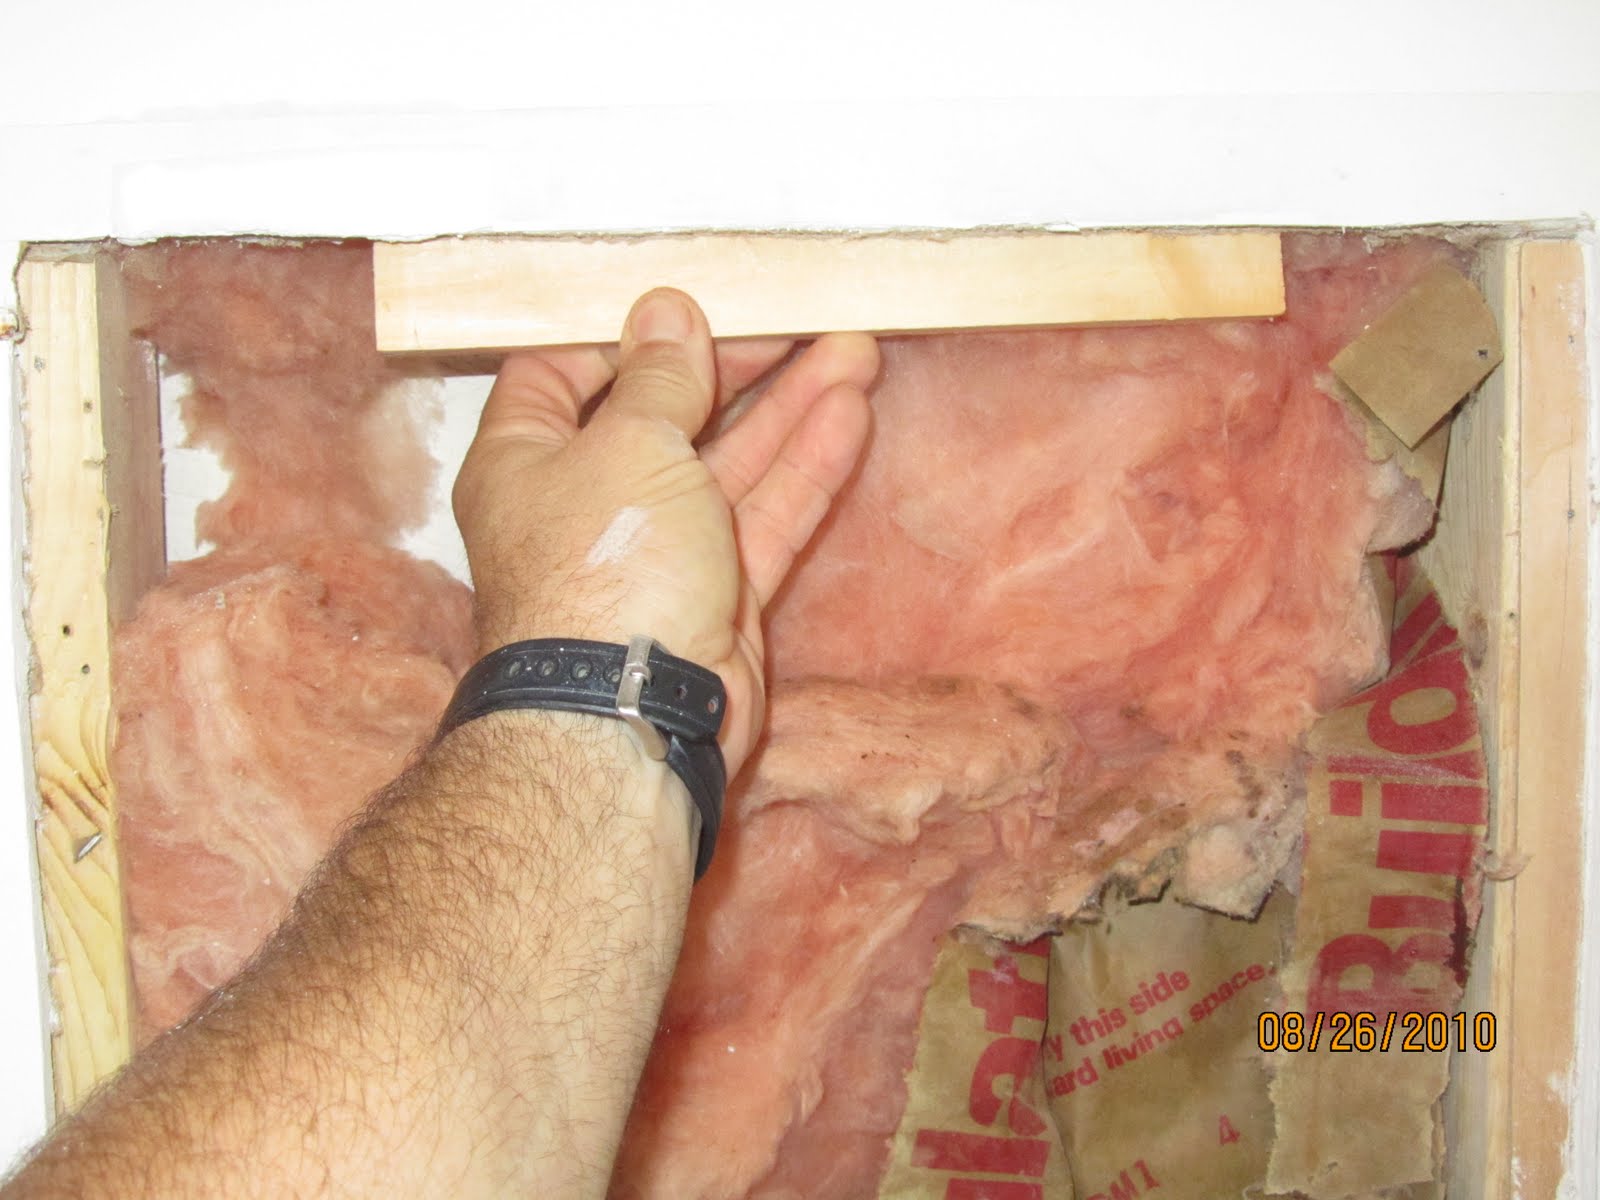
Although not needed I added a support block in the center of the patch. My thought was to give this seam additional strength.
Install New Drywall Patch
The new patch was placed in the hole and secured with screws. The old drywall was also secured with screws. Recess the screws no more than 1/16″ and cover with mesh tape.
Close up of mesh tape centered over the patch seam.

Two Types of Drywall Compound
There are two main types of joint compound pre-mixed and setting compound.
The differences are:
The is the most common type, also known as drywall mud. Typically available premixed in 1 and 5 gallon buckets or boxes. The main advantage to using premixed drywall compound is that it is ready to use right out of the box or bucket. Usually some mixing with water is needed to adjust its workability.
Another plus is there is little waste. Any remaining drywall mud can be covered with water and the mixing bucket sealed and used again at a later date. The 1 gallon buckets are good for small patches and the 5 gallon bucket is enough to tape and finish an average room.
Setting compound is very different from other types of drywall mud. This type dries through a chemical reaction and dries very hard. Setting compound comes as a bag of powder and needs to be mixed with water. there are different types[20 minute, 45 minute or 90 minute] based on their drying time. .
The best part when using a setting type joint compound is once the patch is hard another coat can be applied before completely dry. It also has less shrinkage and cracking.
Mud Seams and Patch
For this repair I applied two coats of 90 minute and a final coat of pre-mixed mud. apply the mud to overlap the seam and to fill in any screw holes.

It took three coats to cover this patch. In between the first and second patch I did not sand, instead I used my trowel to scrape of any high spots.
Sand Flush
After the third coat dried, I sanded the patch to feather the patch into the wall.
The surrounding wall and patch was dusted off and cleaned before applying primer to the patch and paint to the wall.
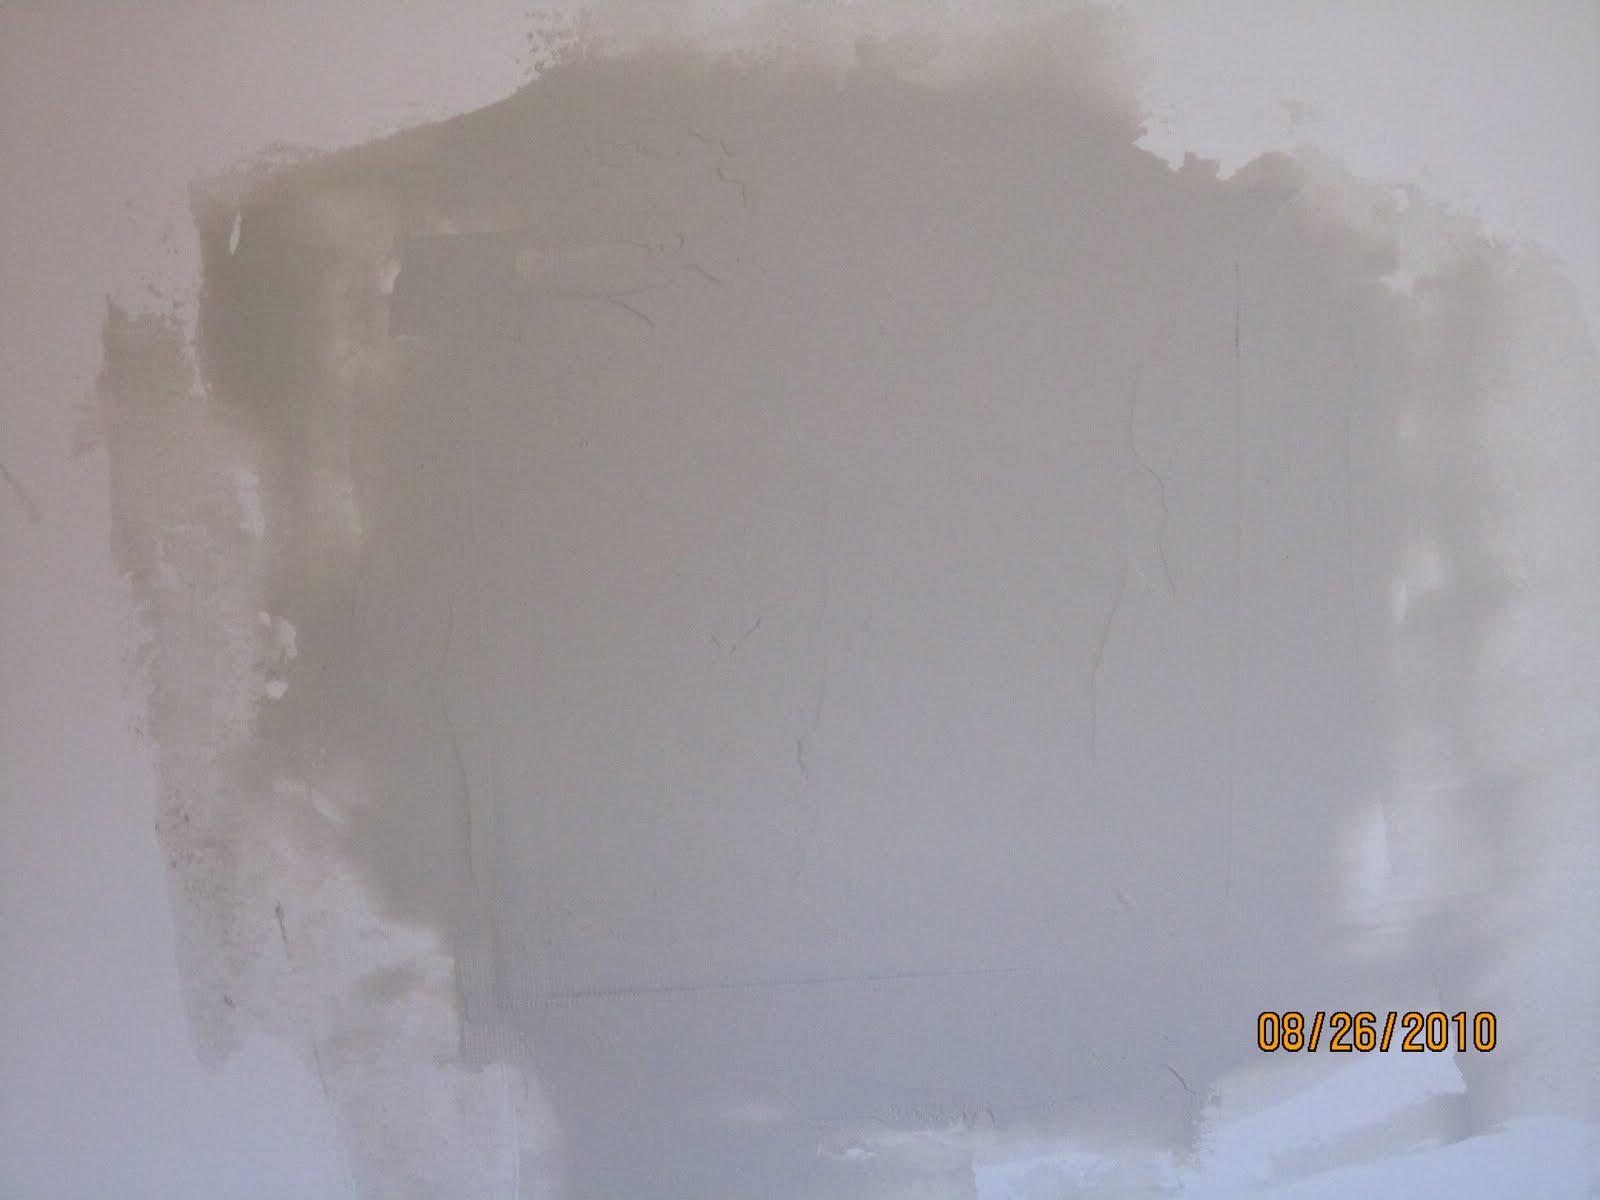
Patch painted and invisible.
