Repairing Rotted Window Sills

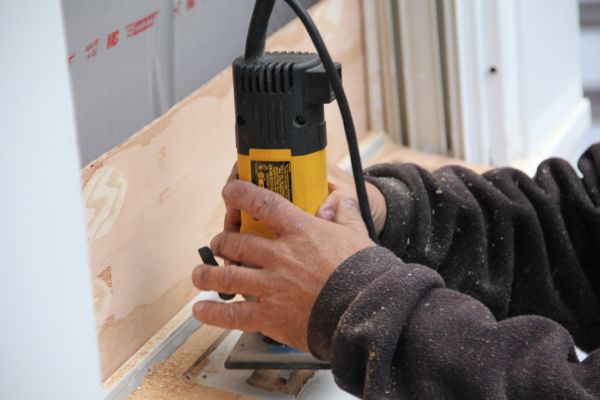
Cutting the Dutchman Hole
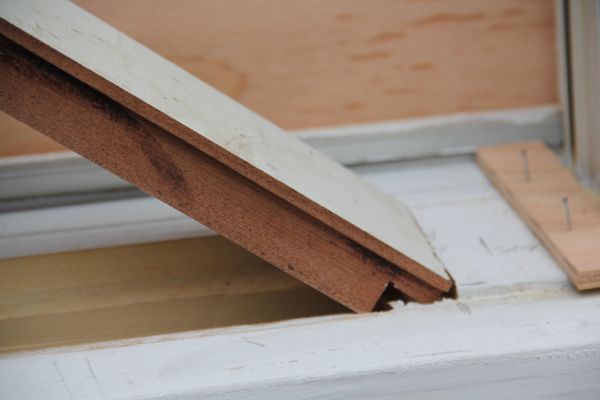
We purposely set our “straight cut” router bit to cut approximately 3/8 of an inch deep all the way around. We then added small 1-inch strips to all template sides of the router guide and use the router to cut completely make a “stepped back cut,” cutting completely through the window sill. This takes several passes, each time deepening the router cut.
We use this “stepped method” to increase our gluing surface and to provide a shelf for the Dutchman patch to index into and rest on.
Dealing with Smaller Rot Sections
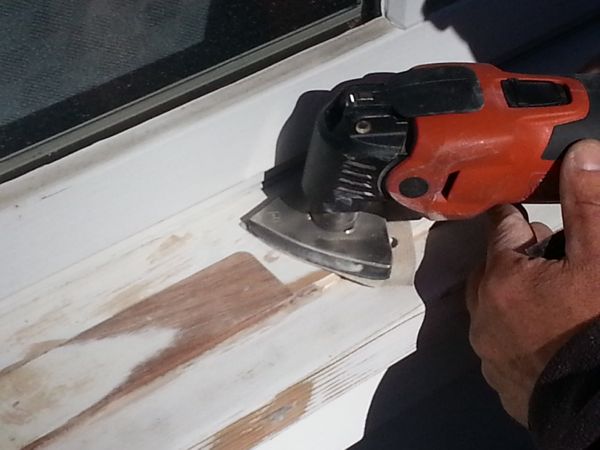
When presented with a smaller rot circumstances, not as deep, we only route deep enough to eliminate the and cut into solid wood. [Photo Below]
Prepare Hole for Dutchman Patch
Once the routing is completed we vacuum the entire area and inspect the framing sub-sill for damage. If rotting we may end up removing the window after all. If not the repair continues.
We use a chisel to square off the corners after routing. The Dutchman patch is cut on a table and miter saw so we need to have square corners.
Cutting the Dutchman Patch
We then take measurements and make notes to bring to the table saw to make our solid Dutchman patch. The router rode along the sill, sloped 12 to 15 degrees, we try to match the angle on our patch.
We duplicate this slope with the intent of getting all the sides of the new patch to touch all the sides of the hole in the sill. This takes time to get right and ensure that we have a tight “dry fit” patch.
Gluing the Patch
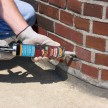
Once we have a solid dry fit with tight joints we mix up our epoxy.
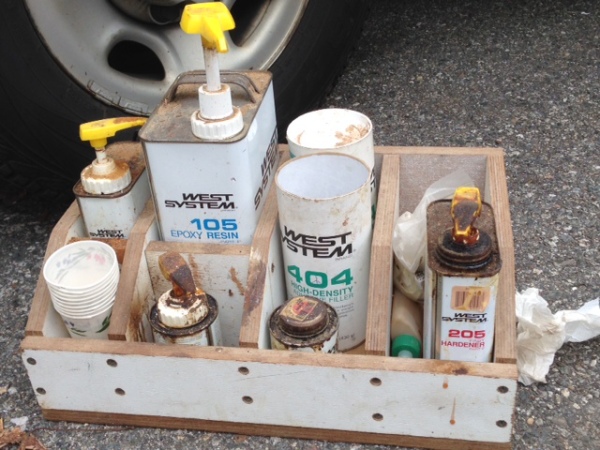
We use West System epoxy a versatile, 2-part, marine-grade epoxy that bonds and coats fiberglass, wood, metal, fabrics and other composite materials to provide superior strength and moisture resistance.
It was designed for boat-building and repair and works great on windowsills, columns and other areas where gluing, filling and shaping are needed.
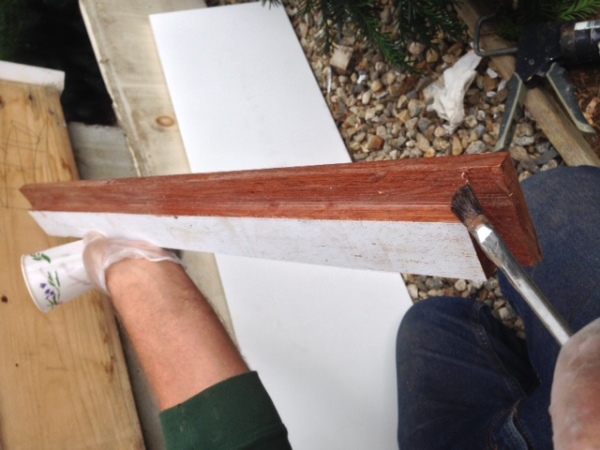
We use the epoxy in two ways, as glue and as filler. First we brush on the epoxy to all wood surfaces and then tap in the piece. It swells a bit and a block and gentle hammer tapping is needed to get the Dutchman in place. Once in place a clamp or a few well placed finish nails hold it until the epoxy dries – usually 8 to 24 hours.
Fill Voids with Epoxy
Once the patch is installed we mix up a batch of epoxy with structural filler to fill and overlap the seams of the patch and any nail holes created during the repair.
Sand Dutchman Patch
We wait 24 hours before sanding the patch and applying a quality oil primer to the entire windowsill. The painter will follow us with additional primer and two-coats of paint.